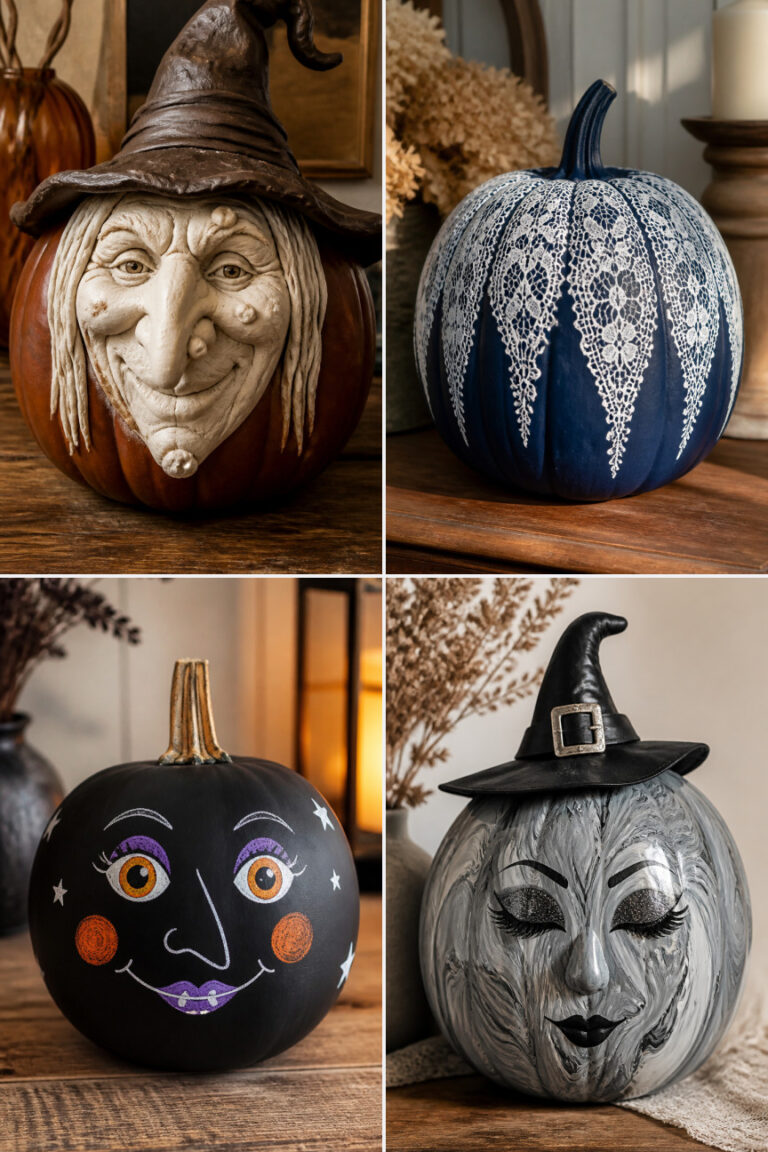
15 No-Carve Pumpkin Craft Ideas Perfect for Halloween Parties

Halloween glows brightest when creativity takes center stage. These no-carve pumpkin crafts bring color, texture, and whimsy to your gathering without the mess of scooping seeds or flickering candles.
They’re perfect for kids, guests with sensitive hands, or anyone who’d rather paint, glue, and decorate than dig into damp pumpkin guts.
1. Glitter-Dipped Mini Pumpkins
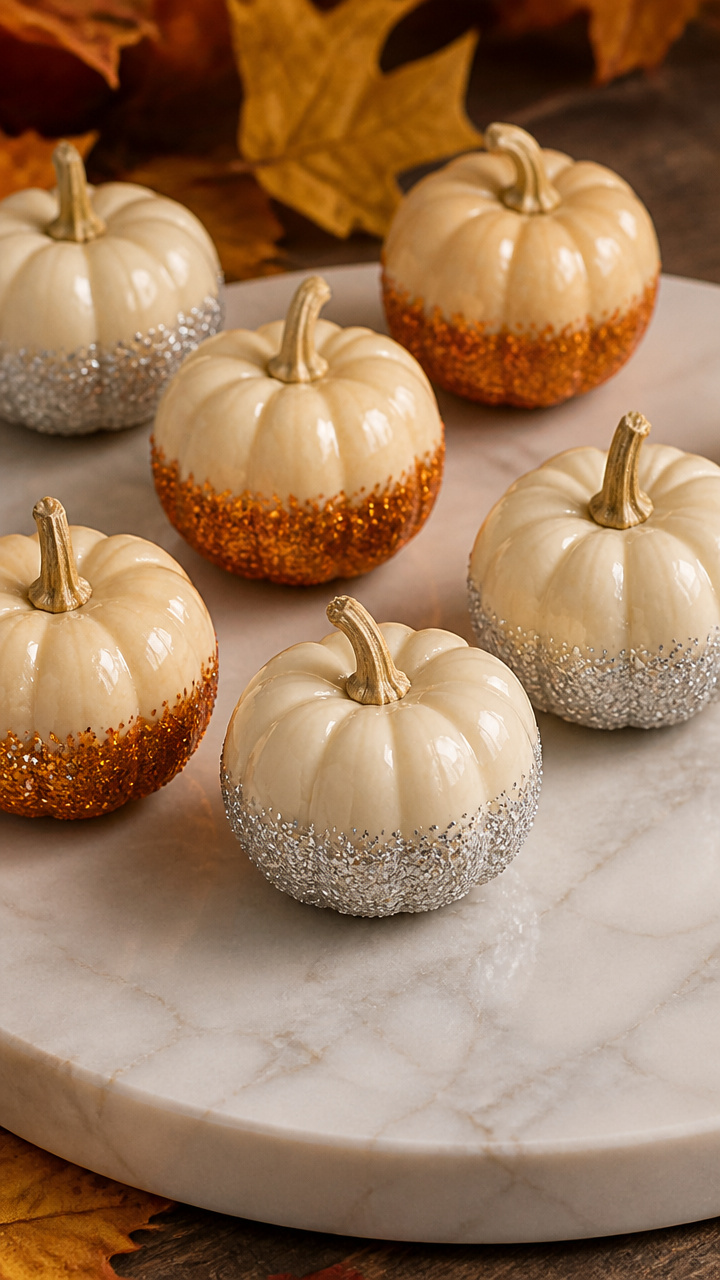
Sparkling pumpkins catch light like enchanted forest finds. This version uses fine glitter and glue for a crisp, even finish that won’t shed on your tablecloth.
Materials Needed
- 6 mini faux pumpkins (plastic or real, cleaned)
- 3 ounces clear craft glue
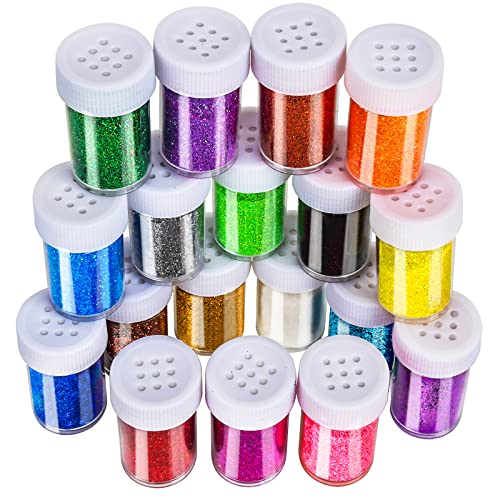
- 1/4 cup fine silver glitter
- 1/4 cup fine orange glitter
- shallow plastic tray
- paintbrush (1 inch flat)
- wax paper
- clear acrylic sealer spray
How to Make It
- Lay wax paper on your work surface and place the tray on top. Pour silver and orange glitter into separate sections of the tray.
- Use the paintbrush to apply a thin, even layer of craft glue to the bottom third of a pumpkin.
- Press the glued section into the glitter, twisting gently to coat evenly. Shake off excess and set aside to dry for 20 minutes.
- Repeat with all pumpkins, alternating colors. Once dry, spray lightly with acrylic sealer in a well-ventilated area. Let cure for 1 hour.


2. Washi Tape Striped Pumpkins
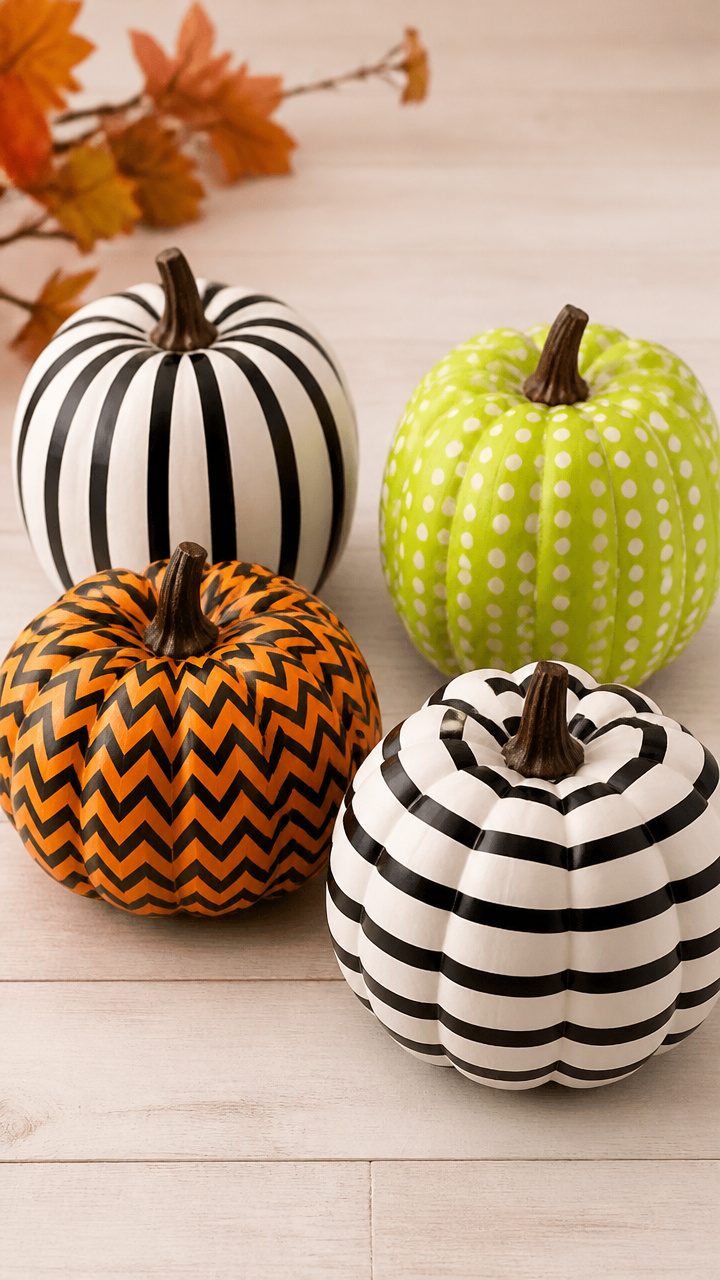
Crisp lines and bold patterns make these pumpkins pop without paint or mess. Washi tape peels cleanly and sticks well to smooth surfaces.
Materials Needed
- 4 medium faux pumpkins with smooth sides
- 1 roll black and white striped washi tape
- 1 roll neon green polka dot washi tape
- 1 roll orange and black chevron washi tape
- scissors
- ruler
How to Make It
- Measure and cut 8 strips of each washi tape type, each 1 inch wide and long enough to wrap around the pumpkin’s widest part.
- Starting at the base, wrap one strip around the pumpkin horizontally. Press firmly along the edges to prevent lifting.
- Alternate tape patterns as you move upward, leaving 1/2 inch between strips. Overlap seams slightly for full coverage.
- Use scissors to trim ends neatly where they meet. Repeat for all four pumpkins.


3. Felt Bat Silhouettes
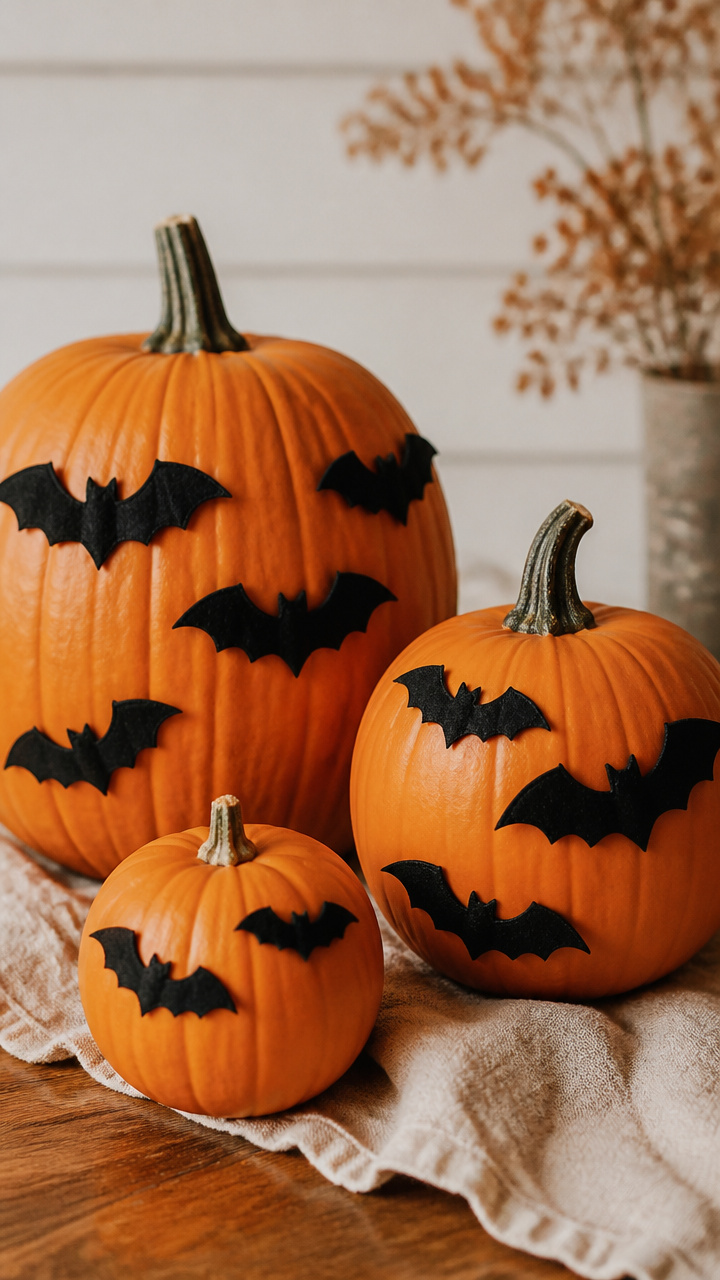
Soft black bats cling to pumpkins like nighttime visitors. Felt holds shape and attaches securely with fabric glue.
Materials Needed
- 3 medium real pumpkins
- black felt sheet (9×12 inches)
- bat stencil (downloaded and printed)
- fabric scissors
- fabric glue (small bottle)
- toothpick
- pencil
How to Make It
- Trace the bat stencil onto the felt using the pencil. Cut out 5 bats per pumpkin with fabric scissors.
- Dip the toothpick into fabric glue and spread a pea-sized amount on each wing tip and the body center of one bat.
- Press the bat onto the pumpkin near the stem, holding for 10 seconds. Let glue set for 5 minutes before adding more.
- Arrange remaining bats around the pumpkin, varying angles. Let all glue dry completely for 2 hours.


4. Sticker Face Jack-O'-Lanterns
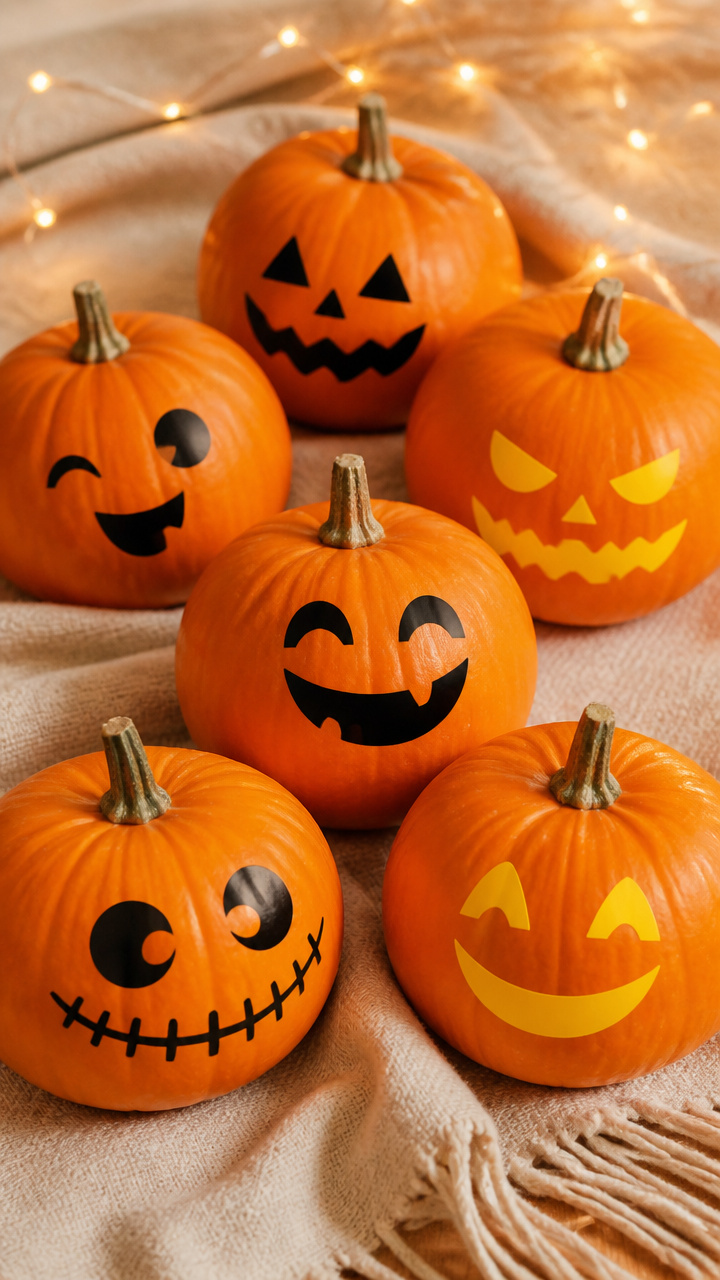
Peel-and-stick faces let kids design fast and change expressions anytime. Vinyl stickers resist moisture and last through the party.
Materials Needed
- 8 small real pumpkins
- assorted Halloween face sticker sheets (3 packs, variety of eyes, noses, mouths)
- paper towel
- isopropyl alcohol wipe
How to Make It
- Wipe each pumpkin with an alcohol wipe to remove dust and oils. Dry with a paper towel.
- Peel a smiling mouth from the sticker sheet and press it centered on the pumpkin’s front. Smooth from middle outward.
- Add mismatched eyes above the mouth, pressing firmly. Use a frowny nose below for comic effect.
- Repeat with different expressions on each pumpkin. Store extras nearby for guests to swap during the party.


5. Yarn-Wrapped Witch Pumpkins
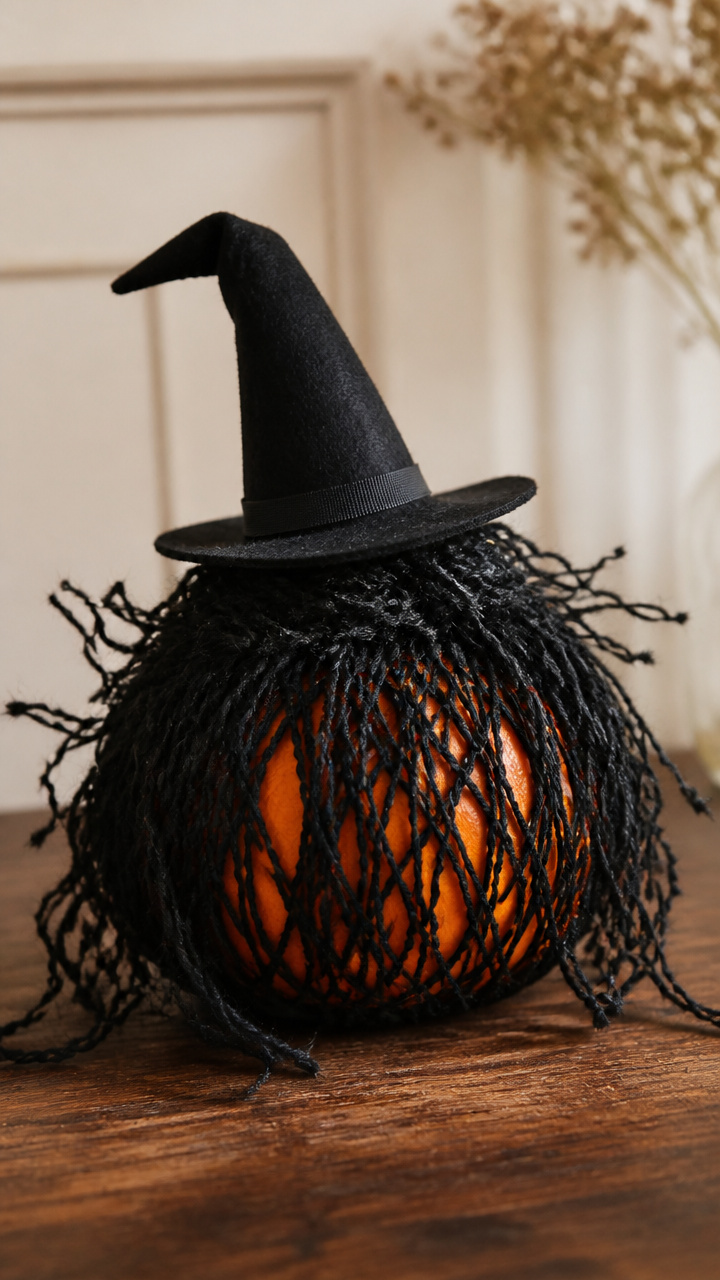
Twisted yarn gives pumpkins a wild, spellbound look. Wrap tightly for texture that mimics tangled hair.
Materials Needed
- 5 small faux pumpkins
- black yarn (size 4, 20 yards total)
- hot glue gun
- glue sticks (2)
- clothespin
How to Make It
- Put a dot of hot glue on the pumpkin’s base and press the yarn end down. Hold 10 seconds until set.
- Wrap the yarn diagonally upward, overlapping slightly. Keep tension firm but not tight enough to dent the pumpkin.
- When 3/4 covered, add another glue dot at the top and press the yarn end down. Trim excess with scissors.
- Clip a clothespin to the stem to act as a hat perch. Let glue cool fully before moving.


6. Chalkboard Paint Faces
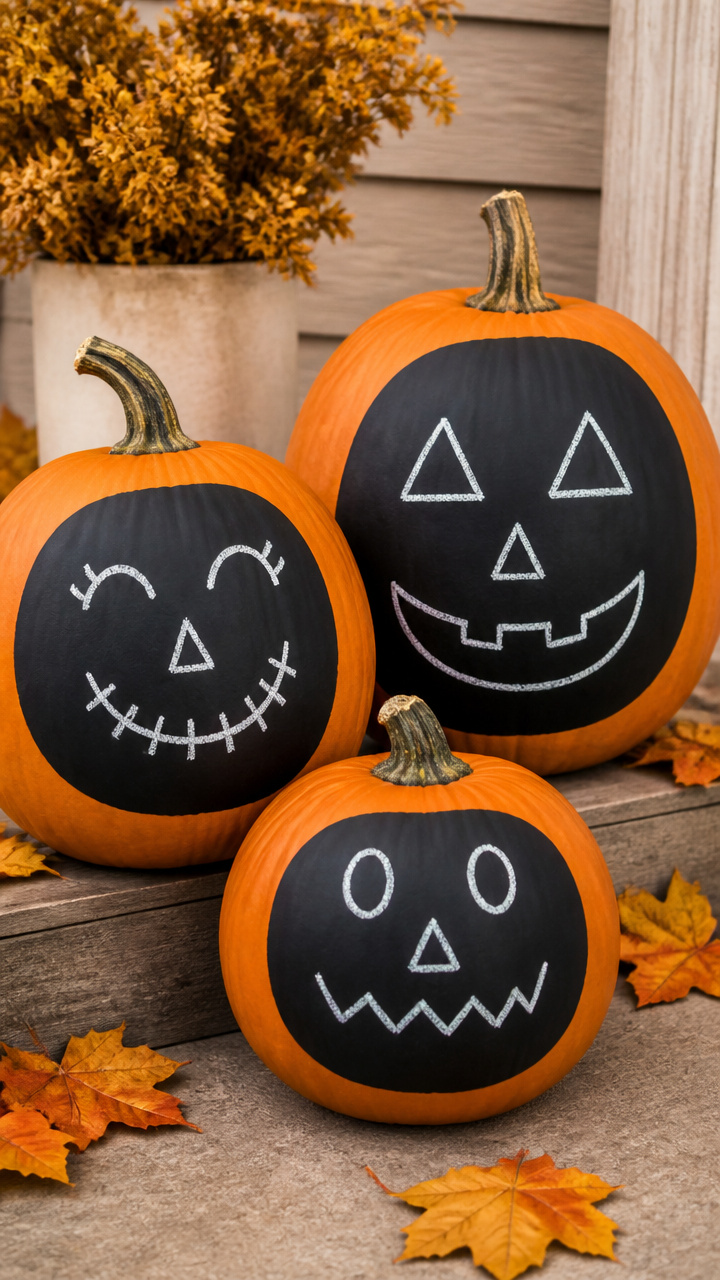
Matte black faces draw attention with clean lines. Chalkboard paint lets you redraw features year after year.
Materials Needed
- 2 large real pumpkins
- black chalkboard paint (2 oz liquid bottle)
- foam brush (1 inch)
- white chalk stick
- cotton swab
- paper plate
How to Make It
- Pour a dime-sized pool of chalkboard paint onto the paper plate. Dip the foam brush and wipe off excess.
- Paint solid oval eyes and a triangle nose on one pumpkin. Use steady strokes to avoid drips.
- Let dry 30 minutes. Use white chalk to draw glowing pupils and jagged teeth. Smudge with a fingertip for smoke effect.
- Clean chalk with a cotton swab dipped in water. Repaint faces as needed.


7. Pom-Pom Monster Pumpkins
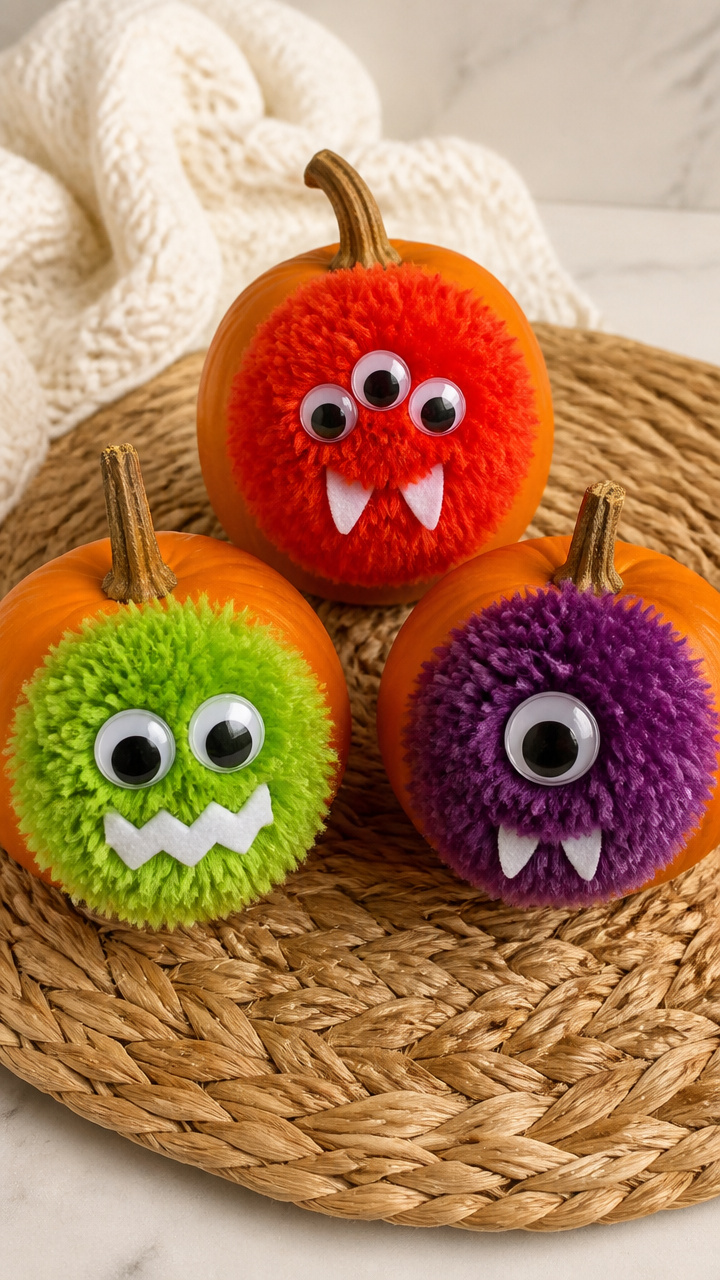
Fluffy pom-poms turn pumpkins into cheerful monsters. They stay put with strong glue and add soft dimension.
Materials Needed
- 6 jumbo craft pom-poms (2 red, 2 green, 2 purple)
- 3 small real pumpkins
- tacky glue (strong hold, 4 oz bottle)
- chopstick
- googly eyes (12 mm, pack of 12)
How to Make It
- Squeeze a nickel-sized blob of tacky glue onto the top curve of a pumpkin.
- Press one pom-pom into the glue, using the chopstick to nudge it straight. Hold 15 seconds.
- Glue two googly eyes just below the pom-pom. Add a second smaller pom-pom under the eyes for a tongue if desired.
- Let dry upright for 2 hours. Repeat for remaining pumpkins.


8. Button Mosaic Owls
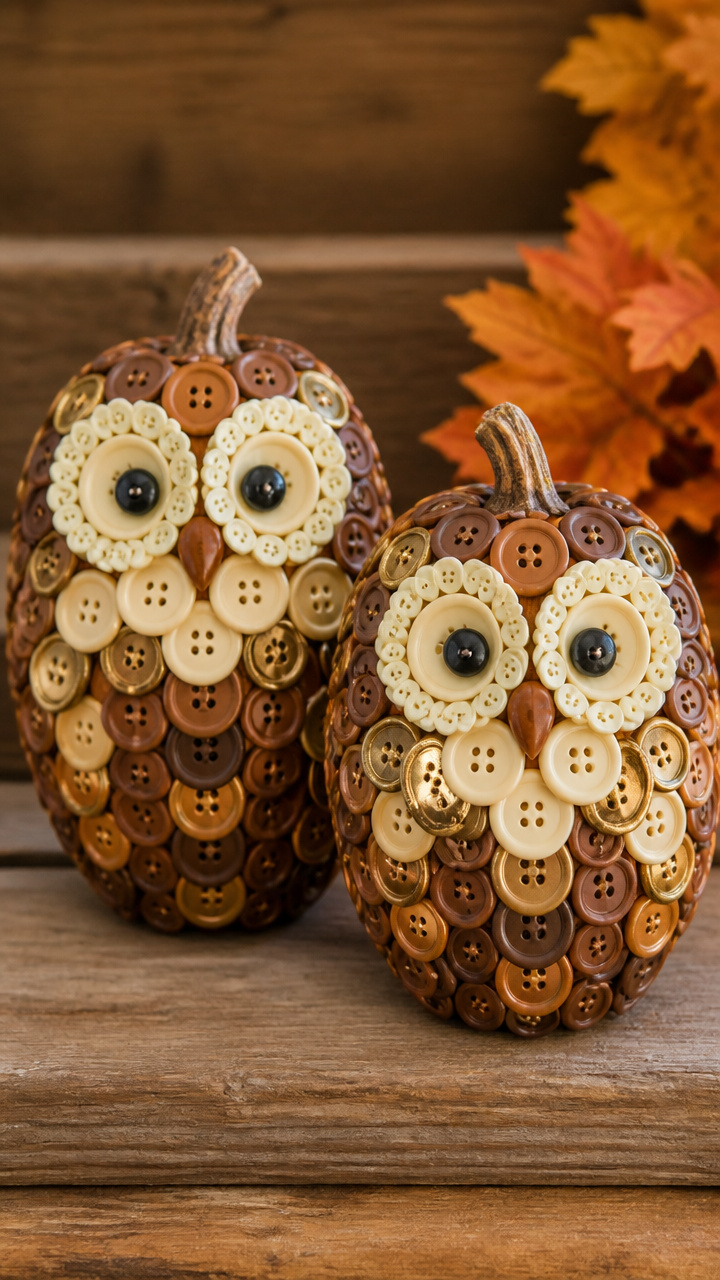
Vintage buttons form feathery owl faces with personality. Vary sizes and colors for lifelike texture.
Materials Needed
- 2 medium faux pumpkins
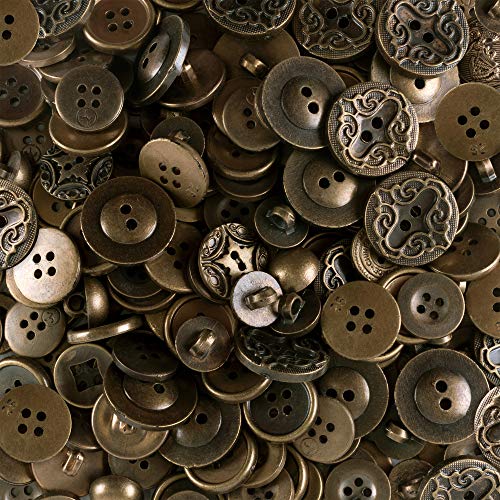
- assorted buttons (20 total, mix of brown, gold, cream, 1/2 to 1 inch)
- fabric glue (2 oz)
- tweezers
- black permanent marker
How to Make It
- Draw two large circles for eyes near the pumpkin’s top third using the marker.
- Apply a dab of fabric glue inside one circle. Use tweezers to place a large button in the center.
- Surround the center button with smaller ones, filling the circle like feathers. Press each gently into glue.
- Repeat for second eye and add a triangle cluster below for a beak. Let dry 3 hours.


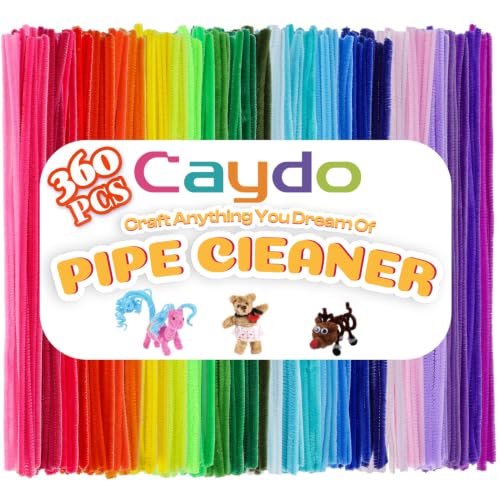
9. Pipe Cleaner Antennae
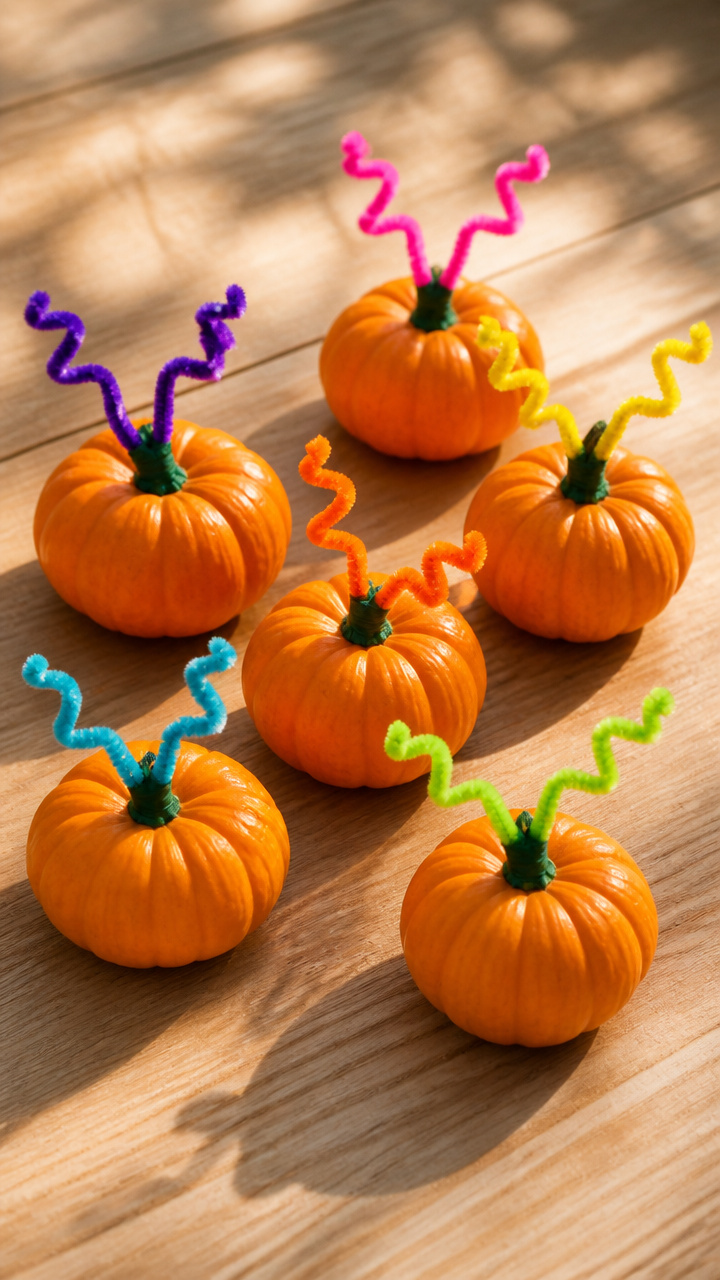
Bendable antennae wiggle with every breeze. Secure them at the stem for movement and fun.
Materials Needed
- 7 small real pumpkins
- 7 pairs colored pipe cleaners (pre-twisted antenna style, 8 inch)
- green floral tape (1 roll)
- scissors
How to Make It
- Position one pipe cleaner end at the base of the pumpkin’s stem. Wrap floral tape tightly around both 3 times.
- Stretch the antennae upward and bend the tips into spirals. Overlap the second pipe cleaner if extra length is needed.
- Wind the tape down to the stem base to hide connections. Trim excess tape with scissors.
- Gently twist antennae to test movement. Adjust spiral tightness as desired.
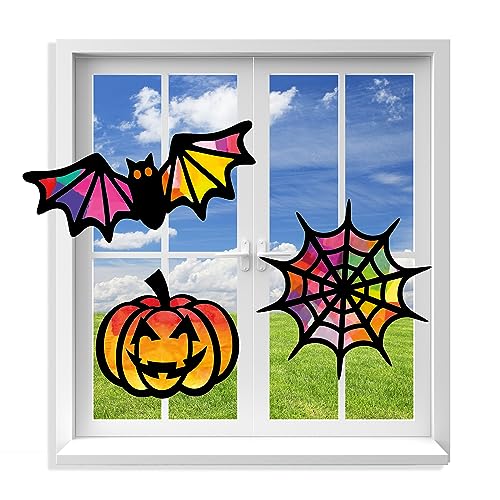
10. Tissue Paper Stained Glass
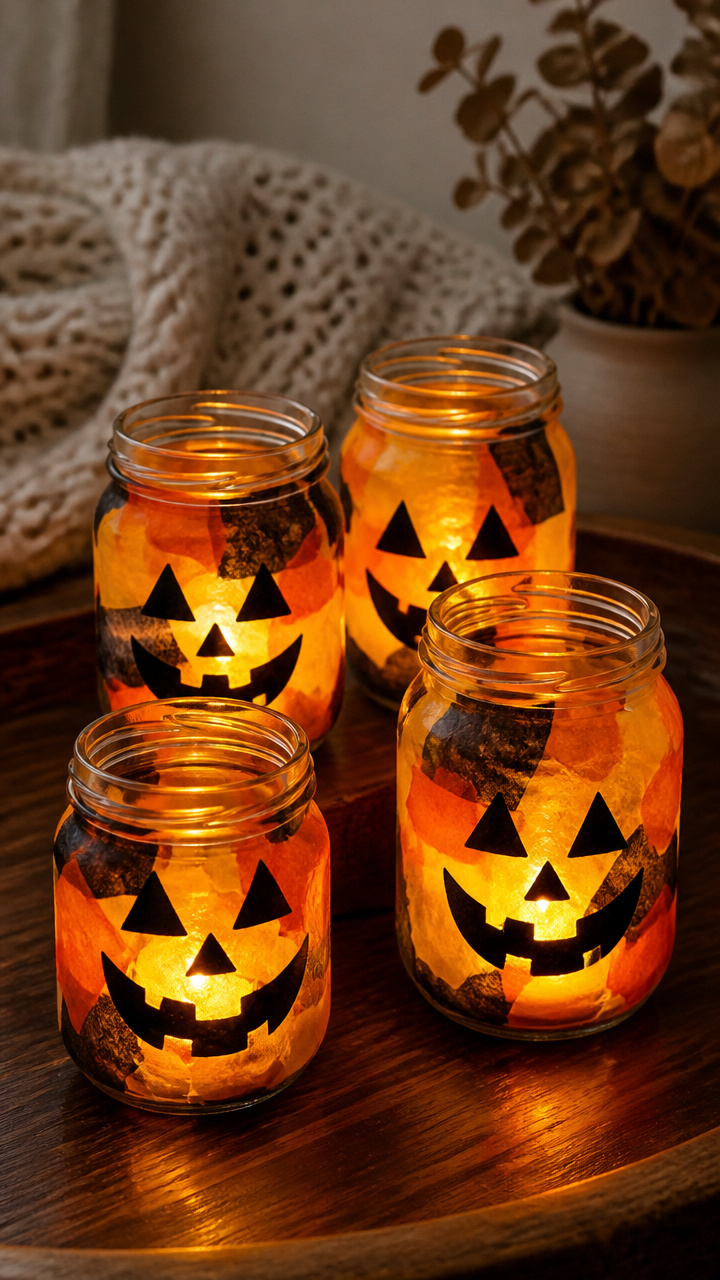
Layered tissue glows like candlelight when backlit. Mod Podge seals the color and adds shine.
Materials Needed
- 4 clear glass jars (pint size)
- orange, black, and yellow tissue paper sheets (6 each)
- scissors
- Mod Podge (matte, 4 oz)
- foam brush (2 inch)
- LED tea light
How to Make It
- Cut tissue into 2×2 inch squares. Mix colors for depth.
- Brush a palm-sized patch of Mod Podge on the jar. Lay tissue squares edge-to-edge, slightly overlapping.
- Seal with another coat of Mod Podge over the tissue. Let dry 45 minutes.
- Place LED tea light inside. Turn off lights to see the glow.


11. Macaroni Frame Accents
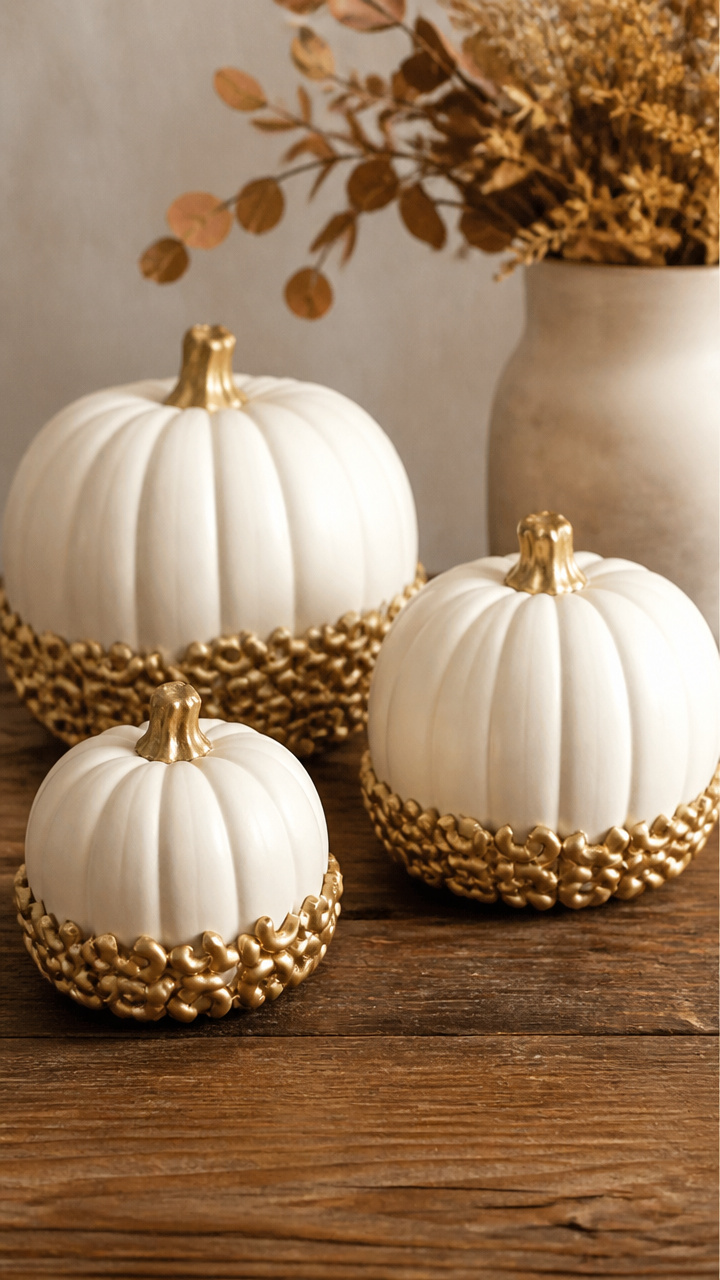
Painted pasta rings frame the pumpkin base like ornate moldings. They bond permanently with white glue.
Materials Needed
- 3 medium faux pumpkins
- elbow macaroni (1/2 cup)
- gold acrylic paint
- paintbrush (small round)
- white school glue
- plastic bowl
How to Make It
- Spread macaroni in a single layer on a tray. Paint both sides with gold acrylic. Let dry 1 hour.
- Apply a dot of white glue to the curved end of one piece. Press it onto the pumpkin’s base rim.
- Continue gluing pieces side by side, forming a complete ring. Overlap slightly for snug fit.
- Let dry overnight. Add a second ring above the first if desired.


12. Fabric Scrap Capes
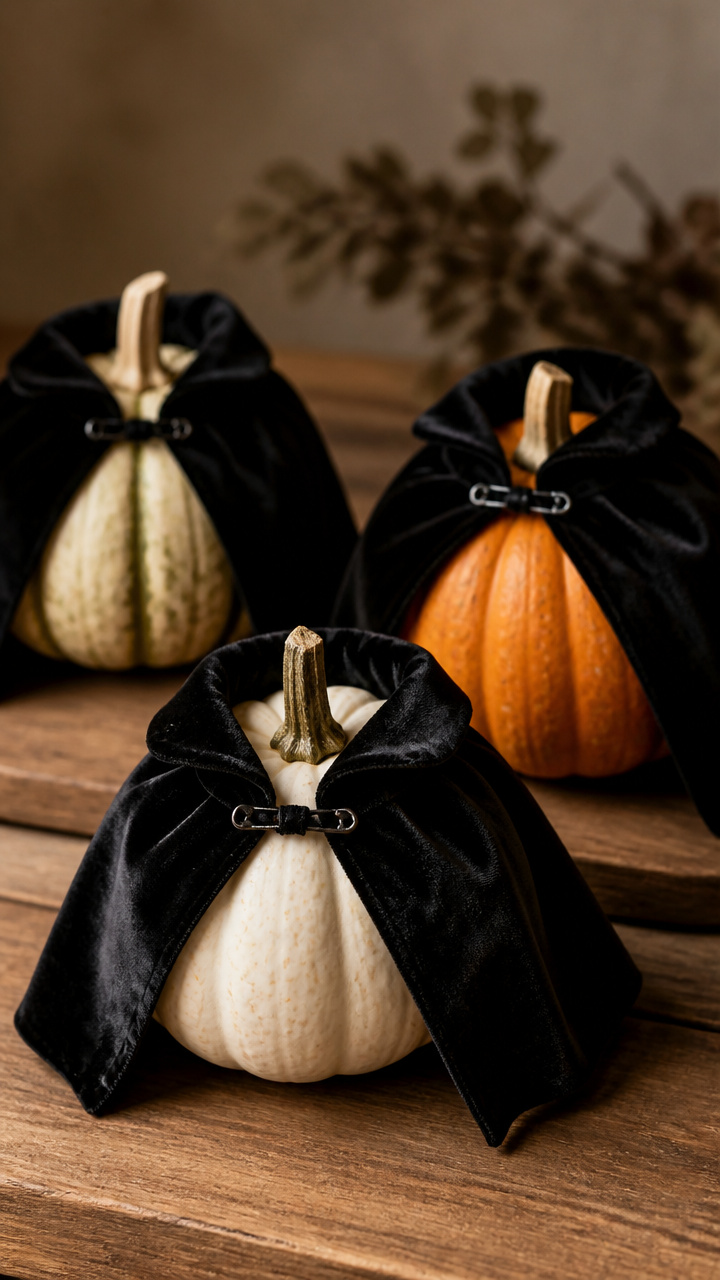
Mini capes drape from stems like tiny vampires. Safety pins hold them invisibly and allow quick changes.
Materials Needed
- 5 small faux pumpkins
- scraps of black velvet fabric (5 pieces, 4×6 inches)
- 5 black safety pins (1/2 inch)
- fabric scissors
How to Make It
- Cut each fabric scrap into a trapezoid, 4 inches wide at the top, 6 inches at the bottom, 5 inches tall.
- Fold the top edge down 1/2 inch to hide the raw edge. Press flat with fingers.
- Slide the folded edge under the pumpkin’s stem and secure with a safety pin from behind.
- Adjust the cape to drape evenly. Swap fabrics for different looks.


13. Q-Tip Skeleton Bones
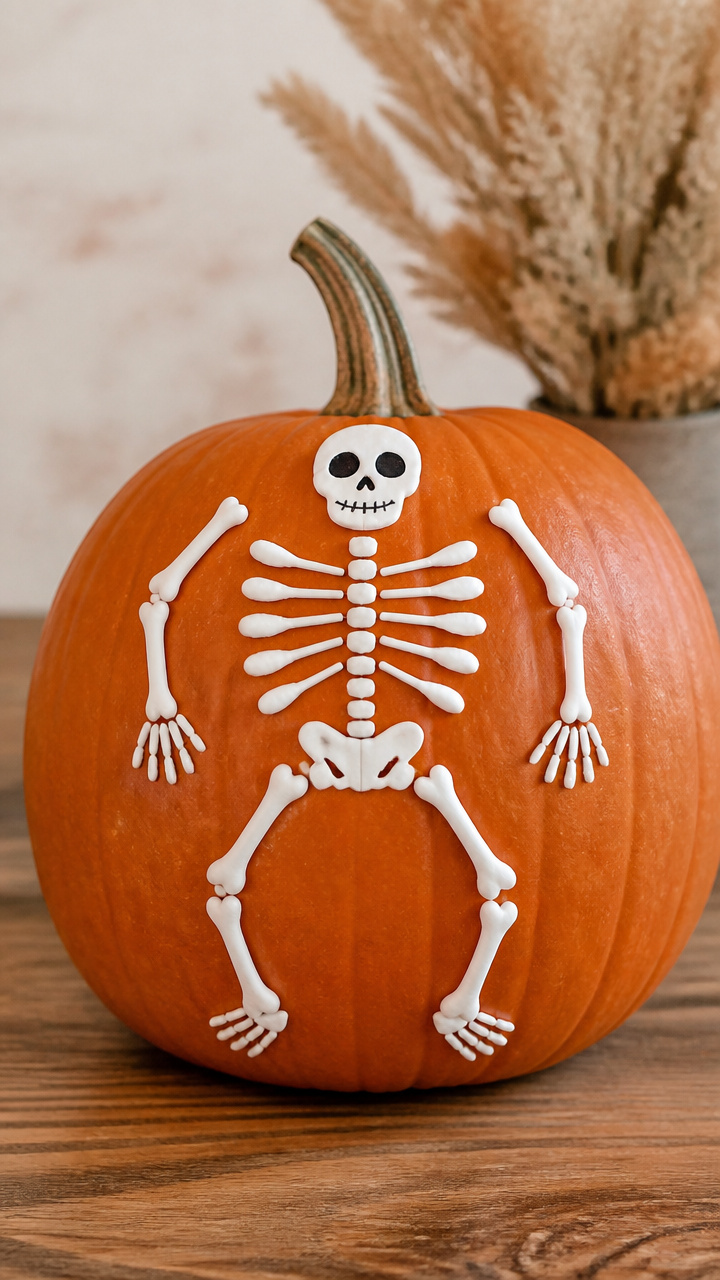
Cotton swabs form delicate ribcages and skulls. Glue holds them in place with minimal bulk.
Materials Needed
- 2 large real pumpkins
- box of regular Q-Tips (50 count)
- white tacky glue
- craft scissors
- black marker
How to Make It
- Cut 10 Q-Tips in half. Use full ones for ribs, halves for spine and skull details.
- Glue two full Q-Tips vertically down the pumpkin front, spaced 2 inches apart.
- Add 6 horizontal Q-Tips across the verticals to form a ribcage. Angle outer ends downward.
- Use halves to build a skull above the ribs. Draw eye sockets and jaw with black marker. Dry 2 hours.


14. Candy Corn Stripe Bands
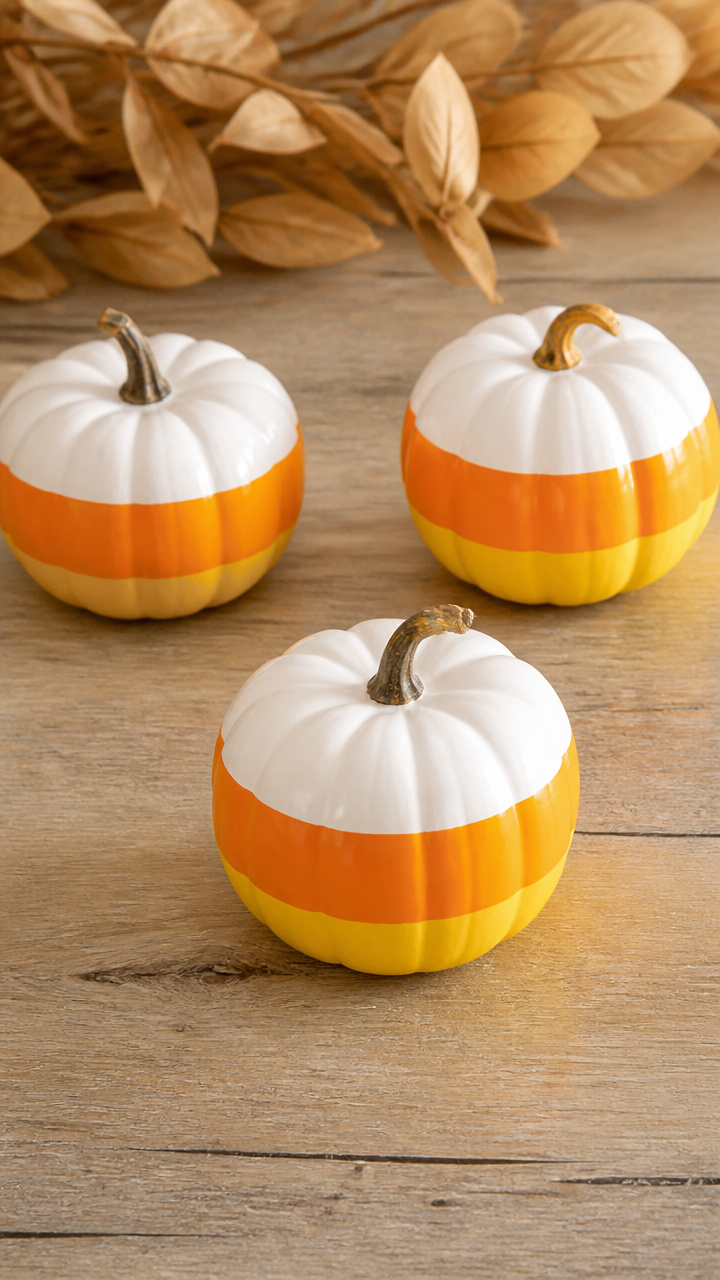
Bold tri-color bands mimic candy corn in cheerful rows. Permanent markers deliver crisp lines.
Materials Needed
- 6 mini real pumpkins
- yellow permanent marker (broad tip)
- orange permanent marker (broad tip)
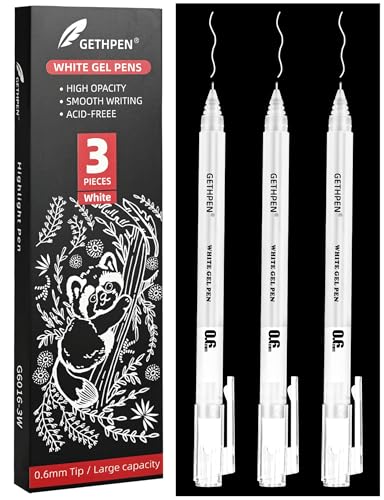
- white paint pen (fine tip)
- masking tape (1/2 inch)
- ruler
How to Make It
- Wrap masking tape around the pumpkin 1 inch below the stem, creating a 1/2 inch band.
- Color the exposed band with the orange marker, pressing firmly for full coverage. Wait 2 minutes to dry.
- Remove tape. Below that, add a yellow band using the same method with new tape.
- Use the white paint pen to draw a thin line between colors. Repeat bands downward with 1 inch spacing.


15. Photo Hat Toppers
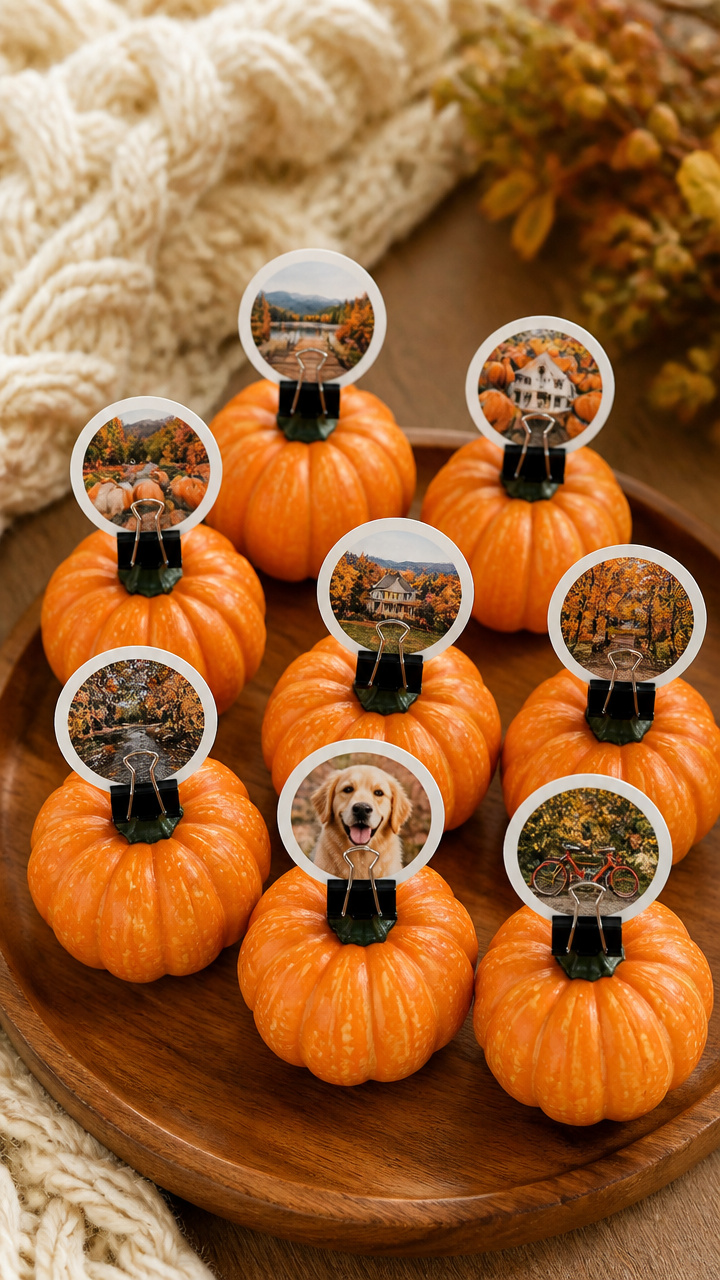
Tiny photo hats sit atop stems like personalized crowns. Cardstock and clips keep them weatherproof.
Materials Needed
- 8 small faux pumpkins
- A4 white cardstock
- color photos (2×2 inches, 8 printed)
- double-sided tape
- 1-inch binder clips (8, black)
- circle punch (2 inch)
How to Make It
- Use the circle punch to cut 8 discs from cardstock. Tape one photo to each disc.
- Fold the disc in half and slide it over the pumpkin’s stem at the top.
- Clip a binder clip over the fold to hold it upright. Open the clip just enough to grip the paper.
- Angle the photo forward so faces are visible. Swap photos anytime by opening the clip.


These ideas prove that magic doesn’t require a knife. Grab a few supplies and let your table become a gallery of playful, glowing characters. Your guests will remember the charm long after the last candy is gone.