15 Beginner Tie-Dye Summer Crafts for Under $10
Summer light brings out the colors in everything, especially handmade things. With just a few basics like dye, rubber bands, and plain cotton, you can create cheerful projects that feel personal and full of life.
These crafts are chosen to keep costs low and success high. Each one uses simple tools and clear steps so you can start today with confidence.
1. Tie-Dye Bandana Headband
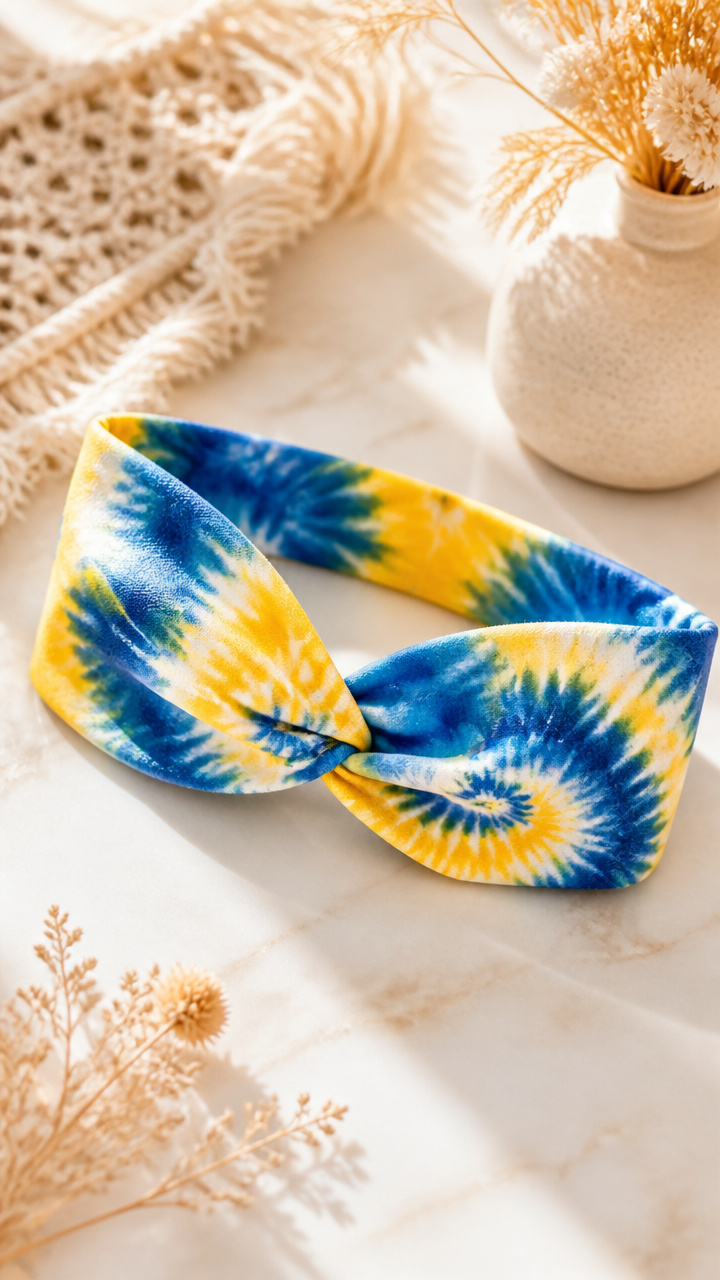
Soft cotton bandanas twist into wearable art with spiral dye patterns. This headband keeps hair back while adding a pop of color to any outfit.
Materials Needed
- 1 white cotton bandana
- 3 rubber bands
- 1 squeeze bottle with blue fiber-reactive dye
- 1 squeeze bottle with yellow fiber-reactive dye
- plastic gloves
- plastic wrap
How to Make It
- Fold the bandana diagonally into a triangle, then roll from the long edge into a cone shape.
- Wrap three rubber bands evenly around the cone, spacing them about 1 inch apart.
- Apply blue dye to the center section and yellow dye to the outer sections, saturating the fabric thoroughly.
- Wrap the dyed bandana in plastic wrap and let it sit for 8 hours at room temperature.
- Rinse under cold water until the water runs clear, then remove rubber bands and wash with mild soap.
2. Rainbow Dish Towel Set

Plain kitchen towels become bright helpers with vertical stripe dyeing. These add fun to chores and dry quickly on the rack.
Materials Needed
- 2 white cotton dish towels
- 4 rubber bands
- 1 squeeze bottle with red fiber-reactive dye
- 1 squeeze bottle with green fiber-reactive dye
- 1 squeeze bottle with purple fiber-reactive dye
- plastic gloves
- plastic tray
How to Make It
- Lay each towel flat and fold it lengthwise into a 3-inch-wide strip.
- Place four rubber bands across the strip, spacing them 2 inches apart.
- Lay the folded towel on the tray and apply red dye between the first two bands, green between the next, and purple between the last.
- Stack both towels and cover with plastic for 6 hours.
- Rinse under running water until clear, then remove bands and launder separately.
3. Tie-Dye Flip-Flop Tote
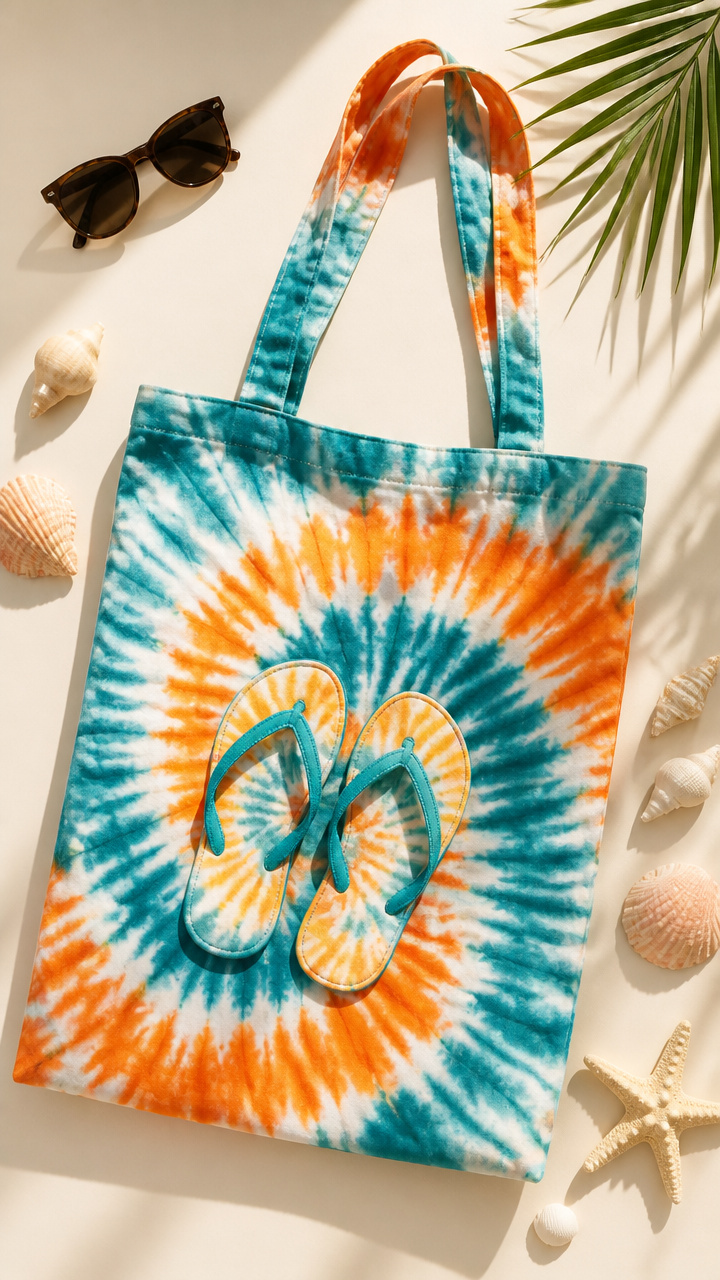
A lightweight tote holds sandals and sunscreen with style. The crisscross dye pattern mimics woven texture in bold colors.
Materials Needed
- 1 plain cotton tote bag
- 6 rubber bands
- 1 squeeze bottle with orange fiber-reactive dye
- 1 squeeze bottle with teal fiber-reactive dye
- plastic gloves
- cardboard insert
How to Make It
- Slide cardboard inside the tote to prevent bleed-through.
- Create a grid by placing three horizontal and three vertical rubber bands across the front panel.
- Apply orange dye to every other square in a checkerboard pattern, then fill remaining squares with teal.
- Let the tote rest in a plastic bag for 7 hours, undisturbed.
- Rinse well under cold water, remove rubber bands, and hang to dry.
4. Sunset Sock Pair
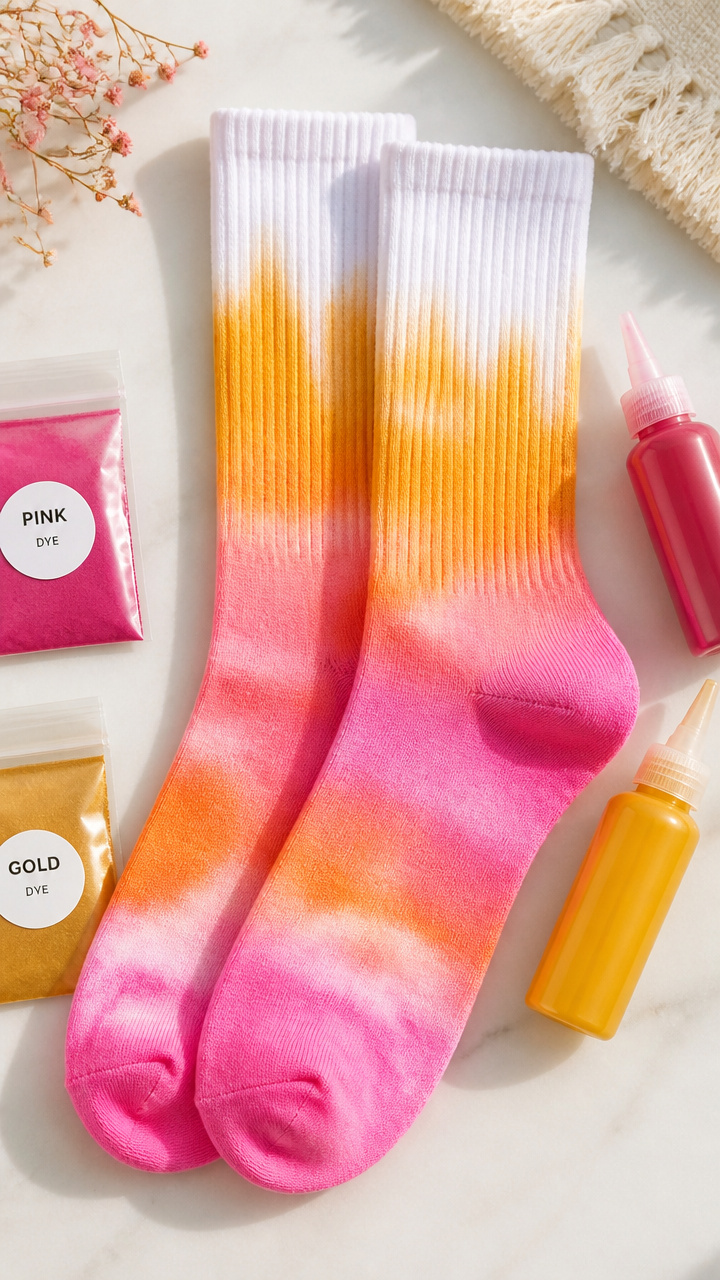
Plain white crew socks glow with warm gradient dye. These stand out with sandals or peeking from shorts.
Materials Needed
- 1 pair white cotton crew socks
- 2 small zip-top plastic bags
- 1 squeeze bottle with pink fiber-reactive dye
- 1 squeeze bottle with gold fiber-reactive dye
- plastic gloves
How to Make It
- Wet the socks and gently wring out excess water.
- Place each sock in its own plastic bag and lay flat.
- Squirt pink dye along the heel and gold dye toward the toe, blending slightly in the middle.
- Seal the bags and let sit for 6 hours on a flat surface.
- Rinse under cold water until clear, then air dry away from direct sun.
5. Tie-Dye Plant Holder
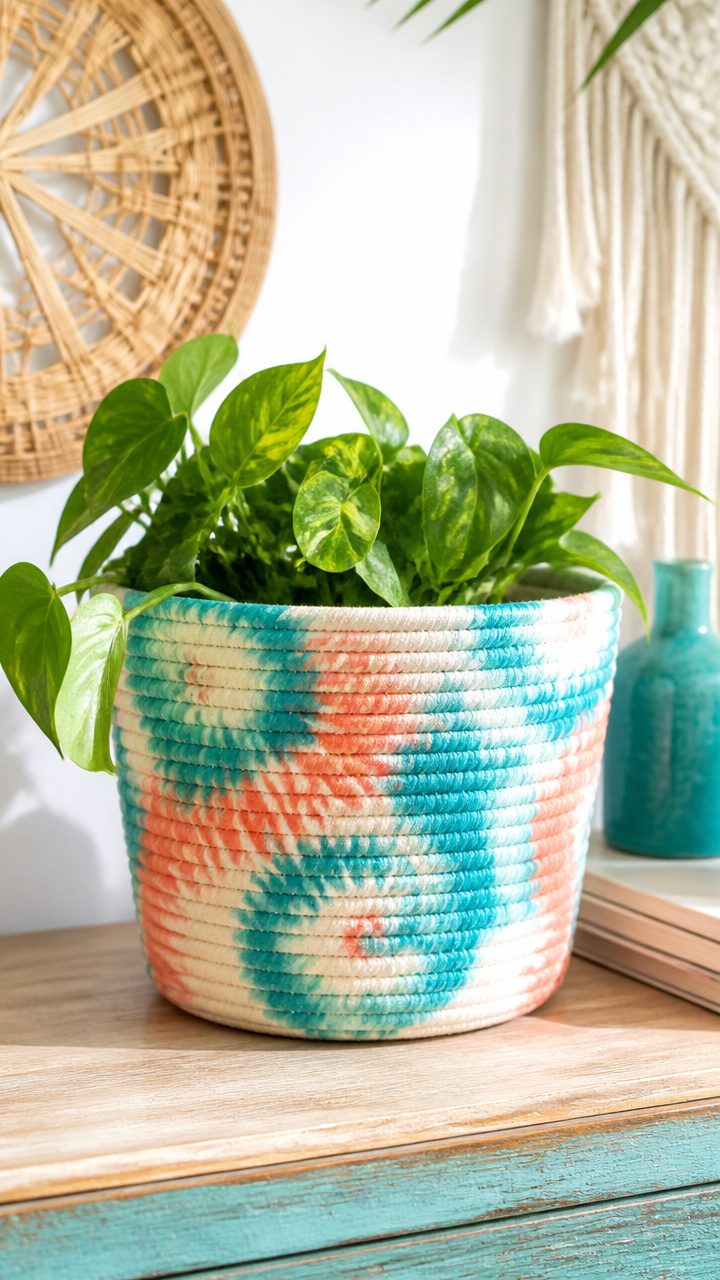
A cotton rope basket gets dipped in dye for a sunny look. It cradles small potted herbs near the window.
Materials Needed
- 1 natural cotton rope planter basket
- 1 shallow plastic tub
- 1 cup prepared turquoise fiber-reactive dye
- 1 cup prepared coral fiber-reactive dye
- plastic gloves
How to Make It
- Pour turquoise dye into the tub and coral dye into a second container.
- Dip the bottom third of the basket into the turquoise dye for 3 minutes, rotating gently.
- Lift and let excess drip off, then dip the top third into coral dye for 2 minutes.
- Hang the basket upside down over a sink to dry for 5 hours.
- Rinse lightly once dry to remove loose dye, then use with a plastic liner.
6. Candy Stripe Napkins
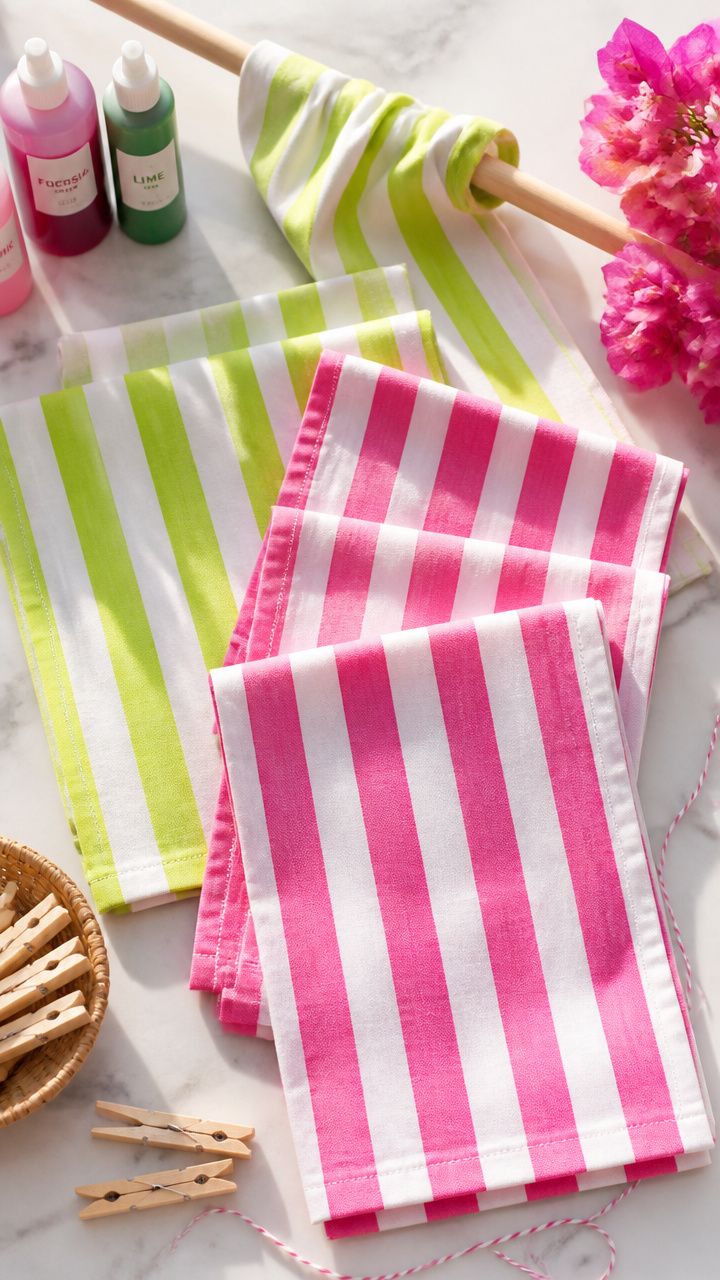
Square cotton napkins wear diagonal stripes like beach candy. These liven up picnic tables and stack neatly in drawers.
Materials Needed
- 4 white cotton napkins
- 8 clothespins
- 1 wooden dowel
- 1 squeeze bottle with magenta fiber-reactive dye
- 1 squeeze bottle with lime fiber-reactive dye
- plastic gloves
- plastic sheet
How to Make It
- Clip each napkin to the dowel using two clothespins at opposite corners.
- Twist the napkin along the diagonal and secure with four more clothespins spaced evenly.
- Hold the dowel over the plastic sheet and apply magenta dye to three sections, lime to the others.
- Let hang for 7 hours, then rinse under cold water until clear.
- Remove clothespins and machine wash before use.
7. Tie-Dye Sunglass Case
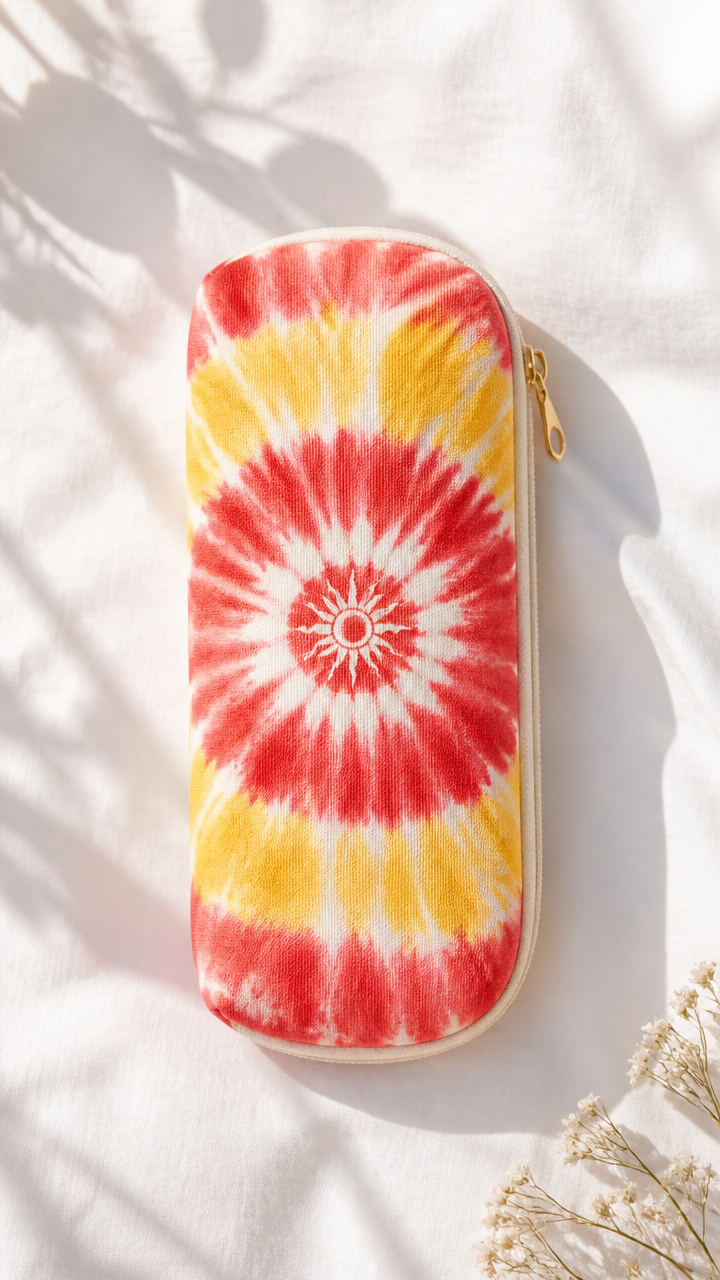
A soft cylinder case protects lenses with padded color. The bullseye pattern centers attention right where it should be.
Materials Needed
- 1 white cotton sunglass case with zipper
- 1 round stencil (2 inches diameter)
- 1 sponge brush
- red fabric paint
- yellow fabric paint
- plastic gloves
How to Make It
- Place a piece of cardboard inside the case to block bleed-through.
- Center the stencil on the front and press firmly to avoid smudging.
- Use the sponge brush to dab red paint inside the circle and yellow paint in a ring around it.
- Let dry completely for 4 hours, then carefully remove the stencil.
- Heat-set the paint with an iron on cotton setting for 3 minutes, using parchment paper.
8. Ocean Wave Pillow Cover
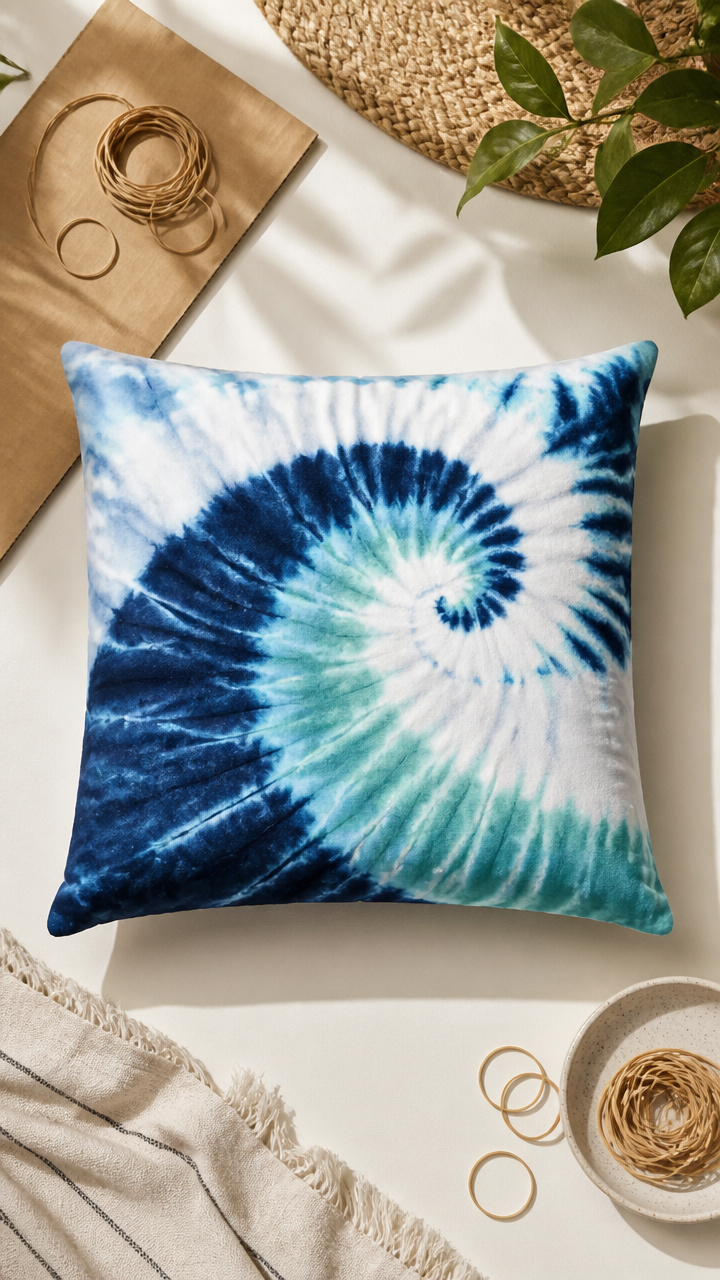
A wave-like ripple flows across a linen pillow front. This adds coastal calm to porches or daybeds.
Materials Needed
- 1 white cotton-linen pillow cover
- 5 rubber bands
- 1 squeeze bottle with navy fiber-reactive dye
- 1 squeeze bottle with seafoam fiber-reactive dye
- plastic gloves
- cardboard cut to fit cover
How to Make It
- Insert cardboard into the cover to prevent inner staining.
- Pinch the center of the front and pull upward, securing with five concentric rubber bands.
- Apply navy dye to the outer rings and seafoam to the inner layers, pressing dye deep into folds.
- Wrap in plastic and let cure for 8 hours.
- Rinse under cold water until clear, remove bands, and air dry.
9. Tie-Dye Sandal Charm
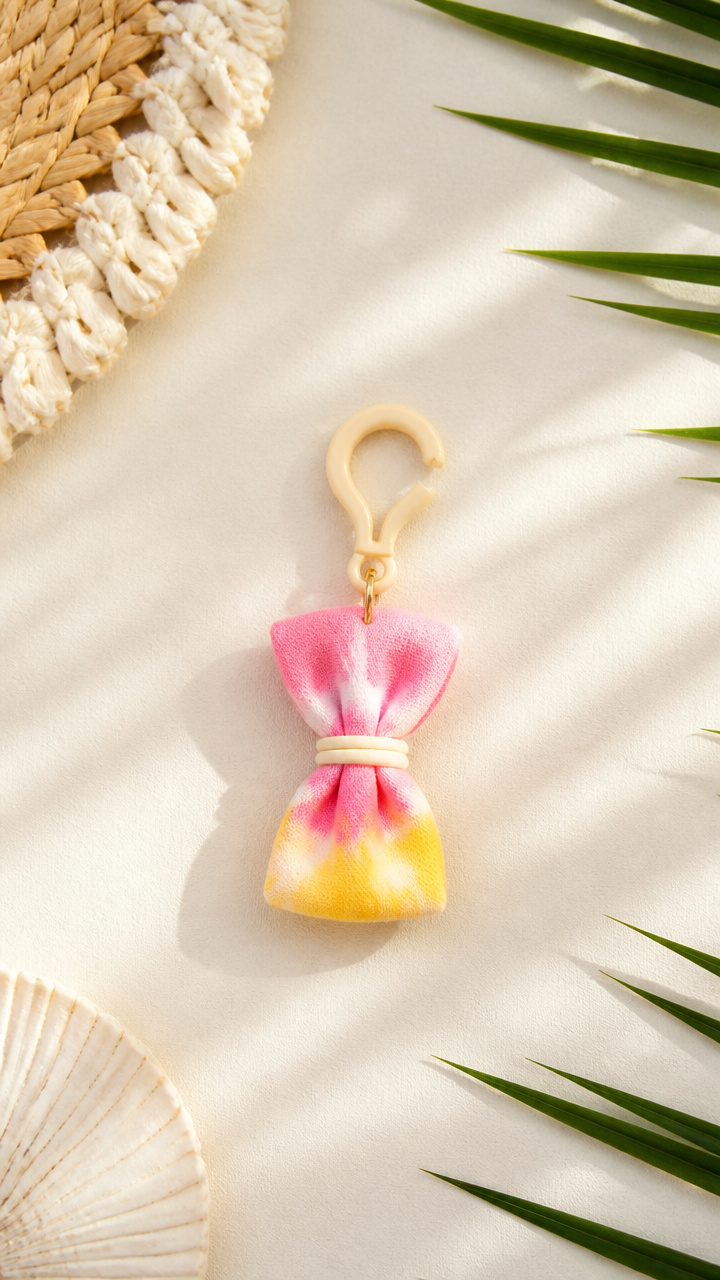
A tiny square of dyed fabric dangles from flip-flop straps. This mini splash of color moves with every step.
Materials Needed
- 1-inch square white cotton fabric
- 2 small rubber bands
- 1 drop pink fiber-reactive dye
- 1 drop yellow fiber-reactive dye
- mini C-clip
- plastic gloves
How to Make It
- Crumple the fabric square loosely and bind with two crossing rubber bands.
- Use a toothpick to place one drop of pink and one drop of yellow onto different folds.
- Set on a paper towel and let sit for 4 hours.
- Rinse gently under the tap, then clip the charm to your sandal strap with the C-clip.
10. Lemon Slice Coasters
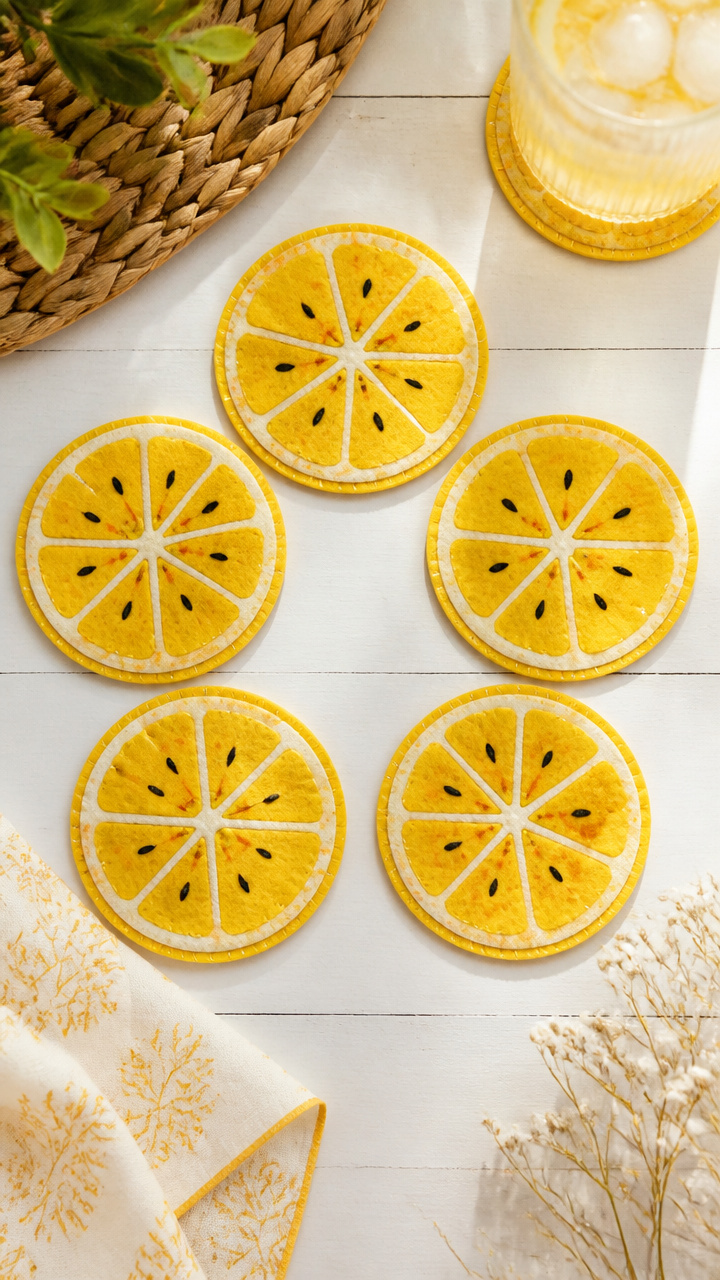
Round felt coasters mimic citrus slices with hand-painted rings. These protect tables and spark summer dinner chats.
Materials Needed
- 4 yellow craft felt circles, 4 inches diameter
- black fine-tip fabric marker
- orange fabric paint
- small paintbrush
- plastic gloves
How to Make It
- Use the fabric marker to draw a small circle in the center of each coaster.
- Paint alternating rings outward with orange fabric paint, making them uneven for a natural look.
- Let dry for 3 hours on a flat surface.
- Outline each ring lightly with the marker to enhance definition.
- Allow 1 more hour to fully set before use.
11. Tie-Dye Beach Ball Ornament
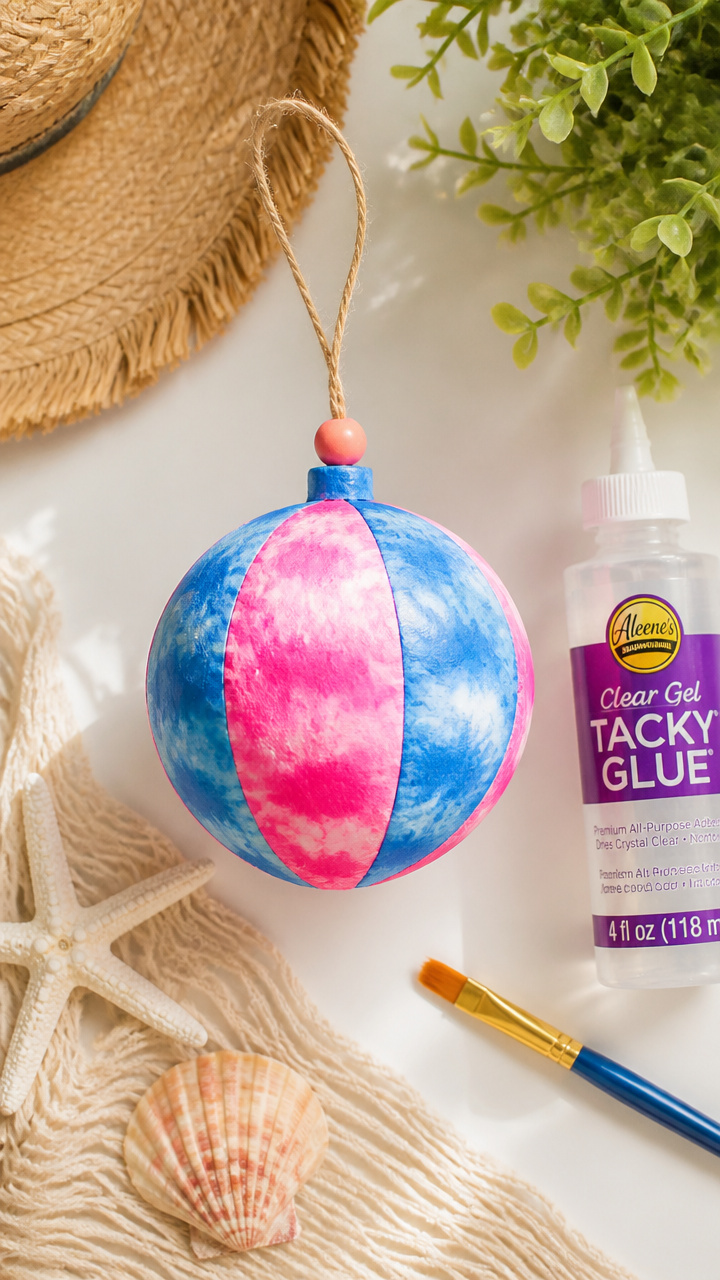
A papier-mâché ball wears tropical stripes like a real beach ball. Hang it from a mirror or shelf all season.
Materials Needed
- 1 white papier-mâché ball, 3 inches
- blue acrylic paint
- pink acrylic paint
- paintbrush
- clear craft glue
- twine
How to Make It
- Paint wide vertical stripes in blue and pink, leaving white gaps between.
- Let dry for 2 hours on a foam block with a pin base.
- Brush a thin layer of glue over the entire surface and let dry for 1 hour.
- Tie twine into a loop and glue to the top with a dot of craft glue.
- Wait 30 minutes for the knot to set before hanging.
12. Watercolor Swim Trunk Patch
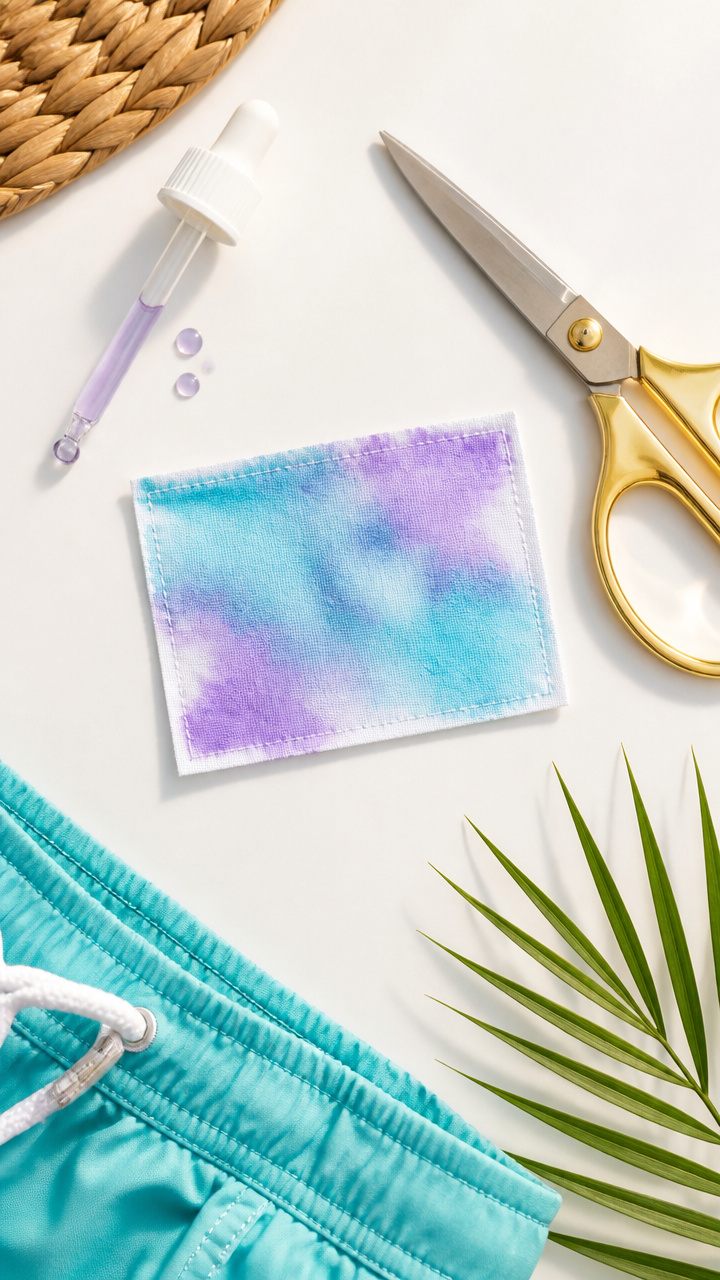
A soft patch shows blended dye blooms on denim shorts. This customizes old swimwear with zero sewing.
Materials Needed
- 1 small rectangle white cotton fabric
- 3 drops turquoise fiber-reactive dye
- 3 drops violet fiber-reactive dye
- dropper
- iron-on adhesive webbing
- scissors
- iron
How to Make It
- Lay the fabric on a protected surface and arrange drops in a triangle.
- Add one drop of water to the center to let colors bloom naturally.
- Wait 4 hours, then rinse and dry flat.
- Cut the dyed fabric to shape and place adhesive webbing on the back.
- Iron onto swim trunks following fabric bonding instructions.
13. Tie-Dye Towel Clip Art
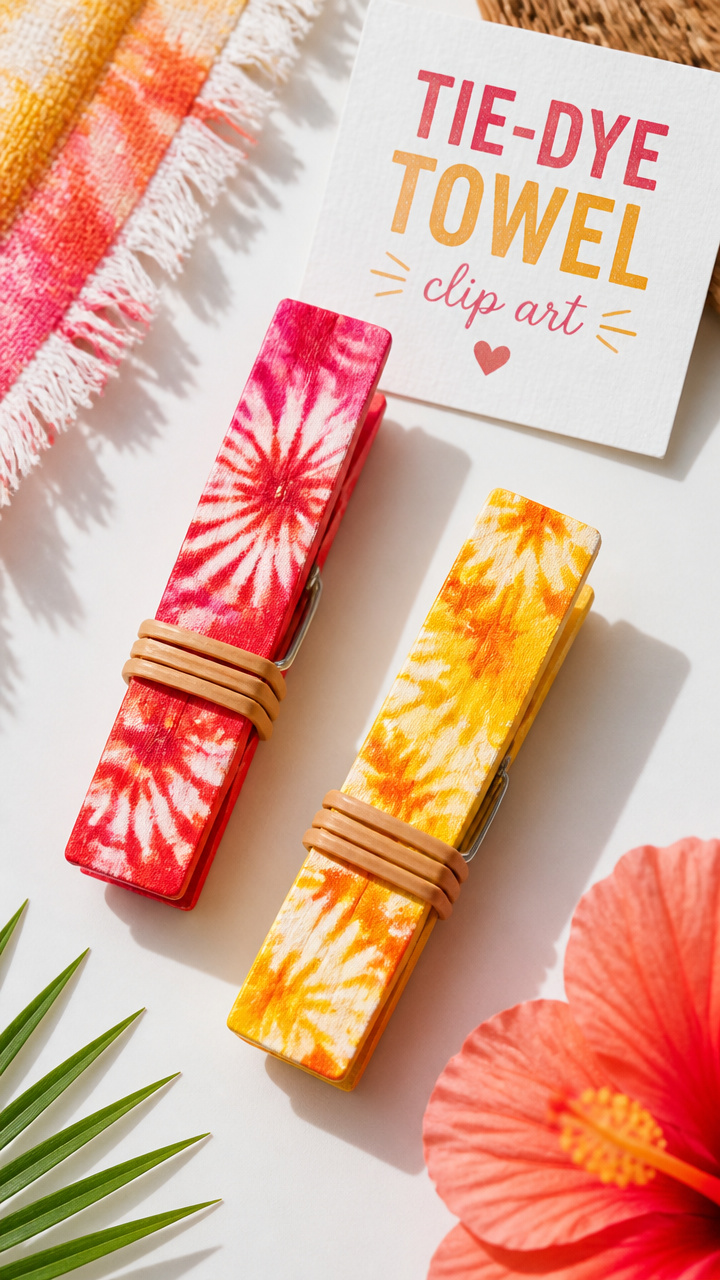
Mini clips hold sunglasses to towels with colorful grips. These stay put even on breezy days.
Materials Needed
- 2 wooden clothespins
- red fabric paint
- yellow fabric paint
- paintbrush
- rubber bands
How to Make It
- Stretch each clothespin open and slide a rubber band around the closed end to hold it open.
- Paint the outer jaws red and inner jaws yellow, covering all surfaces.
- Let dry for 3 hours on wax paper.
- Remove rubber bands and test grip strength on a towel edge.
- Store flat when not in use to preserve paint finish.
14. Popsicle Stick Fan
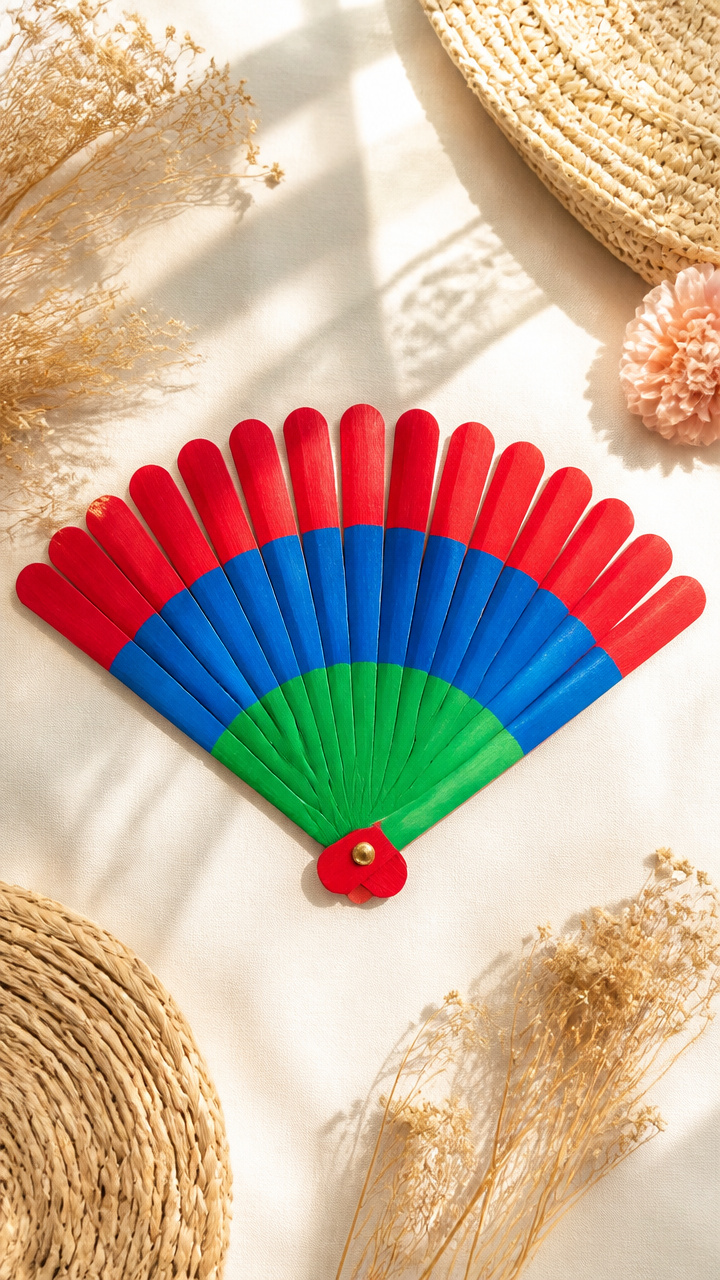
Ten sticks join into a handheld fan with rainbow tips. Waving it creates a breeze and a flash of color.
Materials Needed
- 10 unpainted craft popsicle sticks
- red fabric paint
- blue fabric paint
- green fabric paint
- ruler
- hot glue gun
- metal brad
How to Make It
- Paint the top inch of each stick with one color, alternating red, blue, and green.
- Let dry for 2 hours on a nonstick mat.
- Align all sticks side by side in a slight arc.
- Glue a metal brad through the left edge to bind them loosely.
- Fan out gently and let the joint loosen with use.
15. Tie-Dye Bookmark Ribbon
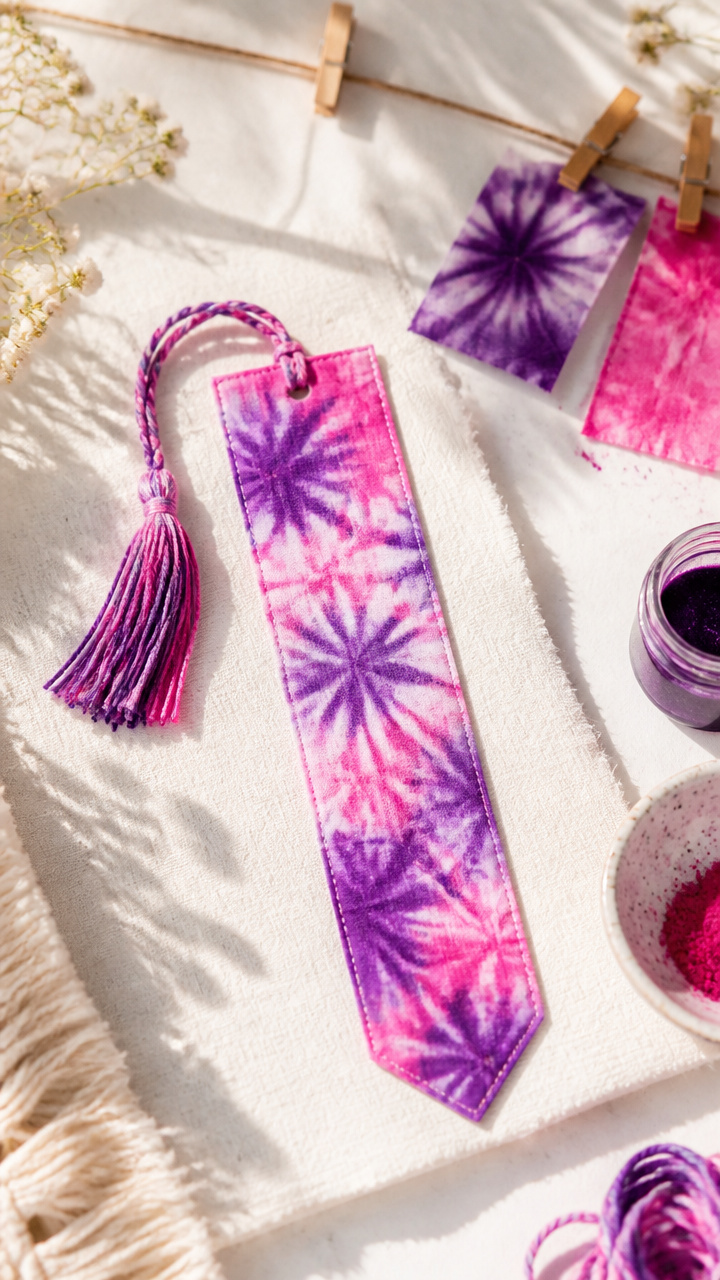
A narrow ribbon curls around pages with soft dye waves. This marks your place in novels and cookbooks alike.
Materials Needed
- 1 white cotton ribbon, 1 inch x 12 inches
- 2 rubber bands
- purple fiber-reactive dye
- pink fiber-reactive dye
- plastic gloves
- clothesline and pegs
How to Make It
- Fold the ribbon in half lengthwise and bind with two rubber bands 3 inches from each end.
- Apply purple dye to the center section and pink to the ends, saturating the fabric.
- Hang vertically on the clothesline using pegs and let cure for 6 hours.
- Rinse under cold water until clear, then air dry completely.
- Trim ends at an angle for easy page insertion.
Each of these crafts brings color and joy without asking much in return. Grab what you need and start today, one squeeze of dye at a time.