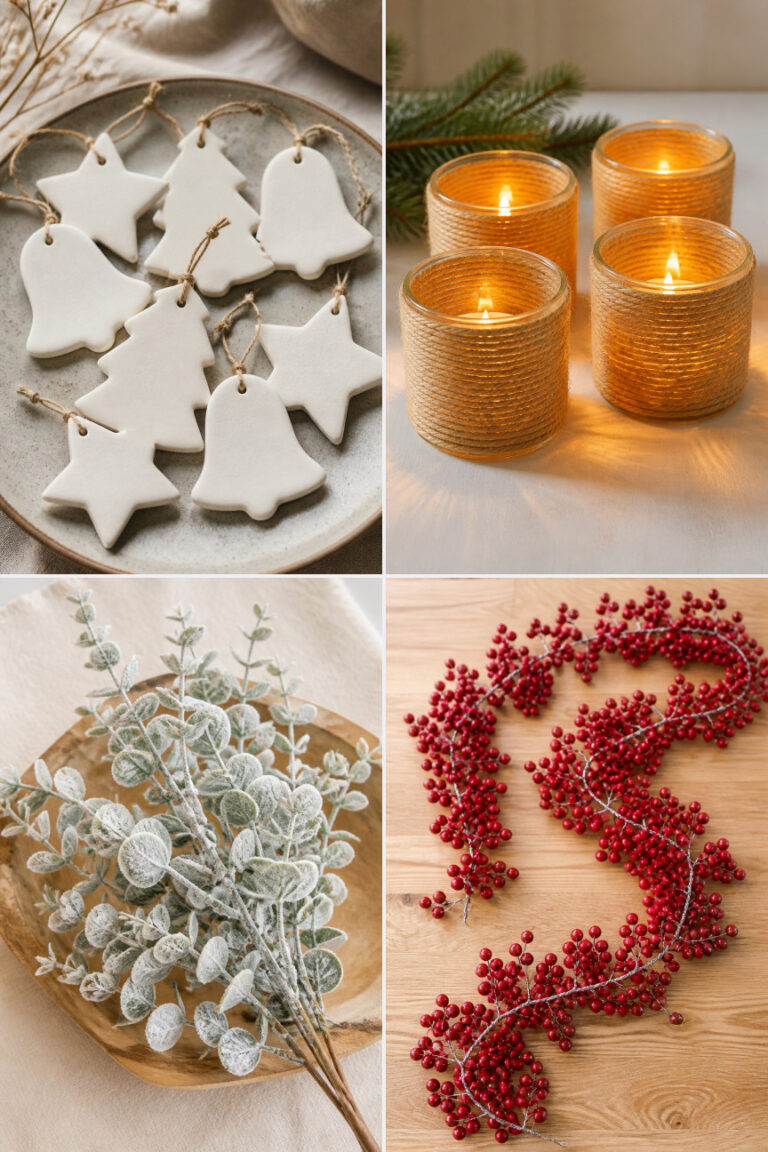
15 DIY Paper Chain Garland Ideas Trending for Christmas 2026

There’s something quietly magical about crafting with paper, especially when it becomes part of your holiday home. These garlands bring warmth, color, and handmade charm to mantels, trees, and doorways without needing fancy tools or skills.
Each idea here is crafted to stand on its own, with clear materials and steps so you can start cutting, folding, and linking right away. No guesswork, just joyful making.
1. Peppermint Twist Paper Chains
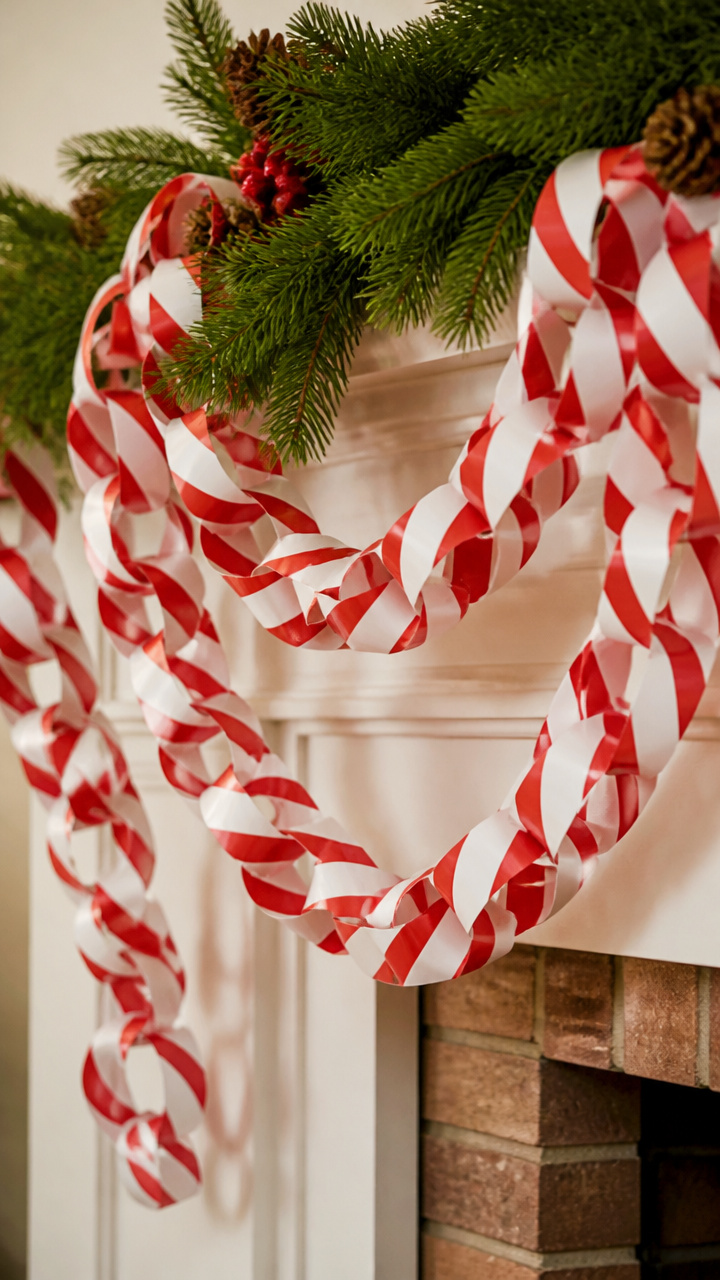
Bold red and white spiraled links mimic crushed candy canes and catch the light with every breeze. These add a festive pop to stair railings or windows.
Materials Needed
- A4 red cardstock, 10 sheets
- A4 white cardstock, 10 sheets
- Paper cutter or ruler and craft knife
- Glue stick
- Pencil
- Scissors
How to Make It
- Cut each sheet into 1 inch wide strips using the paper cutter or ruler and craft knife.
- Take one red strip and one white strip, lay them flat, and glue one end of the red strip to one end of the white strip at a 90 degree angle.
- Twist the connected strips together into a spiral by rotating the chain as you link, forming a candy cane effect.
- Form each full twist into a loop and glue the end to close the link, repeating until the garland reaches 8 feet.


2. Gold Foil Snowflake Chains
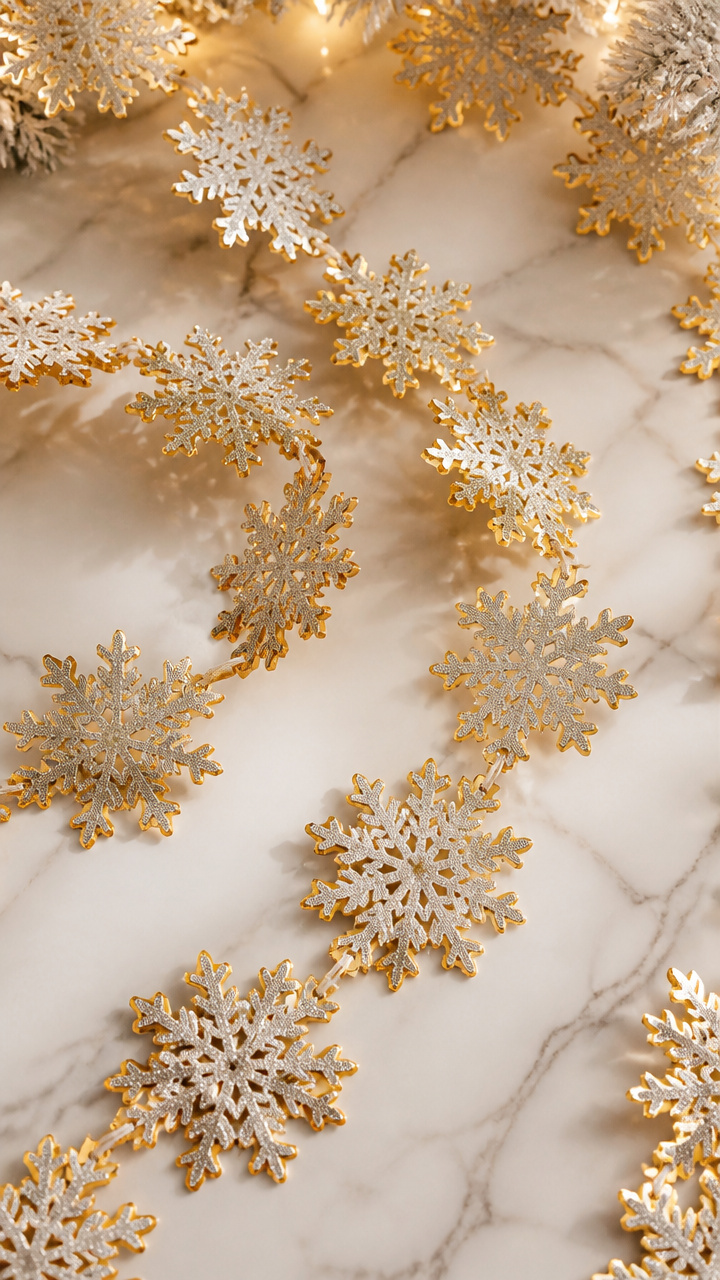
Delicate snowflakes with metallic edges shimmer softly near candles or fairy lights. These suit formal dining tables or mirror frames.
Materials Needed
- 8.5 x 11 inch silver glitter paper, 6 sheets
- Gold metallic fine-tip marker
- Craft punch with 2 inch snowflake shape
- Thin white cotton cord, 10 feet
- Tape runner
- Tweezers
How to Make It
- Use the snowflake punch to cut 60 snowflakes from the glitter paper.
- Outline each snowflake edge with the gold metallic marker, letting ink dry for 30 seconds.
- Apply a small strip of tape runner to the center back of each snowflake.
- Attach each snowflake to the cotton cord every 2 inches using tweezers for precise placement.


3. Mini Ornament Paper Links
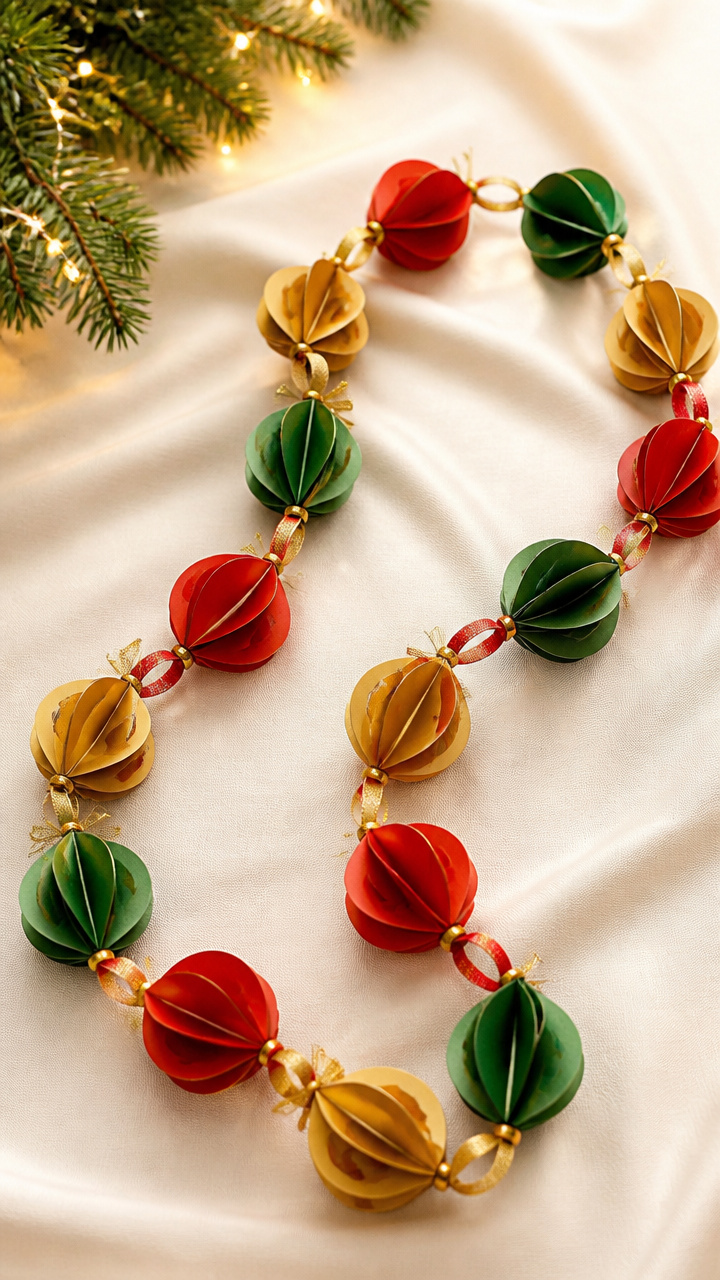
Tiny folded paper ornaments mimic glass baubles in ruby, pine, and gold. Hang these across bookshelves or above a side table.
Materials Needed
- 6 x 6 inch scrapbook paper in red, green, gold (5 sheets each)
- Circle punch, 1.5 inch diameter
- Double-sided tape, 0.25 inch wide
- Ribbon needle
- 3 mm satin ribbon, 12 feet
How to Make It
- Punch 40 circles from each color of scrapbook paper.
- Fold each circle in half, then in half again to form a quarter-circle cone shape.
- Secure the edge with a small piece of double-sided tape to form a 3D ornament.
- Thread the ribbon through each cone using the ribbon needle, spacing them 3 inches apart.

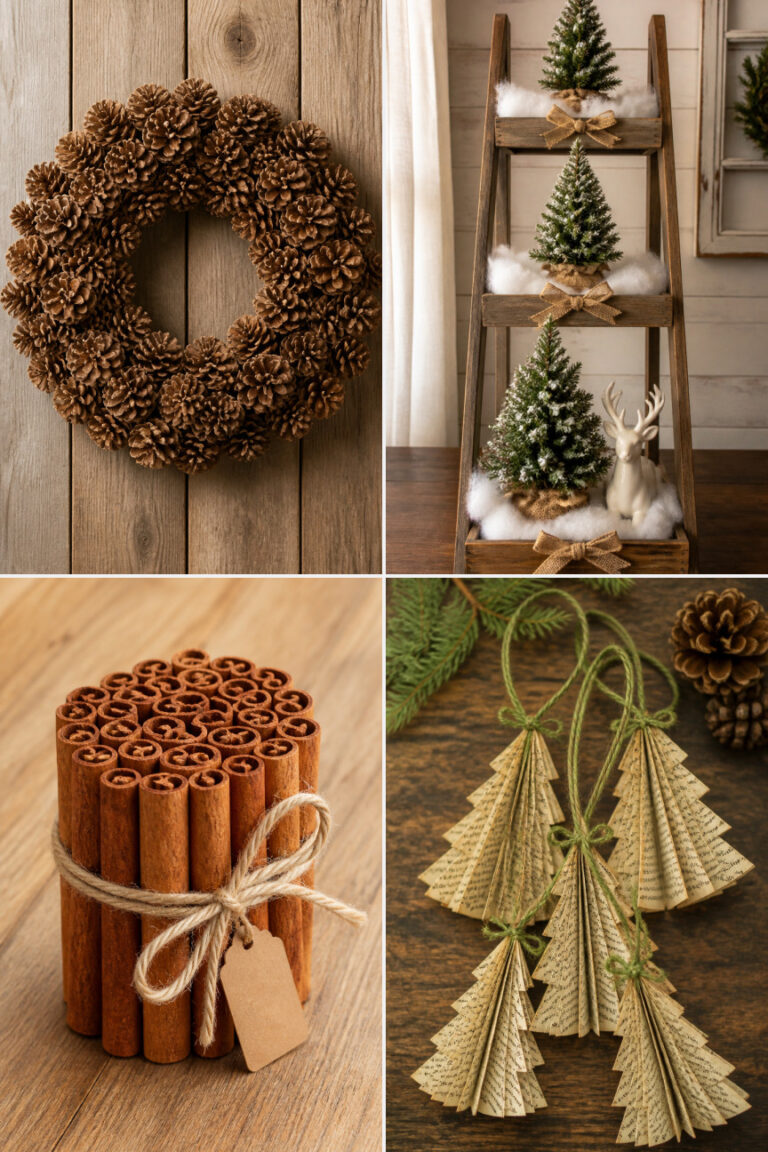
4. Frosted Pinecone Link Garland
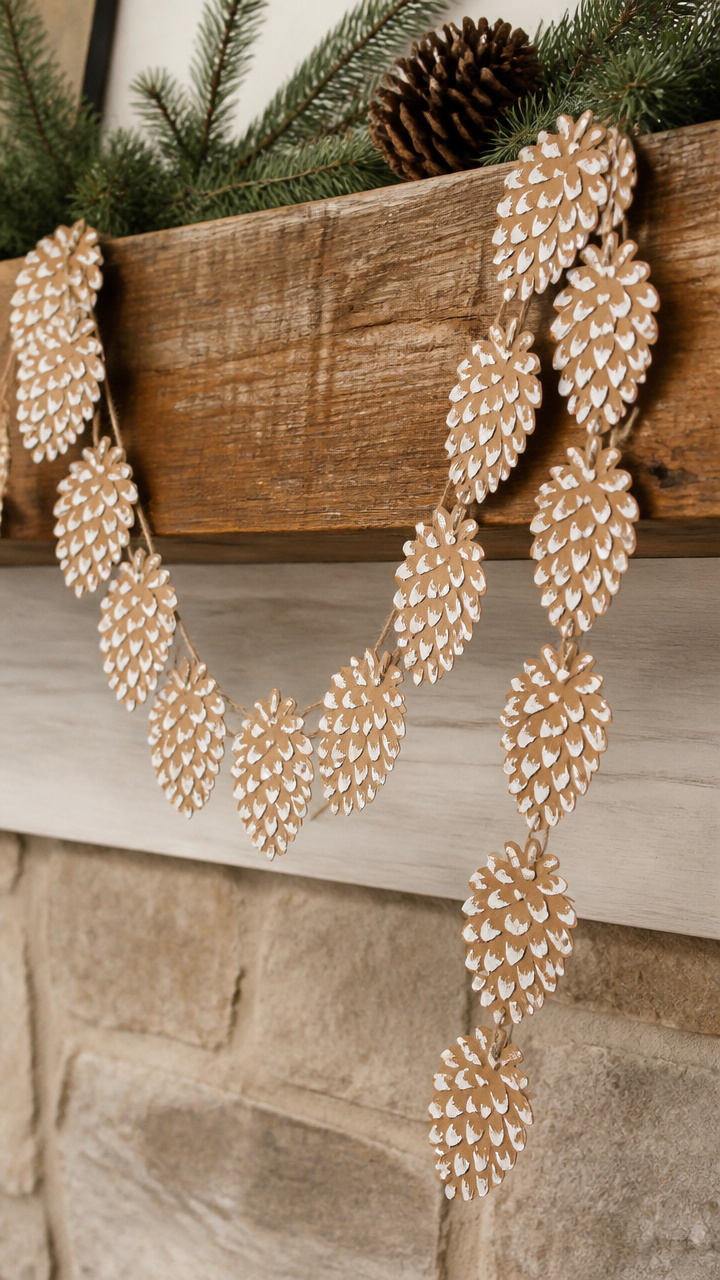
Matte brown paper cones dusted with faux snow give a woodland feel. These work beautifully on porch railings or near natural decor.
Materials Needed
- Kraft brown A4 cardstock, 8 sheets
- White puff paint
- Glue dot roller
- Toothpicks
- Twine, 15 feet
- 1 inch hole punch
How to Make It
- Cut each sheet into six 2 x 10 inch strips.
- Roll each strip into a cone shape starting from the narrow end, securing with a glue dot every inch.
- Use a toothpick to apply small dots of puff paint in a spiral pattern up each cone.
- Let dry for 2 hours, then punch a hole at the top and string onto twine every 4 inches.



5. Candy Strip Window Chains
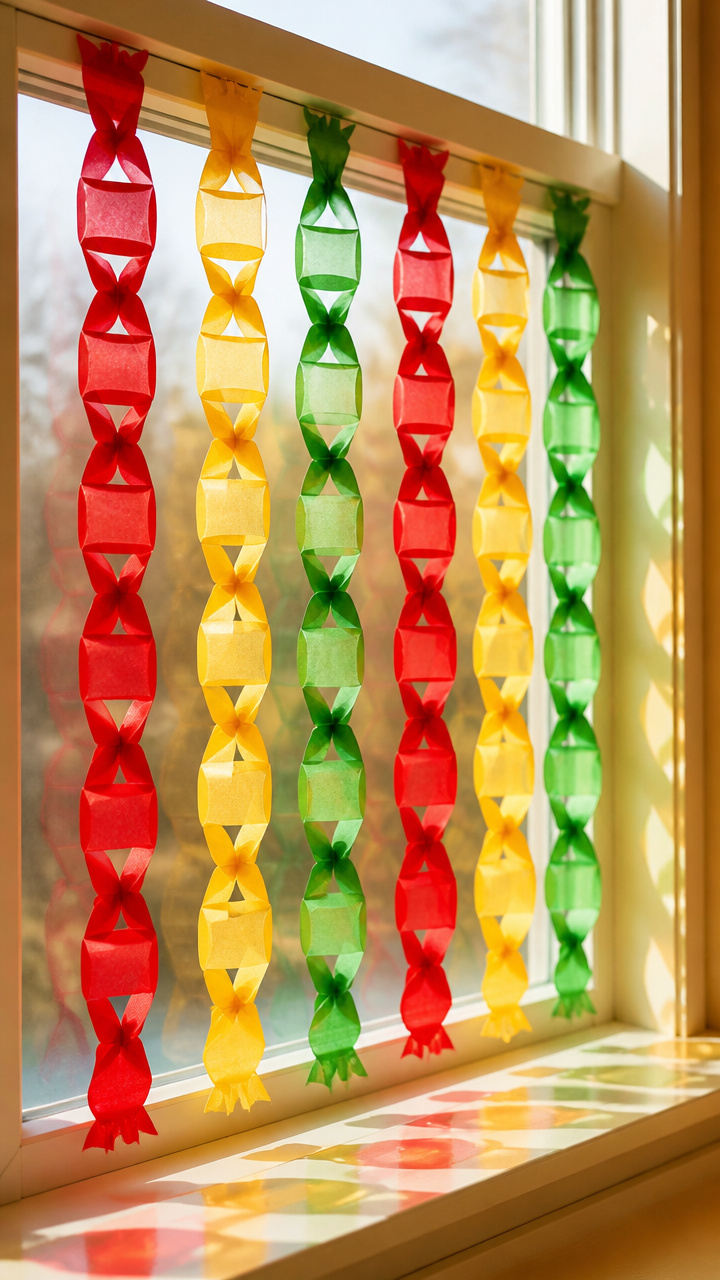
Bright vertical stripes dangle from windowsills like candy wrappers in the breeze. These catch sunlight and cast colorful shadows indoors.
Materials Needed
- Translucent vellum paper in red, yellow, green (4 sheets each)
- Bone folder
- Ruler
- Double-sided tape
- Clear fishing line, 20 feet
- Clothespin clips
How to Make It
- Cut each vellum sheet into 1 inch wide vertical strips using the ruler and bone folder for crisp edges.
- Group three strips together—one of each color—and align their tops.
- Secure the top 0.5 inch with double-sided tape to form a single link base.
- Attach fishing line to the top with a clip and hang, letting the strips fall freely.


6. Holly Berry Accordion Chains
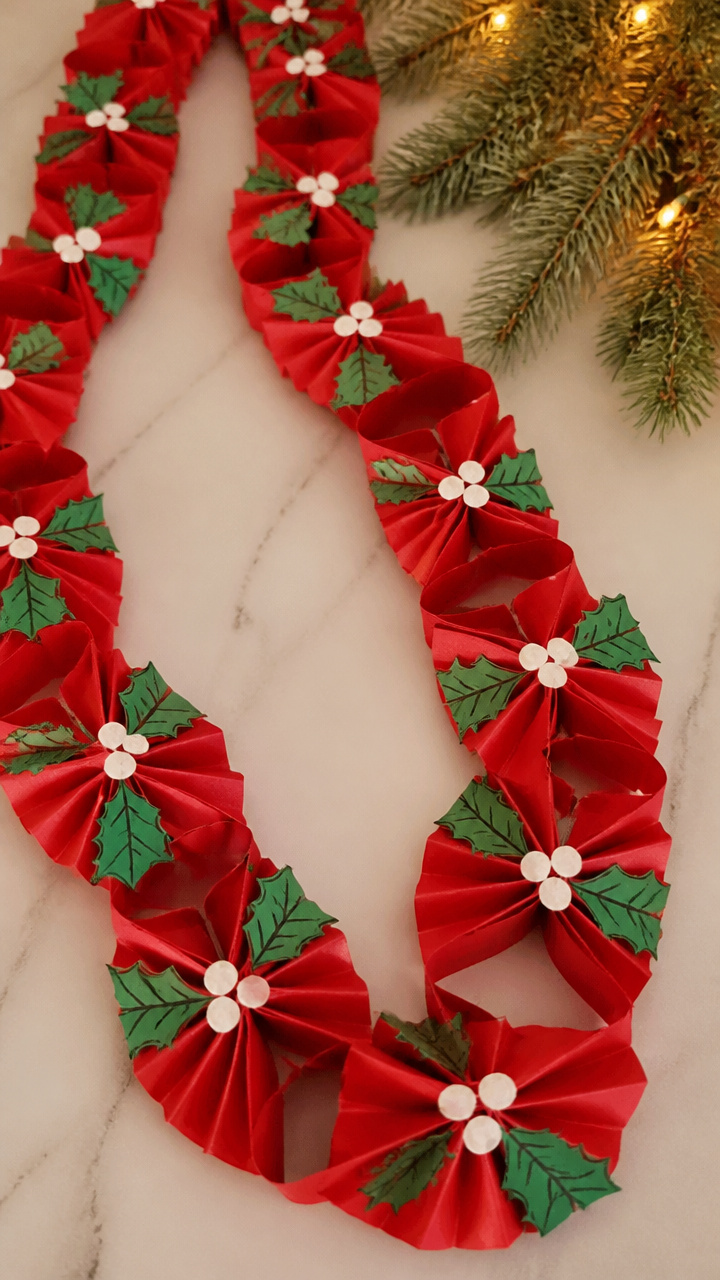
Red bellows-style links with hand-dotted berries mimic winter holly. These look striking against dark walls or mantels.
Materials Needed
- Red A4 construction paper, 12 sheets
- Green fine-tip marker
- White gel pen
- Glue stick
- Scissors
- Pencil
How to Make It
- Fold each sheet into a 1 inch accordion using the pencil to crease each fold sharply.
- Cut the folded paper into 2 inch wide strips, creating small bellows.
- On one end of each bellows, draw a small holly leaf with the green marker.
- Add three white dots with the gel pen to represent berries, then glue ends to form loops and link together.


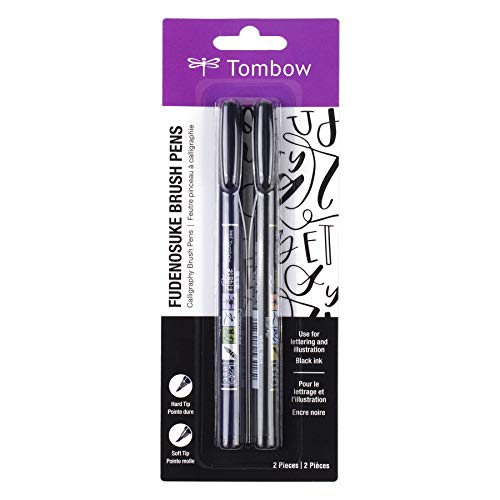
7. Calligraphy Scripture Chains
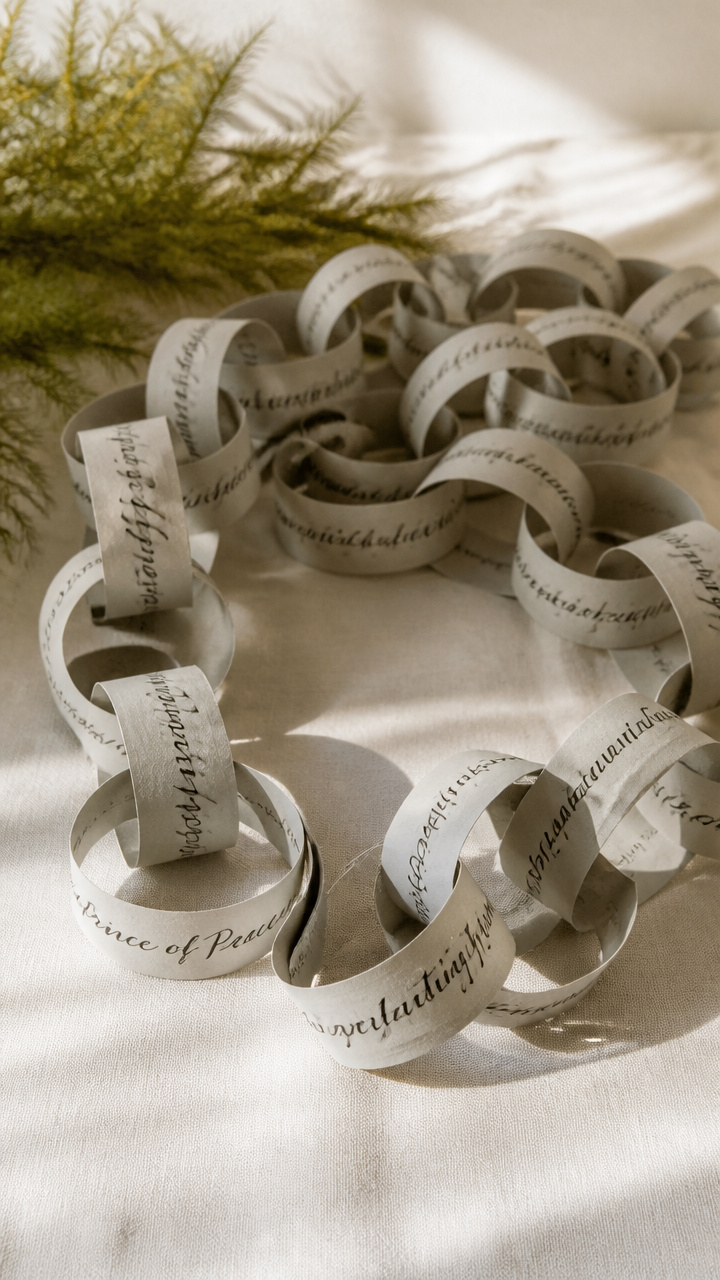
Soft gray paper links carry handwritten holiday verses in elegant script. These bring quiet reverence to entryways or dining nooks.
Materials Needed
- A4 light gray cardstock, 10 sheets
- Black calligraphy pen with brush tip
- Ruler
- Craft knife
- Glue dots
- Bone folder
How to Make It
- Cut each sheet into 1.25 inch wide strips using the ruler and craft knife.
- Use the bone folder to crease one end of each strip at 1 inch.
- Write a short phrase like Joy to the World or Peace on Earth on the flat section with the brush pen.
- Form each strip into a loop and secure with a glue dot, linking each new phrase to the previous one.


8. Layered Starburst Rings
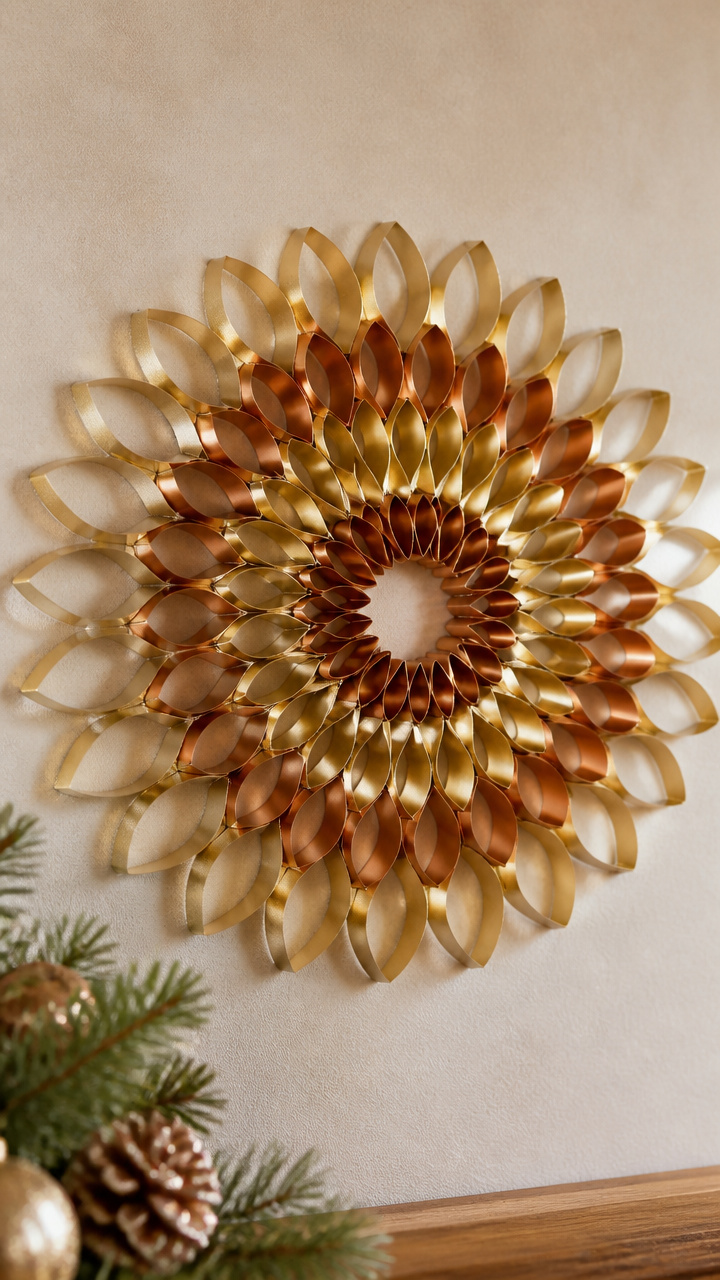
Concentric paper circles flare out like tiny suns. These add radiant texture above a console table or window.
Materials Needed
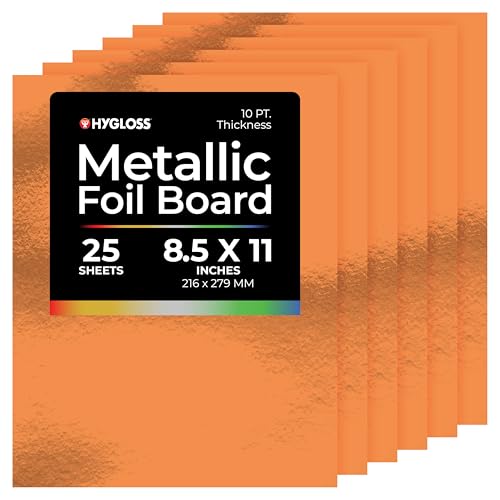
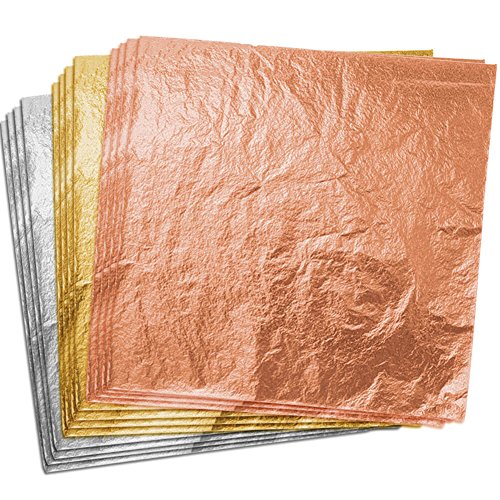
- Gold and copper metallic paper, 6 sheets each
- 3 inch circle punch
- Glue stick
- Scissors
- Twine, 10 feet
How to Make It
- Punch 25 circles from each type of metallic paper.
- Cut a slit from the edge to the center of each circle.
- Overlap the cut edges to form a cone and glue to secure, creating a 3D starburst.
- Slide each starburst onto twine, spacing them 5 inches apart, and knot behind each to hold in place.

9. Plaid Ribbon Paper Weave
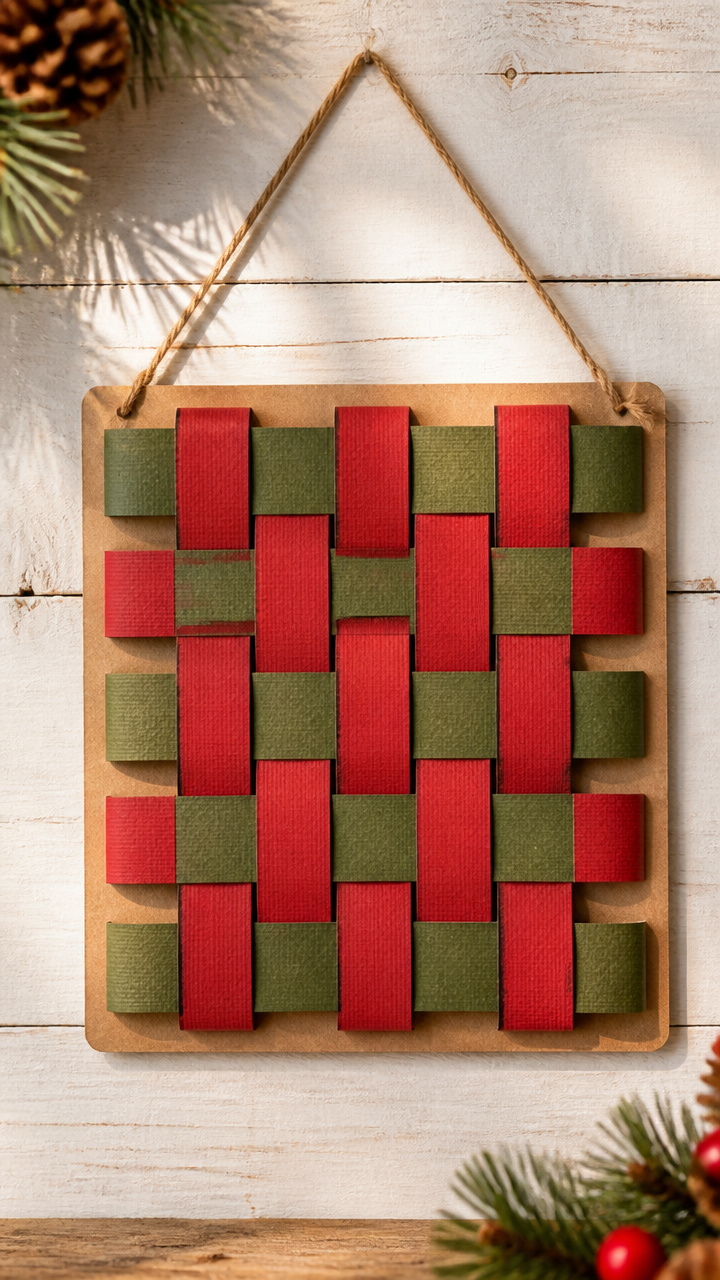
Interwoven red and green paper strips mimic flannel fabric. These suit rustic cabins or farmhouse kitchens.
Materials Needed
- Red and green A4 cardstock, 6 sheets each
- Craft knife
- Cutting mat
- Ruler
- Glue stick
- Jute string, 12 feet
How to Make It
- Cut 10 strips of red and 10 strips of green paper, each 0.75 inch wide and 11 inches long.
- Weave five red strips over and under five green strips to form a plaid square.
- Glue the ends of the outer strips to the back to secure the weave.
- Attach each woven square to jute string every 6 inches using glue dots on the back corners.


10. Glow-in-the-Dark Moon Links
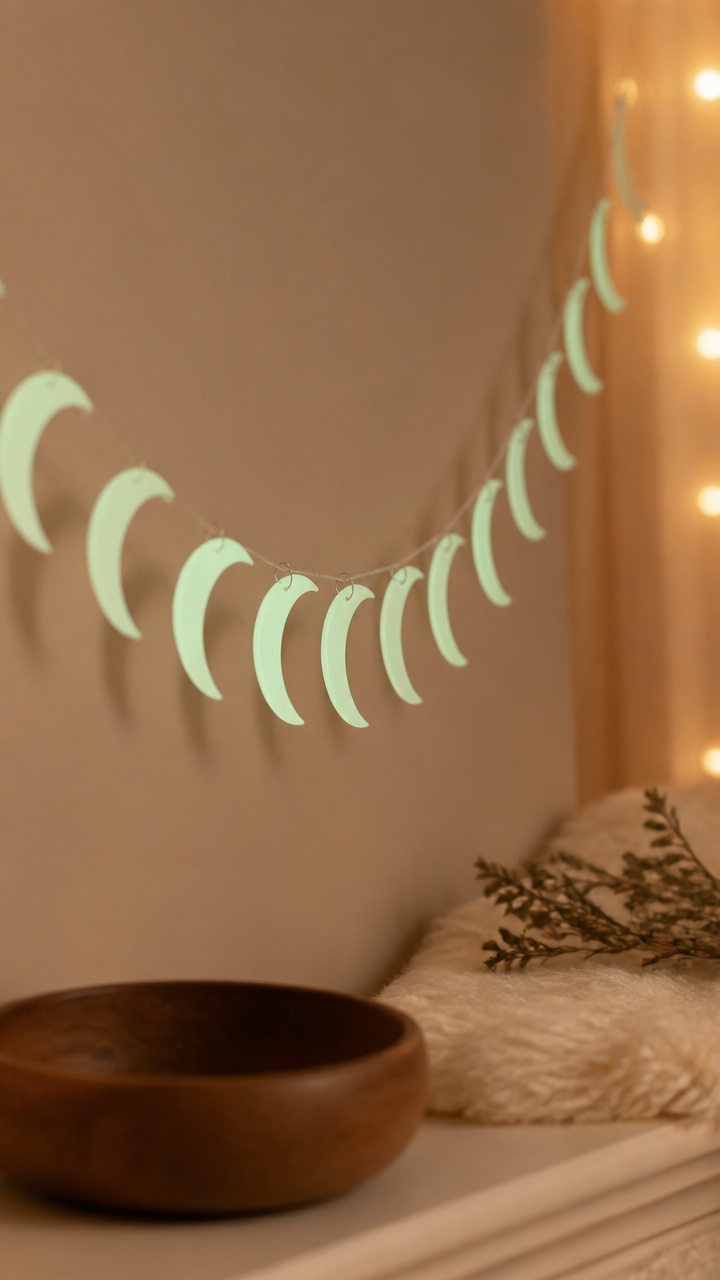
Pale crescent shapes absorb light and softly glow at night. These are perfect above a child’s bed or in a hallway.
Materials Needed
- Glow-in-the-dark A4 paper, 8 sheets
- Pencil
- Eraser
- Scissors
- White glue
- Fishing line, 15 feet
How to Make It
- Draw a 3 inch crescent moon on one sheet and cut it out as a template.
- Trace the template onto each glow paper sheet, making 5 moons per sheet.
- Cut out all 40 moons and let them charge under a lamp for 10 minutes.
- Thread fishing line through the top curve of each moon, spacing them 4 inches apart.


11. Felt-Tipped Tree Silhouette Chains
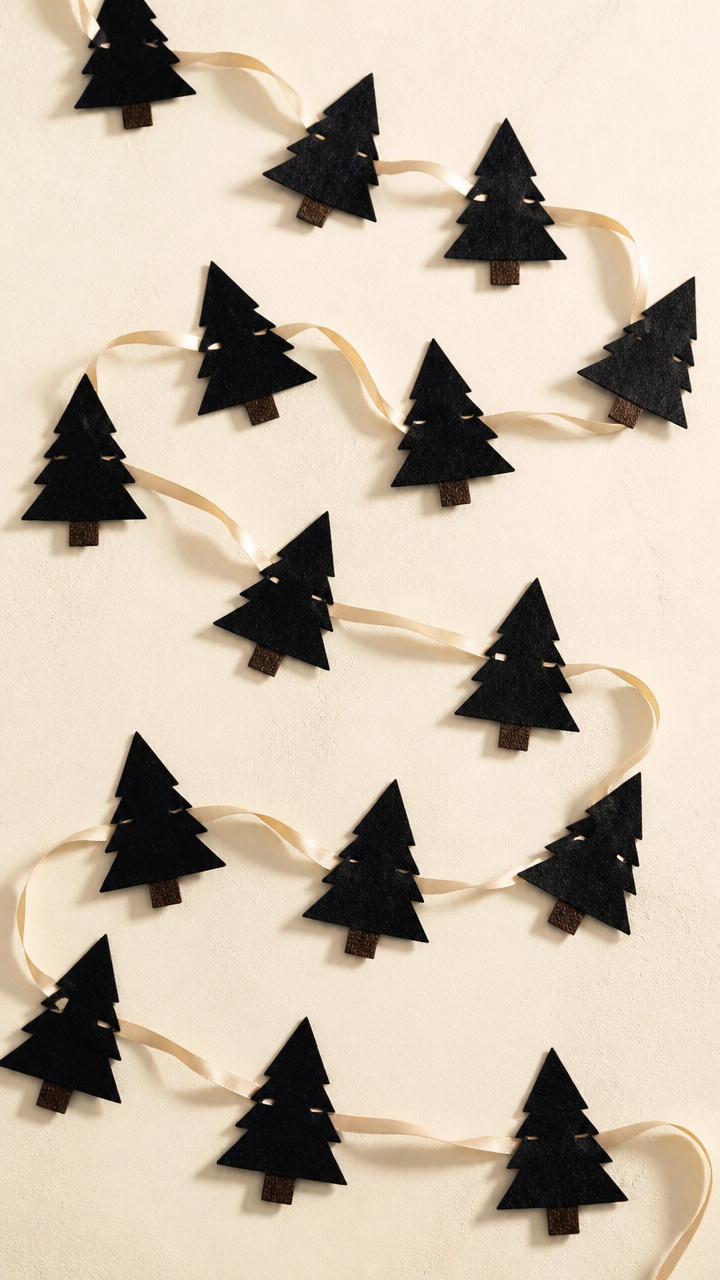
Black triangular trees with textured trunks stand out against light walls. These create a wintry forest effect on any surface.
Materials Needed
- Black A4 cardstock, 10 sheets
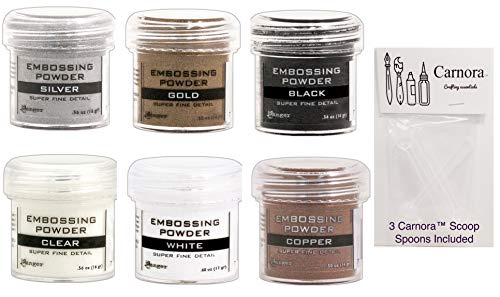
- Embossing powder, fine black
- Heat tool
- Embossing ink pad
- Hole punch
- Ribbon, 14 feet
How to Make It
- Cut each sheet into 2 x 8 inch strips.
- Use the embossing ink pad to stamp a short trunk shape near the bottom of each strip.
- Sprinkle embossing powder over the ink, tap off excess, then heat with the tool until smooth and raised.
- Form each strip into a loop, punch a hole at the top, and thread ribbon through all links.


12. Cinnamon-Scented Scroll Links

Tightly rolled paper scrolls release a warm spice scent when touched. These are ideal for entryways or near seating areas.
Materials Needed
- Brown kraft paper, 12 sheets
- Cinnamon essential oil, 10 drops
- Cotton swabs
- Glue stick
- Twine, 10 feet
- Pencil
How to Make It
- Cut each sheet into 2 x 10 inch strips.
- Use a cotton swab to apply 1 drop of cinnamon oil to the center of each strip.
- Roll each strip tightly around a pencil, starting at one end, and glue the final edge.
- Slide each scroll onto twine, leaving 3 inches between links, and knot in place.

13. Iridescent Bubble Links
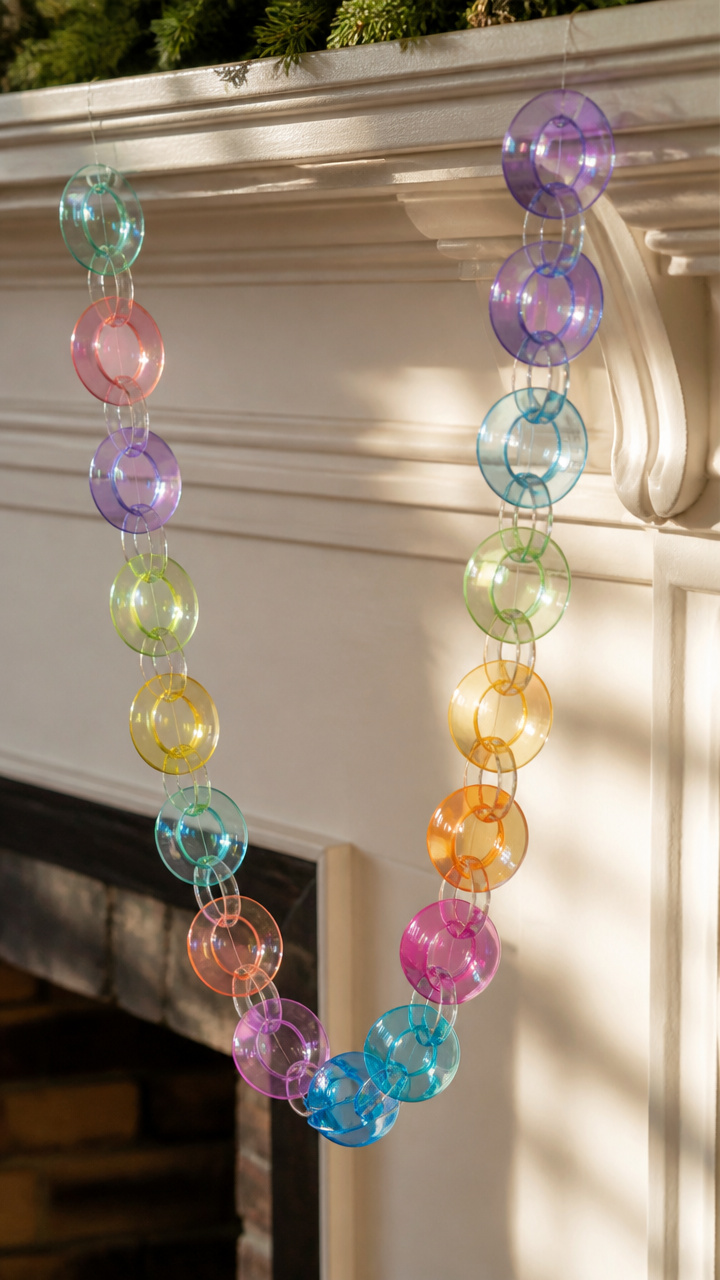
Round, shimmering links reflect light like soap bubbles. These float beautifully above a buffet or near a chandelier.
Materials Needed
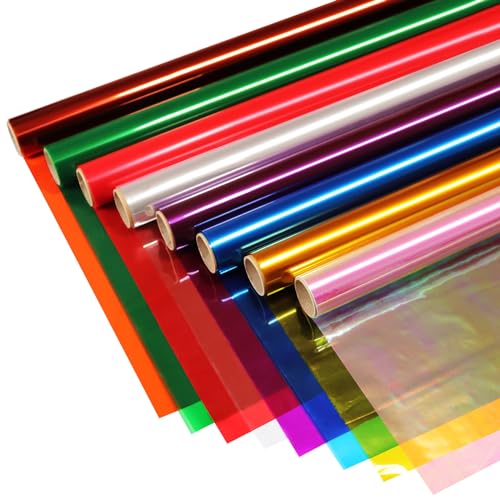
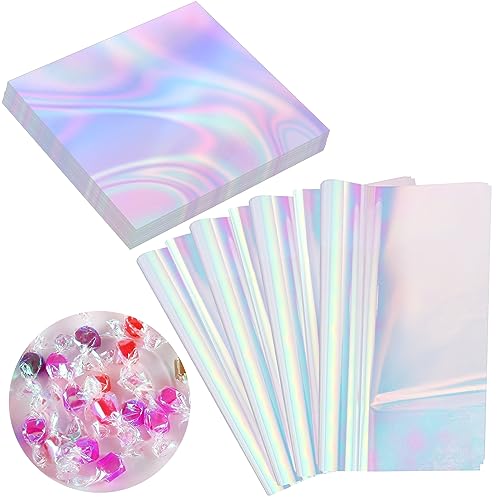
- Iridescent cellophane sheets, 8 colors, 2 sheets each
- 3.5 inch circle punch
- Double-sided tape
- Clear elastic cord, 16 feet
- Needle-nose pliers
How to Make It
- Punch 30 circles from each color of cellophane.
- Stack three circles of different colors and align edges.
- Secure the center with a tiny dot of double-sided tape.
- Thread the elastic cord through the center using pliers, spacing each bubble 6 inches apart.

14. Knit-Texture Crochet Paper
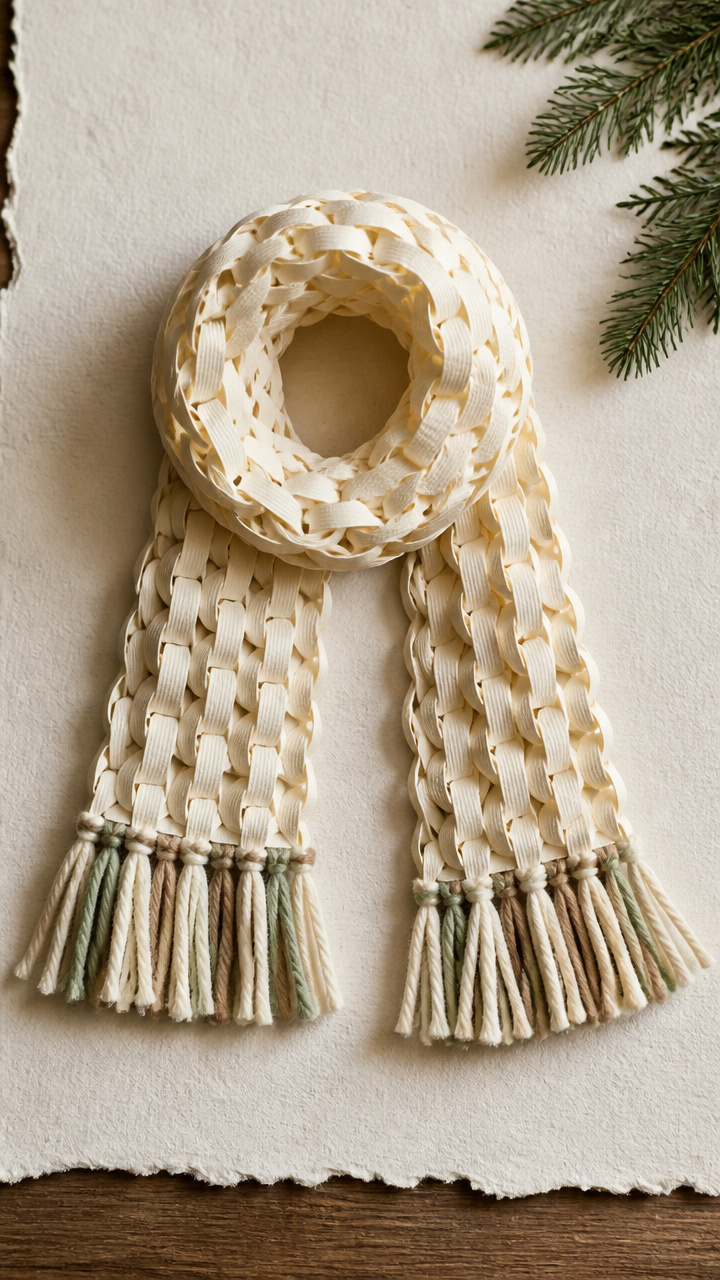
Paper strips folded to mimic knit stitches drape like cozy scarves. These soften modern spaces with handmade warmth.
Materials Needed
- Cream A4 cardstock, 10 sheets
- Bone folder
- Ruler
- Craft knife
- Glue dots
- Yarn, 12 feet
How to Make It
- Cut each sheet into 1 inch wide strips using the ruler and craft knife.
- Fold each strip in a zigzag pattern every 0.5 inch using the bone folder for sharp creases.
- At each peak, tuck the fold slightly forward to mimic a knit loop.
- Attach each strip end to the next with a glue dot and string onto yarn every 3 inches.


15. Vintage Map North Pole Links
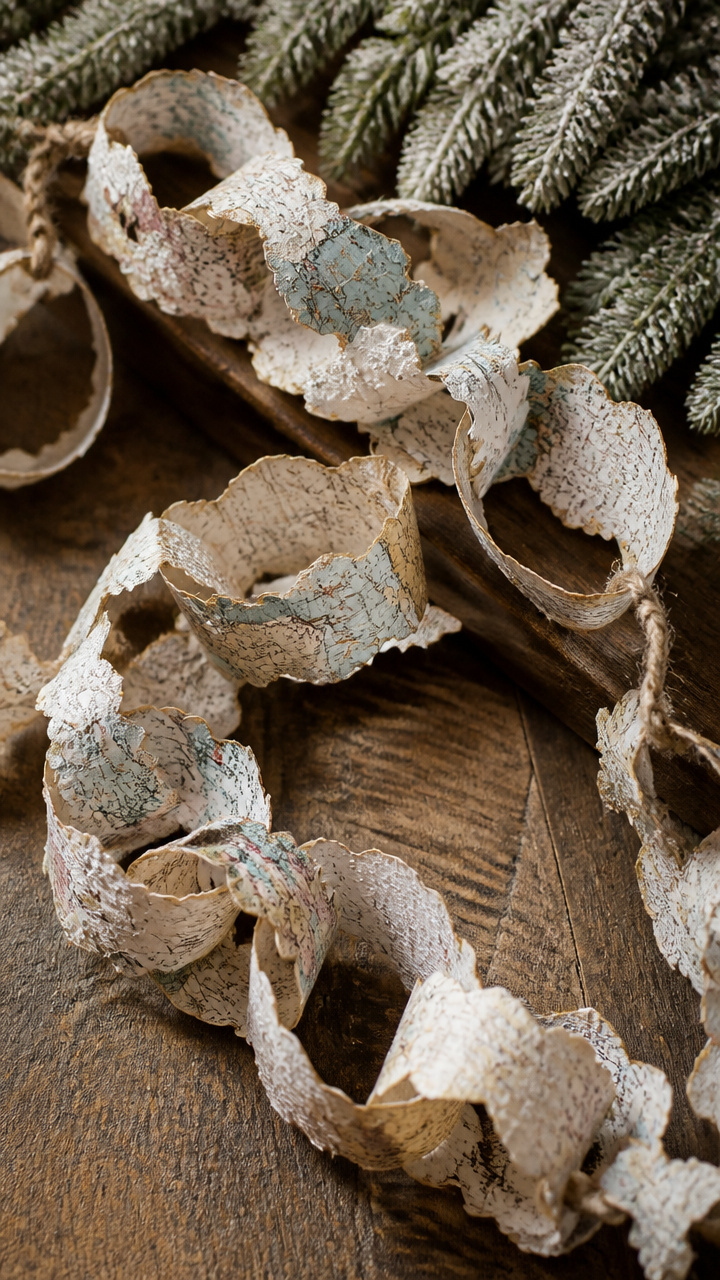
Repurposed atlas pages shaped into icy regions add old-world charm. These suit study nooks or gift-wrapping stations.
Materials Needed
- Old atlas pages with polar regions, 15 sheets
- Scissors
- Glue stick
- White acrylic paint
- Paintbrush, size 2
- Jute cord, 10 feet
How to Make It
- Cut each atlas page into 1.5 inch wide strips, selecting areas showing Arctic or Antarctic labels.
- Paint a light wash of white acrylic over each strip to mimic snow, letting dry for 1 hour.
- Form each strip into a loop and glue the ends, slightly overlapping for a rugged edge.
- Link each loop by threading the next strip through before sealing, then hang on jute cord.


You’ve got everything you need to start today, from scissors to cardstock. Pick one idea that makes your hands want to move and let the rhythm of crafting carry you through.