20 Free Printable January Crafts for Adults

Crisp mornings and quiet evenings make January a perfect time to slow down and create with intention. A printed sheet can become so much more than paper when paired with your hands and focus.
These crafts meet you where you are, whether you're rebuilding routines or simply craving calm. Each one uses a free printable as the starting point, then builds into something tactile, personal, and made just for you.
1. Winter Forest Journal Cover
Easy
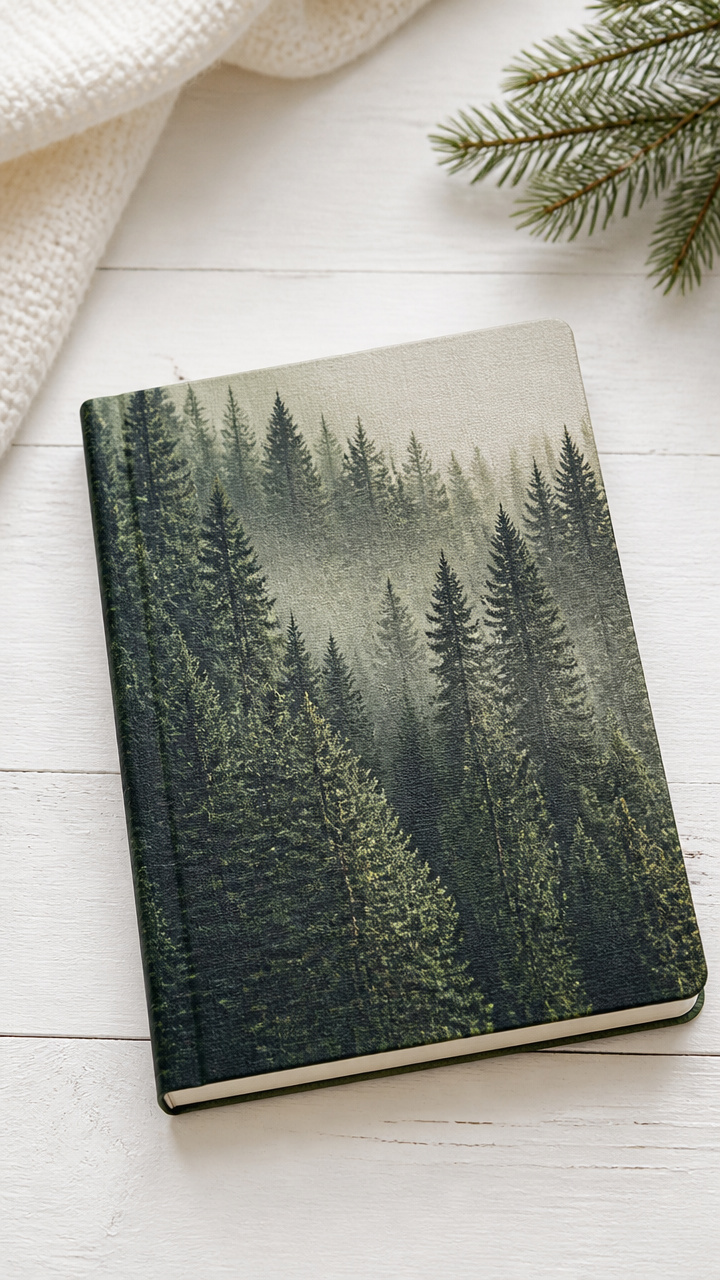
A deep green pine forest wraps around your notebook, turning an ordinary journal into a woodland keepsake. The printable adds instant artistry while fabric and glue give it lasting texture.
Materials Needed
- Free printable winter forest design (8.5 x 11 inch PDF)
- Manila folder or stiff cardstock
- Scissors
- PVA glue
- Ruler
- Bone folder
- Soft cotton fabric (9 x 12 inches)
How to Make It
- Trim the printable to 8 x 10 inches using scissors and a ruler for straight edges.
- Cut the manila folder to match the size of the trimmed printable.
- Apply a thin, even layer of PVA glue to one side of the folder using your fingertip.
- Center the printable over the glued side and press firmly from the center outward to remove air bubbles.
- Let dry flat for 15 minutes, then flip the piece over.
- Apply glue to the back of the now-laminated cover and smooth the cotton fabric over it, leaving a 0.5-inch border on all sides.
- Fold the fabric edges over the back and glue them down, pressing with the bone folder for crisp corners.


2. Citrus Slice Coasters
Moderate
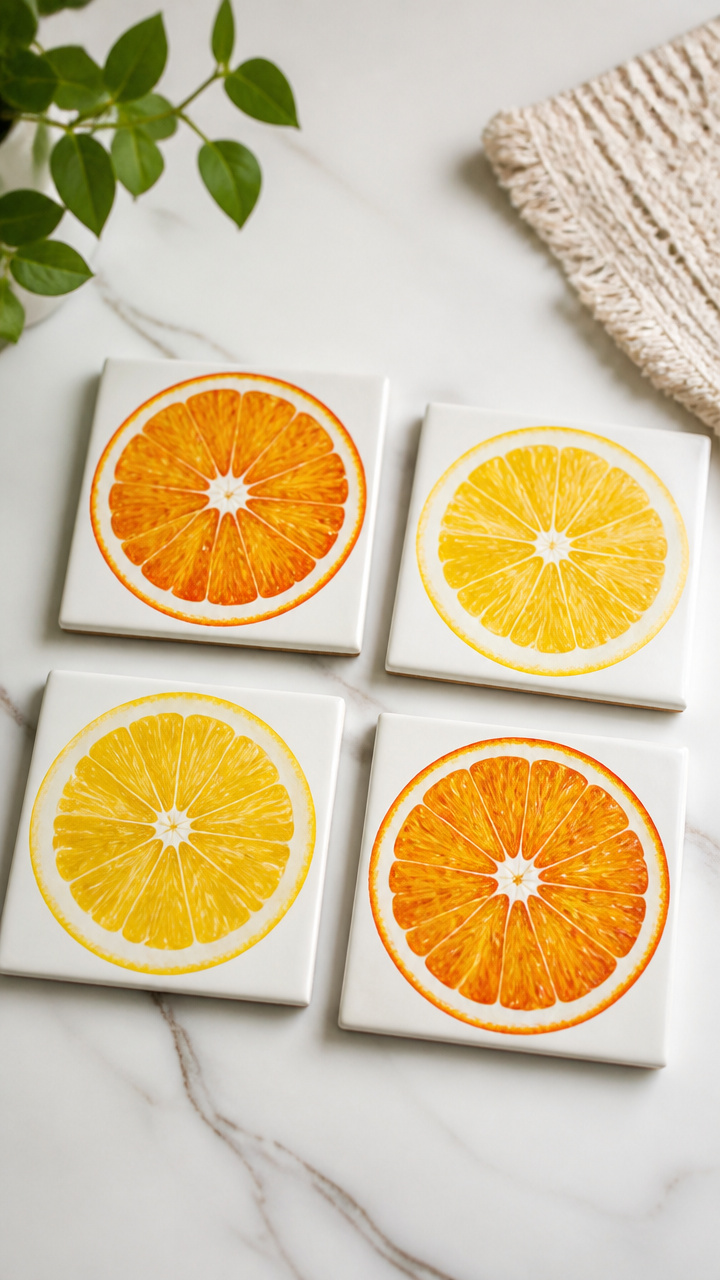
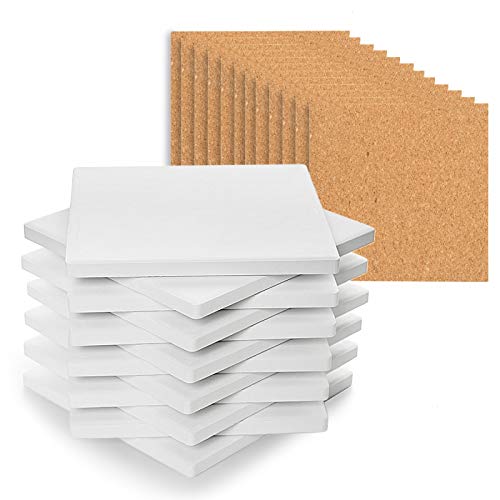
Bright orange and lemon slices pop against a clean white background, bringing sunshine to your coffee table. These coasters use mod podge sealing to protect both print and surface.
Materials Needed
- Free printable citrus slice sheet (designed for 4 coasters)
- Four 4-inch square ceramic tiles
- Mod Podge Matte Finish (2 oz)
- Foam brush (1 inch wide)
- Scissors
- Clear acrylic sealer spray (matte finish, 6 oz can)
- Sandpaper (220 grit, 1 sheet)
How to Make It
- Cut out each citrus circle from the printable using sharp scissors.
- Lightly sand the glazed side of each tile with 220 grit sandpaper to help adhesion.
- Brush a thin coat of Mod Podge onto the tile surface using the foam brush.
- Place the cutout face-down onto the tile and press gently from center to edge.
- Let dry for 20 minutes, then apply two more coats of Mod Podge on top, drying 15 minutes between coats.
- Once fully dry, spray the top and edges with two light, even layers of acrylic sealer, waiting 10 minutes between sprays.


3. Goal Tracker Wall Chart
Easy
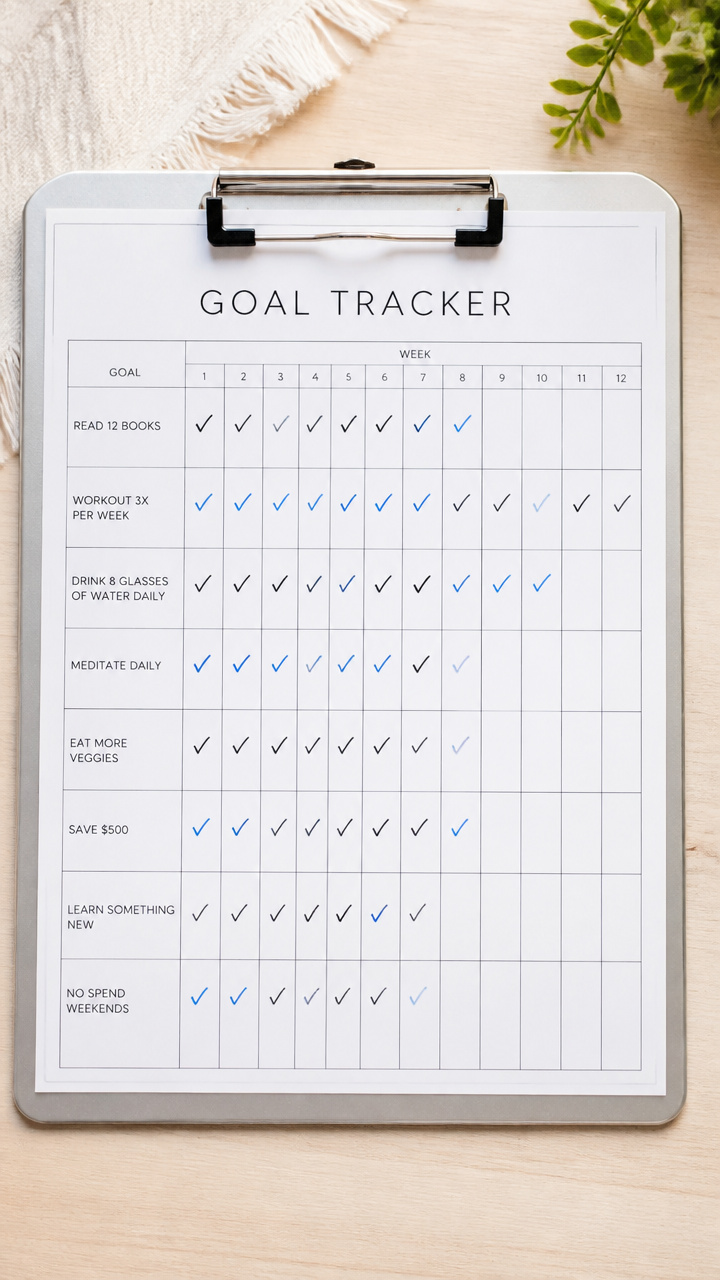
A minimalist grid with labeled boxes helps you track daily habits like water intake or gratitude. Hang it by your desk and check progress with a fine-tip marker.
Materials Needed
- Free printable goal tracker grid (11 x 17 inch landscape)
- Clipboard with metal clip (12 x 18 inches)
- Fine-tip dry erase marker
- Dry eraser cloth
How to Make It
- Print the goal tracker on A3 or tabloid-sized paper using standard printer settings.
- Slide the printed sheet under the metal clip of the clipboard, aligning the top edge.
- Use the dry erase marker to fill in boxes each day as goals are met.
- Wipe completed weeks clean with the eraser cloth at the end of each cycle.


4. Frosted Berry Greeting Cards
Easy
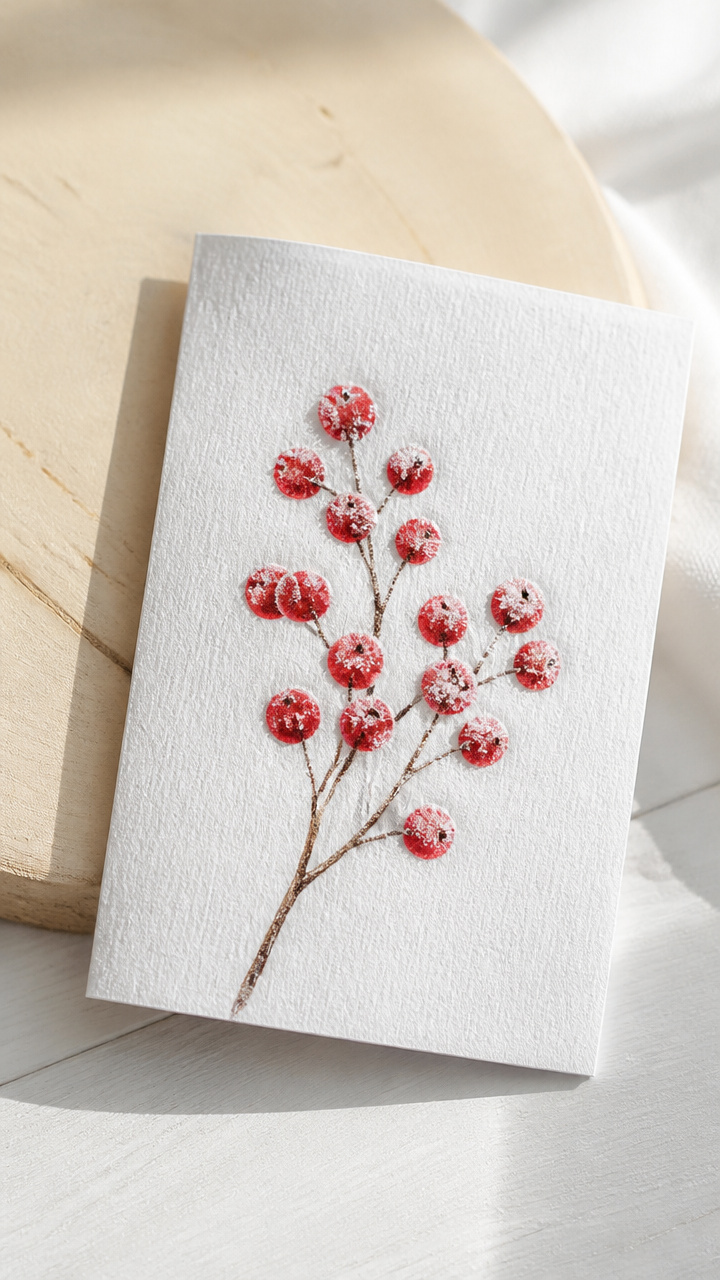
Deep red berries dusted with frost arrive on thick card fronts, ready for handwritten notes. A quick trace and cut method makes these feel handmade without fuss.
Materials Needed
- Free printable frosted berry card template (fits A6 cards)
- A6 white cardstock (5.5 x 4.25 inches, 4 pieces)
- Double-sided tape (0.25 inch wide, 1 roll)
- X-Acto knife
- Cutting mat
- Metal ruler
How to Make It
- Place the printed template on the cutting mat and position one A6 cardstock over it, aligning corners.
- Use the metal ruler and X-Acto knife to trim the cardstock to match the template's outline.
- Repeat for all four cards, using the same template each time.
- Peel and place a strip of double-sided tape along the back edge of each printed design.
- Press each printed design onto the front of a trimmed cardstock base, ensuring edges align.


5. Snowflake Window Clings
Easy
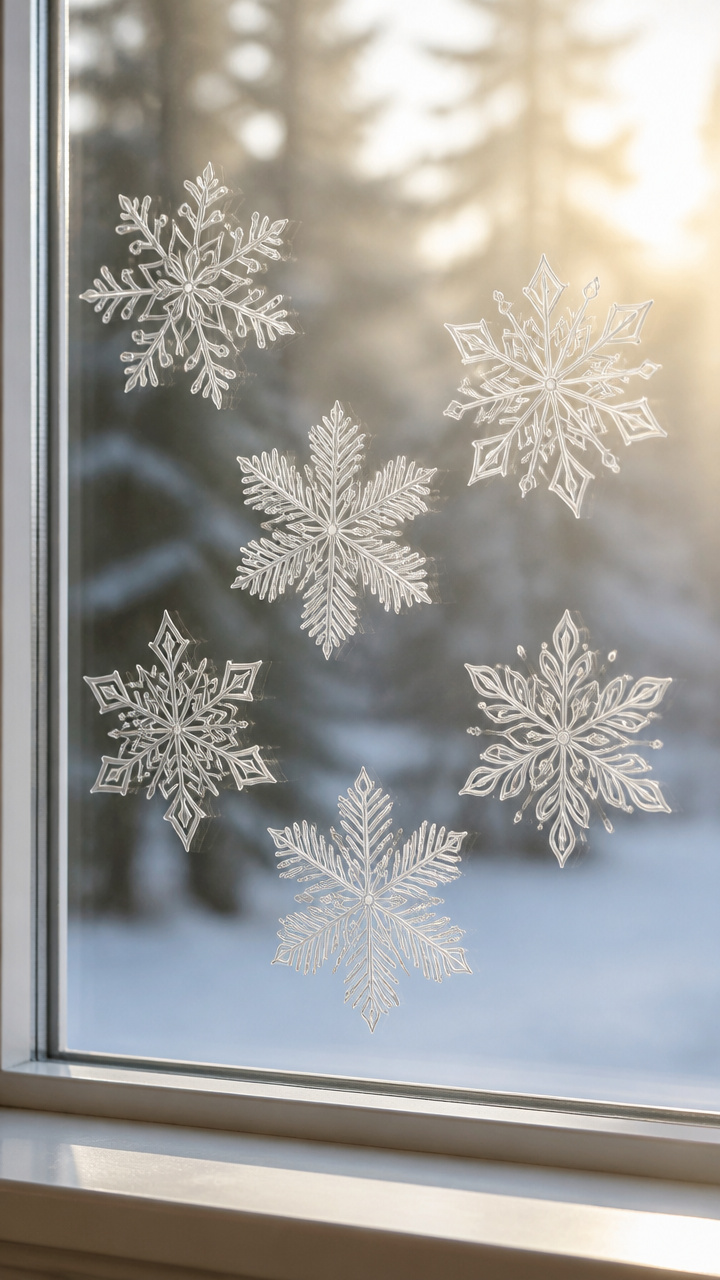
Delicate snowflakes cling to glass panes using static, not adhesive, making them repositionable and residue-free. Print on transparency sheets for a frosty illusion.
Materials Needed
- Free printable snowflake patterns (set of 6 designs)
- Inkjet printable transparency sheets (8.5 x 11 inches, 2 sheets)
- Scissors
- Sponge applicator (1 inch wide)
How to Make It
- Load a transparency sheet into your printer tray according to manufacturer instructions.
- Print the snowflake sheet using standard inkjet settings, letting it dry for 3 minutes.
- Cut out each snowflake carefully with scissors, following the outer line.
- Dampen the sponge applicator slightly and wipe one side of the snowflake.
- Press the damp side against a clean window and smooth out with your palm.


6. Tealight Lantern Sleeves
Moderate
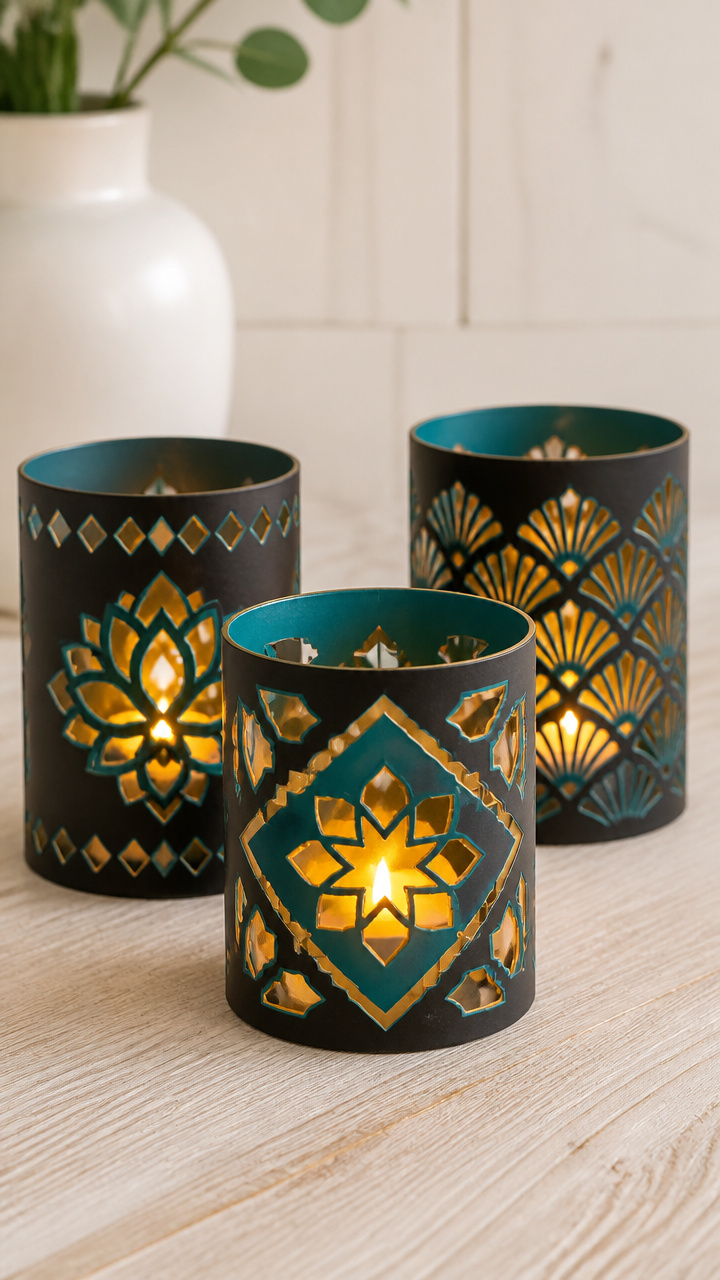
Laser-cut style patterns glow warmly when wrapped around real or LED tealights. Cardstock sleeves slide on and off for easy storage.
Materials Needed
- Free printable lantern sleeve template (3 designs, 4.5 x 4.5 inches)
- A4 black cardstock (240 gsm, 1 sheet)
- Craft glue
- Glue brush (0.5 inch)
- Circle punch (1.5 inch diameter)
- LED tealights (3 count)
How to Make It
- Print the template on black cardstock, aligning one design per page.
- Use the circle punch to remove each circular cutout shown on the design.
- Cut out each sleeve rectangle using scissors, staying on the outer line.
- Apply a 0.5-inch strip of craft glue along one short edge using the glue brush.
- Wrap the rectangle into a tube and press the glued edge to seal, holding for 10 seconds.
- Slide each sleeve over an LED tealight, pattern side out.


7. Herb Garden Planner
Moderate
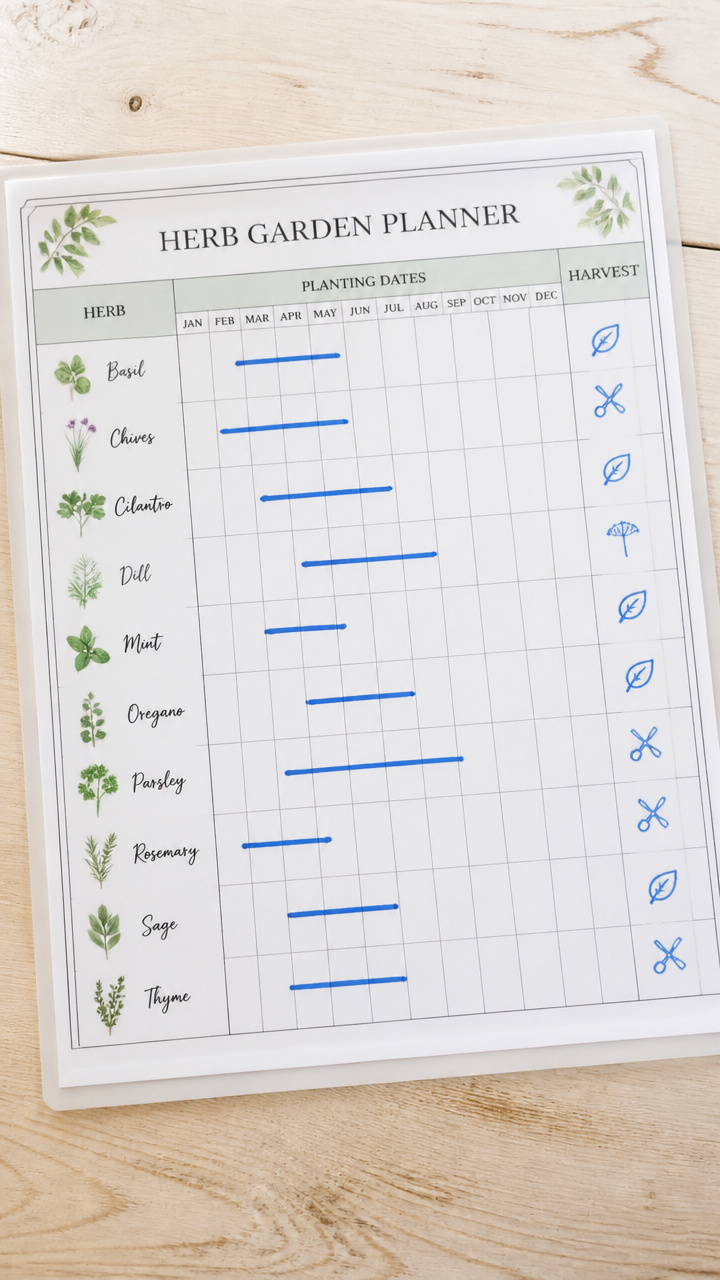
A labeled grid with planting dates and harvest icons guides your spring seed-starting. Laminate it and write directly on the surface with wet-erase markers.
Materials Needed
- Free printable herb garden planner (A4 size)
- Sheet protector (A4, clear, 2 mil thickness)
- Laminator machine
- Laminating pouch (A4, 80 micron, 2 count)
- Wet-erase marker (fine tip, blue)
How to Make It
- Insert the printed planner into the laminating pouch, centered and flat.
- Run the pouch through the laminator using medium heat setting, letting it exit fully before handling.
- Slide the laminated sheet into the sheet protector for extra durability.
- Use the wet-erase marker to fill in sowing and transplant dates as needed.
- Wipe updates clean with a damp cloth after each season.


8. Origami Gift Tags
Moderate
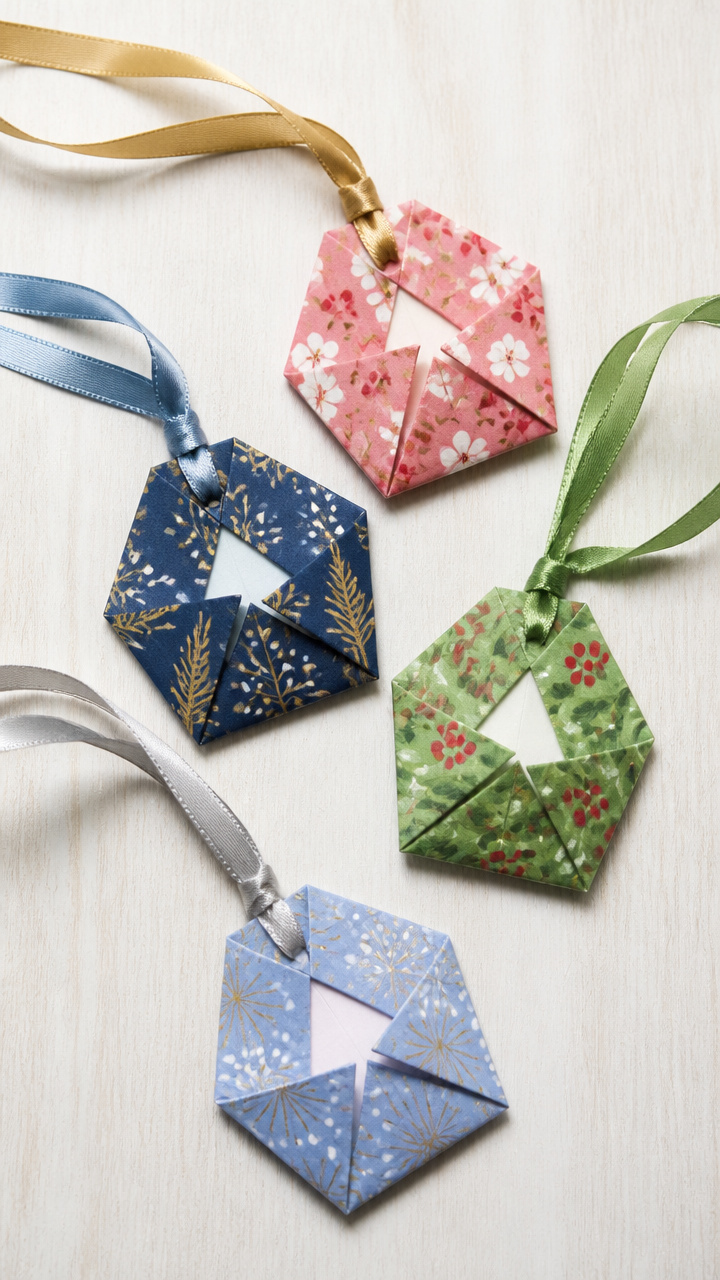
Geometric folds turn small printouts into three-dimensional tags that dangle from ribbon. Each tag holds a tiny note inside its folded pocket.
Materials Needed
- Free printable gift tag pattern (2 x 2 inch squares, 6 per page)
- Scissors
- Bone folder
- Ribbon scraps (1/8 inch wide, 6 pieces at 10 inches long)
- Fine-line pen
How to Make It
- Cut out six tag squares using scissors and a ruler for precision.
- Fold one square in half diagonally to form a triangle, creasing sharply with the bone folder.
- Fold the left and right corners up to meet at the top point, forming a diamond shape.
- Tuck the bottom point up behind the flaps to lock the shape.
- Write a message on the front panel using the fine-line pen.
- Thread a ribbon through the top loop and tie around a gift.
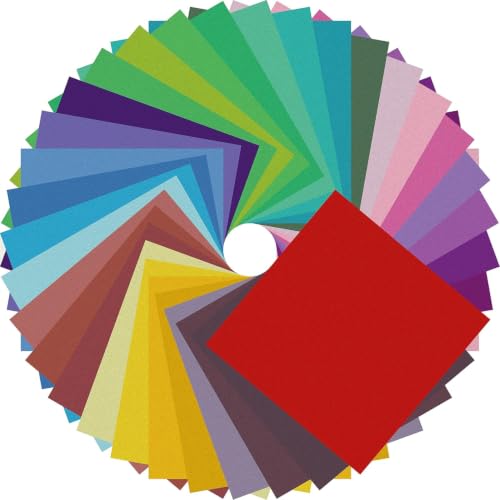


9. Moody Sky Bookmark
Easy
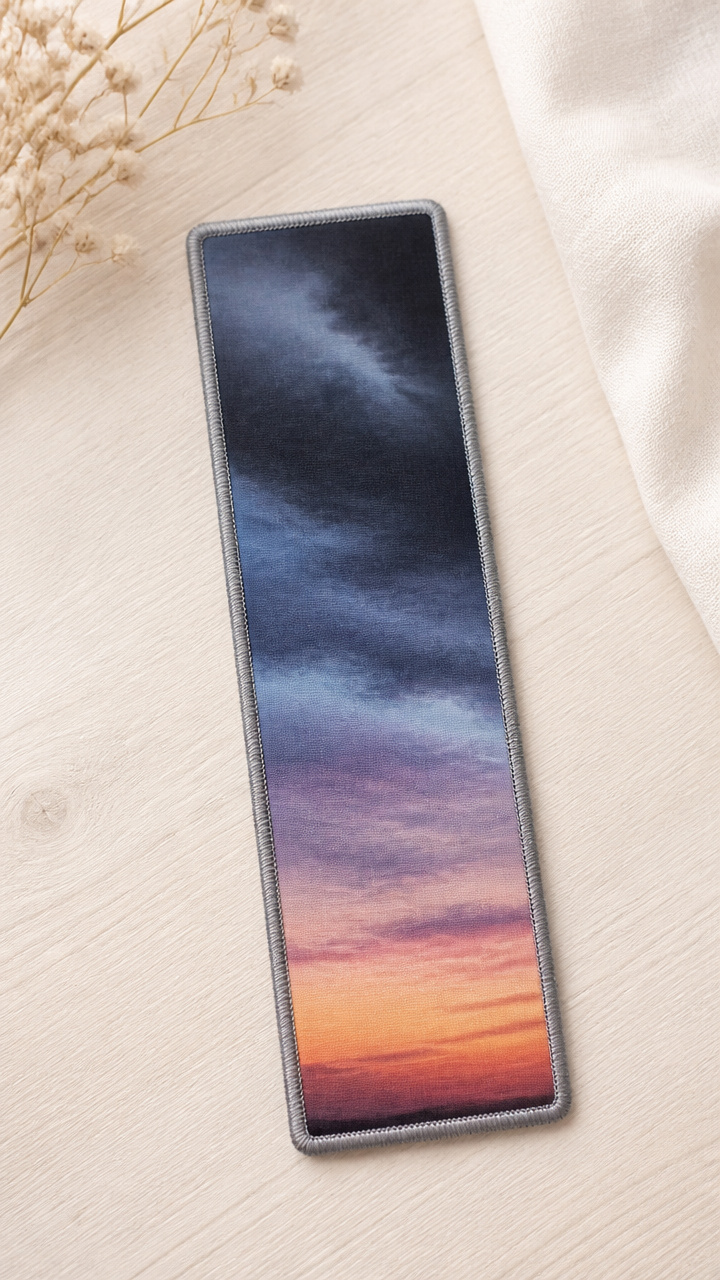
A gradient storm cloud fades into twilight, mounted on sturdy board and tipped with satin cord. This bookmark lies flat and won't dog-ear your pages.
Materials Needed
- Free printable moody sky design (2 x 6 inches)
- Cereal box cardboard
- Scissors
- PVA glue
- Hole punch
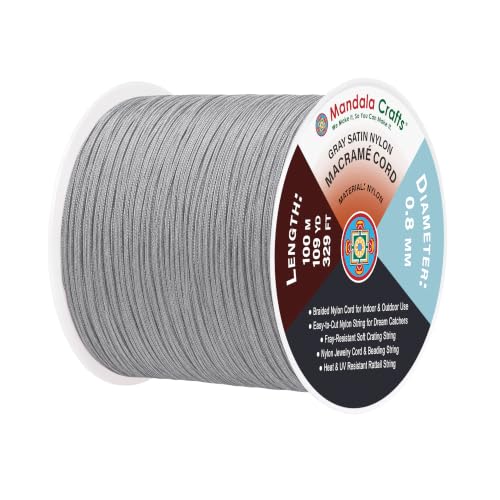
- Satin cord (12 inches, gray)
- Paintbrush (0.5 inch)
How to Make It
- Cut the printable to 1.75 x 5.75 inches using scissors and a ruler.
- Cut a bookmark-sized piece from the cereal box, 1.75 x 5.75 inches.
- Apply PVA glue to the cardboard with the paintbrush, covering the surface evenly.
- Center the printed design on the glued cardboard and press firmly to adhere.
- Let dry for 20 minutes, then punch a hole at the top center.
- Thread the satin cord through the hole and knot the ends together.


10. Collage Postcard Set
Moderate
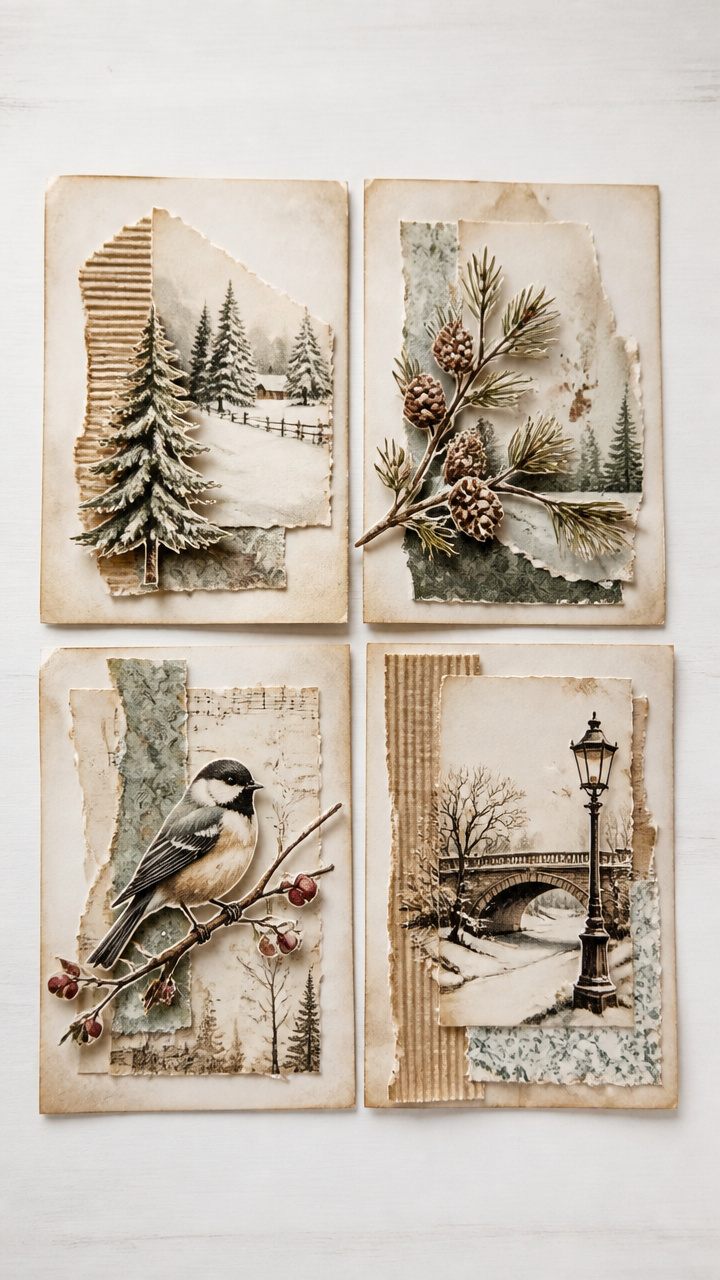
Vintage-style illustrations stack into layered scenes you can mail or frame. Trim and layer with foam spacers for depth.
Materials Needed
- Free printable collage postcard sheet (4 designs, 6 x 4 inches each)
- Self-adhesive foam squares (0.25 inch, 8 count)
- Precision knife
- Cutting mat
- Tweezers
How to Make It
- Place the printed sheet on the cutting mat and use the precision knife to cut out each 6 x 4 inch postcard.
- Choose one postcard and identify the element you want to layer, such as a bird or moon.
- Cut out the chosen element carefully, keeping edges clean.
- Press a foam square onto the back of the cutout, centering it.
- Use tweezers to position the raised element onto its original spot on the postcard, pressing gently to attach.
- Repeat for three other cards, creating unique layered effects.


11. Embroidered Hoop Art
Advanced
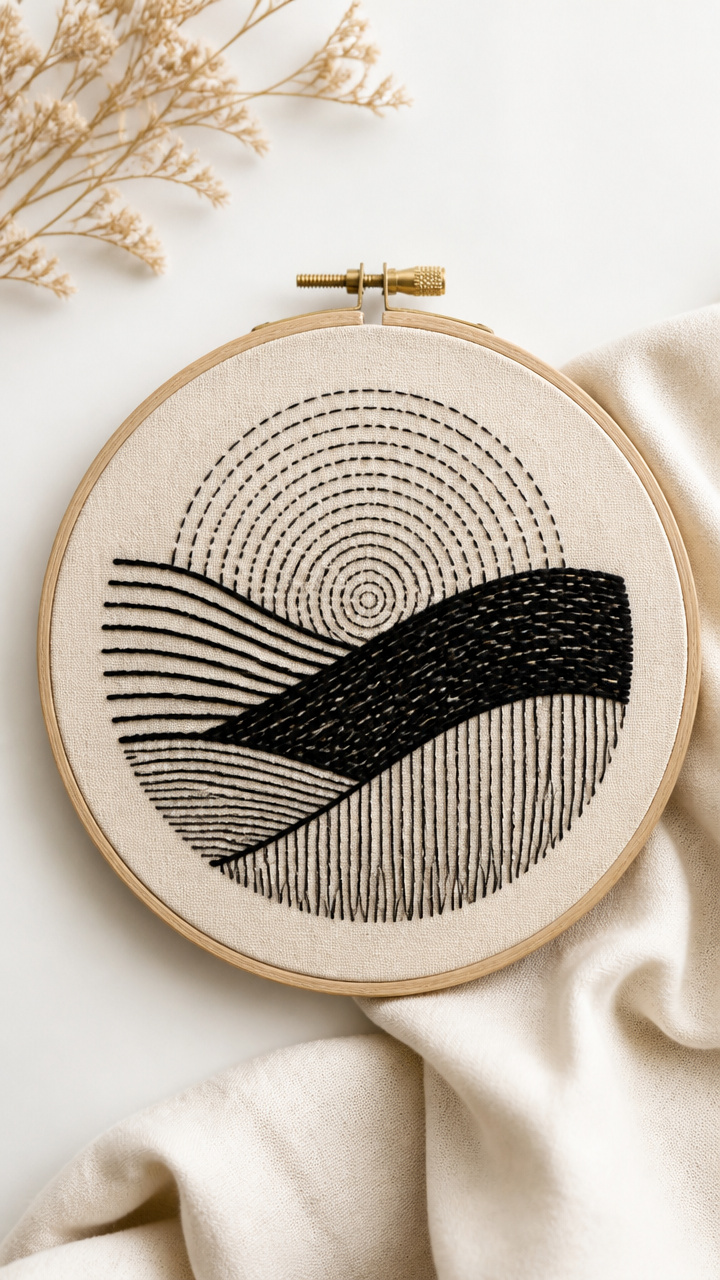
A bold line drawing becomes a textile centerpiece when stitched over canvas. The printable guides your thread path with numbered dots.
Materials Needed
- Free printable embroidery pattern (circle, 6 inch diameter)
- Embroidery hoop (6 inch wooden)
- Unbleached cotton canvas (8 x 8 inches)
- Embroidery floss (black, 1 skein)
- Needle (size 7 tapestry)
- Scissors
- Transfer paper (dark, 8.5 x 11 inches)
How to Make It
- Place the transfer paper between the printable and the canvas, carbon side down.
- Trace every line of the design with a ballpoint pen, pressing firmly to transfer marks.
- Secure the canvas in the embroidery hoop, tightening the screw until taut.
- Thread the needle with 18 inches of black floss, knotting one end.
- Follow the numbered dots on the transferred image to stitch the design using backstitch.
- Trim excess thread and loosen the hoop when finished.


12. Daily Mood Wheel
Moderate
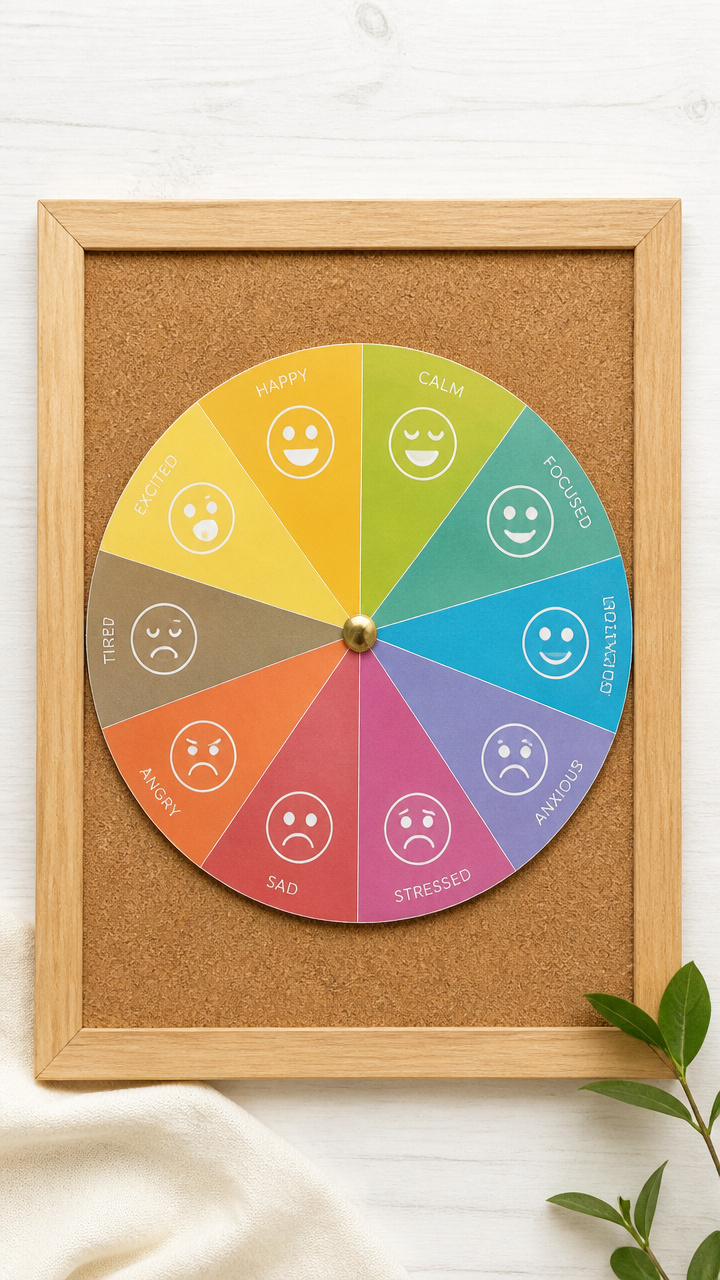
A color-coded dial helps you log emotions with a quick spin of the hand. Mount it on corkboard for pinning notes behind each section.
Materials Needed
- Free printable mood wheel (two parts: base and spinner)
- Corkboard sheet (9 x 12 inches)
- Brass fastener (1 inch)
- Scissors
- Push pin
- Ruler
How to Make It
- Cut out the circular base and arrow pointer from the printable using scissors.
- Align the center of the base with the corkboard and secure with tape.
- Place the arrow on top, matching the center points.
- Push the brass fastener through both layers and the corkboard, spreading the legs on the back.
- Use the push pin to mark today’s mood by piercing the outer edge of the correct color segment.


13. Pressed Flower Frames
Easy
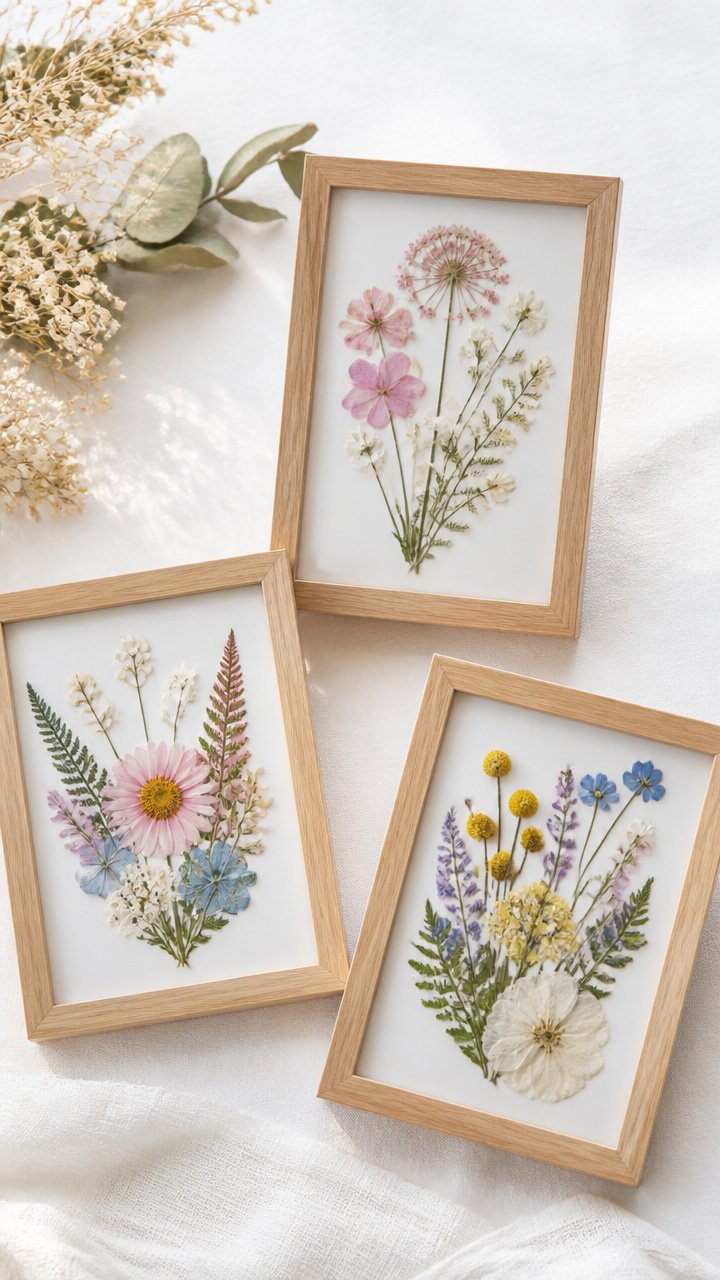
Tiny floral outlines invite you to fill them with real dried blooms. The printable acts as a guide for precise placement.
Materials Needed
- Free printable flower silhouette sheet (set of 3, 4 x 6 inches)
- Dried flowers (flat varieties like statice or baby's breath, 6 stems)
- Tweezers
- Double-sided tape (0.125 inch)
- Mini clothespins (3 count)
- Frame with removable back (4 x 6 inches)
How to Make It
- Open the frame and remove the glass and backing.
- Place the printed sheet on a flat surface and choose a flower cluster to recreate.
- Use tweezers to position dried petals within the silhouette, trimming stems as needed.
- Secure each bloom with a tiny dot of double-sided tape underneath.
- Once filled, place the glass over the design and reassemble the frame.
- Clip a mini clothespin to the bottom edge for display on a shelf.


14. Coffee Sleeve Templates
Easy
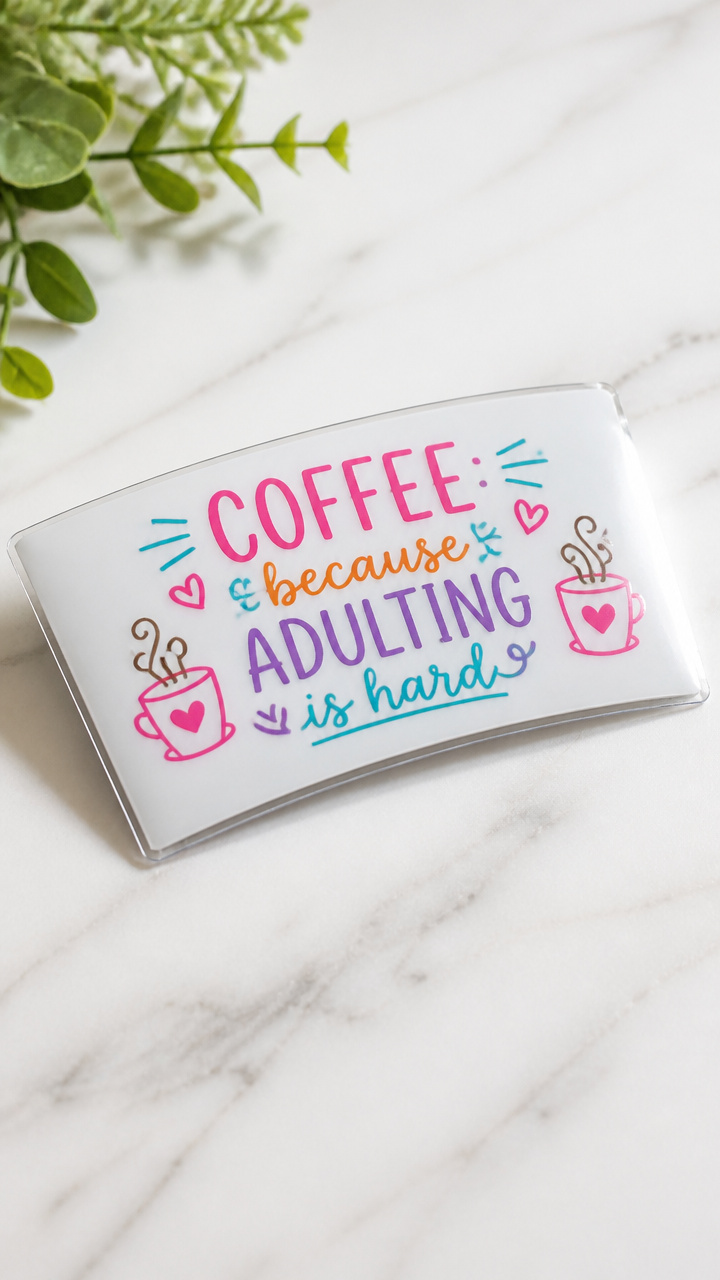
Whimsical quotes wrap around takeaway cups, protected by a laminated sleeve. Draw on them daily with dry-erase markers.
Materials Needed
- Free printable coffee sleeve design (8.5 x 11 inch sheet, 4 templates)
- Laminating pouches (A4, 80 micron, 2 count)
- Laminator
- Scissors
- Dry-erase marker (fine tip)
How to Make It
- Print the sleeve sheet on standard paper using your home printer.
- Cut out one template along the solid outer line with scissors.
- Insert the cutout into a laminating pouch and run it through the laminator.
- Once cooled, fold the laminated piece into a cylinder and overlap the tabs.
- Use the dry-erase marker to write a daily affirmation on the front panel.


15. Paper Bead Necklaces
Moderate
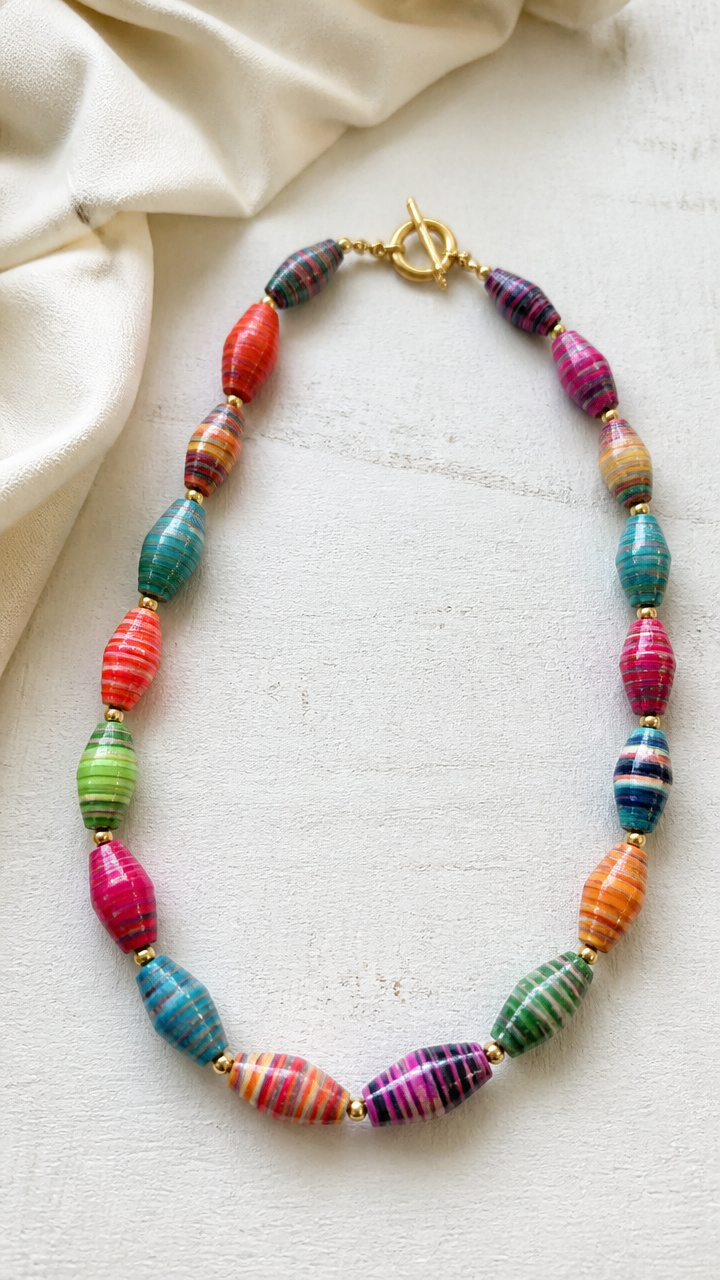
Bold striped triangles roll into glossy beads that click together into a statement necklace. Use varnish to harden each bead.
Materials Needed
- Free printable bead pattern (long sheet with diagonal stripes)
- Scissors
- Toothpick
- White glue
- Waxed paper
- Clear nail polish
- Jewelry clasp with jump rings (1 set)
- Earring wire (18 gauge, 12 inches)
How to Make It
- Cut the printed sheet into long triangles, 1 inch at the base and 6 inches long.
- Coat the back of one triangle with a thin layer of white glue using the toothpick.
- Starting at the wide end, roll the triangle tightly around a toothpick, keeping edges aligned.
- Place the bead on waxed paper and let dry for 30 minutes.
- Brush two coats of clear nail polish over each bead, drying 10 minutes between coats.
- String ten beads onto the earring wire, add the clasp with jump rings, and twist closed.


16. Calendar Transfer Mugs
Advanced
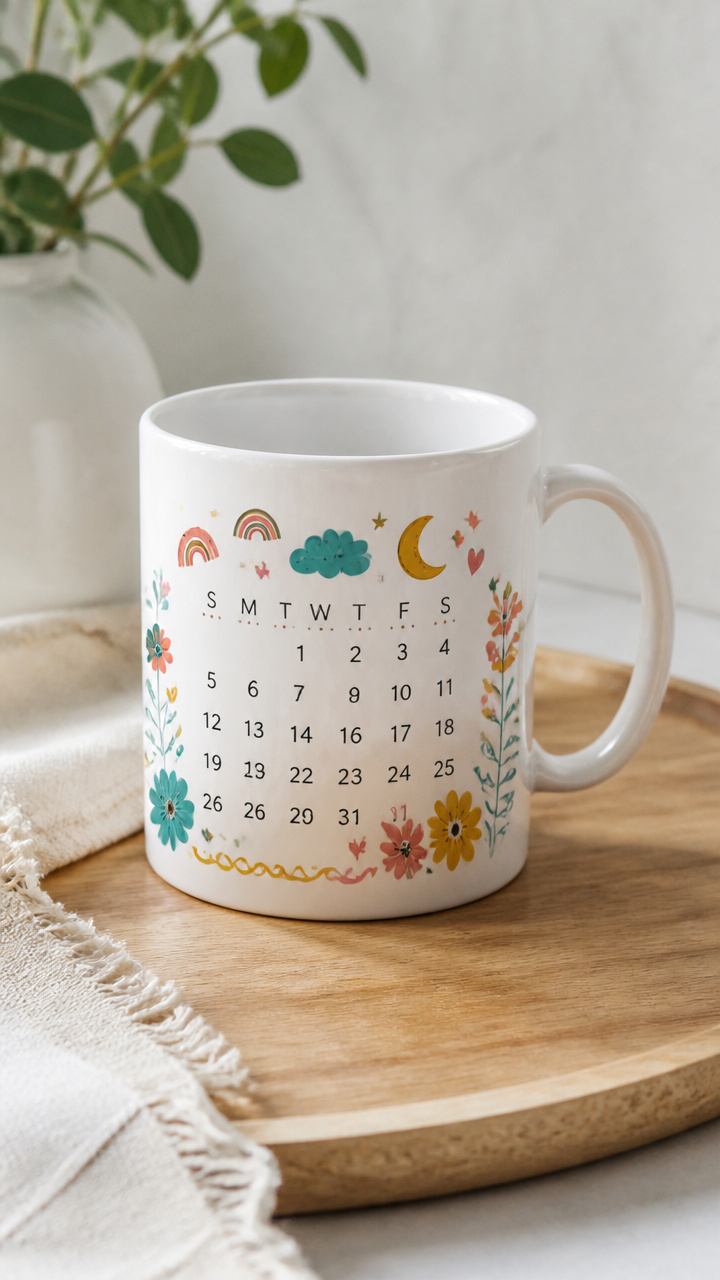
Dates and doodles migrate from paper to ceramic using water slide decal paper. Soak and slide the design onto a plain mug.
Materials Needed
- Free printable calendar mug design (fits 11 oz white mug)
- Inkjet water slide decal paper (8.5 x 11 inches, 1 sheet)
- Clear ceramic mug (11 oz)
- Bowl of warm water
- Soft sponge
- Acrylic sealer spray (food-safe, 6 oz)
How to Make It
- Print the design on the coated side of the water slide paper, letting it dry for 5 minutes.
- Cut out the rectangle, leaving a small border around the art.
- Float the cutout face-up in the bowl of warm water for 45 seconds.
- Slide the loosened film off the backing and onto the mug, positioning carefully.
- Smooth out bubbles with the soft sponge, working from center to edge.
- Let dry completely for 2 hours, then spray with two light coats of food-safe sealer.


17. Stargazing Ceiling Decals
Easy
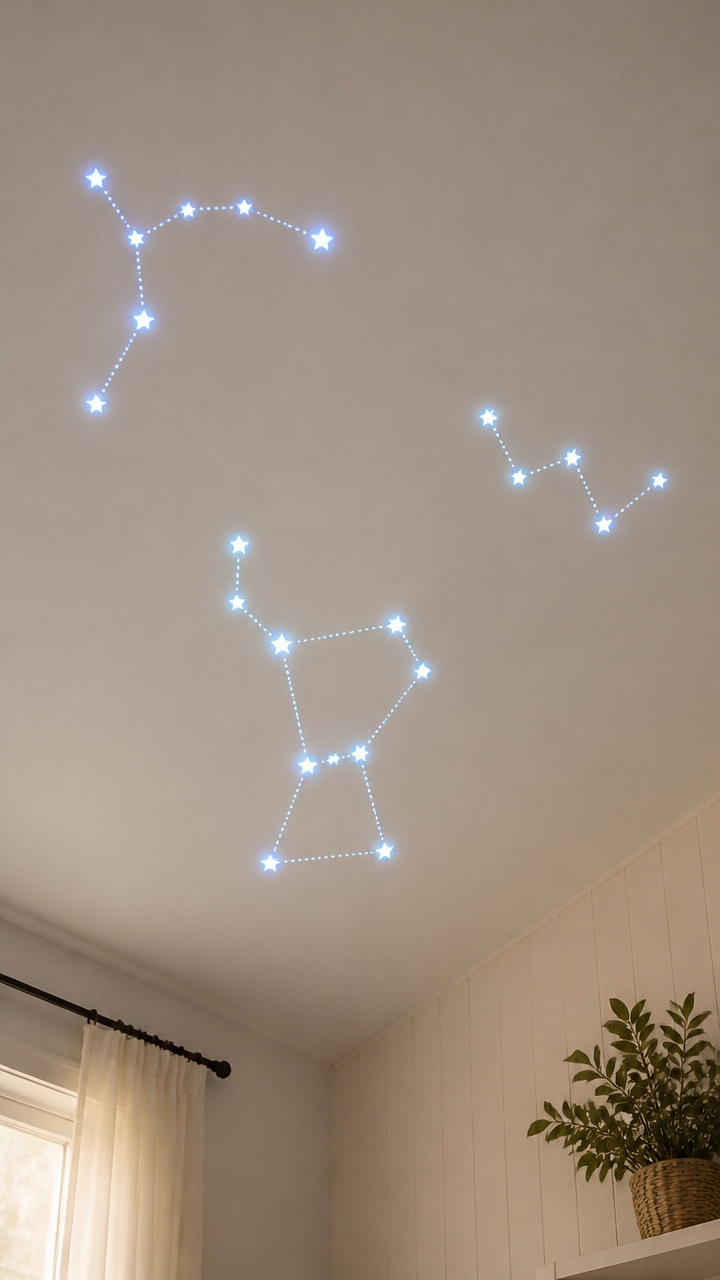
Constellation dots connect with faint lines above your bed, glowing slightly in darkness. Apply with repositionable glue for no damage.
Materials Needed
- Free printable constellation decals (Orion, Ursa Major, Cassiopeia)
- White sticker paper (8.5 x 11 inches)
- Scissors
- Repositionable glue stick
- Glow-in-the-dark paint (1 oz, water-based)
- Small paintbrush (0.25 inch)
How to Make It
- Print the constellation sheet on sticker paper using normal printer settings.
- Cut out each constellation shape with scissors, following the outer edge.
- Apply a thin layer of repositionable glue to the back of each decal using the glue stick.
- Stick each decal to the ceiling, arranging in night-sky positions.
- Use the small brush to dab glow-in-the-dark paint on each star dot, let dry 20 minutes.


18. Recipe Card Binder
Easy
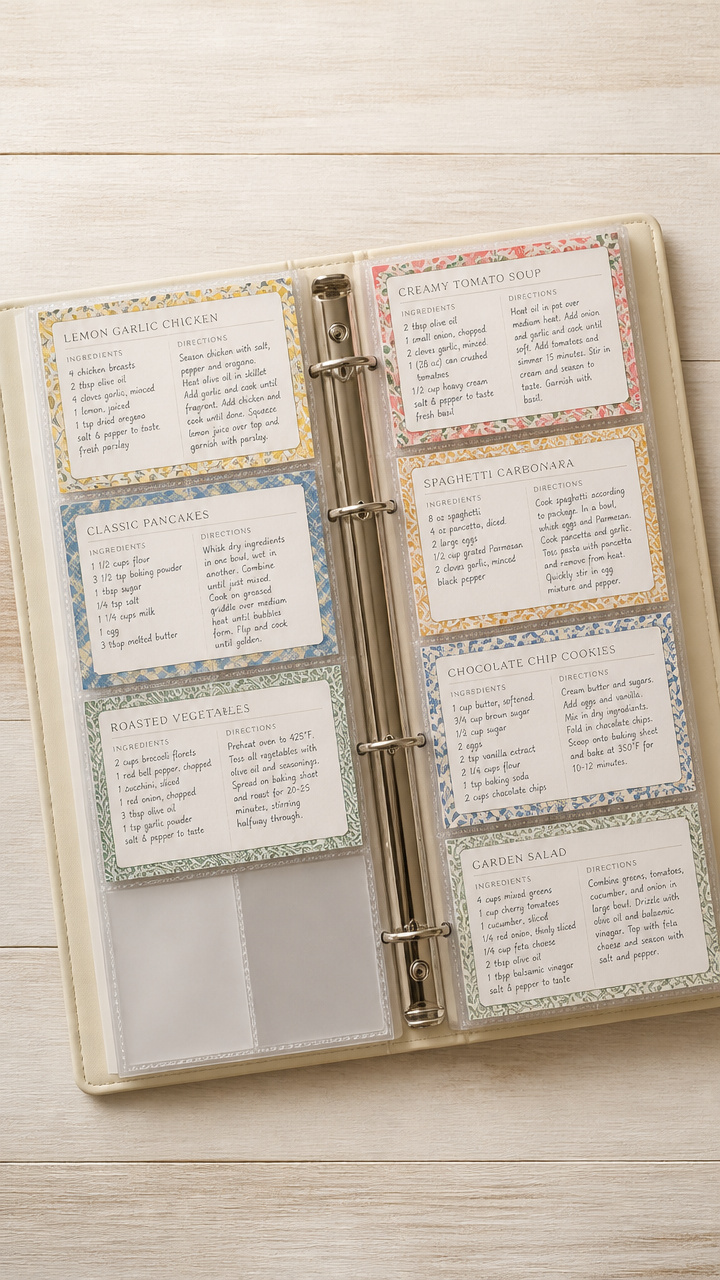
Classic typography and ingredient lists become a curated cookbook when organized in ring sleeves. Add new prints as you try dishes.
Materials Needed
- Free printable recipe cards (8 designs, A6 size)
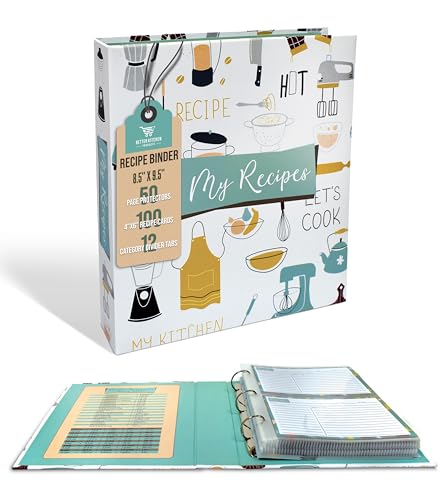
- Three-ring binder (6 ring, 6 x 8 inches)
- Clear sheet protectors (6 x 8 inches, 8 count)
- Fine-tip pen
How to Make It
- Print all recipe cards on standard paper, trimming to 5.8 x 7.8 inches if needed.
- Slide one card into each sheet protector, placing it face-up at the top.
- Insert the protectors into the binder in your preferred order.
- Use the pen to jot substitutions or notes in the margins during cooking.


19. Shadow Box Silhouettes
Moderate
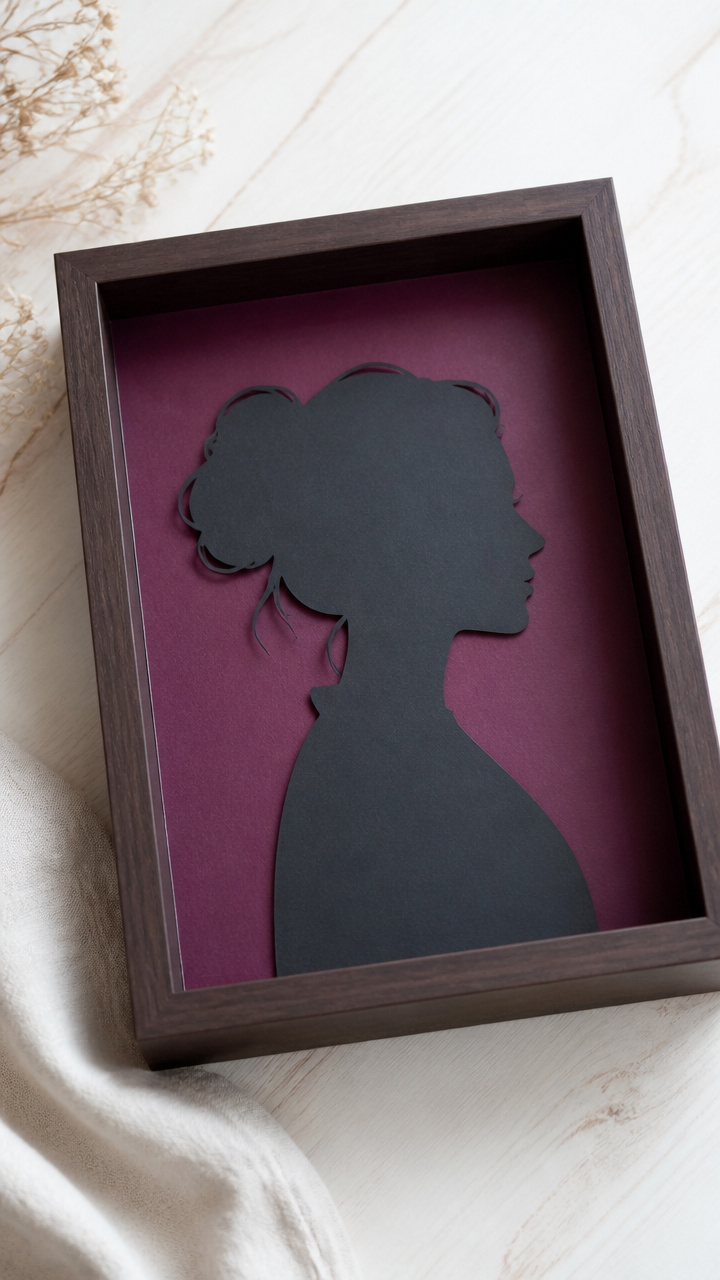
A stark profile against a colored backdrop creates drama in a deep frame. Cut your own shape from black paper using the printed guide.
Materials Needed
- Free printable face profile template (life-size)
- Black construction paper (9 x 12 inches)
- Craft knife
- Cutting mat
- Colored cardstock (9 x 12 inches, deep plum)
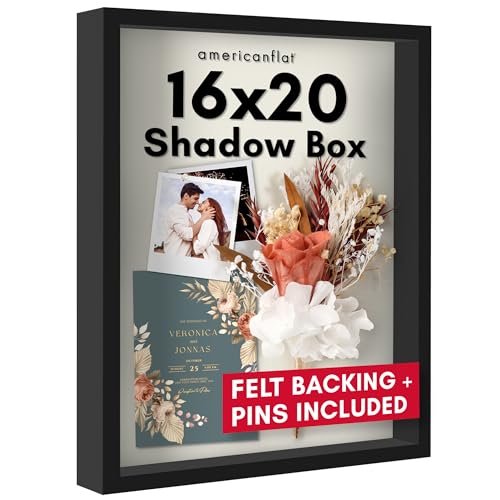
- Shadow box frame (11 x 14 inches, 1.5 inch depth)
- Glue stick
How to Make It
- Place the printed template on the black paper and trace the profile with a pencil.
- Position the paper on the cutting mat and cut out the silhouette with the craft knife.
- Apply glue to the back edge of the cutout using the glue stick.
- Center the silhouette on the plum cardstock and press to attach.
- Let dry for 10 minutes, then place the assembly into the shadow box frame.


20. Tea Infuser Labels
Easy
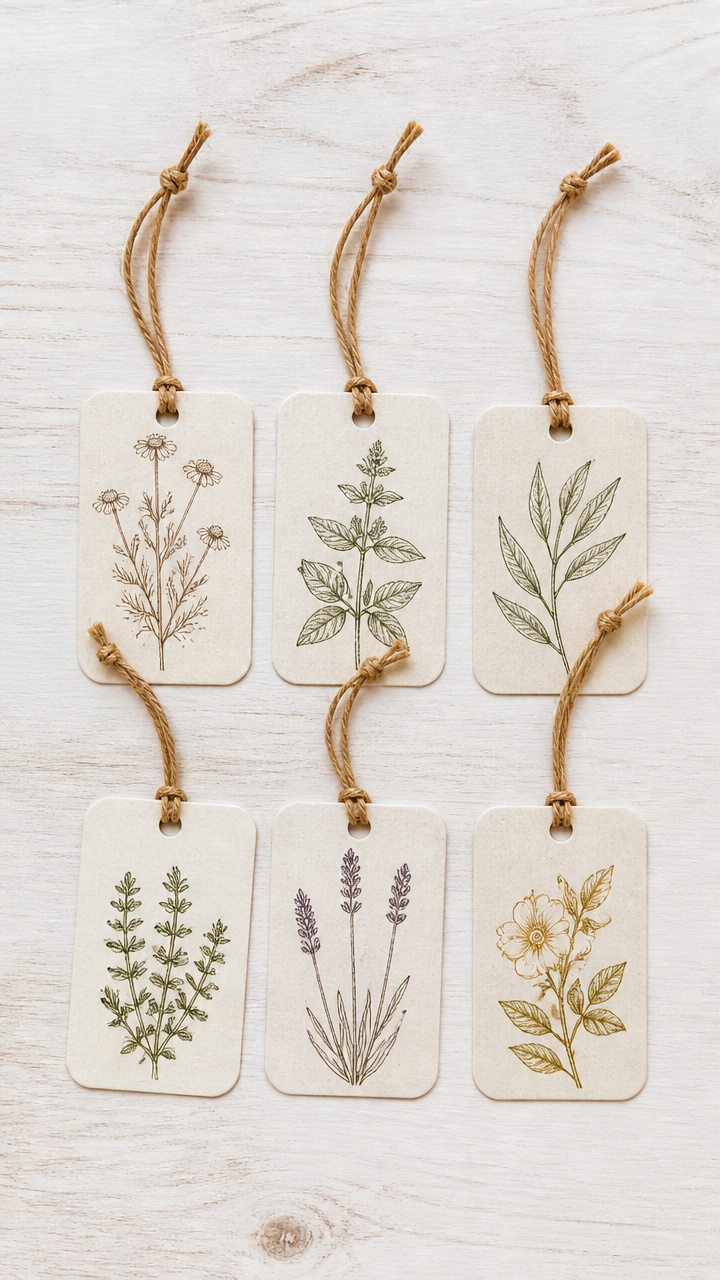
Botanical sketches label homemade tea blends stored in tins or jars. Tie them with twine and update as flavors change.
Materials Needed
- Free printable tea label sheet (6 designs, 2 x 3 inches)
- Scissors
- Hole punch
- Twine (1/8 inch, 6 pieces at 8 inches)
- Waterproof inkjet paper (A4, 1 sheet)
How to Make It
- Print the label sheet on waterproof inkjet paper using standard settings.
- Cut out each label along the solid line with scissors.
- Punch a hole in the top left corner of each label.
- Fill a jar with a custom tea blend and tie the matching label around the lid with twine.


Each of these crafts begins with a simple print but grows into something meaningful through your touch. Pick one that calls to you and start creating today.