16 New Year Goal-Setting Crafts for Elementary Students

Glitter spills across the table, scissors snip paper into stars, and tiny hands press stickers onto bright cards filled with hopes for what’s ahead. These moments spark more than just fun, they open gentle conversations about growth, dreams, and what matters most to young hearts.
Each craft here turns abstract ideas into something tangible, something held, seen, and returned to. With glue, crayons, and imagination, children build tools that help them name their goals and carry them forward with joy and confidence.
1. Glitter Jar Vision Bottles
Easy
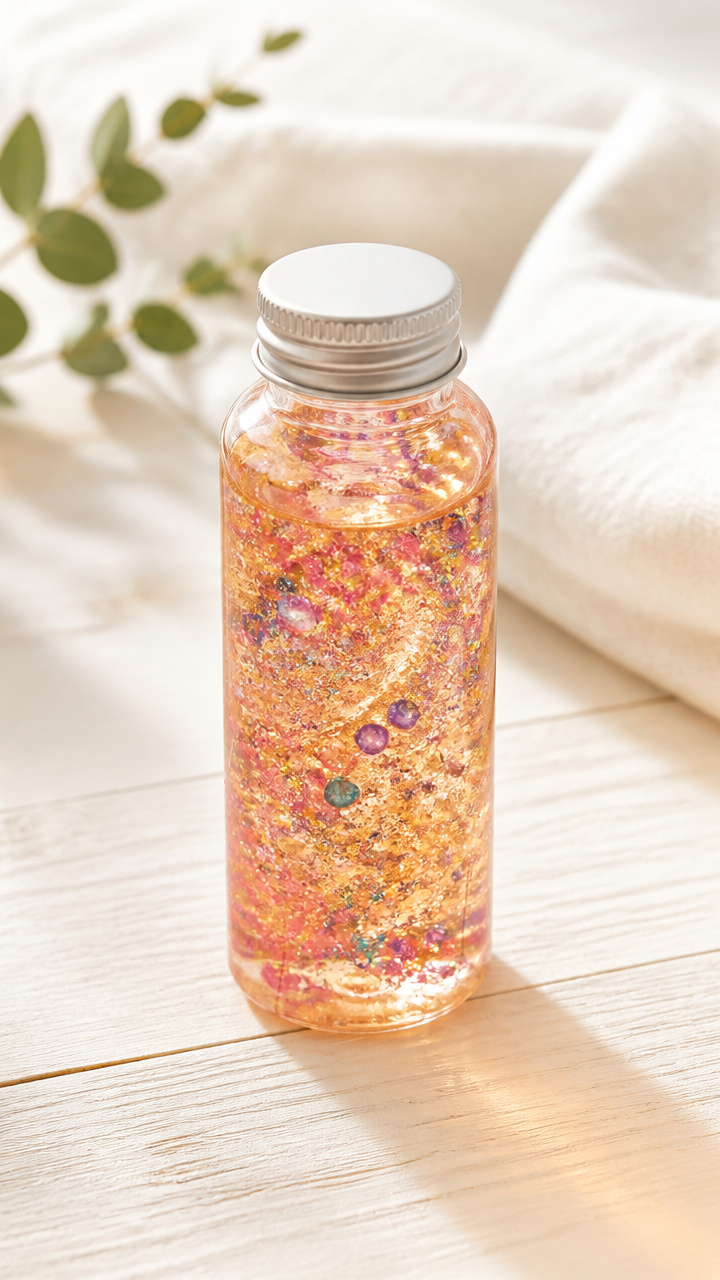
Shimmery, swirling bottles capture dreams in motion, offering a calming sensory focus when goals feel far off.
Materials Needed
- 4-ounce clear plastic bottles with screw-top lids, 6
- Warm water, 1 cup
- Clear school glue, 1/2 cup
- Fine iridescent glitter, 2 tablespoons
- Glitter glue, 1 tube
- Small fun-sized plastic beads, 1 tablespoon
- Permanent marker, black
How to Make It
- Pour warm water into each bottle, filling it three-quarters full.
- Add 1 tablespoon of clear school glue and 1 teaspoon of iridescent glitter to each bottle.
- Squeeze a small line of glitter glue inside the neck of the bottle, then drop in a few beads.
- Screw the lid on tightly and shake gently to mix. Wipe any residue and label each bottle with a child's name using the marker.


2. Paper Chain Goal Tracker
Easy
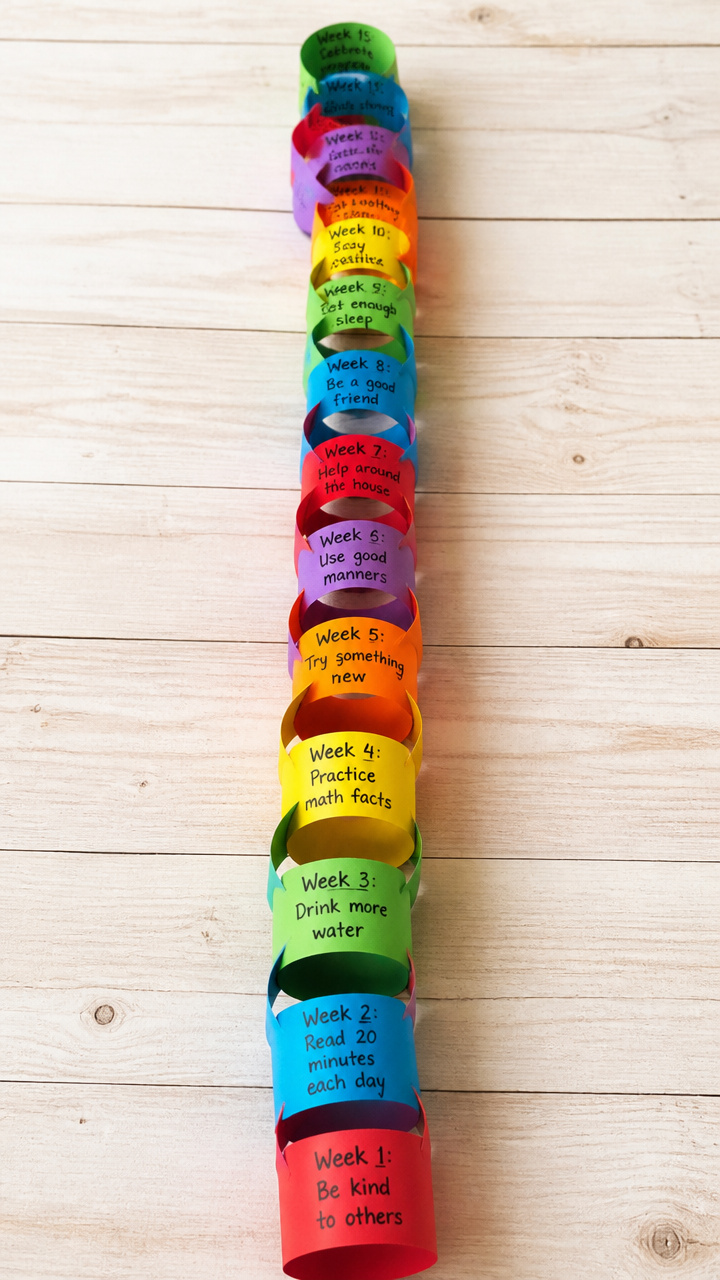
Bright loops linked together vanish one by one as weekly wins stack up, making progress visible and satisfying.
Materials Needed
- Colored construction paper (8.5 x 11 inches), 12 sheets
- Scissors, 6 pairs
- Glue sticks, 6
- Black fine-tip markers, 6
How to Make It
- Cut each sheet of construction paper into 1-inch wide strips, yielding about 8 strips per sheet.
- Write one small goal or positive habit on each strip, such as 'Read 3 books' or 'Be kind to a new friend'.
- Form the first strip into a loop and glue the ends together. Thread the next strip through the first before gluing.
- Continue linking strips in order until all goals are connected into a chain of 48 links.


3. Dream Tree Wall Art
Moderate
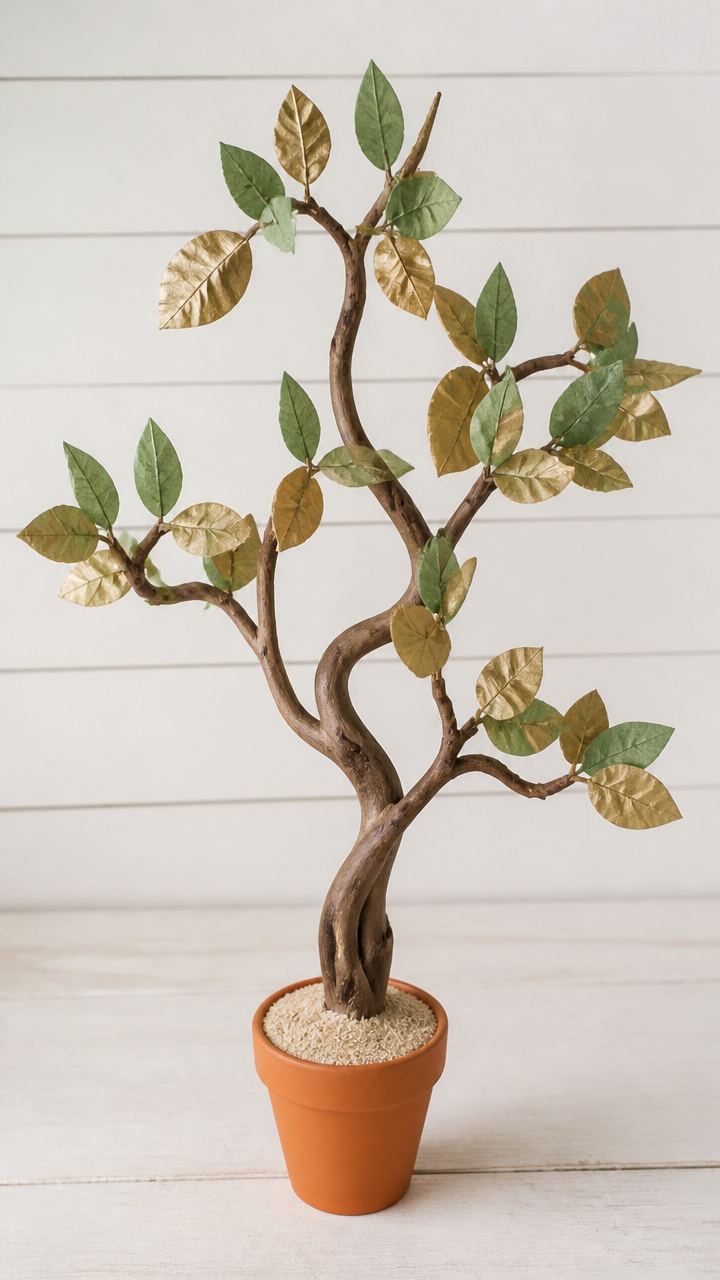
A bare branch becomes a living map of aspirations, blooming with paper leaves that name hopes for the year.
Materials Needed
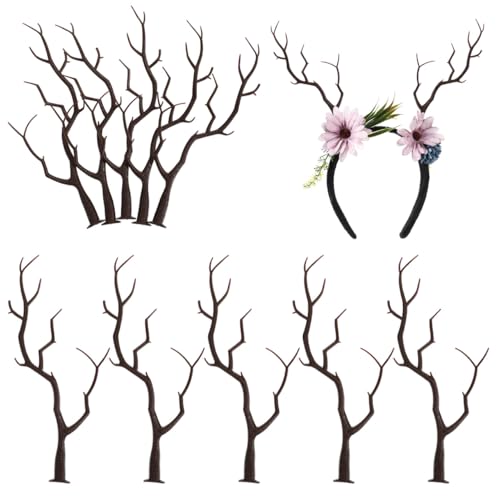
- Manzanita branch, 1 per student (approx. 12 inches tall)
- Small terracotta pots, 6 oz, 6
- Craft sand, 1 cup
- White air-dry clay, 1 pound
- Green and gold tissue paper, 1 sheet each
- PVA glue, 1 bottle
- Paintbrush, size 6, 6
- Hole punch, 1
- Twine, 6 yards
- Colored pencils, set of 12
How to Make It
- Fill each pot halfway with sand, then press the base of a branch into the sand to hold it upright.
- Shape small clay balls and press them around the base inside the pot to secure the branch. Let dry for 24 hours.
- Cut tissue paper into leaf shapes, about 2 inches long. Punch a hole near the top of each leaf.
- Write one goal on each leaf using colored pencils. Thread twine through the holes and tie leaves to branch tips.

4. Personal Goal Flags
Moderate
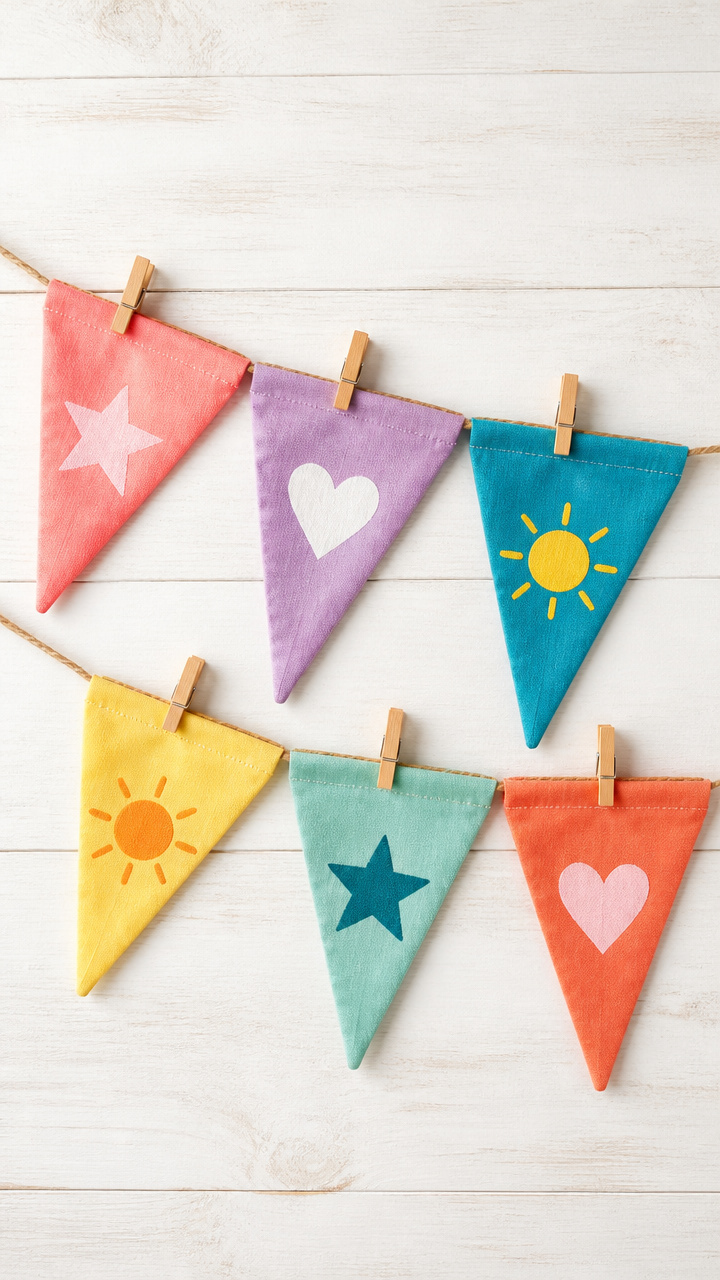
Mini fabric pennants flutter with promises, strung across a bedroom to remind kids of their chosen path.
Materials Needed
- Cotton fabric squares (6 x 6 inches), 18
- Fabric paint markers, 6 colors
- Clothespins, 12
- Jute twine, 10 feet
- Plastic stencils (star, heart, sun), 3
- Iron, 1
- Parchment paper, 1 sheet
How to Make It
- Lay a fabric square flat and place a stencil on top. Trace around it with a fabric paint marker to create a design.
- Write one goal inside or below the design, such as 'Try a new food' or 'Learn to skip rope'.
- Let paint dry for 10 minutes, then cover with parchment paper and press with a warm iron for 30 seconds to set.
- Fold the top edge of each flag over 1 inch to form a sleeve, then clip all flags onto twine with clothespins.


5. Button Goal Magnets
Easy
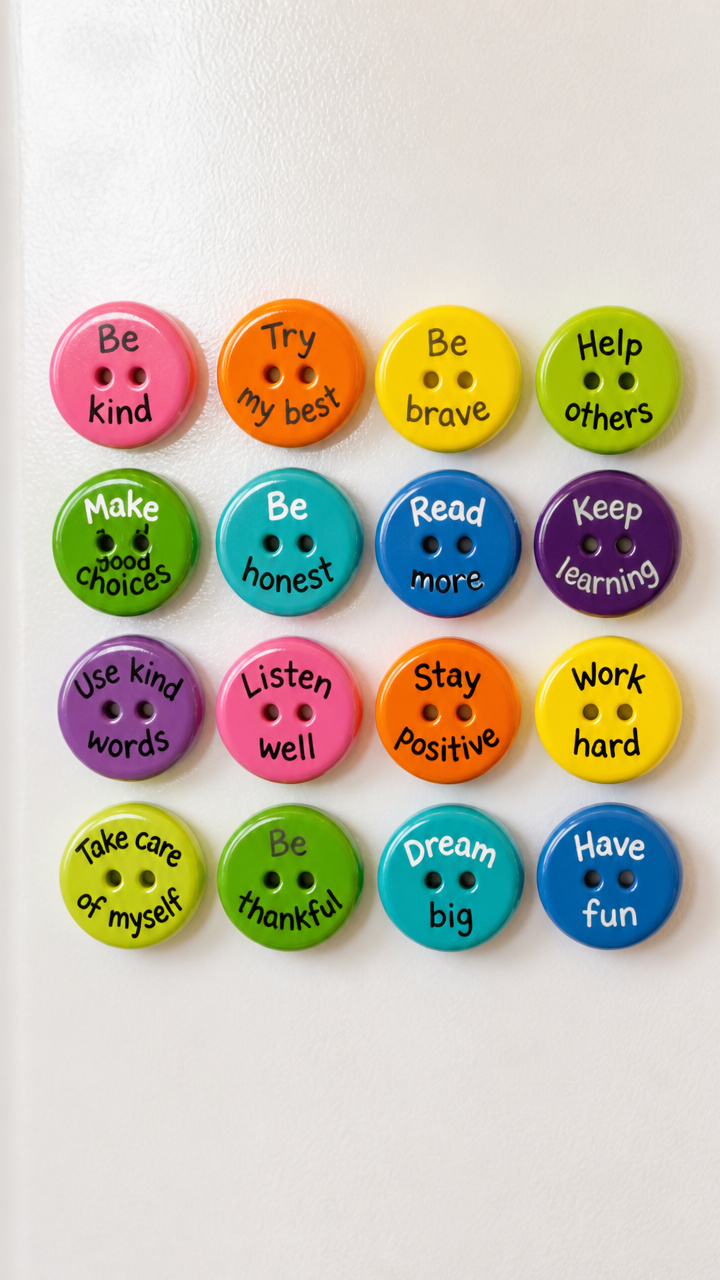
Tiny painted buttons become cheerful reminders stuck to a fridge, each holding a single, shining intention.
Materials Needed
- Plastic craft buttons (1 inch), 36
- Acrylic paint (assorted colors), 6 bottles
- Paintbrush, size 2, 6
- Fine-tip permanent markers, black and white
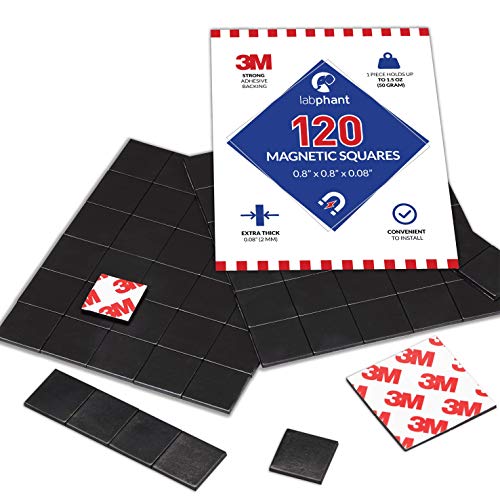
- Magnetic adhesive squares, 36
- Paper plate, 6
How to Make It
- Pour a small dot of acrylic paint onto a paper plate. Dip the flat side of a button and press it down to coat.
- Let paint dry for 15 minutes, then use a fine-tip marker to write one word goal like 'Brave' or 'Helpful'.
- Peel the backing off a magnetic square and press it firmly to the back of each painted button.
- Repeat for six buttons per student, creating a personalized set.


6. Worry and Wish Stones
Easy
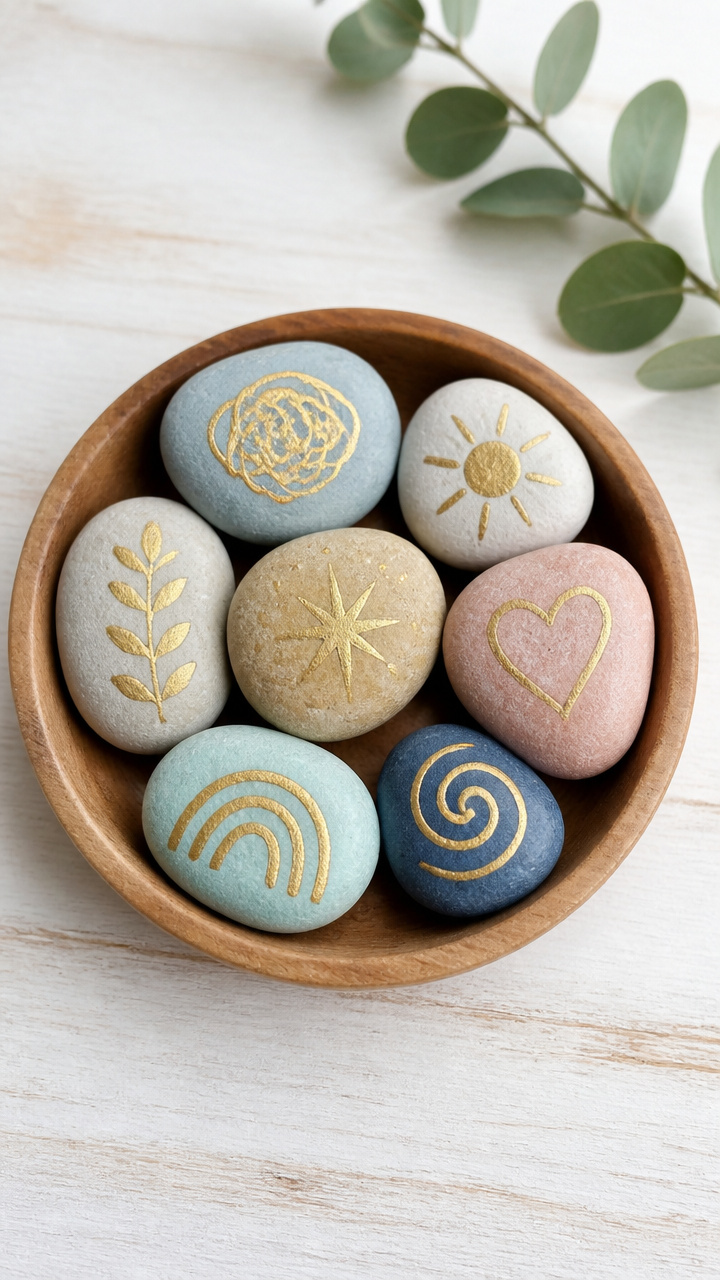
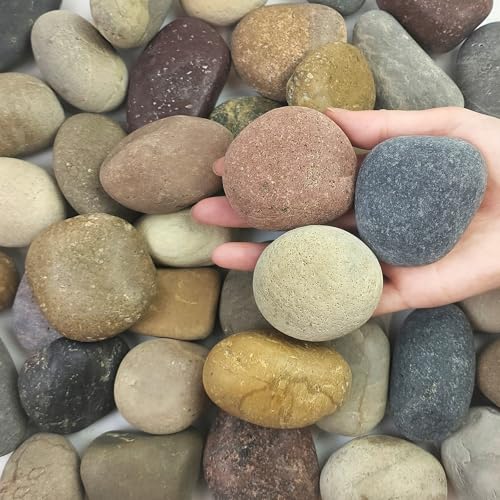
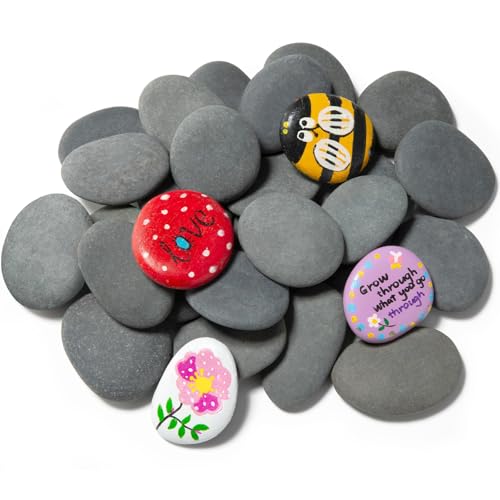
Smooth river rocks hold whispered hopes on one side, quiet fears on the other, grounding big feelings in small hands.
Materials Needed
- Smooth river stones (2-3 inches), 12
- Acrylic paint, white and gold
- Paintbrush, size 4, 6
- Fine-tip waterproof marker, black
- Clear acrylic sealer spray, 1 can
How to Make It
- Paint one side of each stone white and let dry for 20 minutes. Paint the opposite side gold and let dry.
- On the white side, write a worry the child wants to release, such as 'Being picked last'.
- On the gold side, write a wish like 'Make a new friend' using the waterproof marker.
- Spray both sides lightly with sealer outdoors or in a ventilated area. Let dry for 30 minutes.

7. Goal-Themed Memory Jars
Easy
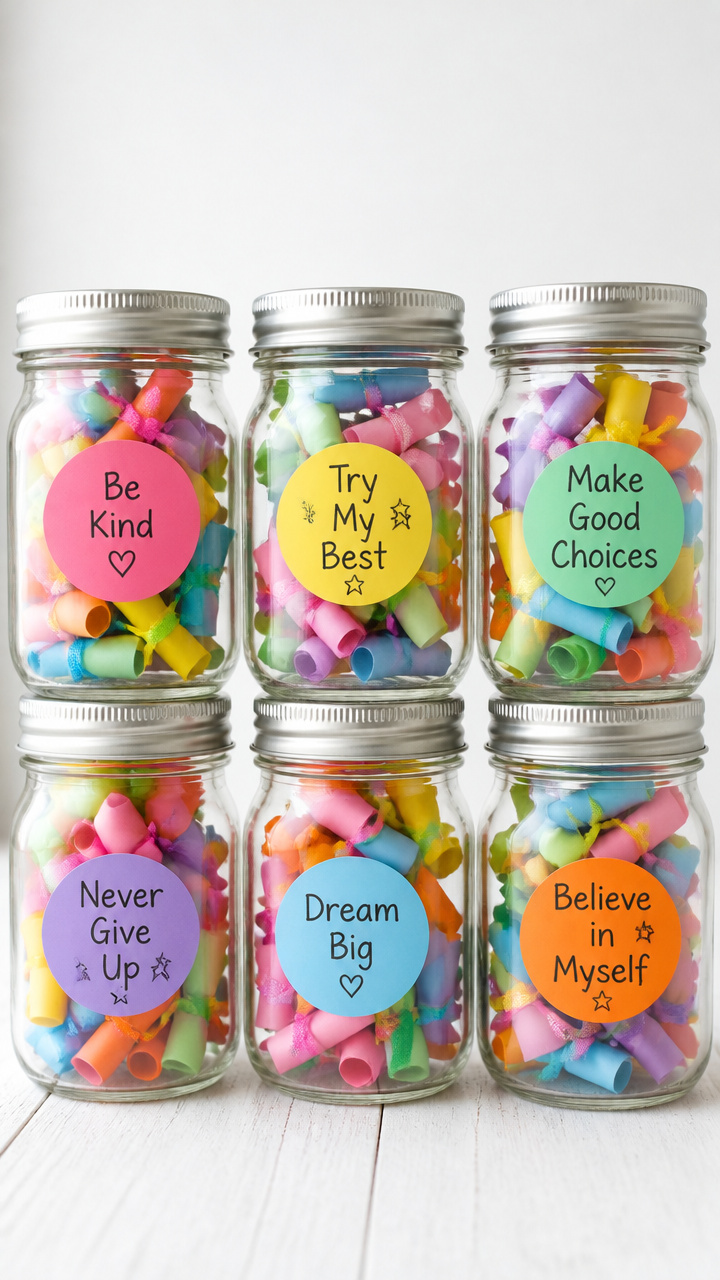
Clear jars collect tiny notes of progress, each added slip a quiet celebration of effort made real.
Materials Needed
- Recycled glass jars with lids, 8 oz, 6
- Label stickers, round, 2 inches, 6
- Colored index cards, 3×5 inches, 1 pack
- Scissors, 6 pairs
- Fine-tip markers, 6
- Ribbon, 1/4 inch wide, 3 yards
How to Make It
- Cut index cards into 1.5-inch squares, making 30 per jar.
- Write the student's name and 'My Goal Jar' on a label sticker and stick it on the front of each jar.
- Tie a ribbon bow around the neck of each jar and secure with a knot.
- On each card square, write one small achievement related to a goal, such as 'Shared my snack', to add over time.


8. Habit Sticker Flower Garden
Moderate
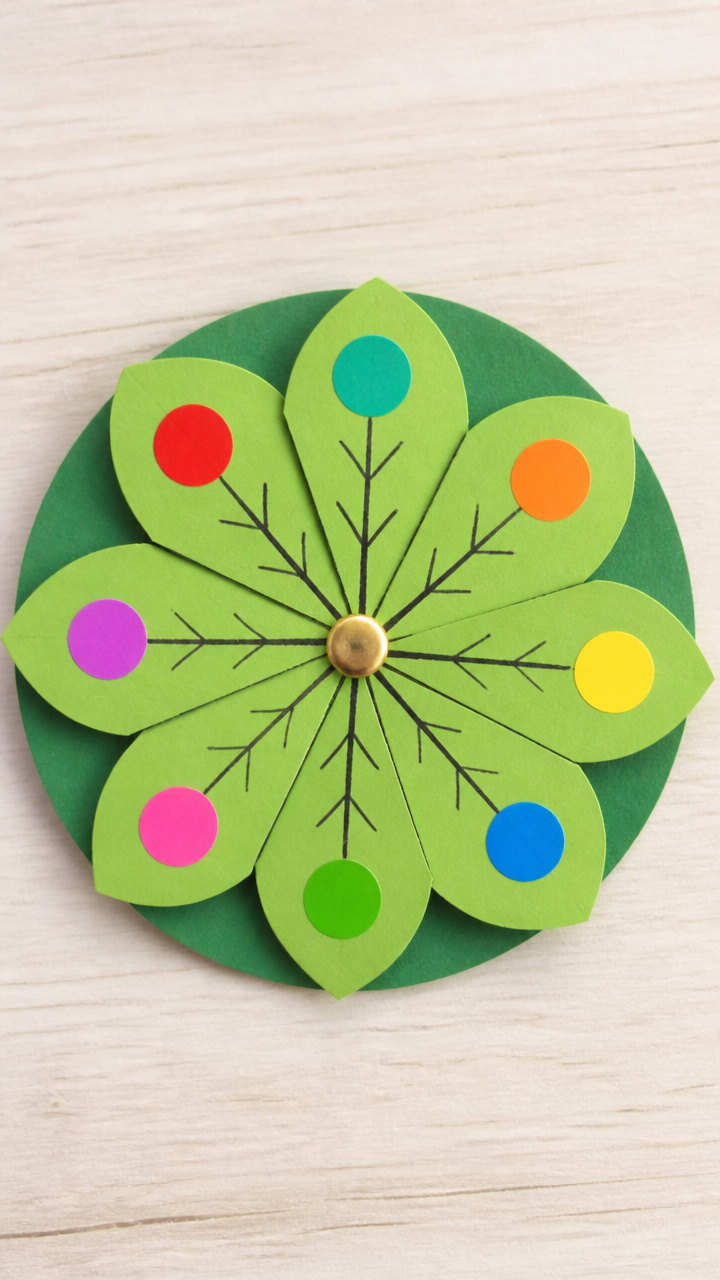
A paper garden grows with every good choice, each stickered petal marking a day a goal was met.
Materials Needed
- Green cardstock (8.5 x 11 inches), 6 sheets
- Colorful dot stickers, 6 sheets (3/4 inch)
- Black fine-tip marker, 1
- Circle punch, 3-inch, 1
- Brads, 6
- Glue dots, 1 pack
How to Make It
- Use the circle punch to cut one circle from green cardstock for each student.
- Draw a stem and two leaves on the back of each circle using the marker.
- Punch a small hole in the center of the circle. Slide a brad through and open the legs on the back.
- Give each student 31 stickers. Each day they meet their goal, they add a sticker petal around the center.


9. Mini Goal Books
Moderate
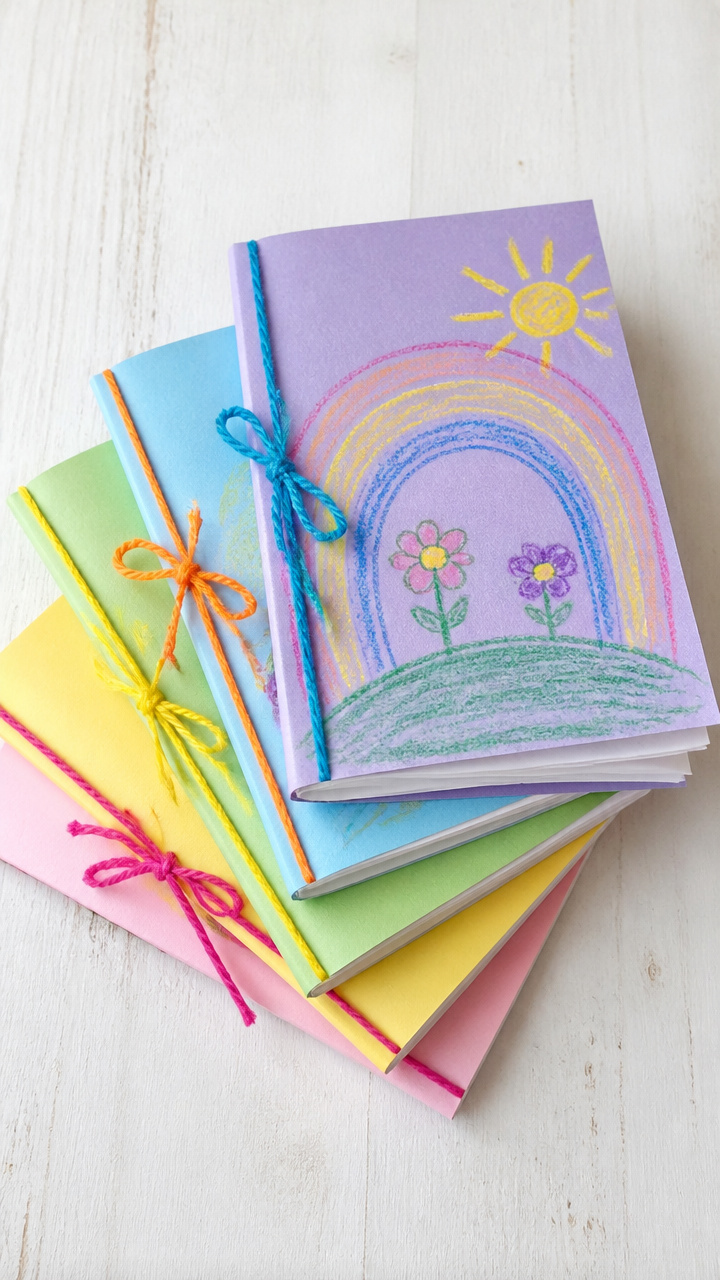
Tiny handmade books fit in a pocket, filled with drawings and words that name what a child wants to grow.
Materials Needed
- White drawing paper (6 x 9 inches), 18 sheets
- Construction paper (7 x 10 inches), 6 sheets
- Yarn, 12 inches per book, 6 pieces
- Needle, large-eye, 1
- Crayons, 6 sets
- Hole punch, 1
How to Make It
- Stack three drawing sheets and one construction paper sheet as a cover. Fold the stack in half to form a booklet.
- Use the hole punch to make two holes along the fold. Thread yarn through both holes using the needle and tie a knot.
- Draw a title on the cover, such as 'My Kindness Goals' or 'I Want to Learn'.
- Fill each page with a drawing or sentence about a different goal, using crayons for color.


10. Dream Catcher Goal Weavers
Advanced
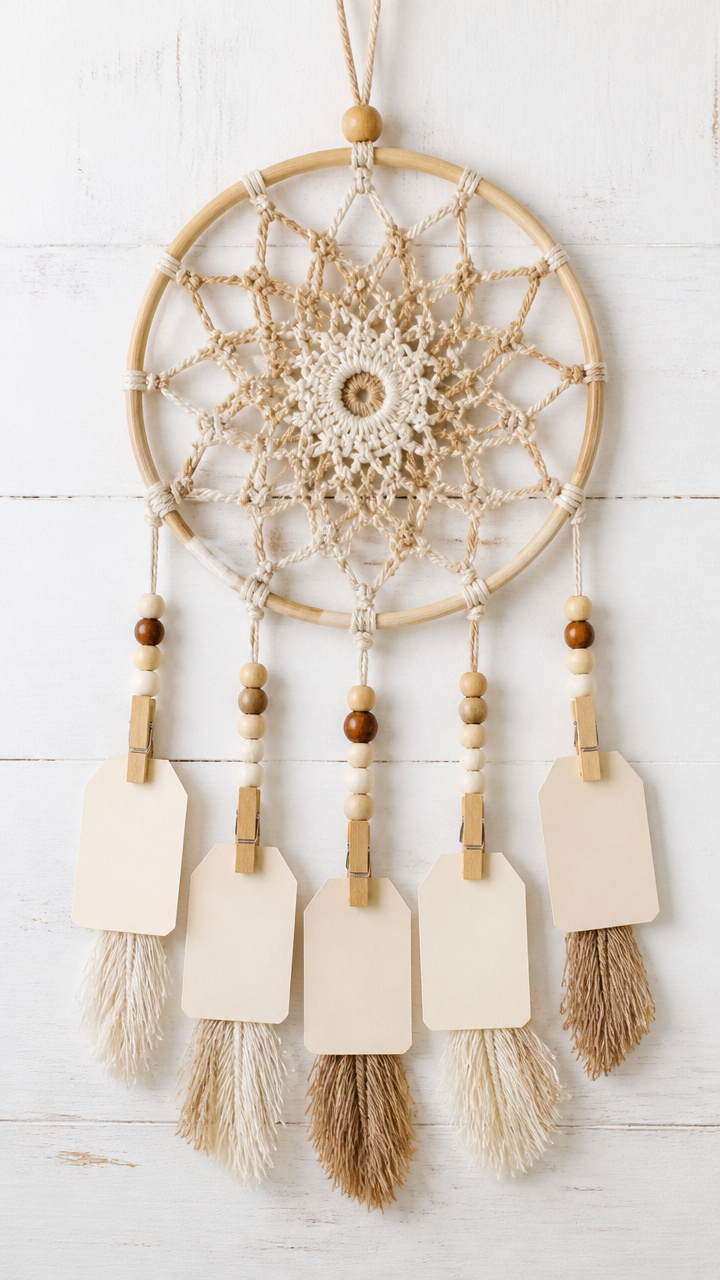
Delicate woven rings hold written wishes in their web, blending craft tradition with personal intention.
Materials Needed
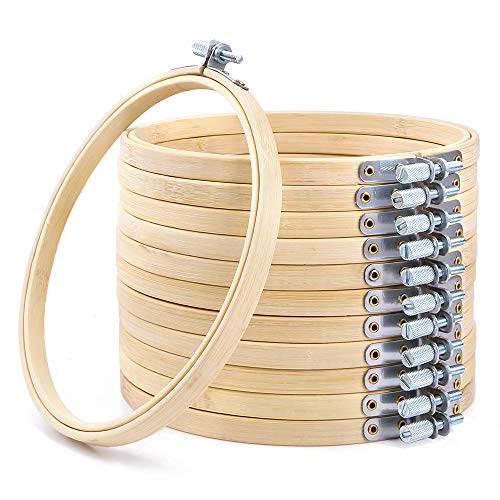
- Embroidery hoops (6 inch), 6
- Yarn (neutral color), 1 skein
- Pony beads, 72
- Scissors, 6 pairs
- Clothespins, 6
- Small paper tags, 18
- Fine-tip marker, 1
How to Make It
- Remove the inner hoop and wrap yarn tightly around it, securing the end with a clothespin. Continue wrapping until covered.
- Reinsert the inner hoop and tighten the screw. Use yarn to tie a starting knot at the top of the outer ring.
- Weave a web by looping yarn every inch around the ring, adding one bead per loop. Pull taut after each turn.
- Write a goal on each tag, punch a hole, and tie tags to the bottom with yarn tails.


11. Goal Pathway Floor Mat
Moderate
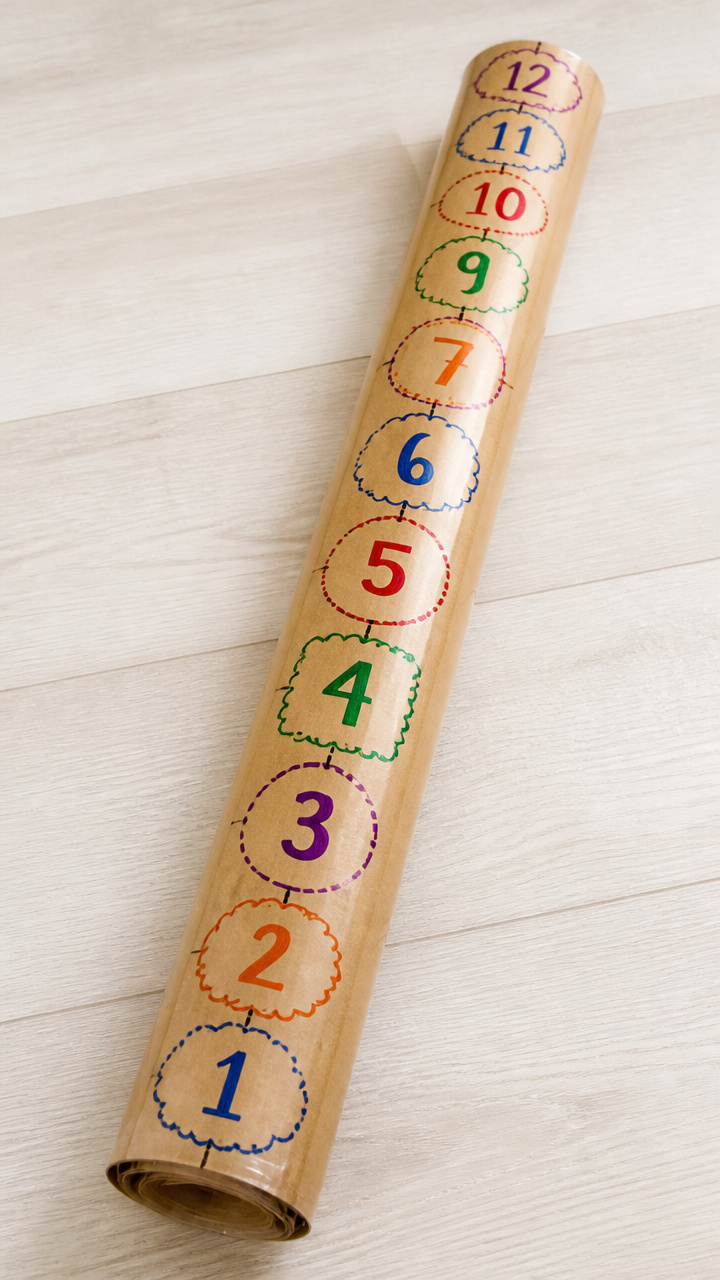
A roll-out paper path guides tiny feet forward, each step labeled with a milestone toward a big dream.
Materials Needed
- Kraft paper roll, 12 inches wide, 6 feet
- Washable markers, 6 sets
- Ruler, 12 inch, 6
- Painter's tape, 1 roll
- Laminating sheets, 6 (12 x 18 inches)
How to Make It
- Unroll kraft paper and cut a 6-foot strip. Use painter's tape to secure the ends to the floor.
- Draw 12 stepping stones spaced 6 inches apart using the ruler and a marker. Number them 1 to 12.
- Write a small step toward a goal in each stone, such as 'Ask one question in class' or 'Practice spelling 5 words'.
- Laminate each strip by feeding it through a laminator using the 12×18 sheet, then trim the edges.


12. Popsicle Stick Goal Ladder
Moderate
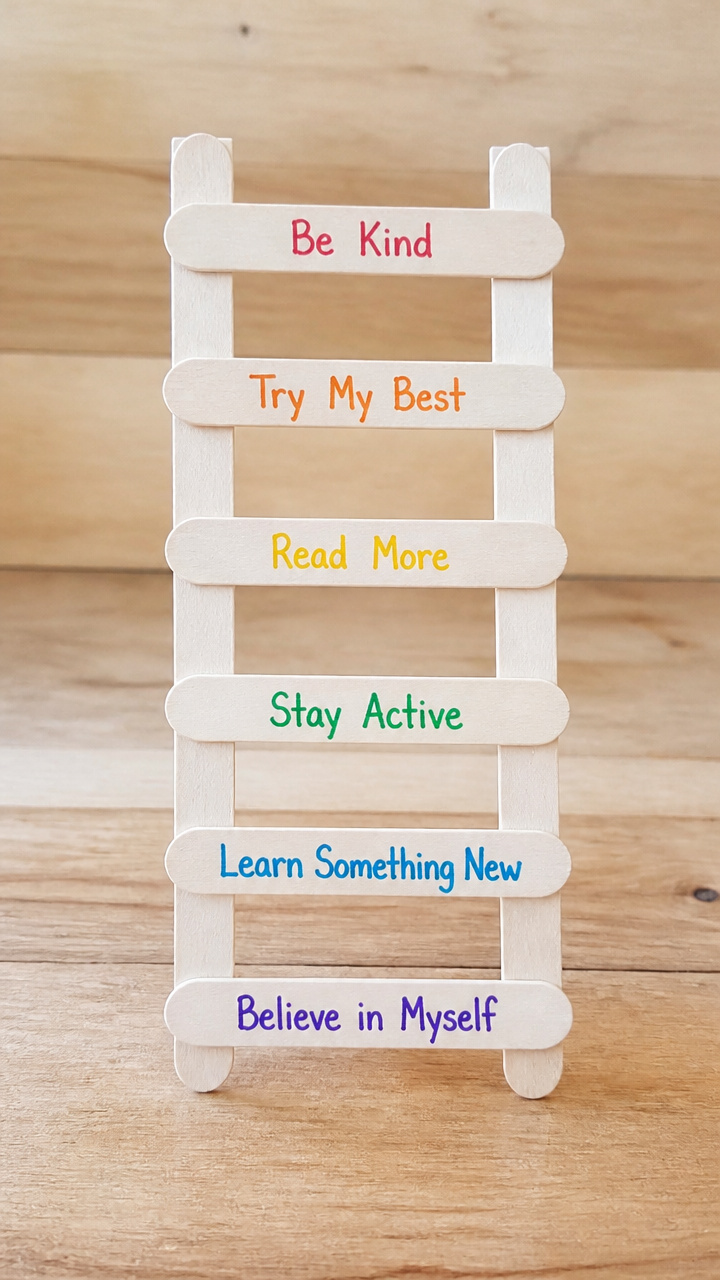
A tiny wooden ladder leans with purpose, each rung marked by a goal climbed and achieved.
Materials Needed
- Jumbo popsicle sticks, 48
- White glue, 6 bottles
- Ruler, 12 inch
- Fine-tip markers, 6
- Sandpaper (120 grit), 1 sheet
How to Make It
- Lay two popsicle sticks vertically, 4 inches apart. Place a third stick horizontally across them 1 inch from the bottom.
- Apply a dot of white glue at each end of the horizontal stick and press to secure. Let dry 10 minutes.
- Repeat every inch up the vertical sticks to create 5 rungs. Lightly sand rough edges with sandpaper.
- Write one goal on each rung, starting with easier ones at the bottom and bigger goals at the top.


13. Crayon Resist Goal Cards
Easy
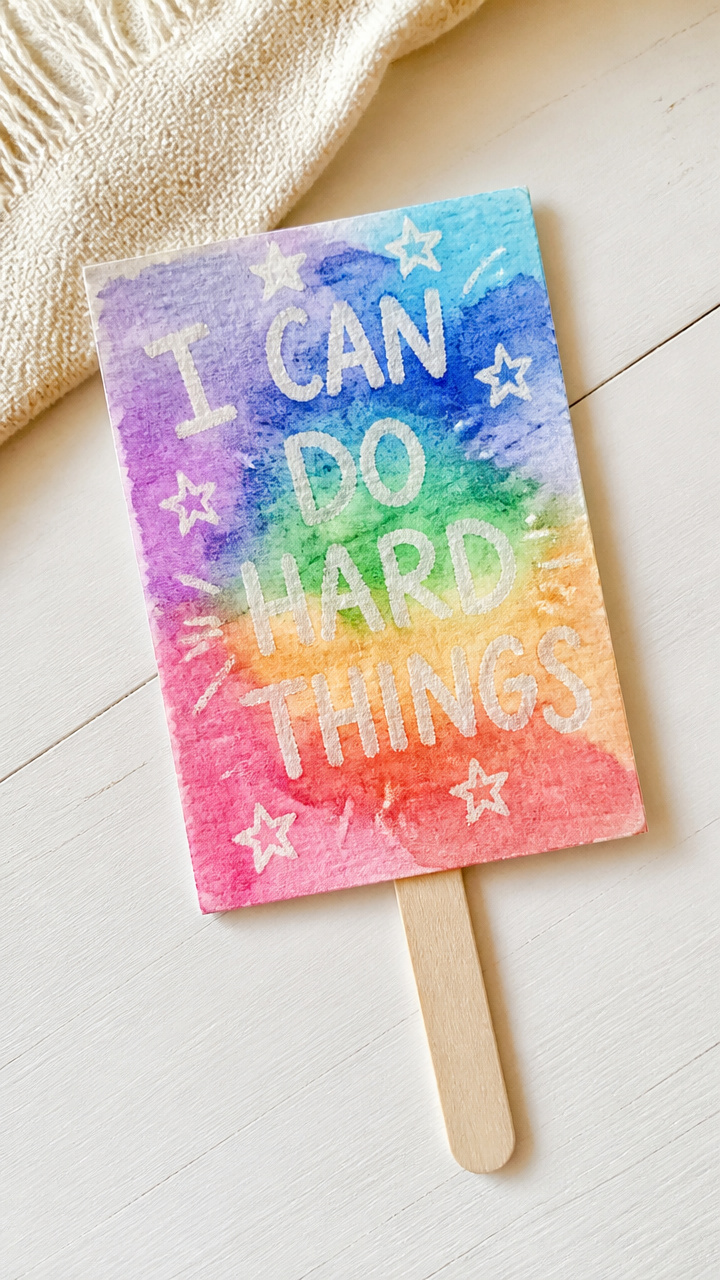
Hidden messages appear in color when painted over, revealing goals through a playful reveal.
Materials Needed
- White cardstock (5 x 7 inches), 6 sheets
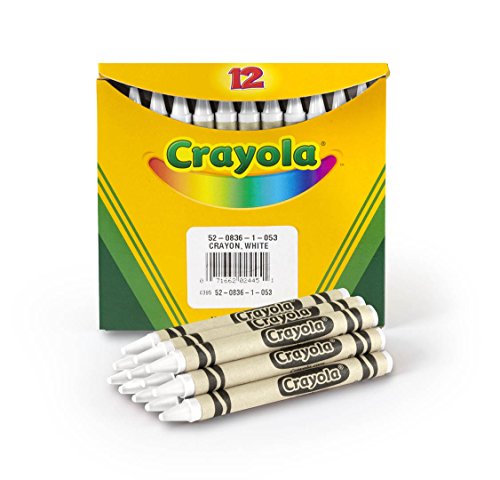
- White crayons, 6
- Watercolor paint set, 6
- Paintbrush, size 6, 6
- Cup of water, 6
- Popsicle sticks, 6
How to Make It
- Use a white crayon to write a goal in cursive or print on each cardstock rectangle. Press firmly.
- Dip a paintbrush in water and a color, then paint over the entire card to reveal the hidden message.
- Rinse the brush between colors if layering. Let cards dry flat for 20 minutes.
- Write the child's name on the back with a marker and attach a popsicle stick as a handle.


14. Photo Goal Frame
Easy
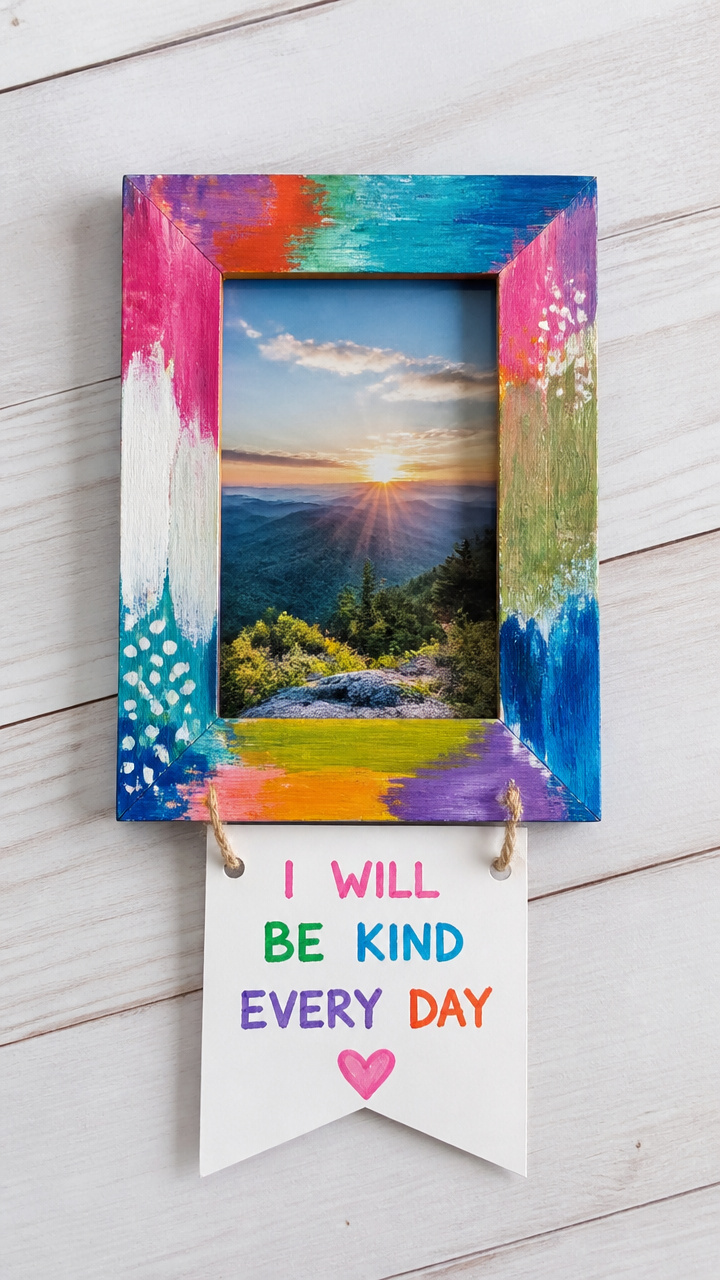
A decorated frame holds a current photo and a space below for a goal that shapes the year ahead.
Materials Needed
- Plain wooden photo frames (4 x 6 inches), 6
- Acrylic paint (assorted colors), 6 bottles
- Paintbrush, size 4, 6
- Glue dots, 1 pack
- 4 x 6 inch photo, 6
- Small paper banner, 6
How to Make It
- Paint the outer edge of each frame with acrylic paint. Choose a color that matches the child's favorite.
- Let paint dry for 15 minutes, then paint a second coat if needed. Dry completely for 30 minutes.
- Place a photo inside the frame. Use a glue dot to attach a paper banner below the glass.
- Write a goal on the banner, such as 'Be a good listener' or 'Try soccer'.


15. Origami Goal Cranes
Advanced
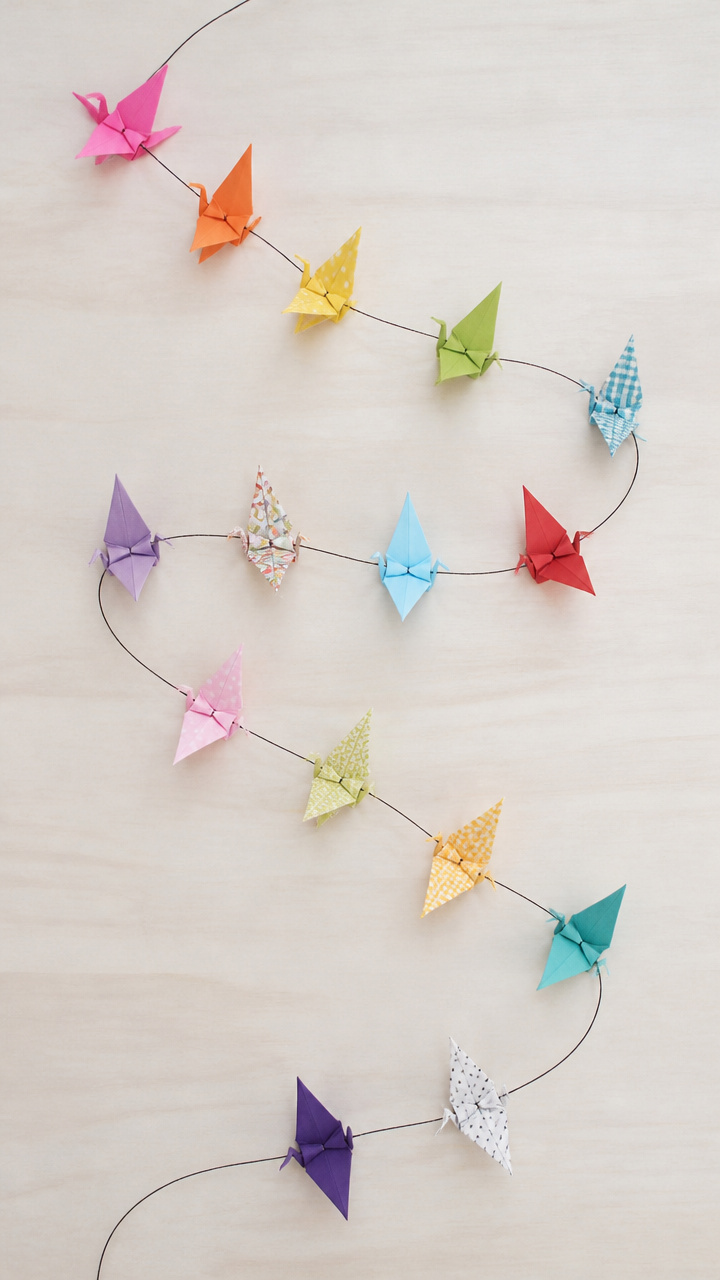
Each folded crane carries a whispered hope, a delicate symbol of patience and personal growth.
Materials Needed
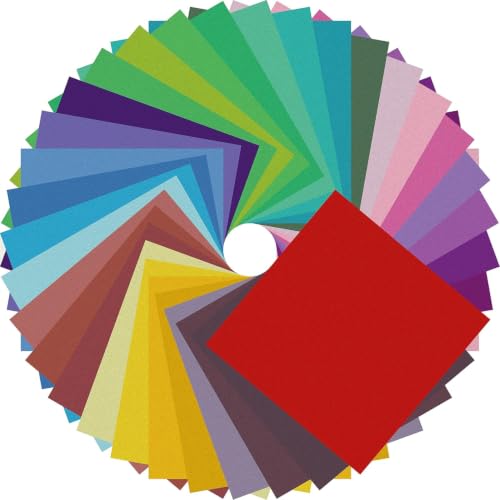
- Origami paper (6 x 6 inches), solid and patterned, 18 sheets
- Fine-tip pen, 1
- Small bowl, 6
- String, 6 feet
How to Make It
- Choose a paper square and lay it color-side down. Fold it diagonally to form a triangle, then unfold.
- Fold the paper diagonally the other way, crease well, and unfold to form an X.
- Follow standard origami crane steps: fold into a square base, then a bird base, then shape head, tail, and wings.
- Use the pen to write a one-word goal like 'Hope' or 'Joy' on the wing before the final fold.


16. Chalkboard Goal Pencils
Easy
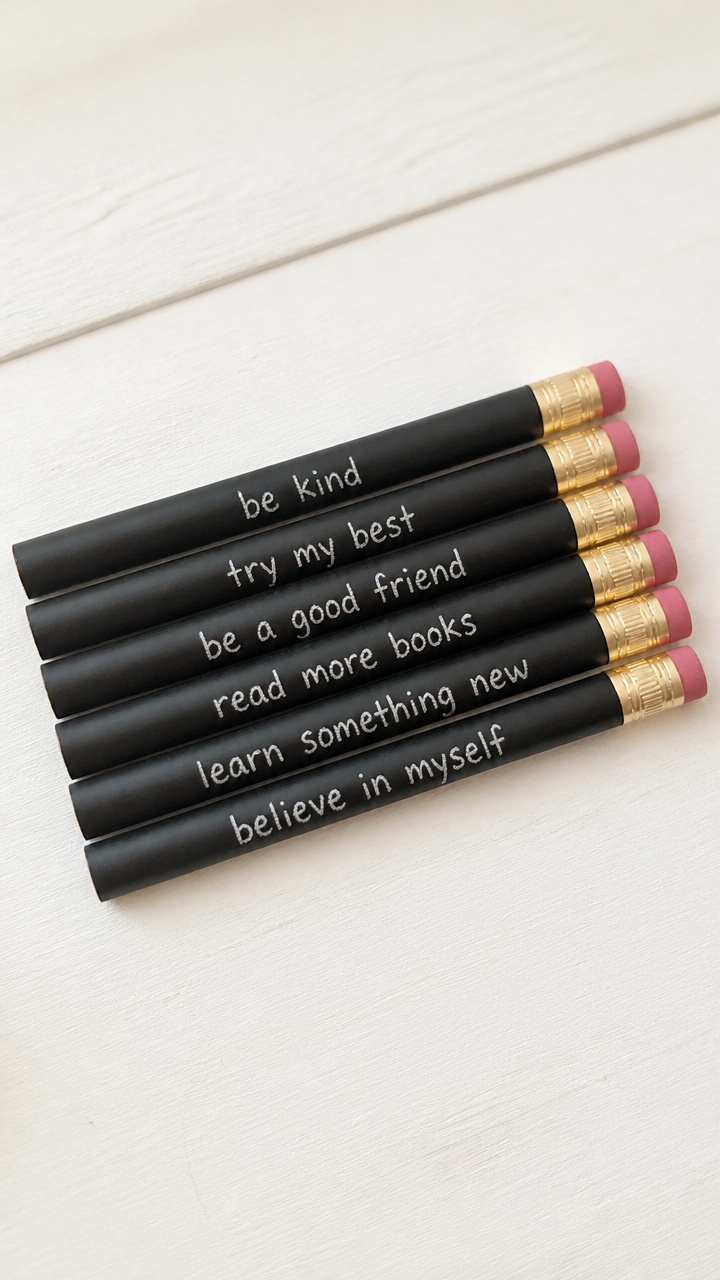
Plain pencils become tiny blackboards, each one labeled with a mini-goal to carry into daily work.
Materials Needed
- Unsharpened #2 pencils, 36
- Black vinyl chalkboard contact paper, 12 x 12 inch sheet
- Scissors, 6 pairs
- Chalk markers, 6 (white)
- Ruler, 12 inch
- Clear tape, 1 roll
How to Make It
- Cut the contact paper into 0.5 x 3 inch strips using the ruler and scissors.
- Wrap one strip around the middle of a pencil and secure with a small piece of clear tape.
- Use a chalk marker to write a micro-goal like 'Write neatly' or 'Stay on topic'.
- Let the ink dry for 2 minutes, then cap the marker and store pencils in a cup.


Pick one craft that sparks joy, gather your supplies, and let the quiet magic of making open the door to meaningful conversations.