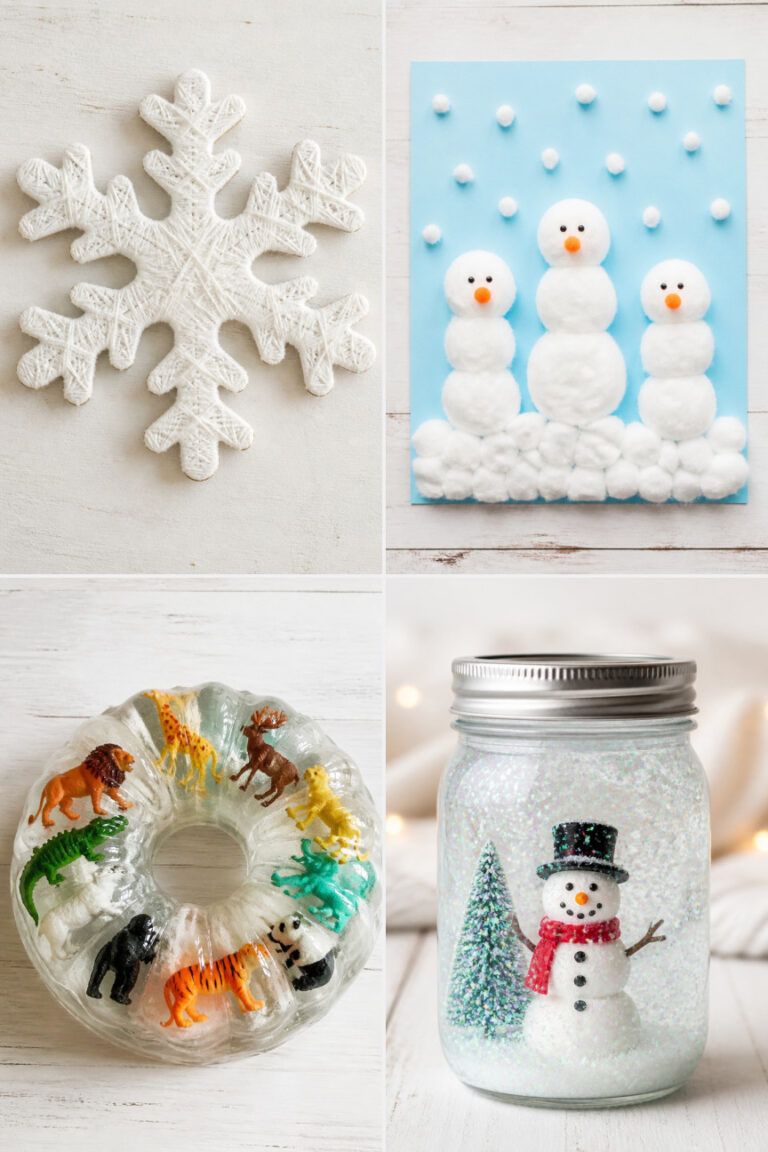
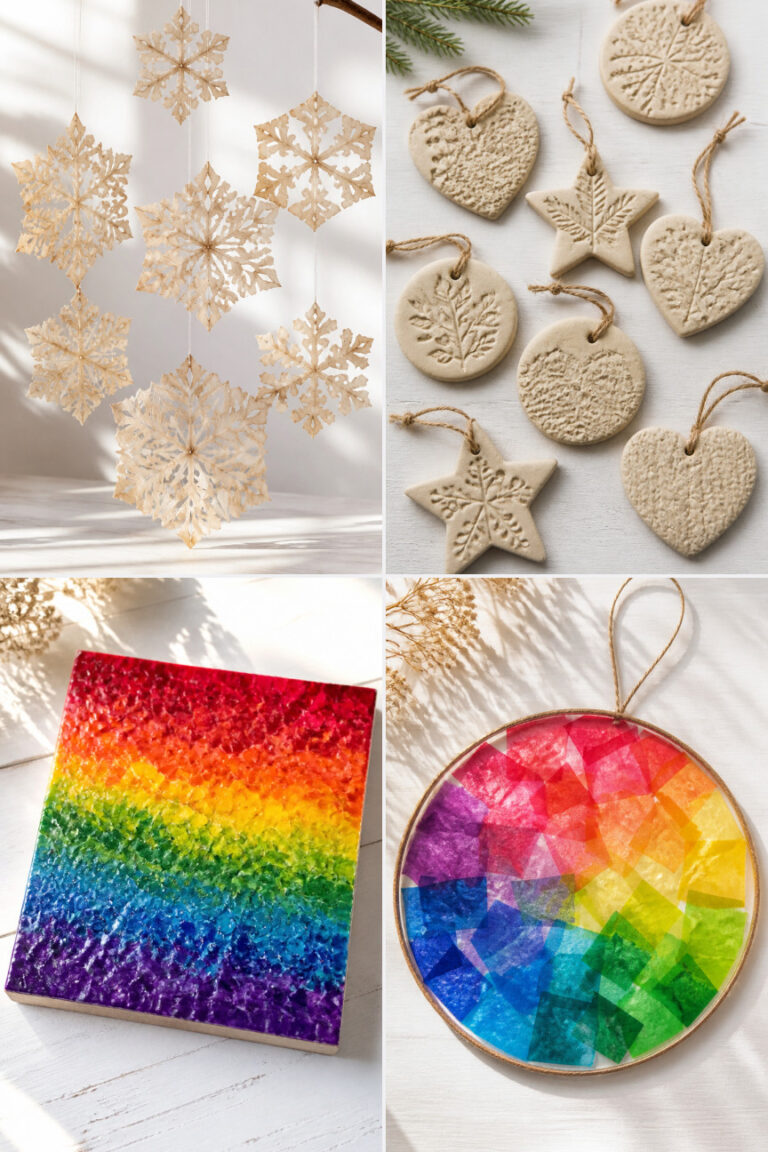
17 Simple Snowman Crafts for Toddlers

Cotton balls stick to glue in soft, snowy clumps, tiny mittens hold pipe cleaner arms, and googly eyes blink from lopsided smiles — snowman crafts spark instant joy in little hands. These projects invite giggles, boost fine motor skills, and turn basic supplies into winter magic.
No fancy tools or perfect symmetry required. Just easy, sensory-rich creations that keep toddlers focused, proud, and happily busy.
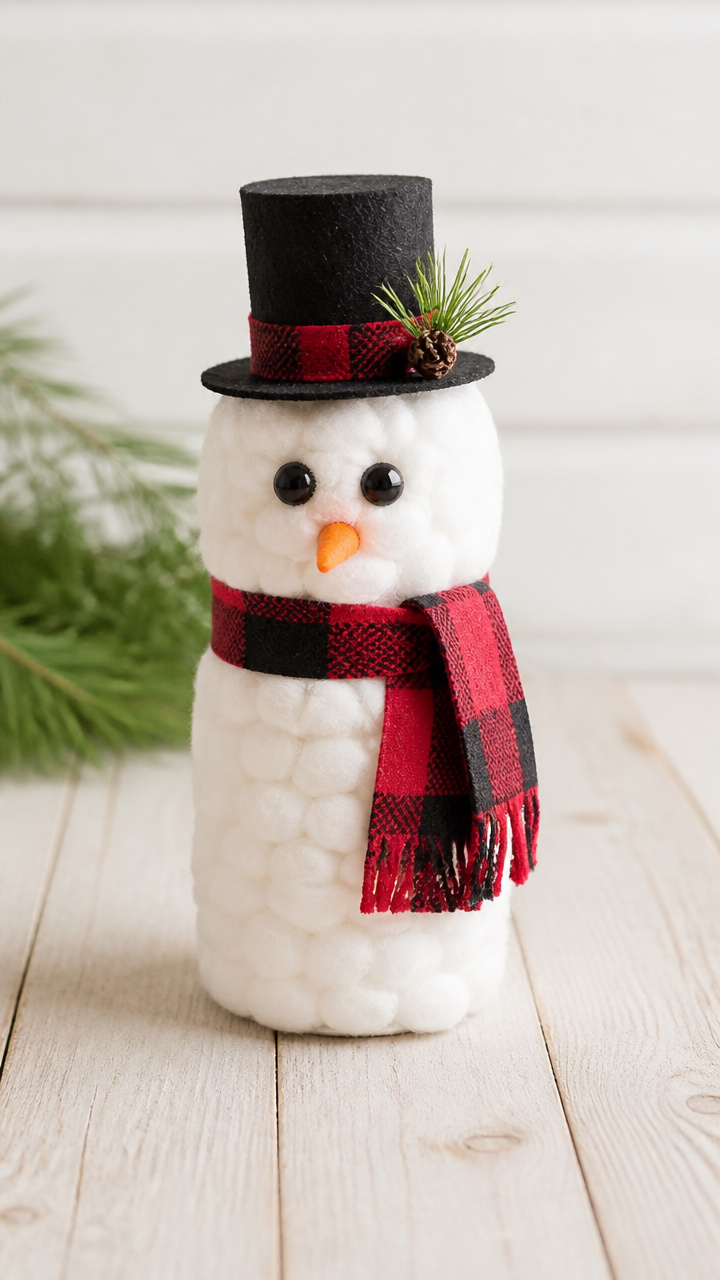
1. Cotton Ball Snowman
Easy
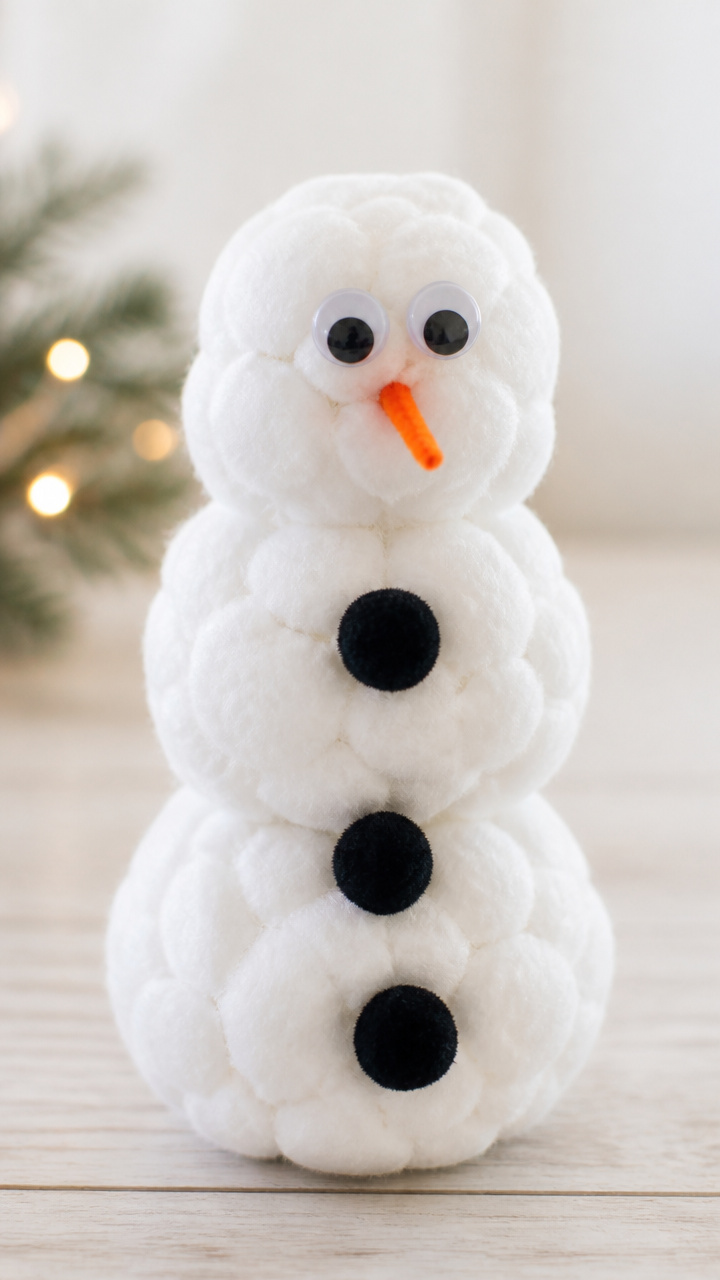
A fluffy, three-tiered snowman made entirely with cotton balls and glue, perfect for soft sensory play.
Materials Needed
- 12-inch tall cardboard tube (like from paper towels)
- White school glue
- Large pack of cotton balls (at least 50)
- 2 black pom-poms, 1cm diameter (2)
- Orange pipe cleaner (15cm long)
- Googly eyes, 1.5cm (2)
- Brown construction paper, 20cm x 20cm sheet
- Scissors
- Glue brush
How to Make It
- Cut the cardboard tube into three equal sections using scissors.
- Brush a thick ring of glue around the top edge of the bottom tube section, then press cotton balls all around the glued area until fully covered.
- Repeat gluing and cotton ball application to cover the entire bottom section, then let dry for 10 minutes.
- Glue the middle section on top of the bottom one, cover with more cotton balls using the same method, and dry for 10 minutes.
- Stack the smallest section on top for the head, cover with cotton balls, and let dry completely for 20 minutes.
- Glue two black pom-poms for eyes, bend the orange pipe cleaner into a carrot shape and glue as a nose, and add googly eyes on top.
- Cut a triangle scarf shape from the brown construction paper and glue around the neck area.


2. Pom-Pom Stack Snowman
Easy
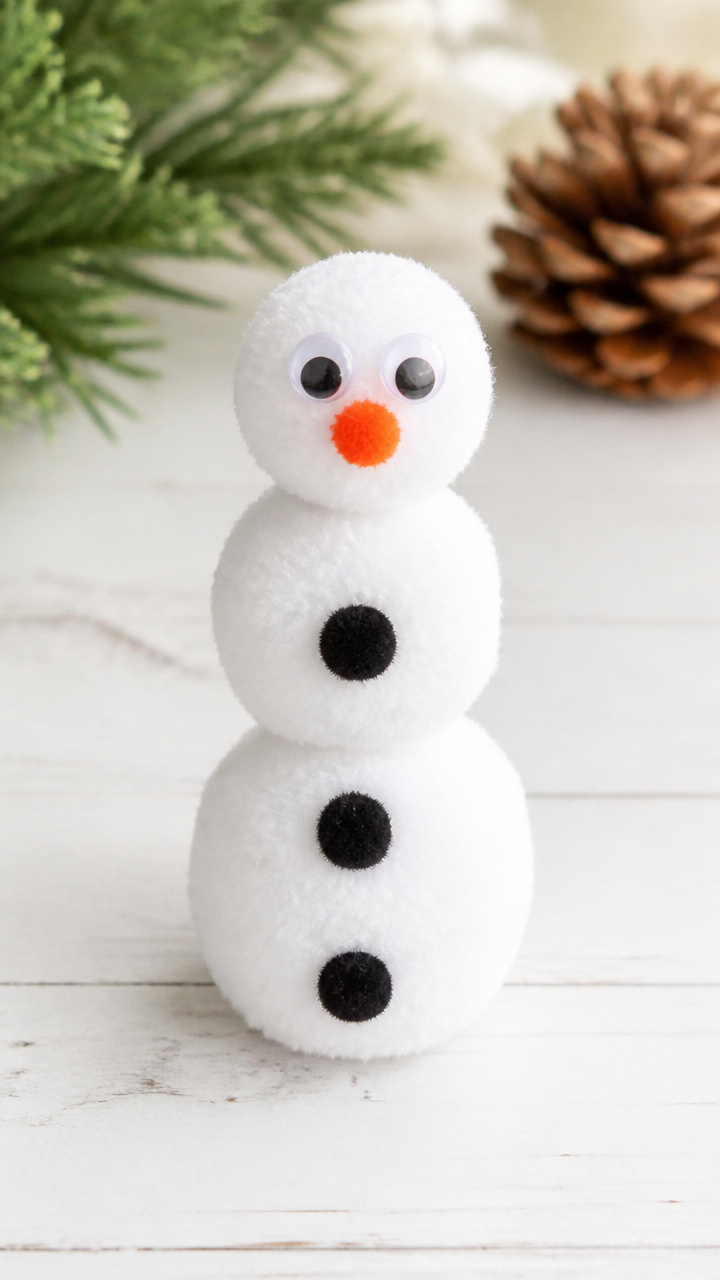
Brightly colored pom-poms stack into a cheerful snowman that fits in a child's palm.
Materials Needed
- Large white pom-pom, 4cm diameter (1)
- Medium white pom-pom, 3cm diameter (1)
- Small white pom-pom, 2cm diameter (1)
- Black pom-poms, 0.5cm (3)
- Orange pom-pom, 1cm diameter (1)
- Googly eyes, 1cm (2)
- Black chenille stem (pipe cleaner), 12cm
- Hot glue gun
- Glue sticks
How to Make It
- Plug in the hot glue gun and let it heat up for 3 minutes.
- Apply a small dot of hot glue to the top of the large pom-pom and press the medium pom-pom into place. Hold for 10 seconds.
- Glue the small pom-pom on top of the medium one the same way, holding until secure.
- Glue two googly eyes just below the top pom-pom.
- Press the orange pom-pom just beneath the eyes for the nose.
- Glue three black pom-poms vertically down the front of the large pom-pom for buttons.
- Wrap the black chenille stem around the neck area and twist the ends to secure as arms.


3. Paper Plate Snowman
Easy
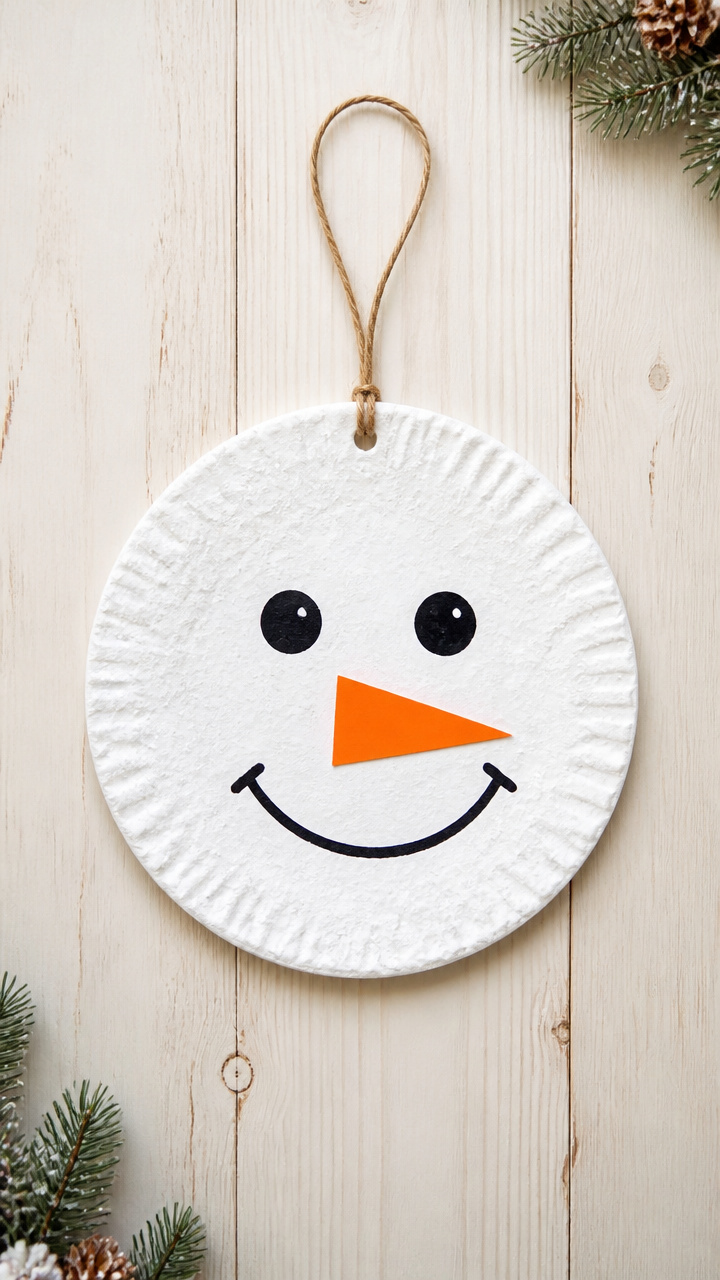
A full-sized smiling snowman face made from a single paper plate, ready to hang on the fridge.
Materials Needed
- White paper plate, 23cm diameter (1)
- Black acrylic paint
- Orange acrylic paint
- Paintbrush, size 4 round
- Black construction paper, 20cm x 20cm sheet
- Scissors
- White school glue
- Brown pipe cleaner, 10cm
- Glue stick
How to Make It
- Paint two large eyes and a curved smiling mouth on the top half of the paper plate using black acrylic paint. Let dry for 15 minutes.
- Paint an orange triangle nose in the center of the plate and let dry for 10 minutes.
- Cut two small ear muffs from the black construction paper, each 5cm wide and 2cm tall.
- Glue the ear muffs to the top edges of the plate using white school glue.
- Cut the brown pipe cleaner in half and glue one piece on each side of the plate for arms.
- Use a glue stick to attach three small black paper circles as buttons down the center.


4. Snowman Handprint Art
Easy
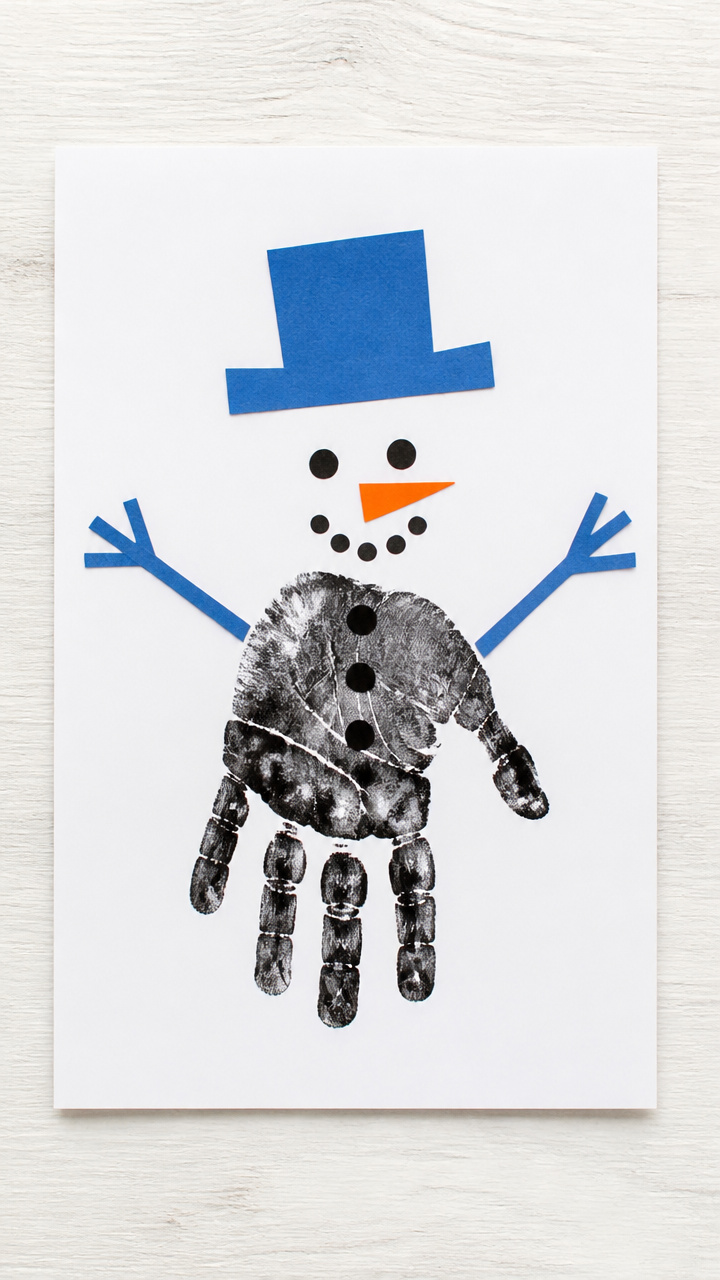
A keepsake snowman made from a toddler's painted handprint, with arms and a hat added later.
Materials Needed
- White cardstock, A4 size (1 sheet)
- Black tempera paint
- Orange tempera paint
- Blue construction paper, 25cm x 25cm sheet
- Paint tray
- Paintbrush, 1cm flat
- Black marker
- Scissors
- White school glue
How to Make It
- Pour a small pool of black tempera paint onto the paint tray.
- Press the toddler's open hand into the paint, fingers together, then firmly press it vertically on the left side of the cardstock. Lift straight up.
- Let the handprint dry completely for 20 minutes.
- Use the black marker to draw a top hat above the handprint, connecting it to the wrist area.
- Paint an orange triangle nose near the thumb using orange tempera paint and a brush.
- Cut two small arms from the blue construction paper, each 8cm long and 1cm wide.
- Glue the arms to the sides of the handprint body using white school glue.


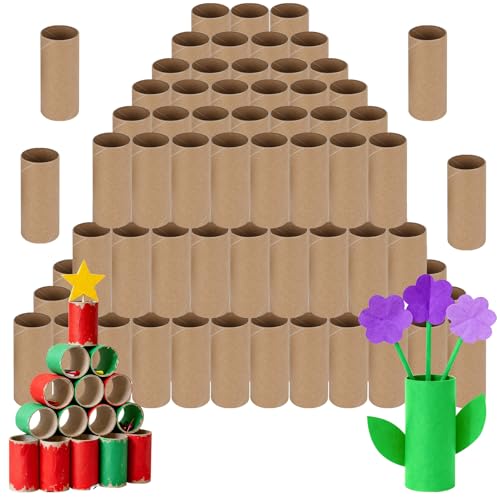
5. Toilet Paper Roll Snowman
Easy
A standing snowman made from a wrapped toilet paper roll, dressed with a tiny scarf and hat.
Materials Needed
- Empty toilet paper roll (1)
- White acrylic paint
- Paintbrush, size 6
- White school glue
- Cotton balls (15)
- Black acrylic paint
- Orange acrylic paint
- Red felt sheet, 10cm x 10cm
- Black chenille stem, 10cm
- Scissors
- Glue stick
How to Make It
- Paint the entire toilet paper roll with white acrylic paint using the paintbrush. Let dry for 15 minutes.
- Apply a thin layer of white school glue to the top half of the roll and press cotton balls all over to create a fluffy head. Dry for 10 minutes.
- Paint two black eyes and a small mouth on the head using black acrylic paint. Let dry for 5 minutes.
- Paint an orange triangle nose just below the eyes. Let dry for 5 minutes.
- Cut a 2cm x 8cm strip from the red felt and glue around the neck area with a glue stick.
- Cut the chenille stem in half and glue one piece on each side of the roll for arms.


6. Snowman with Button Nose
Easy
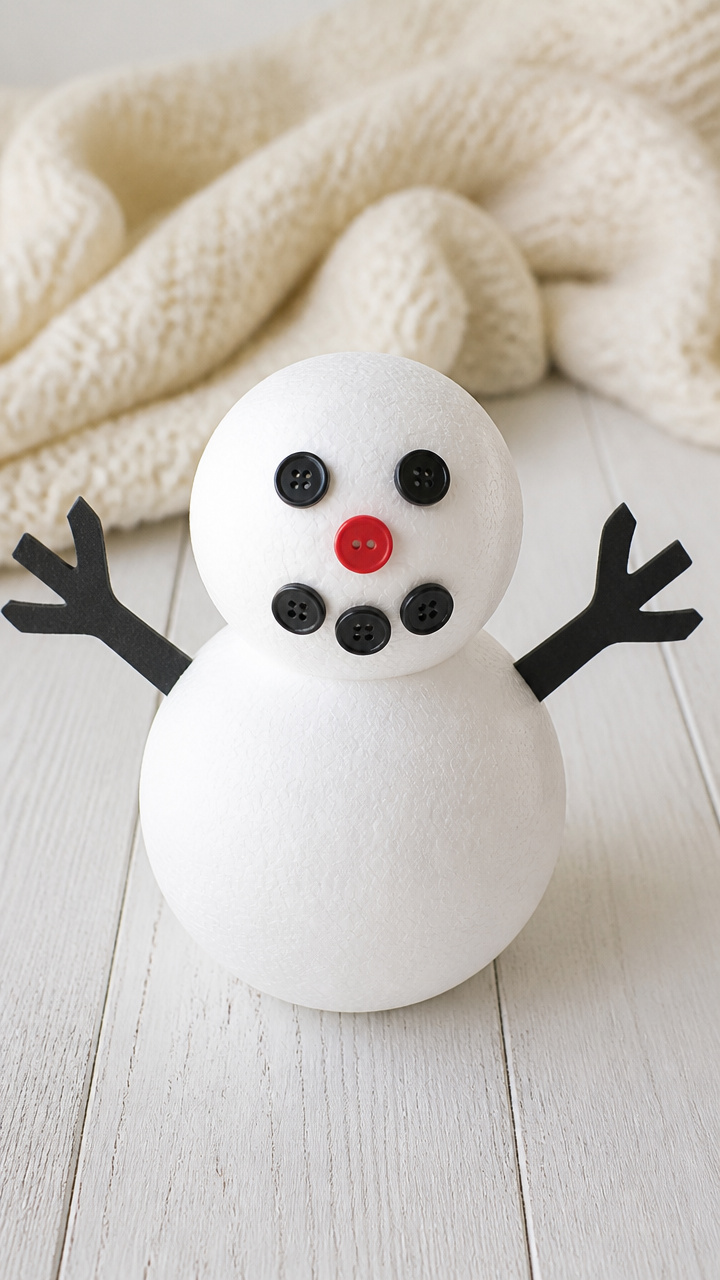
A playful snowman who trades the usual carrot for a bright red button nose.
Materials Needed
- White craft foam sheet, 30cm x 30cm
- Black craft foam sheet, 10cm x 10cm
- Red craft foam sheet, 10cm x 10cm
- White school glue
- Scissors
- 3 black buttons, 1cm diameter
- Glue gun
- Glue sticks
How to Make It
- Cut the white craft foam into three decreasing circles: 8cm, 6cm, and 4cm diameter.
- Stack the circles vertically on a flat surface, largest on bottom, and glue the edges together with white school glue. Let dry 10 minutes.
- Cut two small eyes and a top hat from the black craft foam.
- Glue the eyes and hat in place on the top circle using white school glue.
- Glue three black buttons down the center of the large circle for buttons.
- Use the glue gun to attach a small red button from the red craft foam sheet as the nose.


7. Snowman in a Jar
Moderate
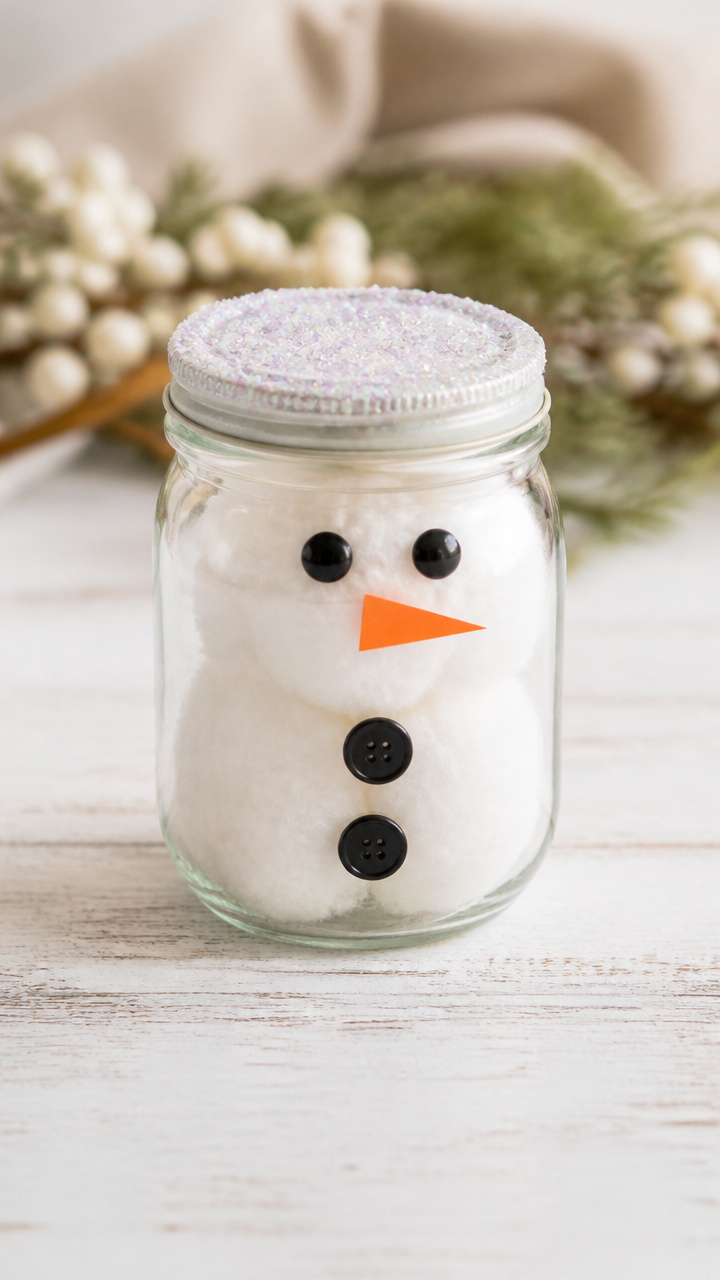
A mini snowman lives inside a clear jar, dusted with glitter snow and sealed for safe play.
Materials Needed
- Clear glass jar with lid, 150ml size (1)
- White acrylic paint
- Paintbrush, size 2 round
- Cotton balls (10)
- Black acrylic paint
- Orange acrylic paint
- Fine white glitter
- White school glue
- Small pine twig, 5cm long (2)
- Hot glue gun
- Glue sticks
How to Make It
- Paint the inside of the jar lid with white acrylic paint using the brush. Let dry for 15 minutes.
- Glue a small cotton ball to the center of the painted lid using white school glue. Let dry 10 minutes.
- Paint two black eyes and a small mouth on the cotton ball with black acrylic paint. Let dry 5 minutes.
- Paint an orange triangle nose below the mouth. Let dry 5 minutes.
- Sprinkle a pinch of white glitter around the cotton ball to look like snow.
- Use the hot glue gun to attach one pine twig to each side of the lid for arms.
- Screw the lid tightly onto the jar so the snowman appears to stand inside.


8. Popsicle Stick Snowman
Easy
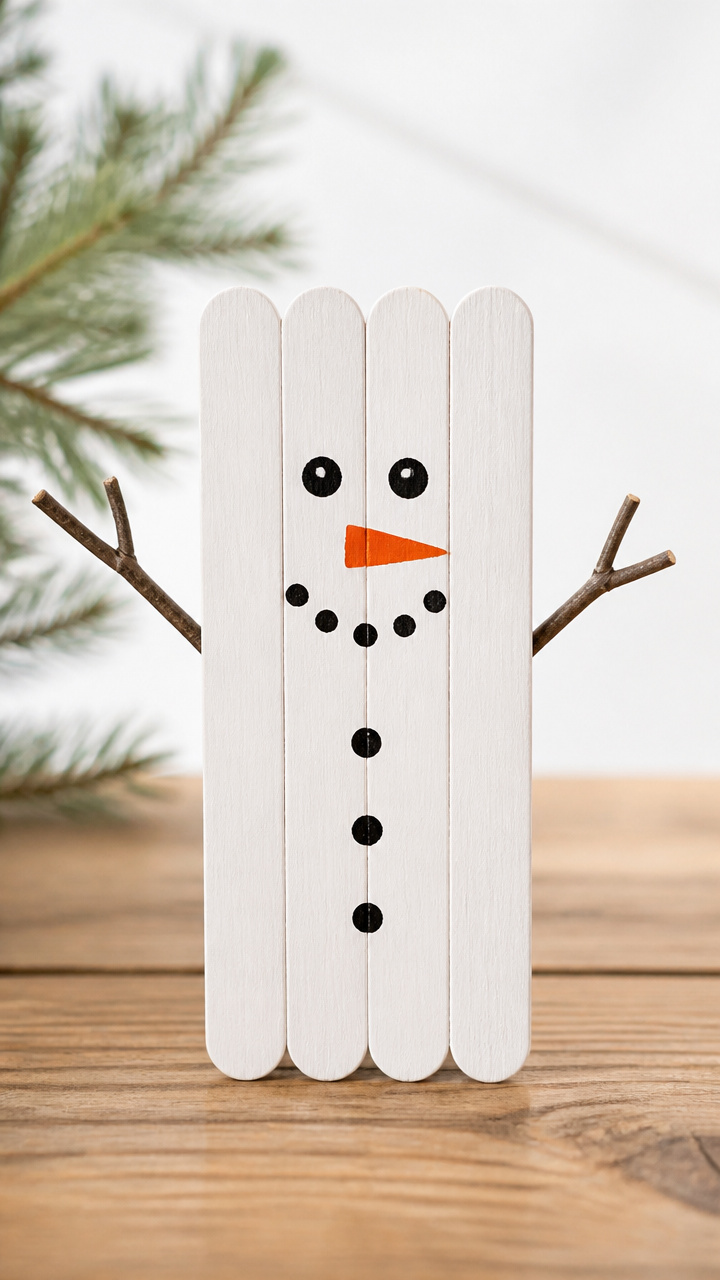
Five flat wooden sticks become a standing snowman with painted details and twig arms.
Materials Needed
- Flat wooden craft sticks, 11cm long (5)
- White acrylic paint
- Black acrylic paint
- Orange acrylic paint
- Paintbrush, size 2 round
- White school glue
- Small pine twigs, 4cm long (2)
- Scissors
How to Make It
- Paint three craft sticks white using the paintbrush and let dry for 15 minutes.
- Lay one white stick vertically on the table. Glue a second white stick horizontally across the top third for the head support.
- Glue the third white stick horizontally across the bottom third for the base support.
- Paint two black eyes and a small mouth on the top stick using black paint. Let dry 5 minutes.
- Paint an orange triangle nose below the mouth. Let dry 5 minutes.
- Glue one pine twig to each side of the middle stick for arms.
9. Snowman Finger Puppet
Easy
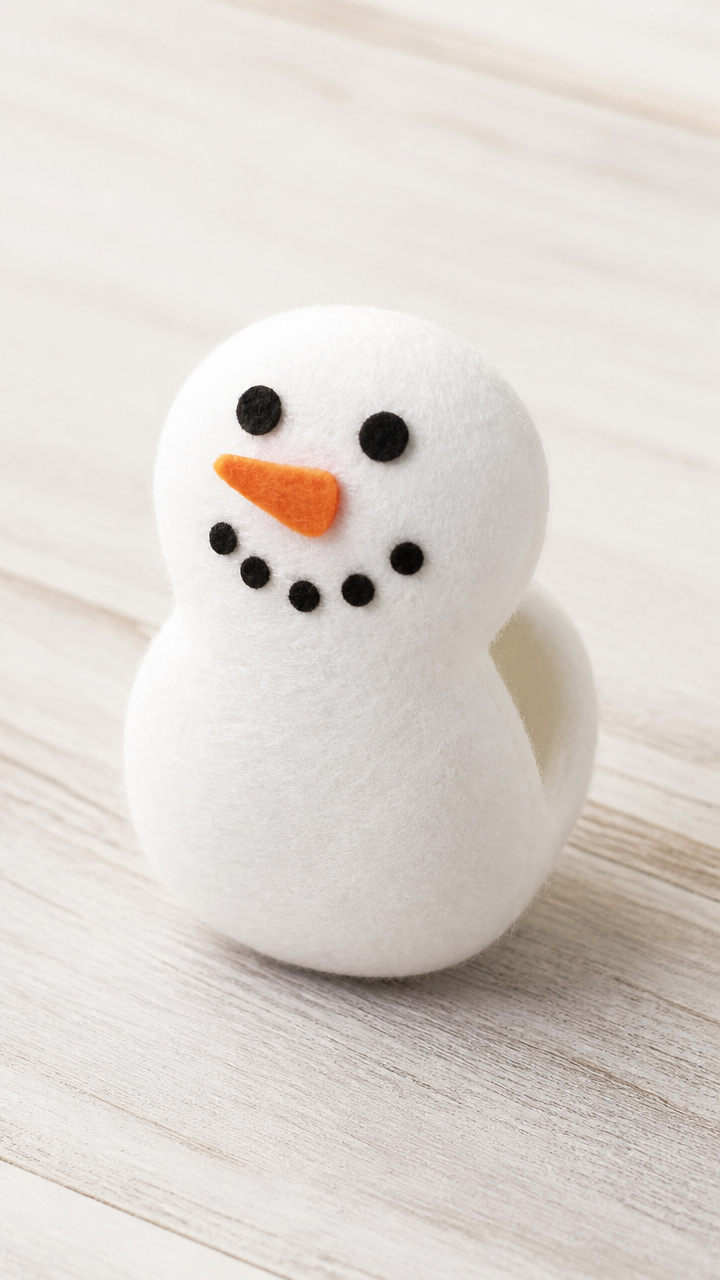
A tiny snowman with a hole in the back so a finger can bring him to life.
Materials Needed
- White felt sheet, 15cm x 15cm
- Black felt sheet, 10cm x 10cm
- Orange felt sheet, 5cm x 5cm
- Needle and white thread
- Scissors
- Pencil
- Ruler
- 3 black buttons, 0.8cm
- White school glue
How to Make It
- Use the pencil and ruler to draw a 6cm tall snowman shape on the white felt: three stacked circles.
- Cut out the shape with scissors.
- Cut two small eyes and a top hat from the black felt.
- Glue the eyes and hat to the head area with white school glue. Let dry 5 minutes.
- Cut a small triangle nose from the orange felt and glue below the eyes. Let dry 5 minutes.
- Sew three black buttons down the center of the body with white thread.
- Fold the shape in half vertically and sew the two sides together, leaving the top and bottom open.
10. Snowman with Scarf Weave
Moderate
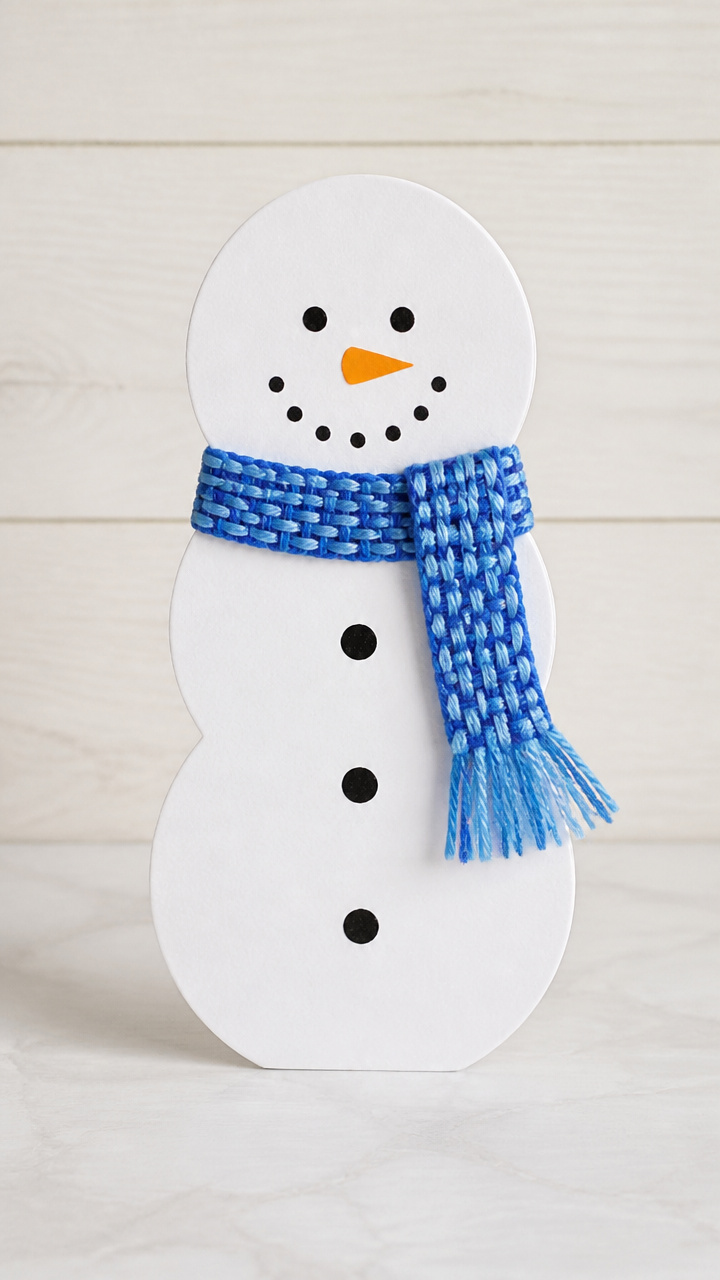
A cardboard snowman with a real woven scarf made from yarn strips.
Materials Needed
- White cardstock, A4 size (1 sheet)
- Pencil
- Scissors
- Ruler
- Blue yarn, 1mm thickness
- Cardboard, 10cm x 10cm piece
- White school glue
- Black marker
- Orange marker
- Craft knife
How to Make It
- Draw a 15cm tall snowman outline on the cardstock: three stacked circles. Cut out with scissors.
- Use the craft knife to cut two horizontal slits, 1cm apart, near the neck area of the snowman.
- Cut the cardboard into a 10cm square and make vertical slits every 1cm along the top and bottom edges.
- Cut ten 30cm strands of blue yarn.
- Weave the yarn strands vertically through the cardboard loom, alternating over and under.
- Glue the woven scarf ends to the back of the snowman, threading the scarf through the neck slits.
- Draw eyes, mouth, and orange nose with markers.


11. Snowman Rock Painting
Easy
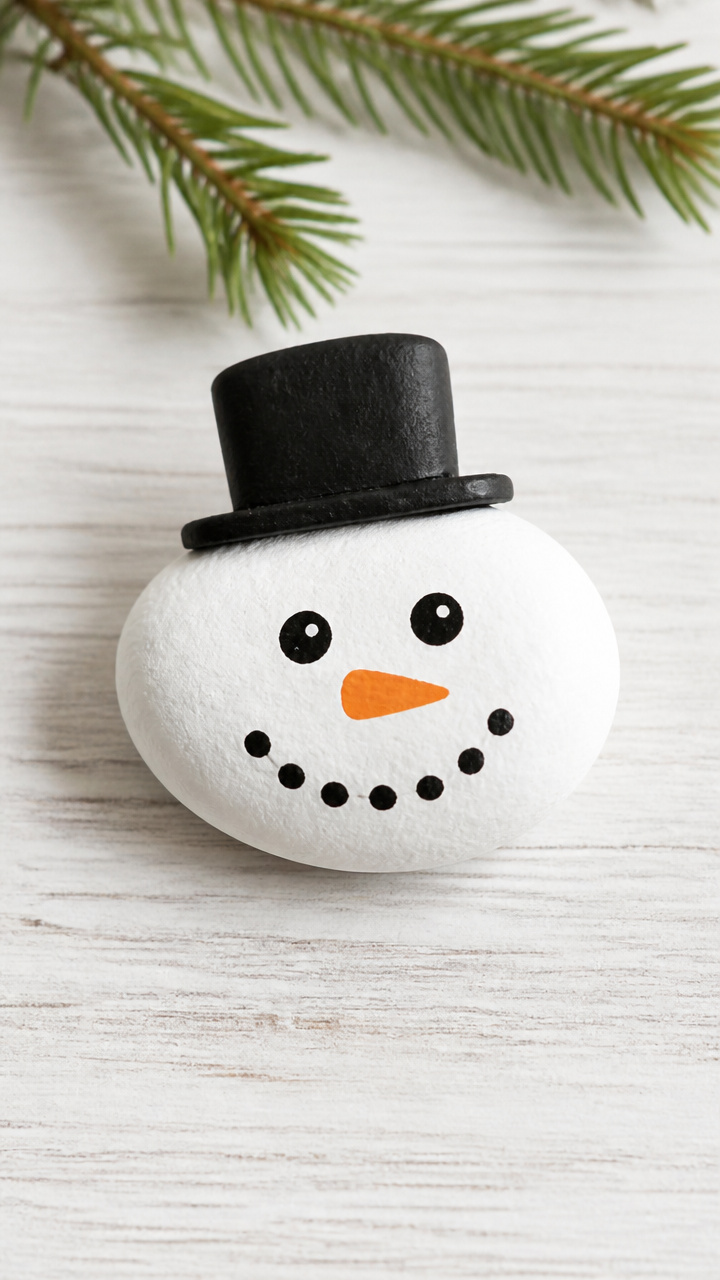
A smooth river rock becomes a smiling snowman with painted details and a tiny hat.
Materials Needed
- Smooth river rock, palm-sized (1)
- White acrylic paint
- Black acrylic paint
- Orange acrylic paint
- Paintbrush, size 1 round
- Black permanent marker
- Small black foam circle, 2cm diameter (1)
- White school glue
How to Make It
- Paint the entire rock with white acrylic paint using the brush. Let dry for 20 minutes.
- Paint two small eyes and a curved mouth with black acrylic paint. Let dry for 10 minutes.
- Paint an orange triangle nose just below the eyes. Let dry for 10 minutes.
- Draw three small black buttons down the center with the permanent marker.
- Glue the black foam circle on top of the rock as a hat.


12. Snowman Pasta Necklace
Easy
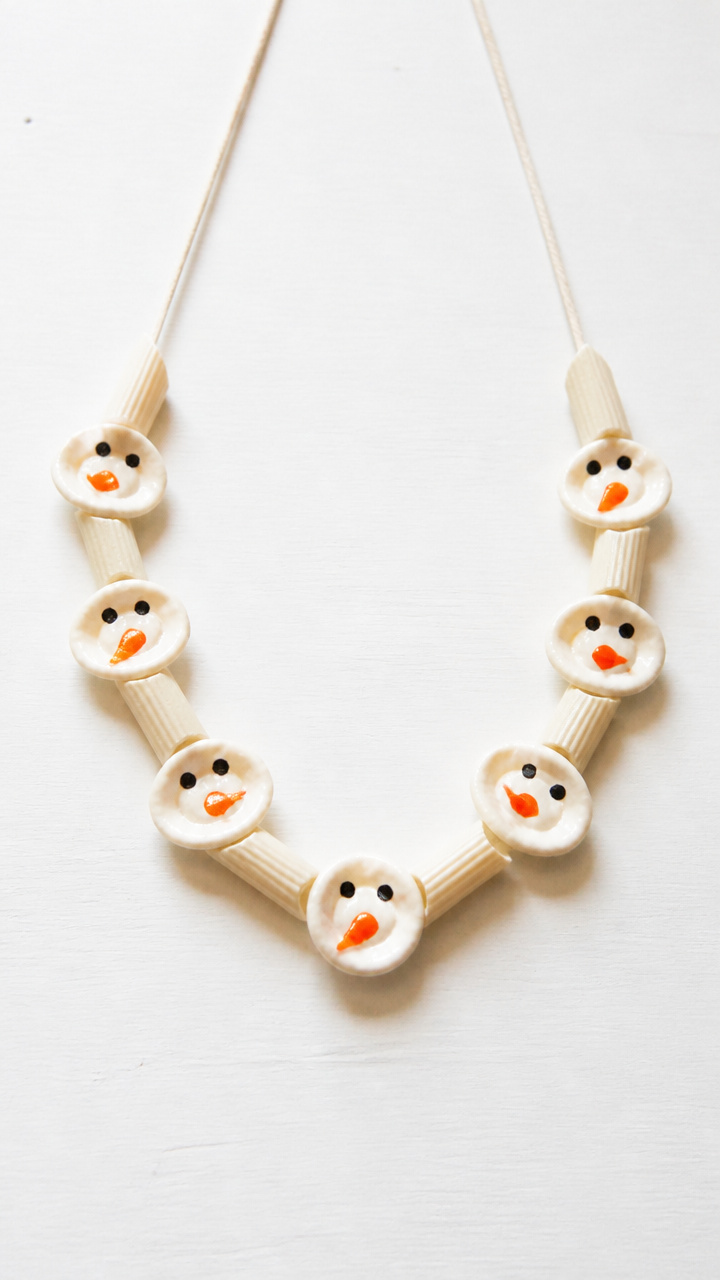
Edible-looking pasta rings and penne tubes string into a wearable snowman face necklace.
Materials Needed
- Orecchiette pasta, 20 pieces
- Penne pasta, 10 pieces
- White acrylic paint
- Black acrylic paint
- Orange acrylic paint
- Paintbrush, size 1 round
- Yarn, 60cm long, blue
- Tape
- Needle
How to Make It
- Paint 10 orecchiette pieces white and let dry for 15 minutes.
- Paint 5 penne pieces white for the body and dry for 15 minutes.
- Paint two black eyes and a small mouth on one white orecchiette piece. Let dry 10 minutes.
- Paint an orange triangle nose on the same piece. Let dry 10 minutes.
- Tape one end of the yarn and thread the needle onto the other end.
- String the painted orecchiette as the head, then add three white penne pieces below as the body.
- Tie the ends of the yarn together to form a loop.


13. Snowman Bubble Art
Easy
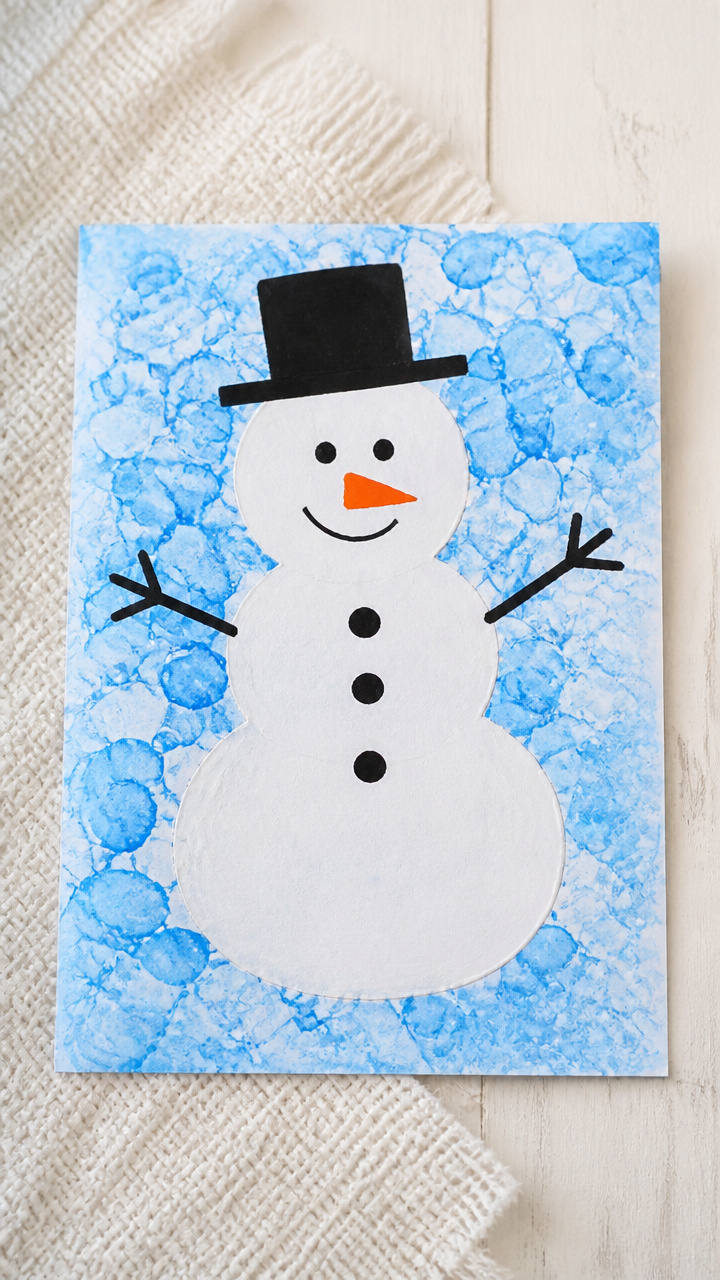
Blowing bubbles through a straw creates a snowy background for a simple snowman drawing.
Materials Needed
- White cardstock, A4 size (1 sheet)
- Blue liquid watercolor paint
- Straw
- Small bowl
- Pencil
- Black marker
- Orange marker
- Cotton swabs (3)
How to Make It
- Pour 2 tablespoons of blue liquid watercolor into the bowl.
- Dip the straw into the paint and blow gently through the other end until bubbles rise and spill over onto the cardstock. Let dry 15 minutes.
- Use the pencil to lightly sketch a three-circle snowman in the center.
- Trace the sketch with the black marker and add two eyes and a mouth.
- Draw an orange carrot nose with the orange marker.
- Dab three cotton swabs in white paint and press below the head for buttons. Let dry.


14. Snowman from Socks
Moderate
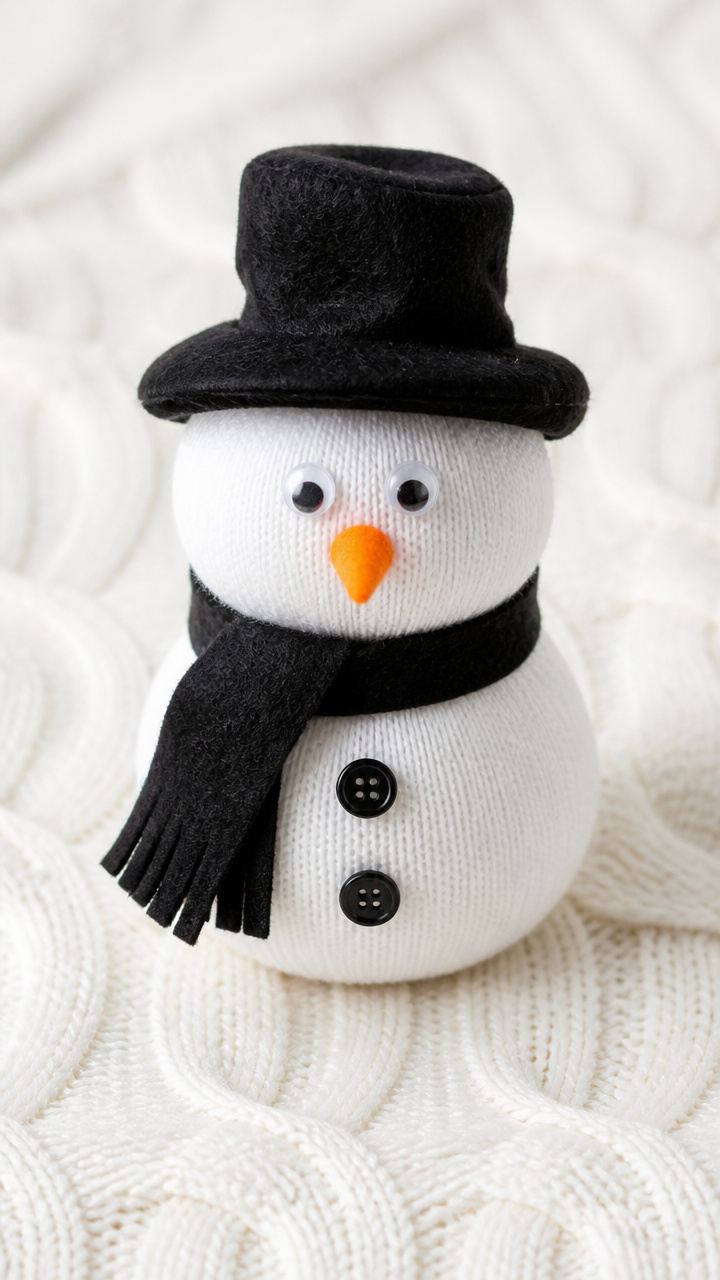
An old white sock becomes a soft, stuffed snowman with ribbon details.
Materials Needed
- Clean white ankle sock (1)
- Polyester stuffing (50g)
- Rubber band
- Black felt, 5cm x 5cm sheet
- Orange felt, 5cm x 5cm sheet
- Googly eyes, 1cm (2)
- Red ribbon, 2cm wide, 15cm long
- Needle and black thread
- Scissors
How to Make It
- Fill the toe of the sock with polyester stuffing until it forms a firm 4cm ball.
- Tie a rubber band around the sock just above the stuffed part to form the head.
- Stuff the lower part of the sock loosely to create the body and tie another rubber band at the top to seal.
- Cut two small eyes and a top hat from the black felt.
- Sew the eyes and hat onto the head with black thread.
- Cut an orange triangle nose from the orange felt and sew in place.
- Tie the red ribbon around the neck area and glue googly eyes on top.


15. Snowman Sticker Scene
Easy
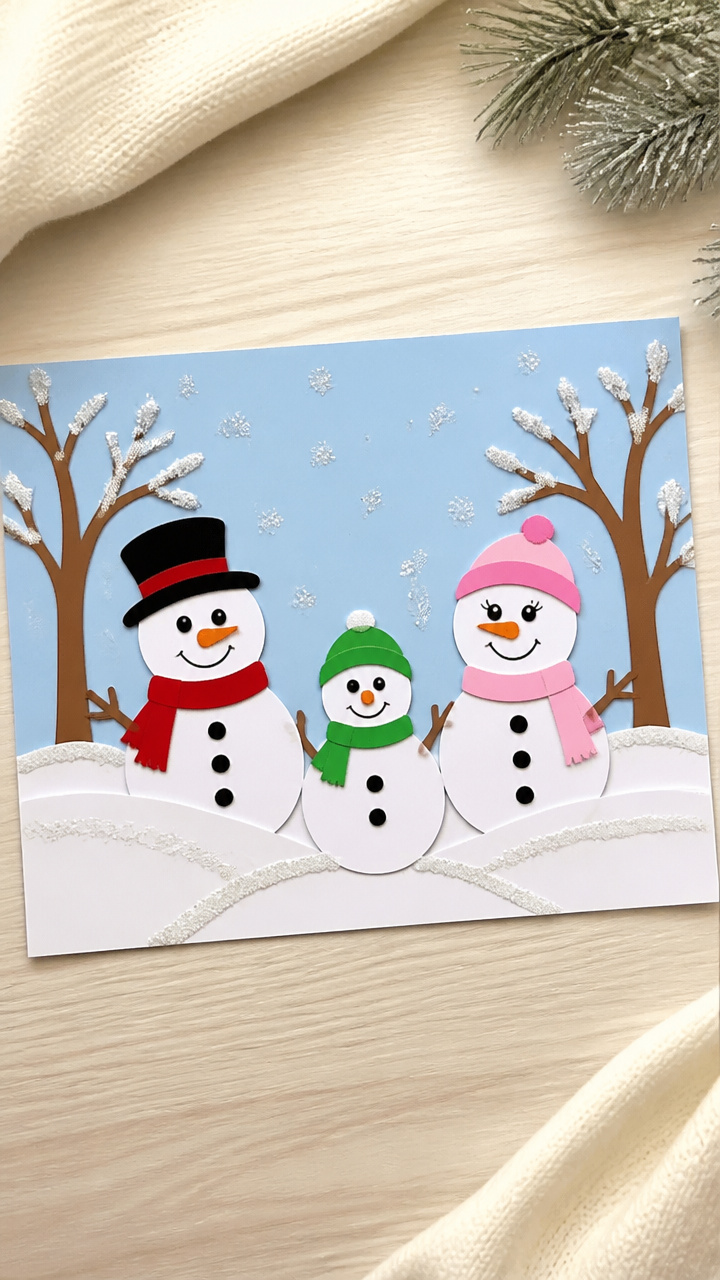
Pre-cut stickers arrange into a snowy landscape with a cheerful snowman family.
Materials Needed
- White cardstock, A4 size (1 sheet)
- Snowman sticker set with hats and scarves (1 sheet)
- Blue washable crayon
- Brown crayon
- Black crayon
- Glitter glue pen, clear with white glitter
How to Make It
- Color the bottom third of the cardstock with the blue crayon to make snow.
- Draw two small tree trunks with the brown crayon and add triangular tops with the black crayon.
- Peel and place three snowman stickers in a row on the snow.
- Add three dots below each snowman with the glitter glue pen to look like footprints.
- Let the glitter glue dry for 10 minutes.


16. Snowman with Q-Tip Arms
Easy
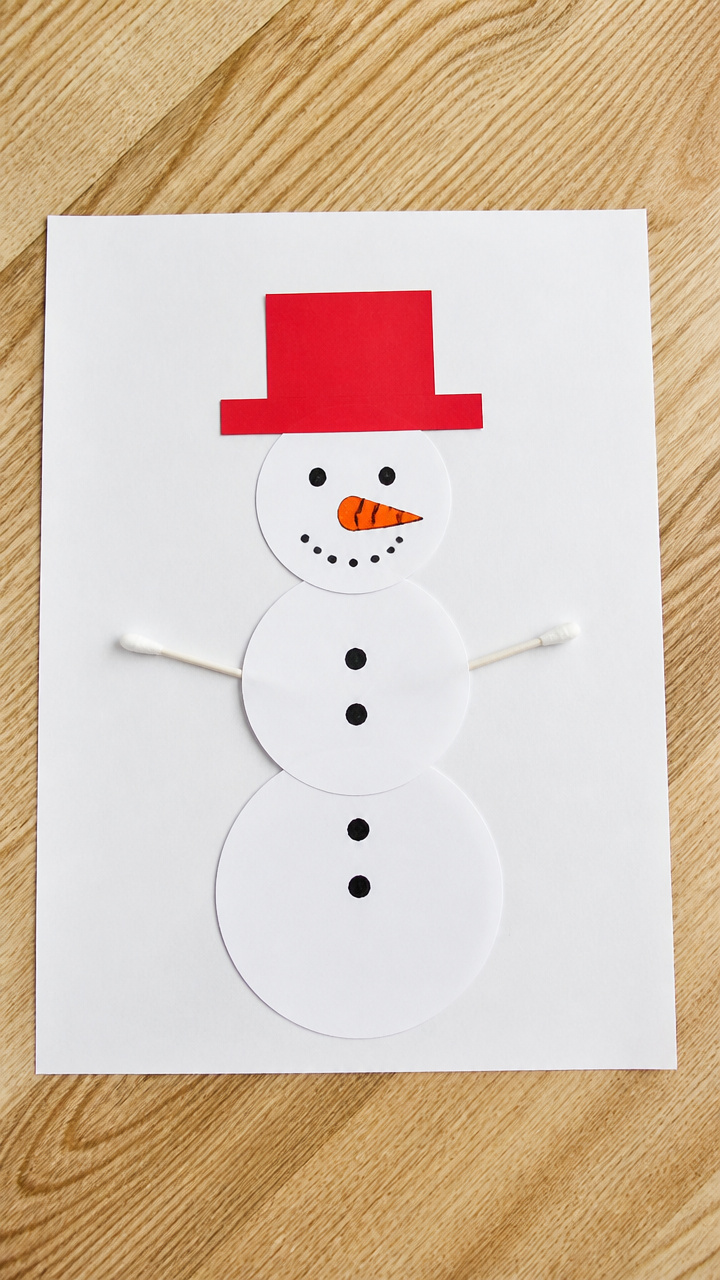
Cotton swabs become stiff little arms waving from a paper snowman body.
Materials Needed
- White printer paper, A4 size (1 sheet)
- Black marker
- Orange marker
- Glue stick
- Cotton swabs (2)
- Red construction paper, 10cm x 10cm sheet
- Scissors
How to Make It
- Fold the printer paper in half vertically and draw half a snowman along the fold line.
- Cut out the shape and unfold to reveal a symmetrical snowman.
- Draw two eyes and a mouth with the black marker.
- Draw an orange carrot nose with the orange marker.
- Cut a small triangle scarf from the red construction paper.
- Glue the scarf around the neck with a glue stick.
- Glue one cotton swab to each side of the body for arms.


17. Snowman Salt Painting
Moderate
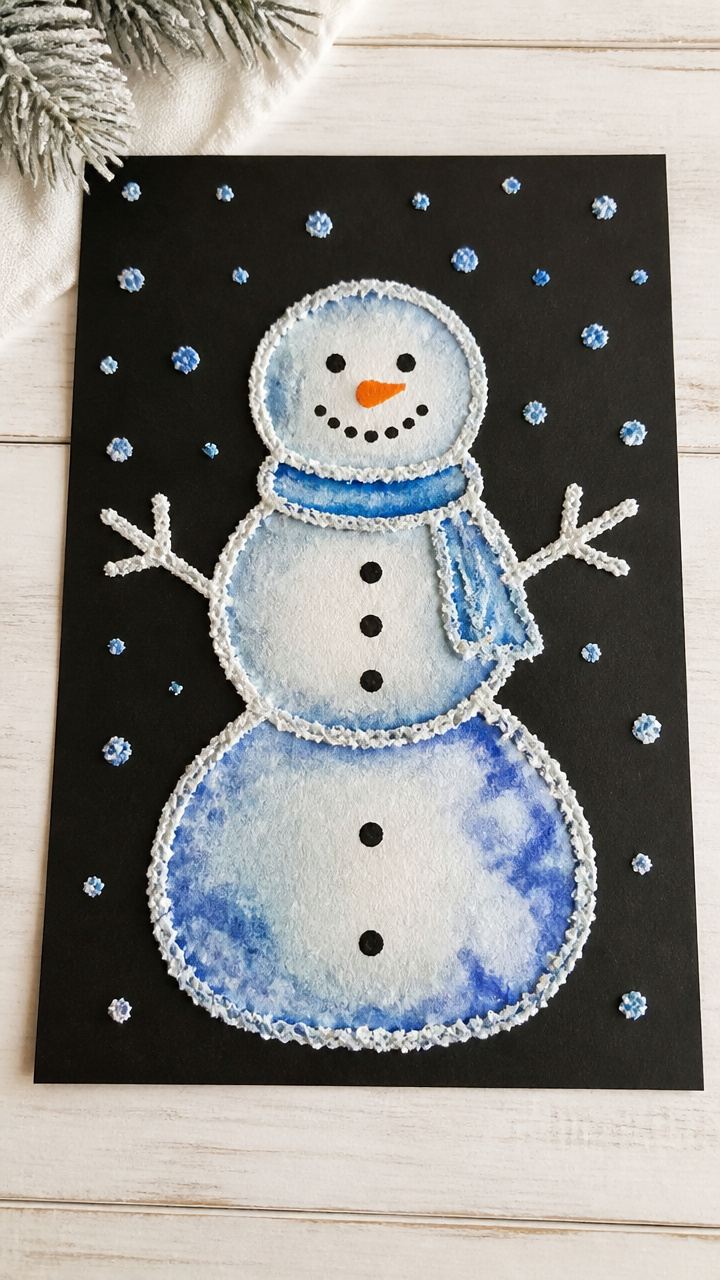
Salt and glue lines form a textured snowman that soaks up bright washes of color.
Materials Needed
- Black cardstock, A4 size (1 sheet)
- White school glue
- White table salt
- Small bowl
- Paintbrush, size 2 flat
- Liquid watercolors: white, blue, silver
- Pencil
How to Make It
- Use the pencil to lightly draw a three-circle snowman on the black cardstock.
- Trace over the pencil lines with white school glue, including a hat and arms.
- Immediately pour salt over the glued lines, covering them completely.
- Shake off excess salt into the bowl and let the glue dry for 10 minutes.
- Dip the paintbrush in white liquid watercolor and paint over the salt lines. Watch the color spread.
- Repeat with blue and silver on different sections. Let dry completely for 30 minutes.
Grab a glue bottle and a handful of cotton balls. Your toddler is ready to build a whole snowy village, one happy craft at a time.