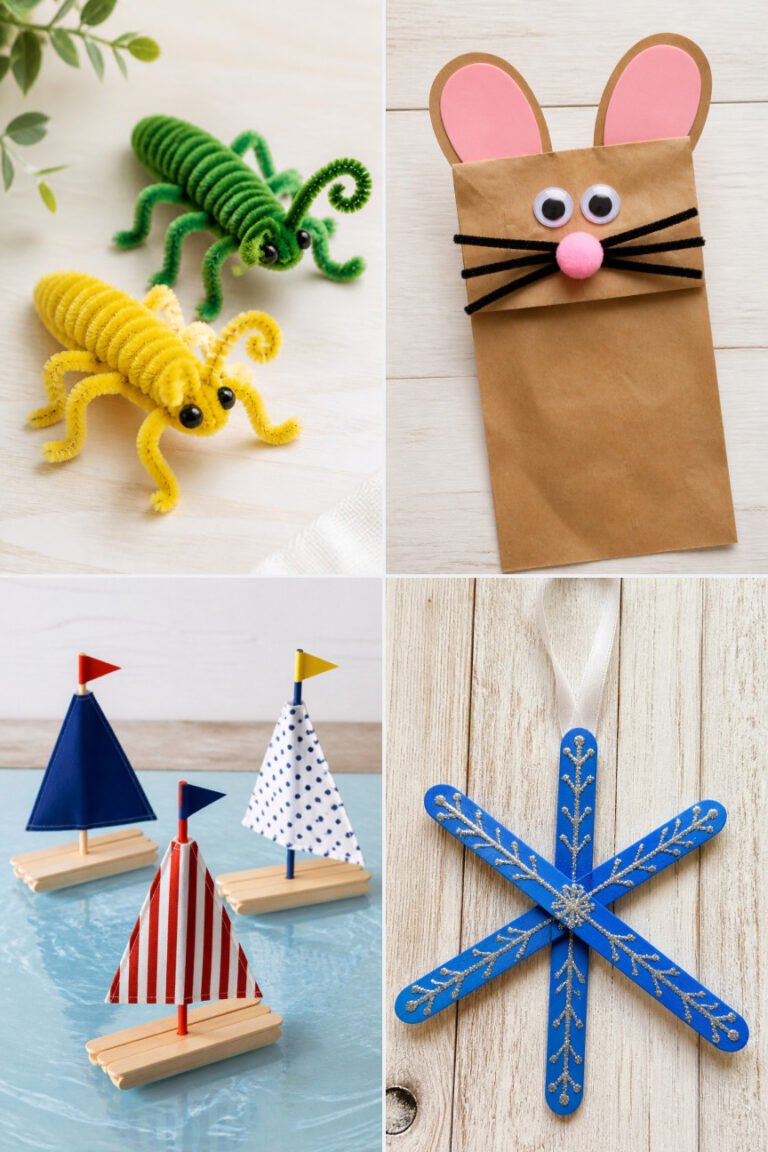
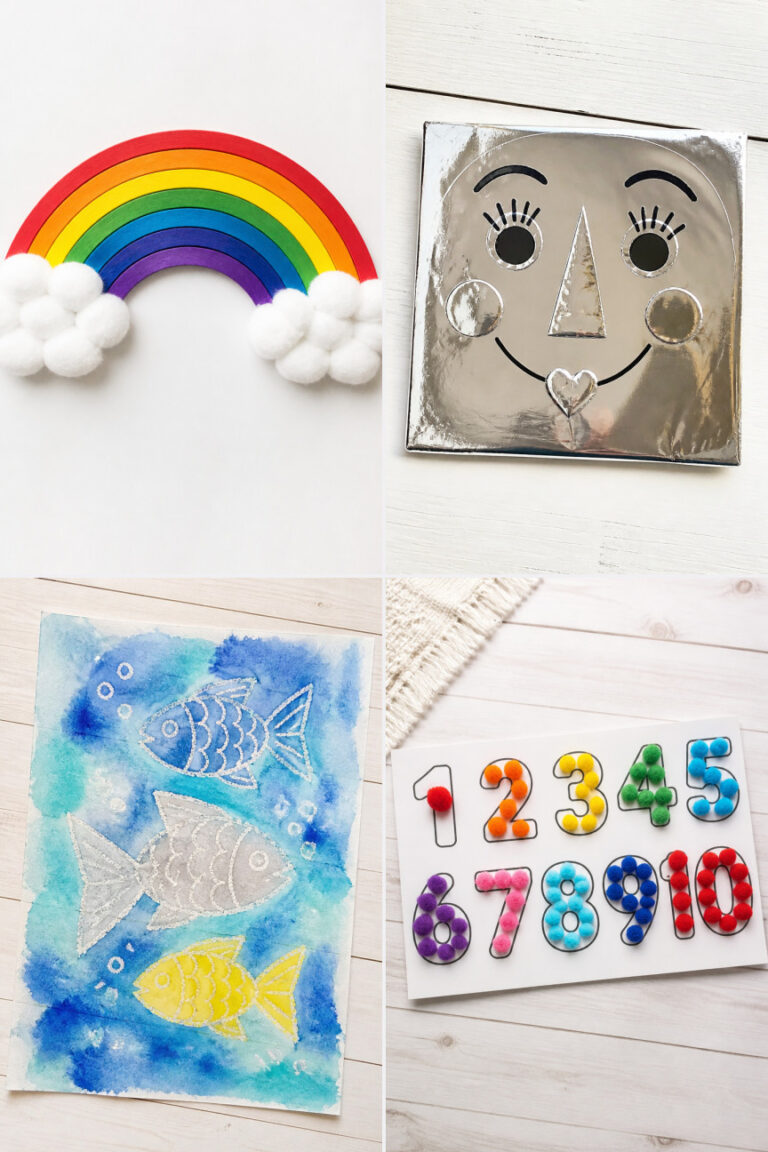
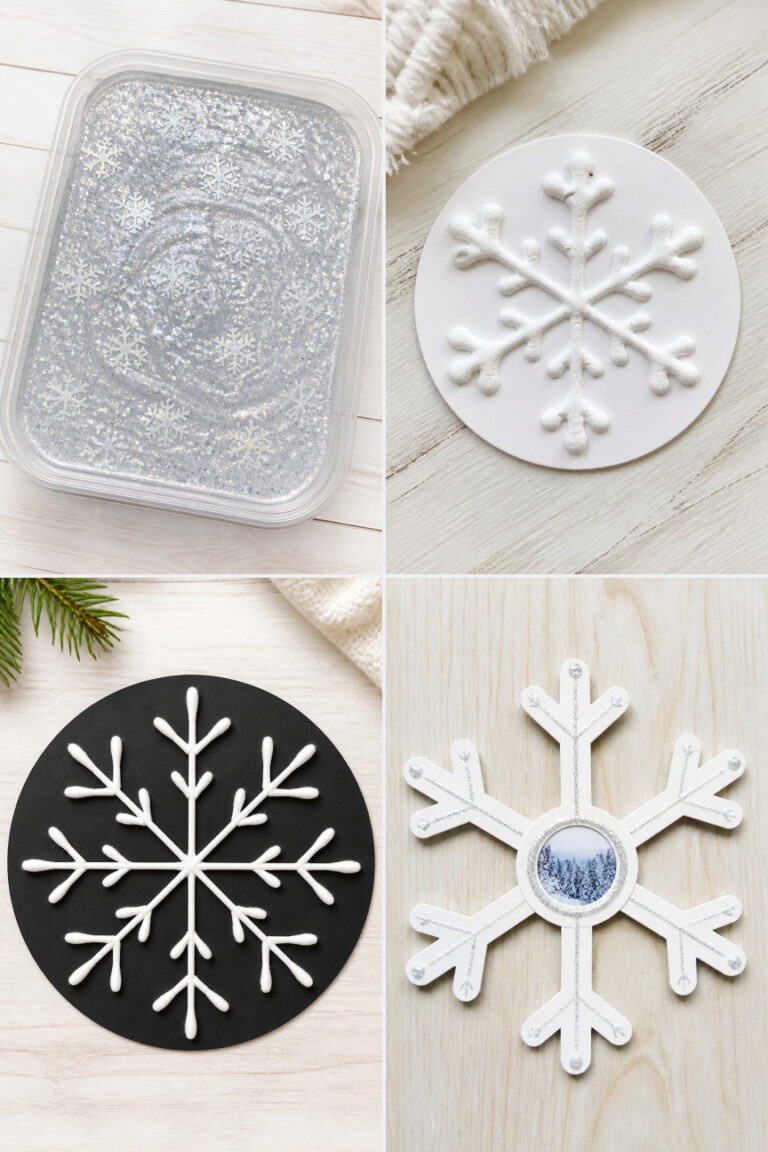
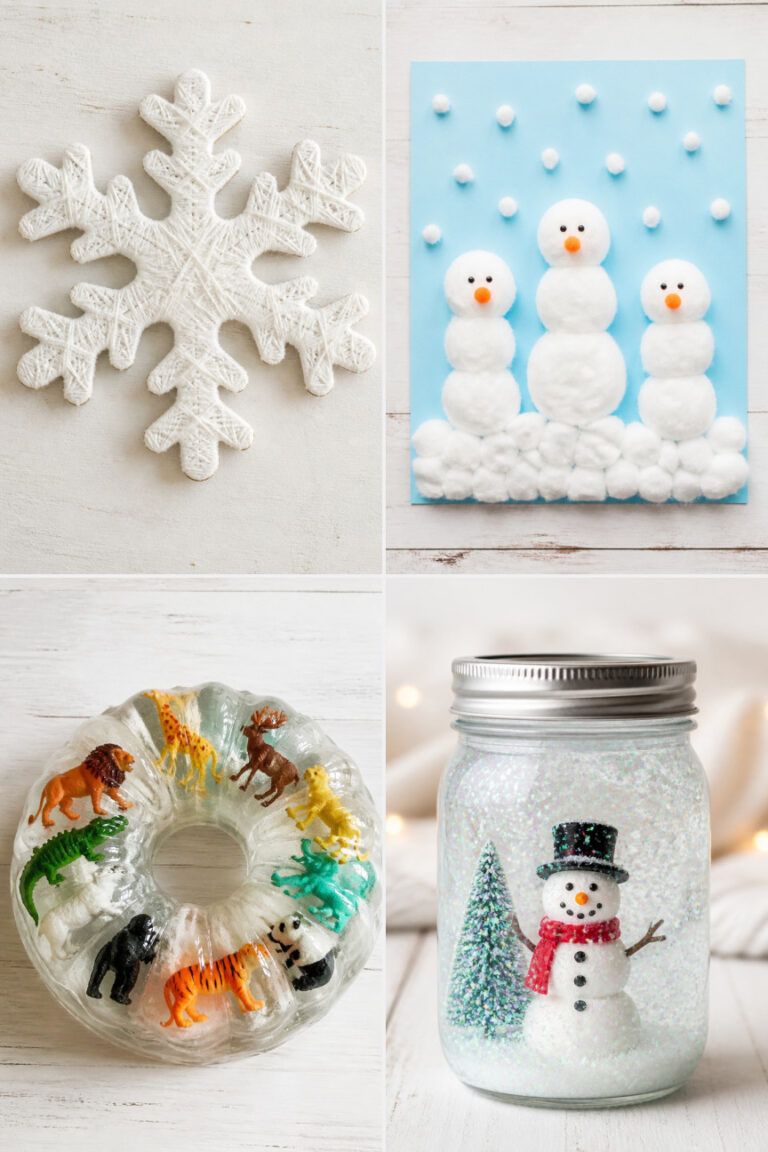
25 Easy January Crafts for Kids Using Simple Supplies

Crisp winter light fills the room and little hands are ready to create. With mittens drying by the heater and snow possibly dusting the yard, it's the perfect time for simple, joyful crafts that spark imagination without needing a supply store run.
Each project uses materials you likely already have at home. These ideas keep kids engaged, boost fine motor skills, and fill the house with handmade charm.
1. Cotton Ball Snowmen Cards
Easy
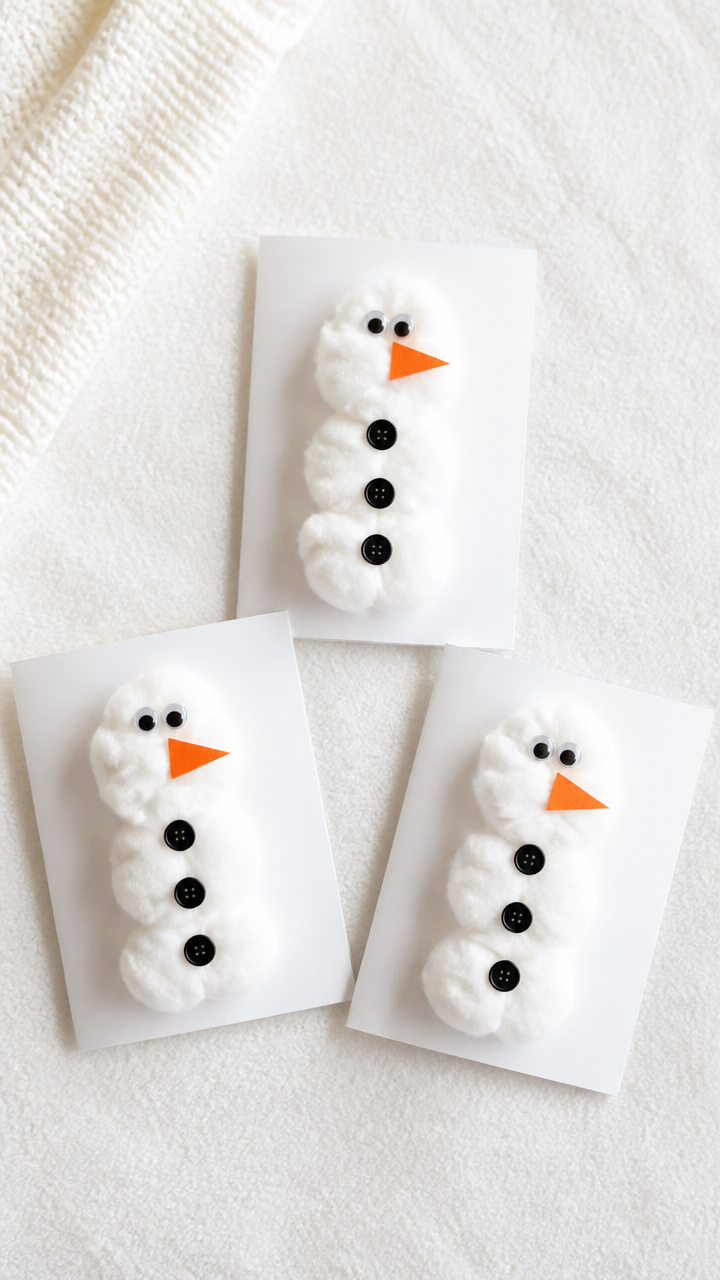
Soft white cotton balls become cheerful snowmen on sturdy cardstock, perfect for sending winter greetings to family or decorating a bedroom door.
Materials Needed
- A4 white cardstock, folded into 5×7 inch cards, 6 sheets
- Small black craft foam sheet
- Orange construction paper
- Googly eyes, 10mm, 12 pairs
- White school glue
- Cotton balls, regular size, 1 cup
- Black marker
How to Make It
- Cut three small circles from black craft foam and one tiny triangle from orange construction paper for each snowman face.
- Glue one cotton ball in the center of each card front for the head, then stack two more below for the body.
- Add googly eyes, the orange triangle nose, and three black foam circles for buttons.
- Use the black marker to draw a short line for a mouth and two curved lines above the head for arms.
- Let the glue dry completely before writing a message inside the card.


2. Popsicle Stick Snowflakes
Easy
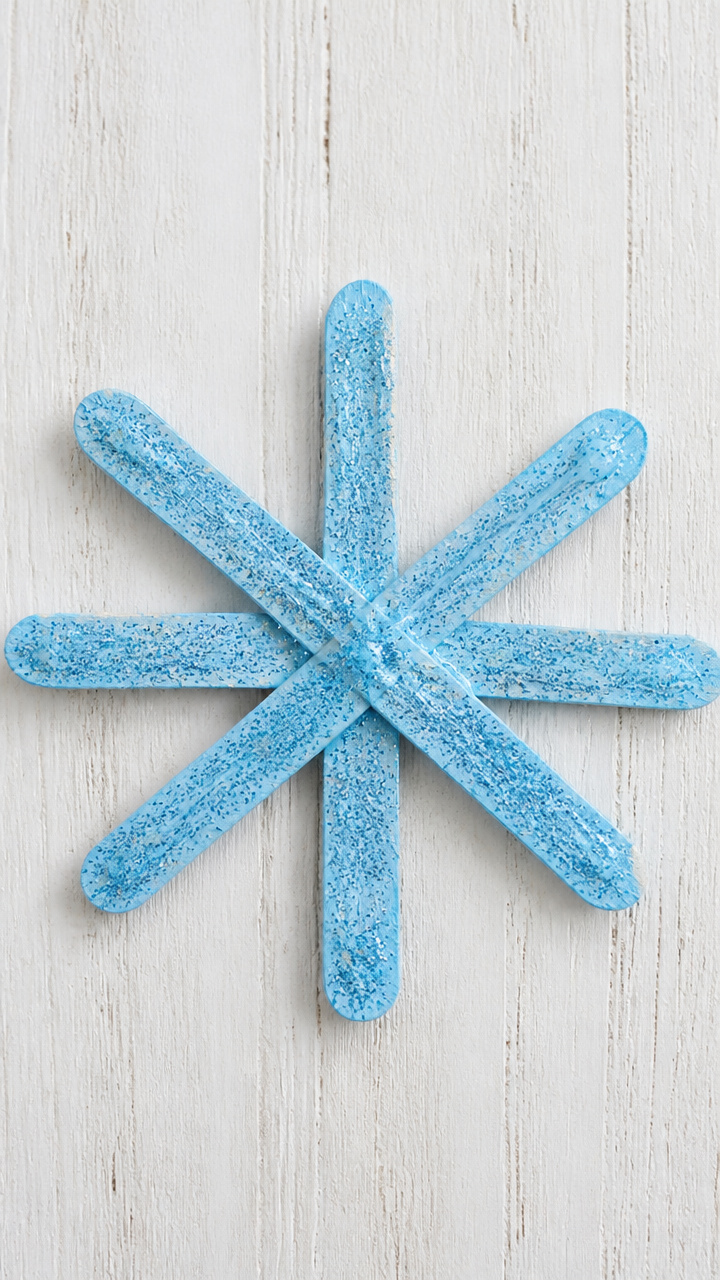
Six wooden sticks join in a symmetrical star shape, glittered and colorful, making delicate decorations that catch the winter light near a window.
Materials Needed
- Jumbo popsicle sticks, 36 pieces
- White school glue
- Fine blue glitter
- Clear-drying craft glue
- Blue acrylic paint
- Paintbrush, size 4 round
How to Make It
- Lay out six jumbo popsicle sticks in a snowflake pattern, crossing each at the center to form six points.
- Apply a thin line of white school glue where each stick overlaps at the center and press firmly for 30 seconds.
- Paint each arm of the snowflake with blue acrylic paint using the brush and let dry for 20 minutes.
- Brush a second coat of glue over each painted arm and sprinkle blue glitter evenly over the wet surface.
- Shake off excess glitter and let dry flat for 1 hour before hanging with thread.


3. Paper Plate Polar Bears
Easy
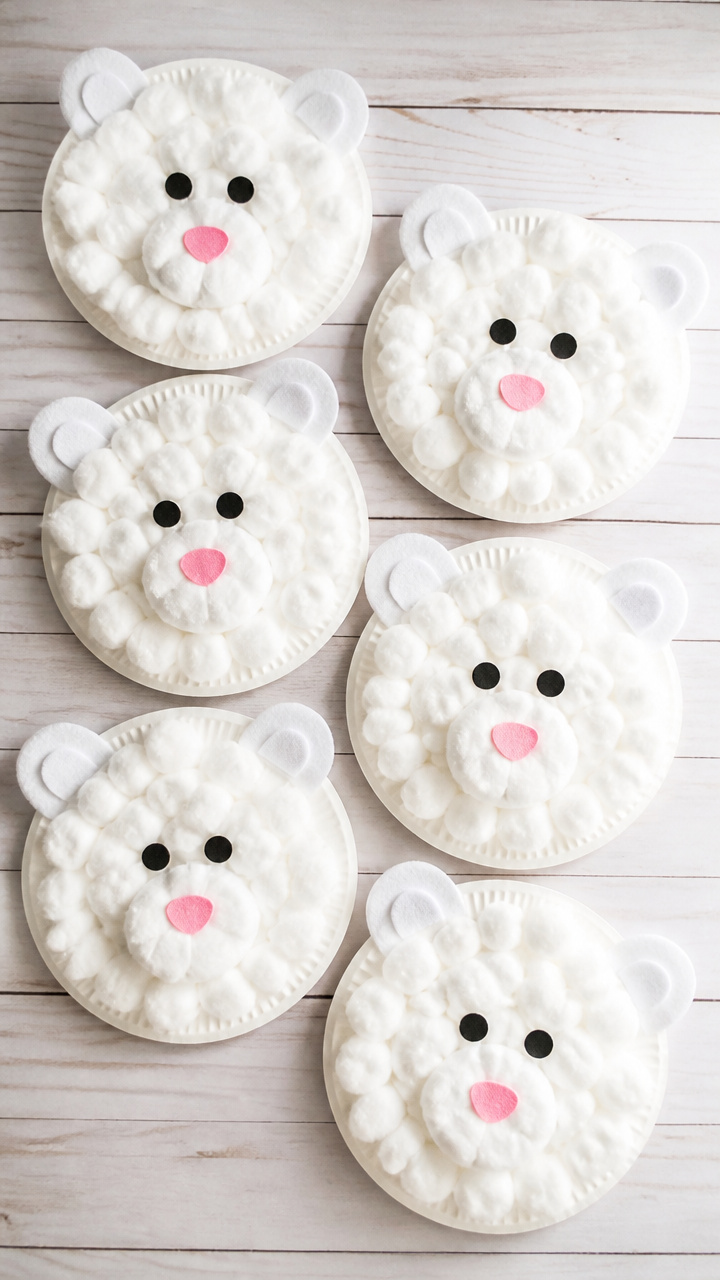
A plain white paper plate becomes a friendly Arctic animal with felt ears, a puffy cotton muzzle, and shiny eyes that seem to follow you across the room.
Materials Needed
- 9-inch white paper plates, 6 pieces
- White craft felt, 8×10 inch sheet
- Black craft foam sheet
- Cotton balls, 1/2 cup
- White school glue
- Pink construction paper
- Scissors
How to Make It
- Cut two ear shapes from white craft felt and two small pink inner ear circles from construction paper.
- Glue the pink circle onto each white ear and attach both ears to the top edge of the paper plate.
- Place a small clump of cotton balls in the center of the plate for the muzzle and press down gently.
- Cut two small circles from black craft foam for eyes and glue them above the cotton muzzle.
- Let all pieces dry completely before displaying on a wall with tape.


4. Yarn-Wrapped Icebergs
Easy
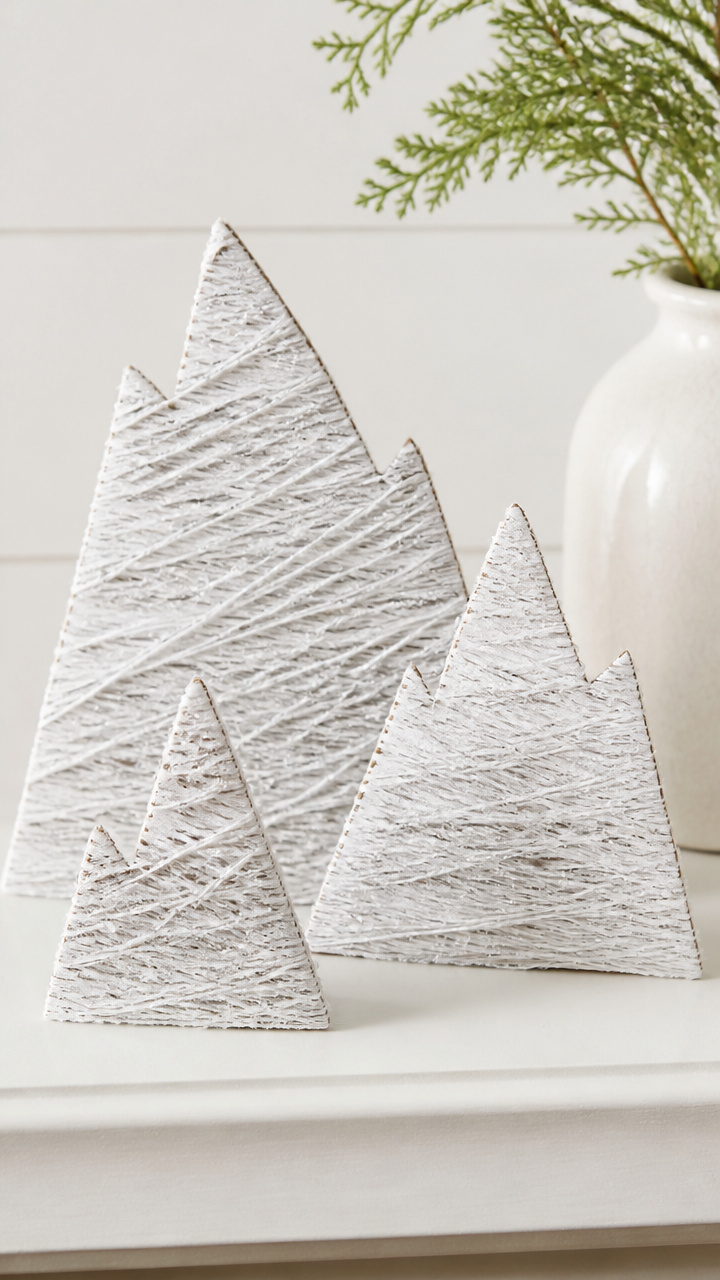
Cardboard cut into jagged shapes takes on a frosty look when wrapped tightly in shimmering white yarn, creating miniature Arctic landscapes on a shelf.
Materials Needed
- Corrugated cardboard, 12×18 inch sheet
- White yarn with silver flecks, 50 yards
- White school glue
- Scissors
- Pencil
- Ruler
How to Make It
- Draw five irregular iceberg shapes on the cardboard using the pencil and ruler, each about 4 inches tall.
- Cut out each shape carefully with scissors and set on a clean work surface.
- Put a small dot of glue at the base of one iceberg and press the end of the yarn into it.
- Wrap the yarn tightly around the cardboard shape, moving upward and covering all surfaces, adding glue every inch to secure loose ends.
- Trim the yarn and glue the end down when fully covered, then repeat for remaining icebergs.


5. Salt Painting Winter Trees
Easy
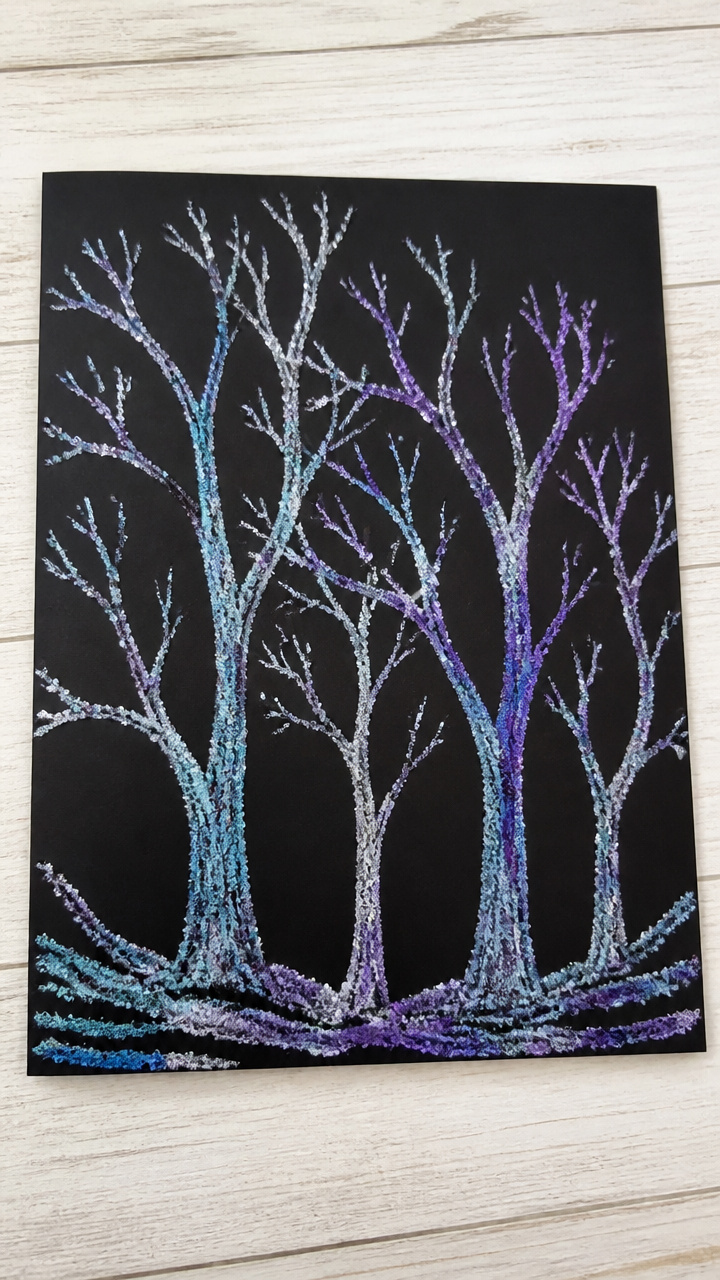
Thick glue outlines on dark paper turn into sparkling branches when coated in salt and painted with liquid watercolors, glowing like frost at dusk.
Materials Needed
- Black A4 cardstock, 6 sheets
- White school glue
- Table salt, 1 cup
- Liquid watercolors: blue, purple, silver, 3 bottles
- Paintbrush, size 2 round
- Plastic spoon
- Tray or baking sheet
How to Make It
- Draw bare tree shapes on each black cardstock sheet using white school glue, pressing the bottle tip to make thick lines.
- Pour salt over each glued drawing using the spoon, covering every line completely.
- Shake excess salt off the paper back into the container over the tray.
- Dip the paintbrush into one color of liquid watercolor and gently touch it to the salt-covered branches to let it spread along the grain.
- Let paintings dry flat for 1 hour, then tap off any loose salt.


6. Button Snow Globes
Easy
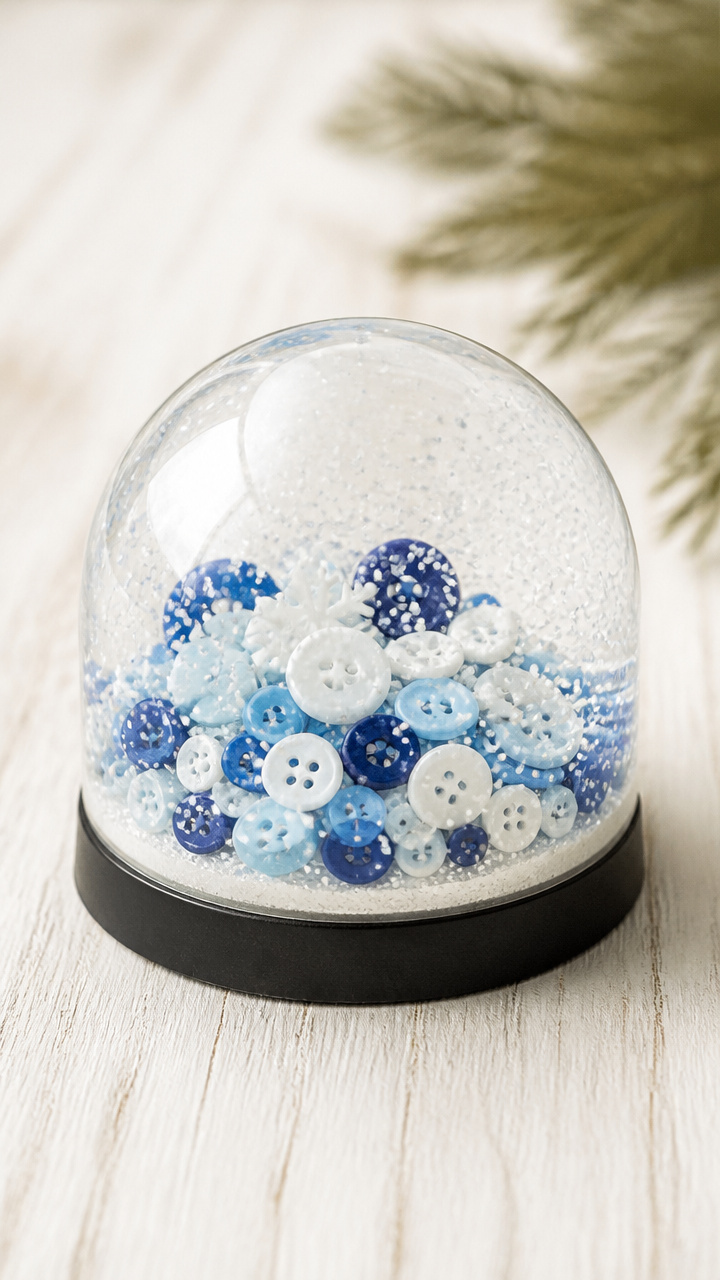
Clear plastic lids hold layered buttons and glitter under a dome of glue, becoming tiny wintery scenes you can hold in your palm.
Materials Needed
- Large clear plastic jar lids, 6 count
- Assorted white and blue buttons, 30 total
- Fine white glitter
- Clear-drying craft glue
- Small foam brush, 1/2 inch wide
- Black construction paper, 6×8 inch sheets, 6 pieces
How to Make It
- Cut six circles from black construction paper slightly smaller than the lid diameter.
- Glue a few buttons in a cluster on each black circle to resemble a snow-covered hill or building.
- Sprinkle a pinch of white glitter around the buttons to mimic fallen snow.
- Place the circle into the lid and slowly pour clear glue over the entire surface until it forms a smooth dome.
- Let the glue cure undisturbed for 24 hours until fully clear and hard.

7. Tissue Paper Frost Windows
Easy
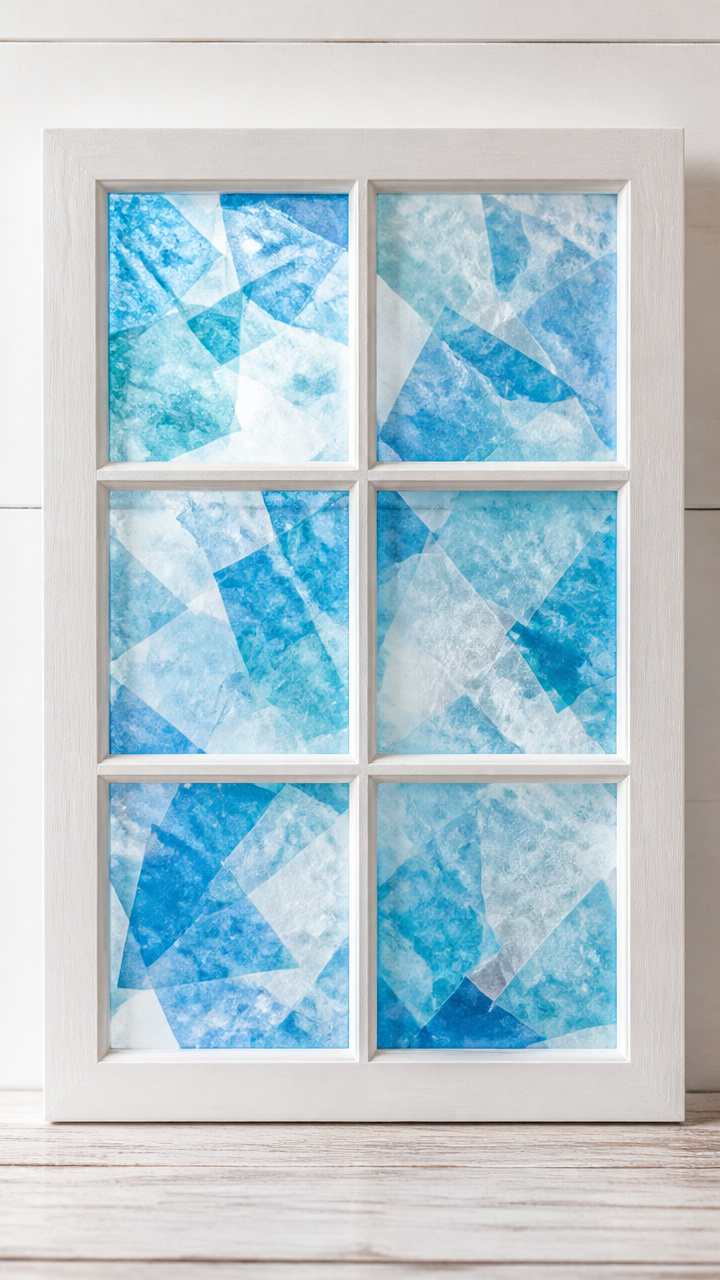
Sheets of blue and white tissue paper overlap on contact paper to mimic icy patterns creeping across a cold windowpane.
Materials Needed
- Clear adhesive contact paper, 12×18 inch sheet
- Blue tissue paper, 6 sheets
- White tissue paper, 6 sheets
- Scissors
- Rolling pin
How to Make It
- Peel the backing off the contact paper and lay it sticky side up on a flat table.
- Tear tissue paper into random 2-inch squares and begin placing them on the sticky surface, overlapping blue and white pieces.
- Cover the entire sticky area with layers of tissue, leaving some gaps for a frosty effect.
- Once full, place another sheet of contact paper on top, sticky sides together, or use a second non-adhesive sheet if needed.
- Roll over the surface gently with the rolling pin to seal edges and remove air bubbles, then trim with scissors.


8. Pipe Cleaner Icicles
Easy
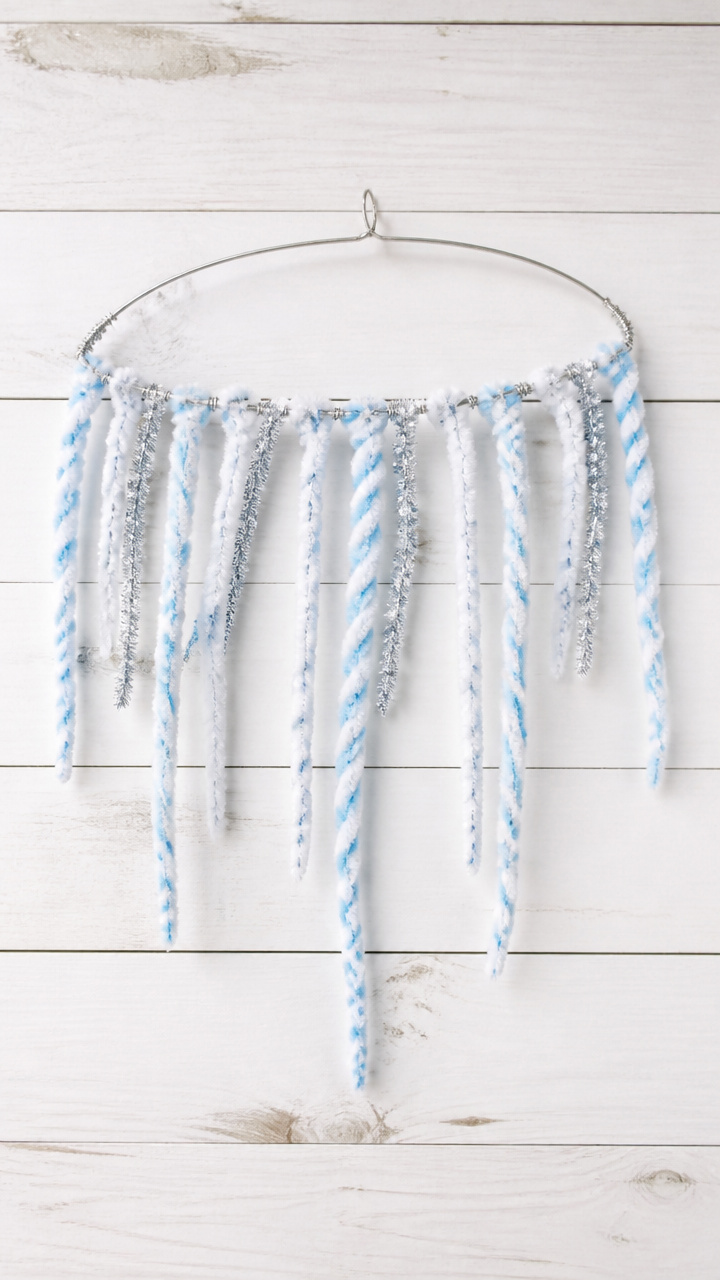
Twisted blue and white pipe cleaners dangle from a bent wire frame, catching the light like real frozen drips from a rooftop.
Materials Needed
- White pipe cleaners, 12 pieces
- Light blue pipe cleaners, 12 pieces
- Silver chenille stems, 6 pieces
- Pliers
- Scissors
How to Make It
- Cut each silver chenille stem in half and bend each piece into a U-shape using pliers.
- Take one white and one light blue pipe cleaner and twist them together from one end to the other to form a single icicle.
- Repeat to make 11 more twisted icicles of varying lengths between 4 and 7 inches.
- Slide the top of each icicle through the bottom of a U-shaped wire and twist the ends together to secure.
- Hang the display by the curved tops using thread.


9. Crayon Resist Snowscapes
Easy
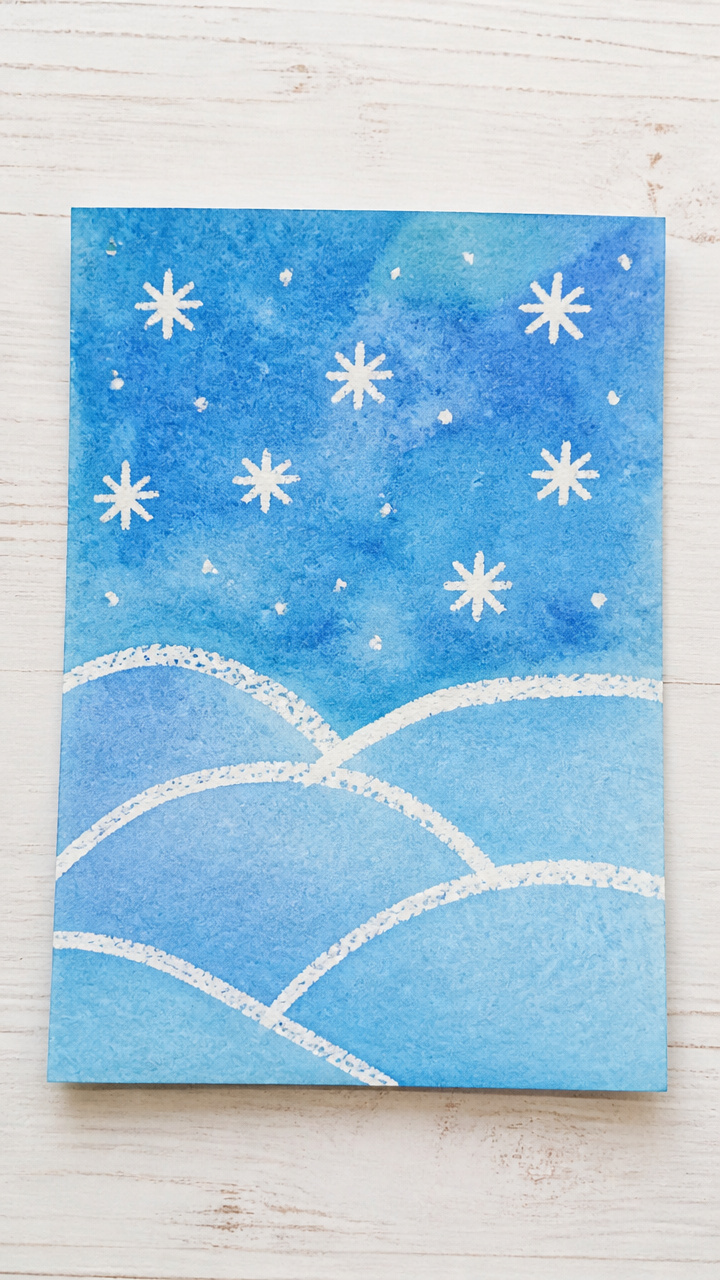
Drawings made with white crayon hide on paper until painted over with blue watercolor, revealing snowy hills and stars in secret.
Materials Needed
- White drawing paper, 9×12 inch, 6 sheets
- White crayon
- Blue liquid watercolor
- Paintbrush, size 6 flat
- Cup of water
- Paper towel
How to Make It
- Use the white crayon to draw snowdrifts, stars, and cloud shapes on each sheet, pressing hard to leave visible wax.
- Mix a small puddle of blue liquid watercolor with a splash of water in the cup.
- Wet the brush and paint the entire page with a thin layer of blue, watching the wax resist the color and reveal the design.
- Blot excess moisture with a paper towel and lay flat to dry for 30 minutes.


10. Fingerprint Penguins
Easy
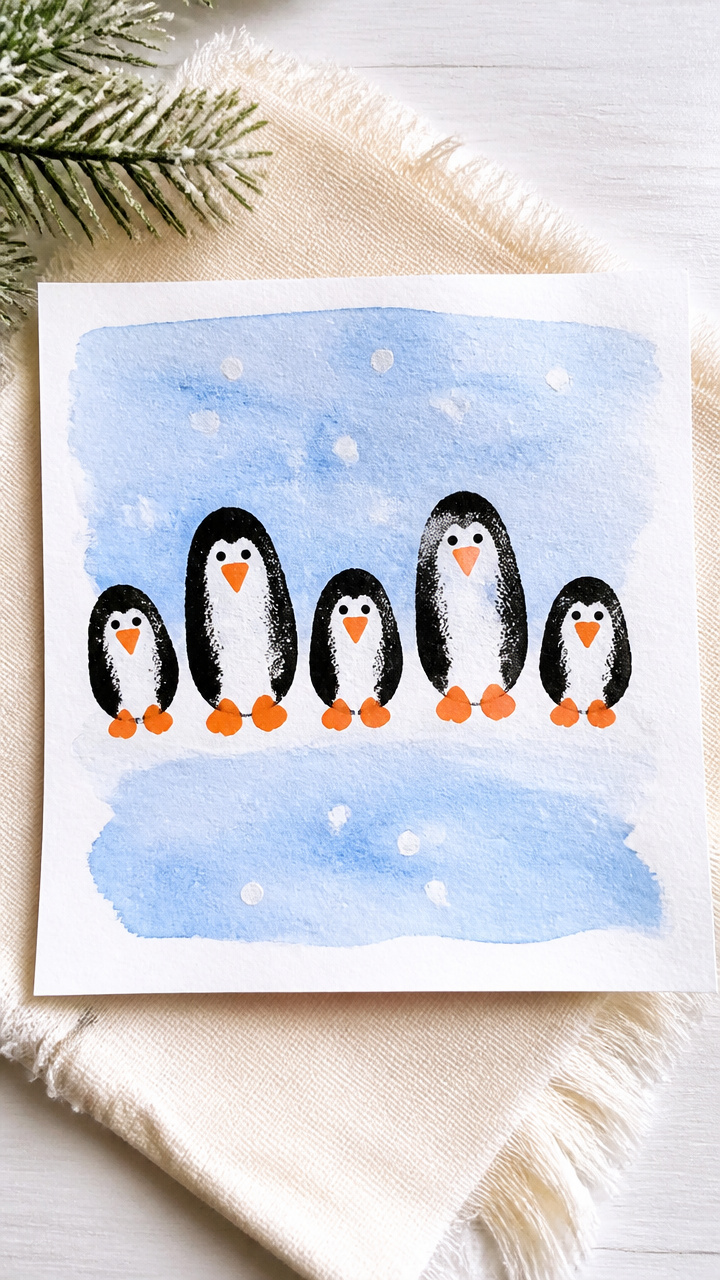
Inky thumbprints grow into silly penguins with hand-drawn wings and feet, turning a quick mark into a whole Antarctic family.
Materials Needed
- White printer paper, 6 sheets
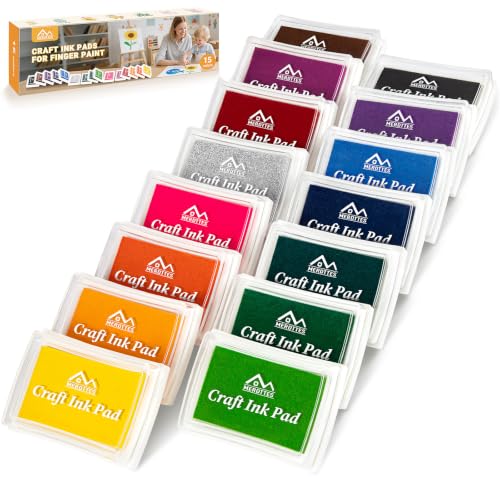
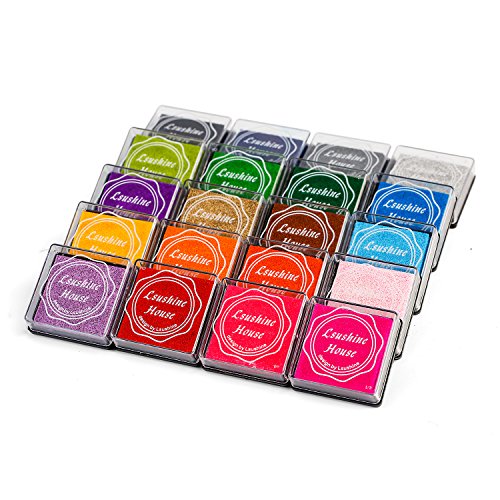
- Black ink pad
- Black fine-line marker
- Orange fine-line marker
- Cotton swabs
- Blue acrylic paint
- Paintbrush, size 2 round
How to Make It
- Press your thumb firmly onto the ink pad and stamp it vertically on the paper for the penguin body.
- Use the black marker to draw two wings on the sides, a small head on top, and a beak on the front.
- Add two webbed feet with the orange marker beneath the body.
- Dip a cotton swab in blue paint and dab a small pool beneath each penguin for icy water.
- Let the paint dry for 15 minutes before displaying.

11. Cardboard Tube Penguins
Easy
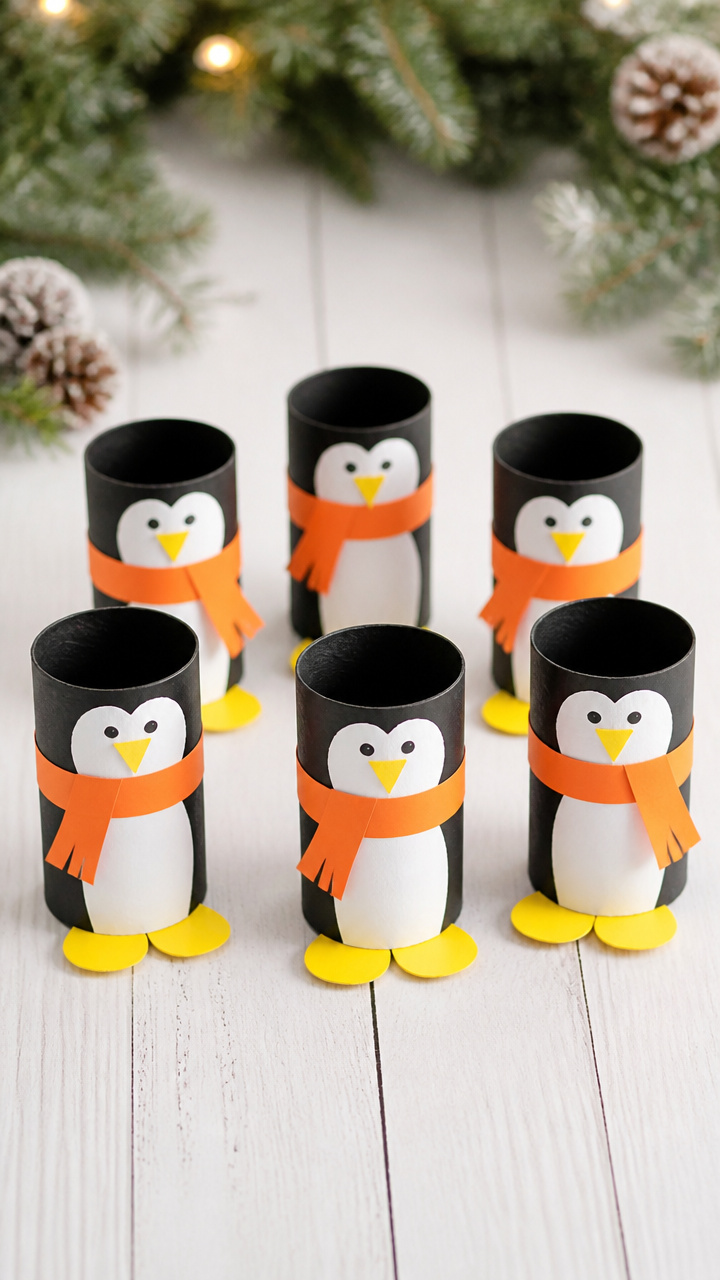
Empty toilet paper rolls stand upright as plump penguin bodies, painted black and white with paper collars and feet.
Materials Needed
- Toilet paper rolls, 6 pieces
- Black acrylic paint
- White acrylic paint
- Orange construction paper
- Yellow craft foam sheet
- White school glue
- Paintbrush, size 4 round
- Scissors
How to Make It
- Paint the entire outside of each tube with black acrylic paint and let dry for 20 minutes.
- Paint the front half of the tube from mid-body up with white paint for the chest and face, then dry again for 20 minutes.
- Cut small oval feet from yellow craft foam and a tiny triangle beak from orange paper.
- Glue the beak just below the top edge of the tube and add two foam feet to the bottom edge.
- Let glue dry completely before standing on a shelf.


12. Glitter Jar Blizzards
Easy
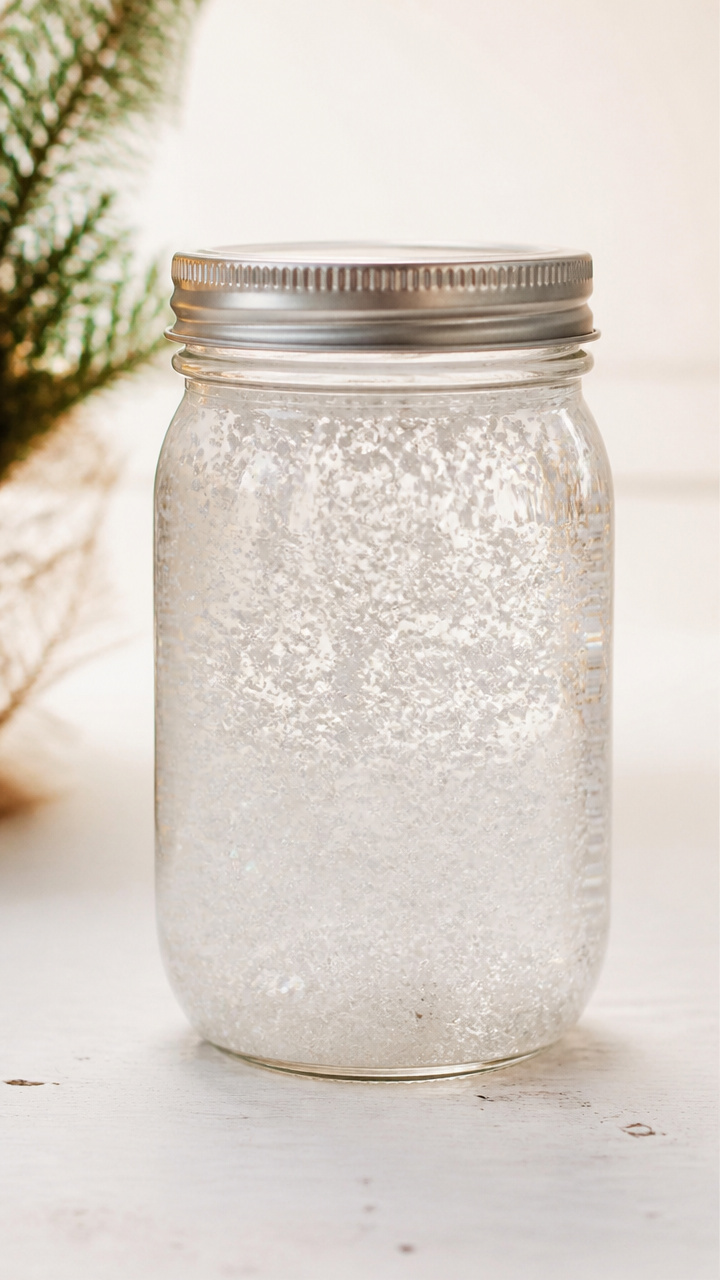
A sealed mason jar swirls with glitter and oil, creating a slow-motion storm you can shake again and again without cleanup.
Materials Needed
- Clear 8 oz mason jars with lids, 6
- Water
- Baby oil, 3 cups
- Fine white glitter, 3 tablespoons
- White school glue, 2 tablespoons
- Funnel
How to Make It
- Fill each jar halfway with water using the funnel.
- Add 2 drops of white glue and 1/2 teaspoon of glitter to each jar.
- Pour baby oil into each jar until nearly full, leaving a small gap at the top.
- Screw the lid on tightly and turn the jar upside down several times to mix.
- Shake to start a blizzard and watch the glitter fall slowly through the oil.


13. Construction Paper Mitten Chains
Easy
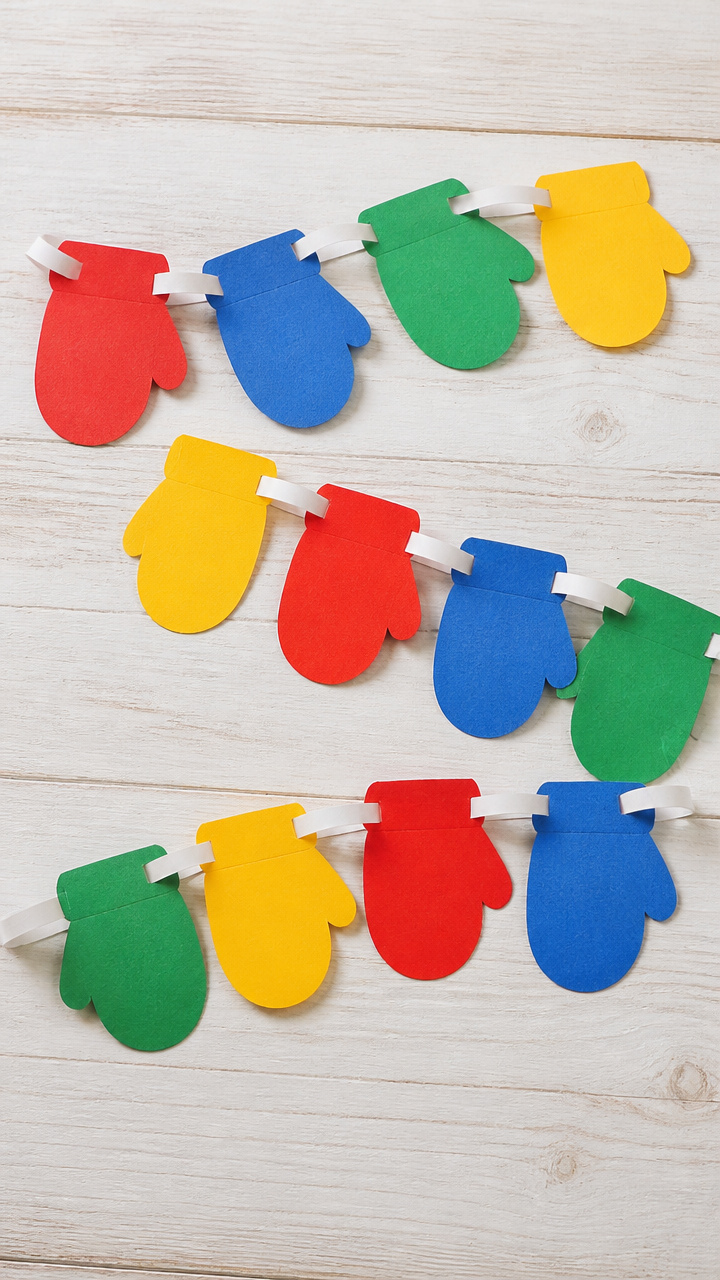
Bright paper mittens link together in a zigzag garland, bringing warm color to a chilly windowsill or playroom wall.
Materials Needed
- Red, blue, green, yellow construction paper, 2 sheets each
- Scissors
- White school glue
- Hole punch
- Ribbon, 2 yards
How to Make It
- Fold each sheet of construction paper in half lengthwise and draw half a mitten along the fold, about 3 inches tall.
- Cut along the outline through both layers to make two identical mittens per sheet.
- Unfold to reveal connected mittens and glue the wrist edges of two different colors together to form a chain link.
- Continue gluing pairs end to end until all mittens are linked.
- Punch a hole at each end of the chain and thread ribbon through to hang.


14. Pinecone Owls
Moderate
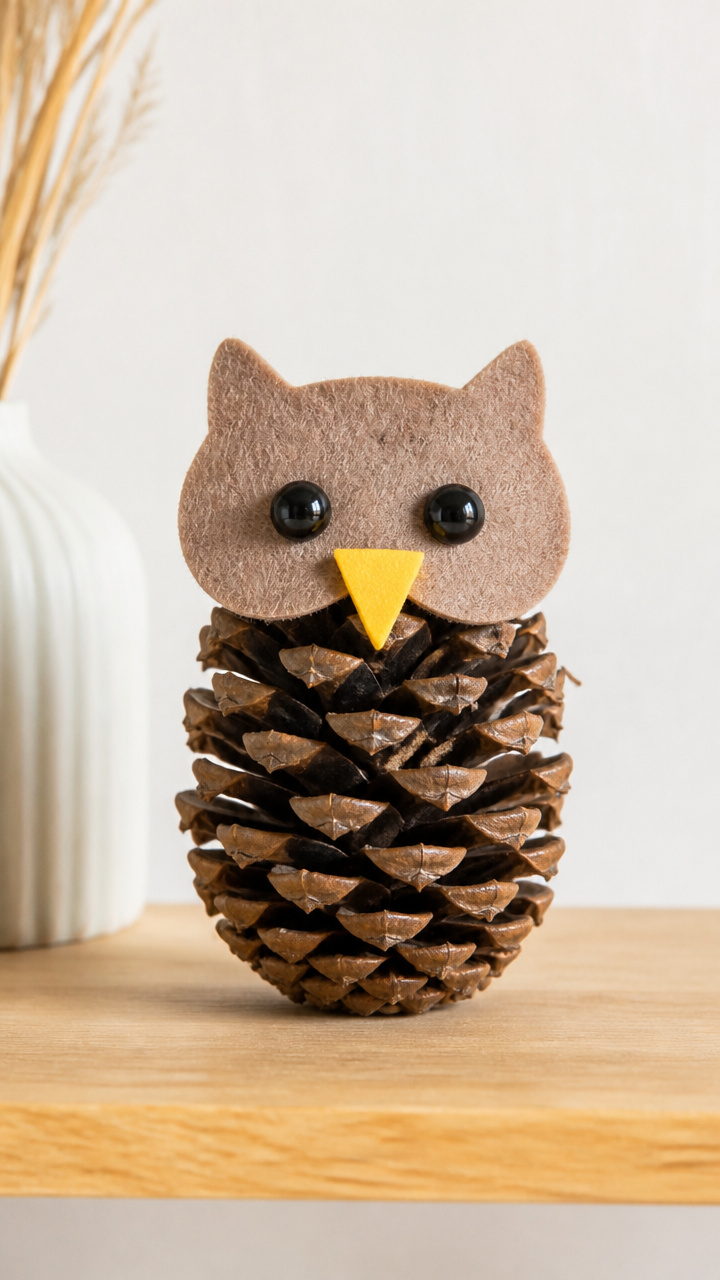
Found pinecones sprout feathered faces with felt caps, bead eyes, and triangular beaks, becoming wise little forest watchers on a shelf.
Materials Needed
- Medium pinecones, 6
- Brown craft felt, 8×10 inch sheet
- Yellow craft foam sheet
- Black beads, 10mm, 12
- Hot glue gun
- Hot glue sticks
- Scissors
How to Make It
- Cut a small circular cap from brown felt for each owl’s head and glue it to the top of the pinecone with hot glue.
- Glue two black beads side by side on the front of the cap for eyes.
- Cut a small triangle from yellow craft foam and glue it point-down between the beads for the beak.
- Press gently and hold for 10 seconds to ensure the hot glue sets properly.
- Let cool completely before moving.


15. Melted Crayon Snowmen
Moderate
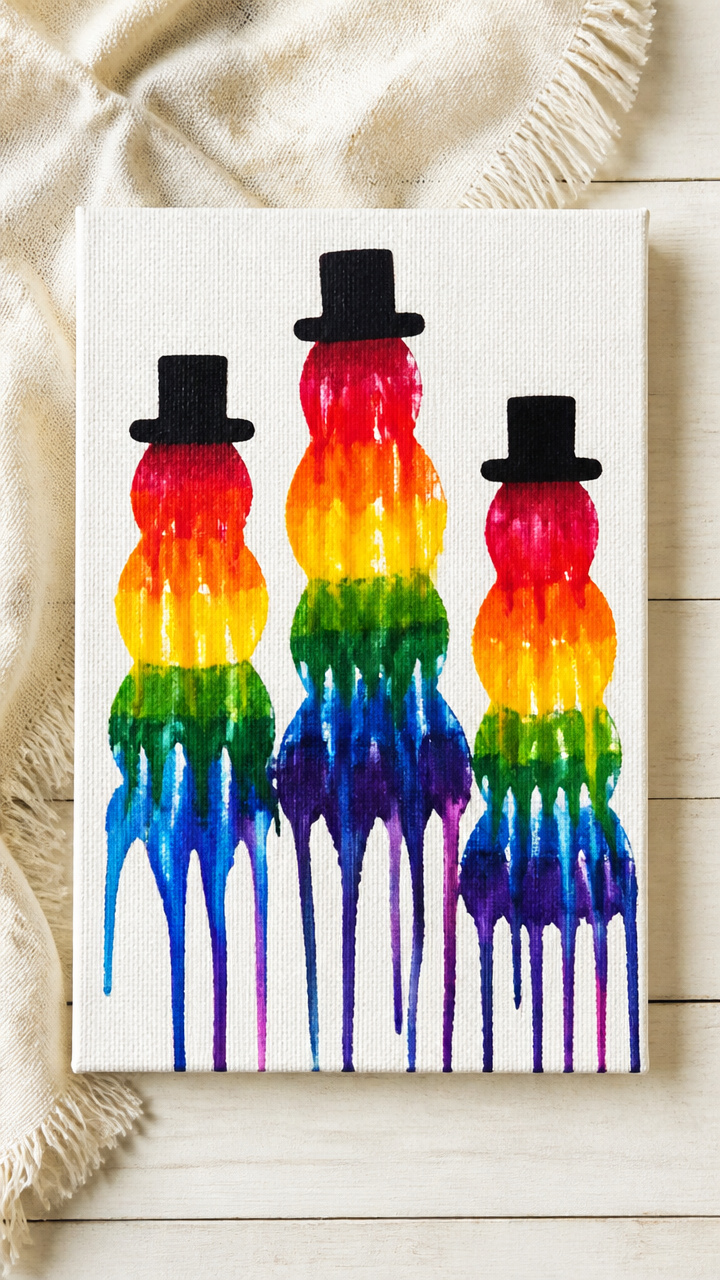
Broken crayon bits drip down canvas in snowy stripes, forming abstract snowmen shapes with a rainbow base and bold black hats.
Materials Needed
- Pre-cut 5×7 inch canvas boards, 6
- Old crayons, white, red, black, blue, 18 total
- Oven-safe paint trays, 6
- Oven
- Painter's tape
- Pencil
How to Make It
- Peel paper off crayons and break into small pieces, keeping white dominant for each tray.
- Arrange crayon pieces in a vertical stripe on the tray behind where the snowman will be, with darker colors at the base.
- Tape the canvas to the back of the tray so it stands upright at a slight angle.
- Bake the tray at 250°F for 10–12 minutes until crayons fully melt and drip down the canvas.
- Turn off oven, let cool for 20 minutes, then remove and draw hat and face with pencil.


![Crayola Super Art Coloring Kit (100+ Pcs), Kids Art Supplies Set with Crayons, Markers & Colored Pencils, Craft & Coloring Kit with Storage Tub, Ages 5+ [Amazon Exclusive]](https://m.media-amazon.com/images/I/51IpPwSeUBL._SL500_.jpg)
16. Sock Snow Snakes
Easy
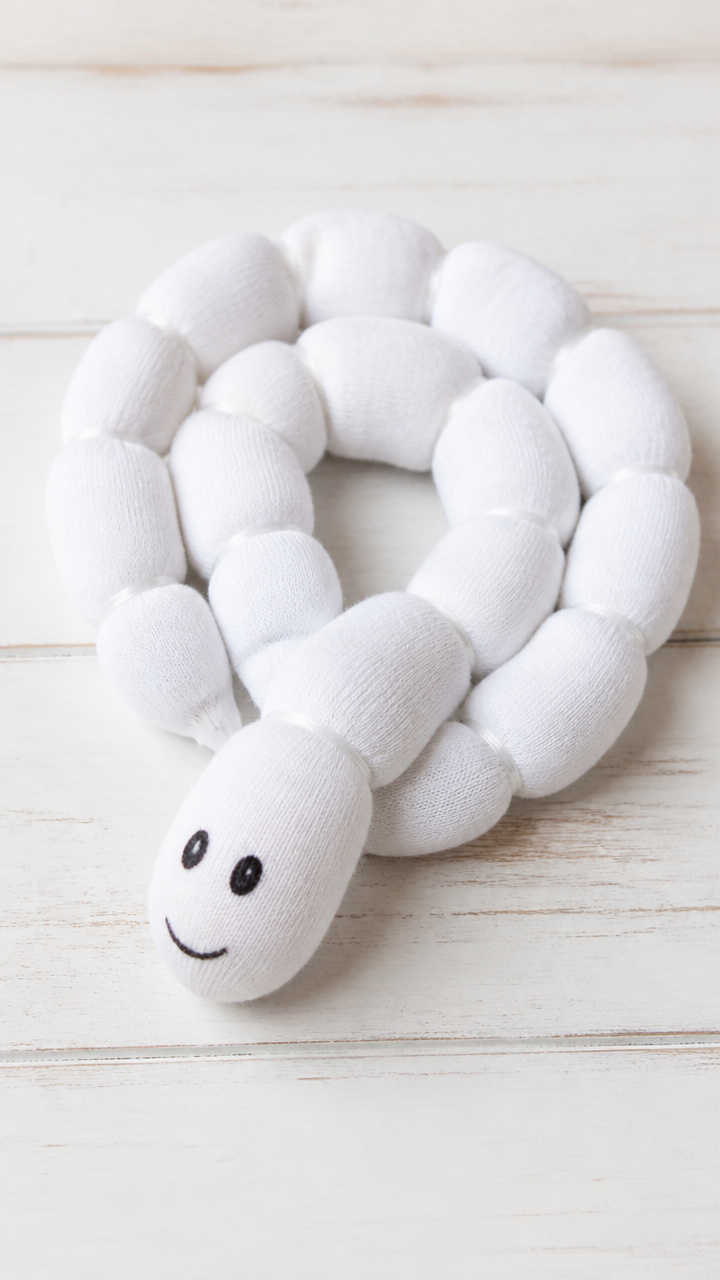
An old white sock fills with rice and ties at intervals to form a bumpy snake, coiled and ready for indoor winter adventures.
Materials Needed
- White ankle socks, 6
- Uncooked white rice, 3 cups
- Funnel
- Rubber bands, small, 18
- Black permanent marker
- Measuring cup
How to Make It
- Use the funnel to pour 1/2 cup of rice into each sock.
- Tie a rubber band around the sock every 3 inches to create three bulging segments.
- Knot the open end tightly and trim excess fabric.
- Draw two eyes and a curved smile on the first segment with the marker.
- Let children coil and stretch their snakes across the floor.


17. Q-Tip Igloos
Easy
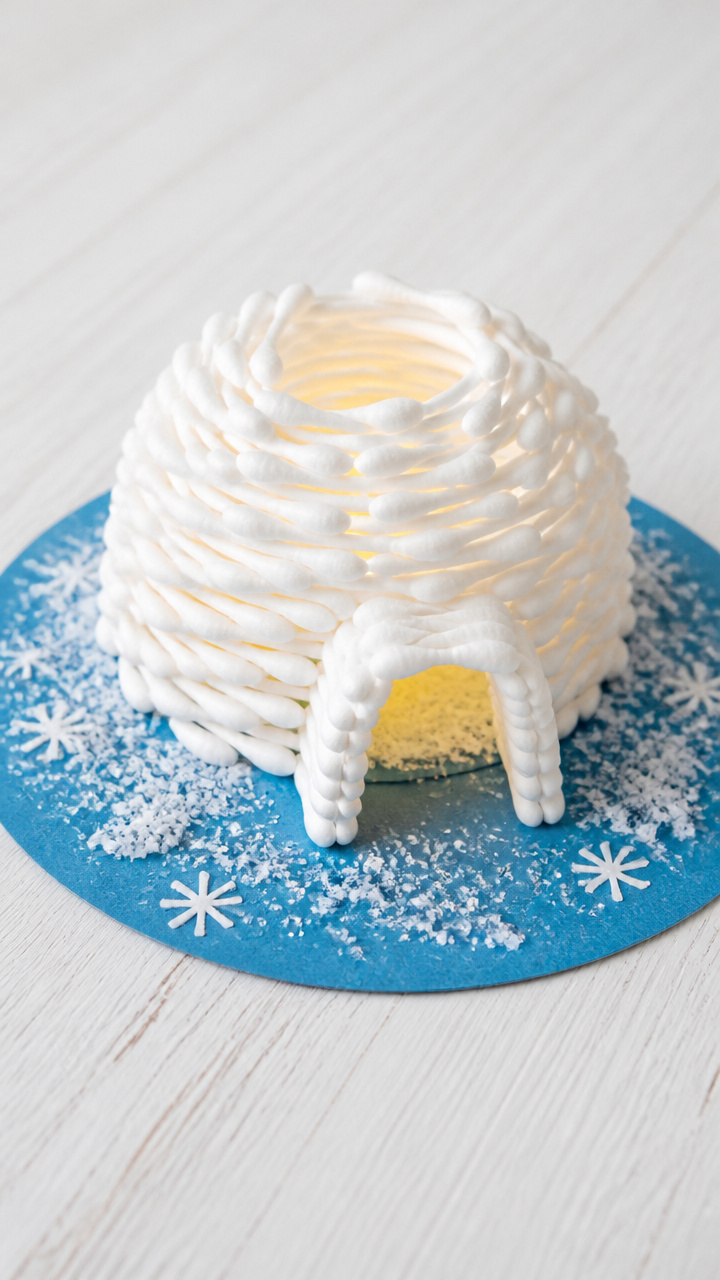
Cotton-tipped sticks lay in interlocking circles on blue paper, forming a glowing dome that looks like it holds a tiny fire inside.
Materials Needed
- Blue construction paper, 9×12 inch, 6 sheets
- Q-Tips, 150 total
- White school glue
- Yellow tissue paper, 6 sheets
- Scissors
How to Make It
- Cut yellow tissue paper into 1-inch squares and set aside for the fire glow.
- Draw a half-circle igloo shape lightly in pencil on each blue paper.
- Glue Q-Tips in horizontal rows, starting at the base and letting each row slightly overlap the one below in an arch.
- Leave a small opening on one side and fill the center with scattered yellow tissue squares for light.
- Let the glue dry flat for 1 hour before display.


18. Paper Bag Snow Puppets
Easy
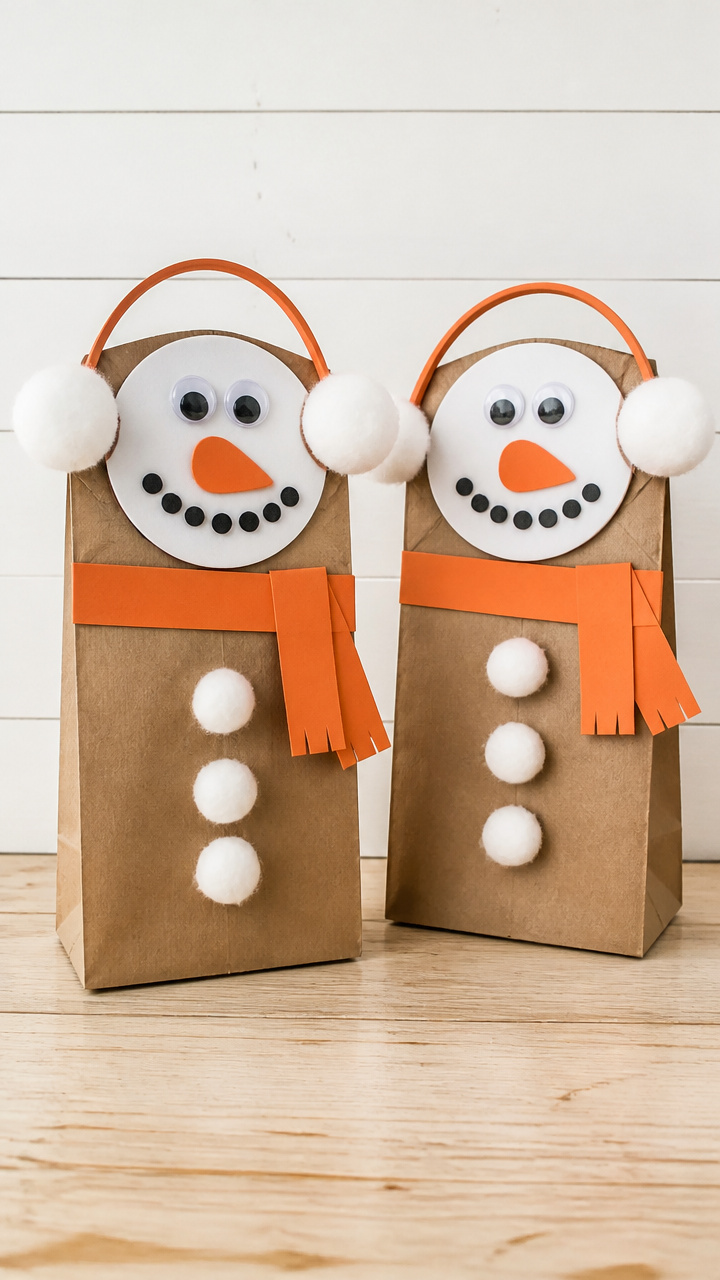
Brown lunch bags turn into smiling snow characters with cotton ball details and construction paper scarves, ready for a kitchen table show.
Materials Needed
- Brown paper lunch bags, 6
- White craft foam sheet
- Cotton balls
- Orange construction paper
- Googly eyes, 10mm, 12 pairs
- White school glue
- Scissors
How to Make It
- Cut three large circles from white craft foam for snowballs and glue them vertically down the front of the bag.
- Glue googly eyes and a small orange triangle nose to the top circle.
- Attach a cotton ball at the top for a hat puff and glue a folded strip of colored paper at the neck for a scarf.
- Let dry for 20 minutes before slipping your hand inside to play.
- Use fingers to move the puppet’s head and talk in a wobbly voice.


19. Straw-Blown Snow Art
Easy
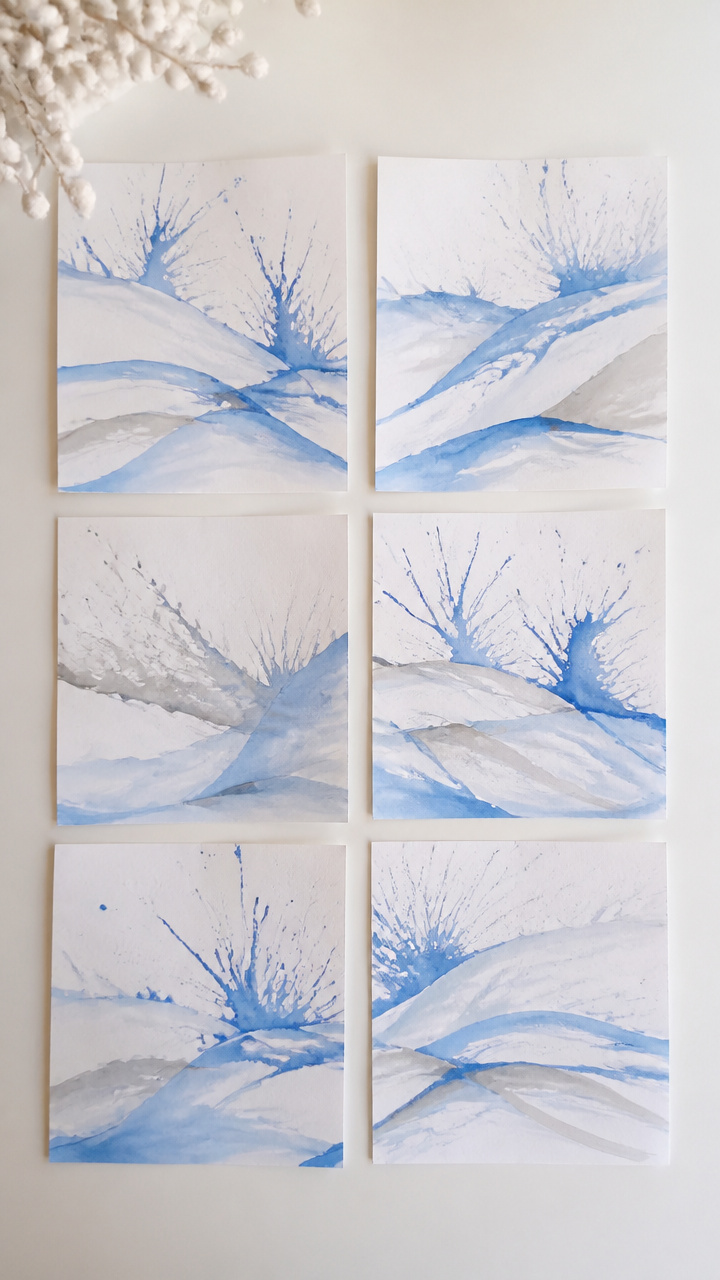
Drops of paint skid across paper when blown through a straw, creating wild wind-blown drifts in soft blue and gray.
Materials Needed
- White drawing paper, 9×12 inch, 6 sheets
- Blue liquid watercolor
- Gray liquid watercolor
- Drinking straws, 6
- Eye dropper
- Cup of water
How to Make It
- Place a drop of blue watercolor near the center of the paper using the eye dropper.
- Hold the straw just above the paint and blow sharply to push the color outward in branching lines.
- Add a second drop of gray paint and blow in a different direction to layer the effect.
- Repeat with one or two more drops, varying pressure to control thickness.
- Let the artwork dry flat for 30 minutes before touching.

20. Foam Snowflake Stamps
Easy
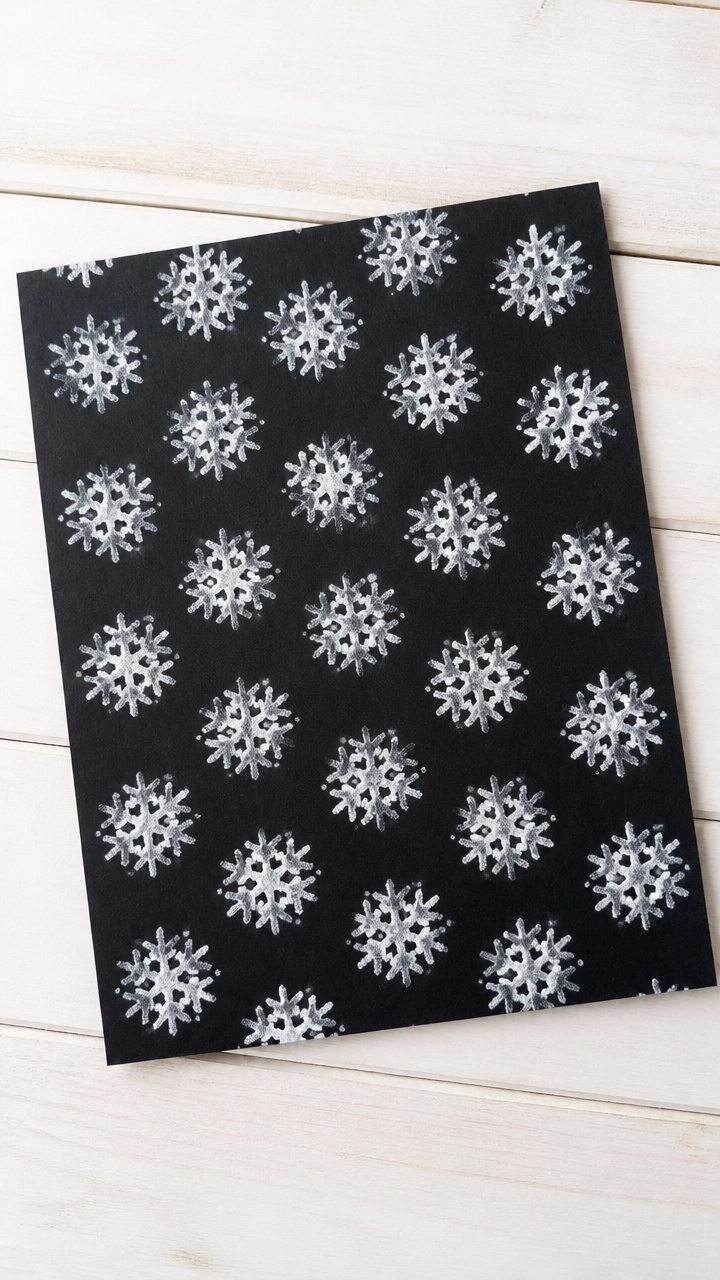
Styrofoam plates carve into lacy shapes that press crisp white prints onto dark paper, repeating like falling flakes.
Materials Needed
- White Styrofoam plates, 6
- Craft knife
- Pencil
- Black A4 cardstock, 6 sheets
- White tempera paint
- Paint tray
- Brayer or small foam roller
How to Make It
- Draw a six-pointed snowflake design on the bottom of a Styrofoam plate with pencil.
- Carefully cut along the lines with the craft knife, removing inner sections to leave a raised stamp surface.
- Pour white tempera paint into the tray and roll the brayer through it to coat evenly.
- Roll paint over the carved snowflake stamp, covering all raised areas.
- Press the stamp firmly onto black cardstock and lift straight up, then let dry for 15 minutes.


21. Clothespin Penguin Families
Easy
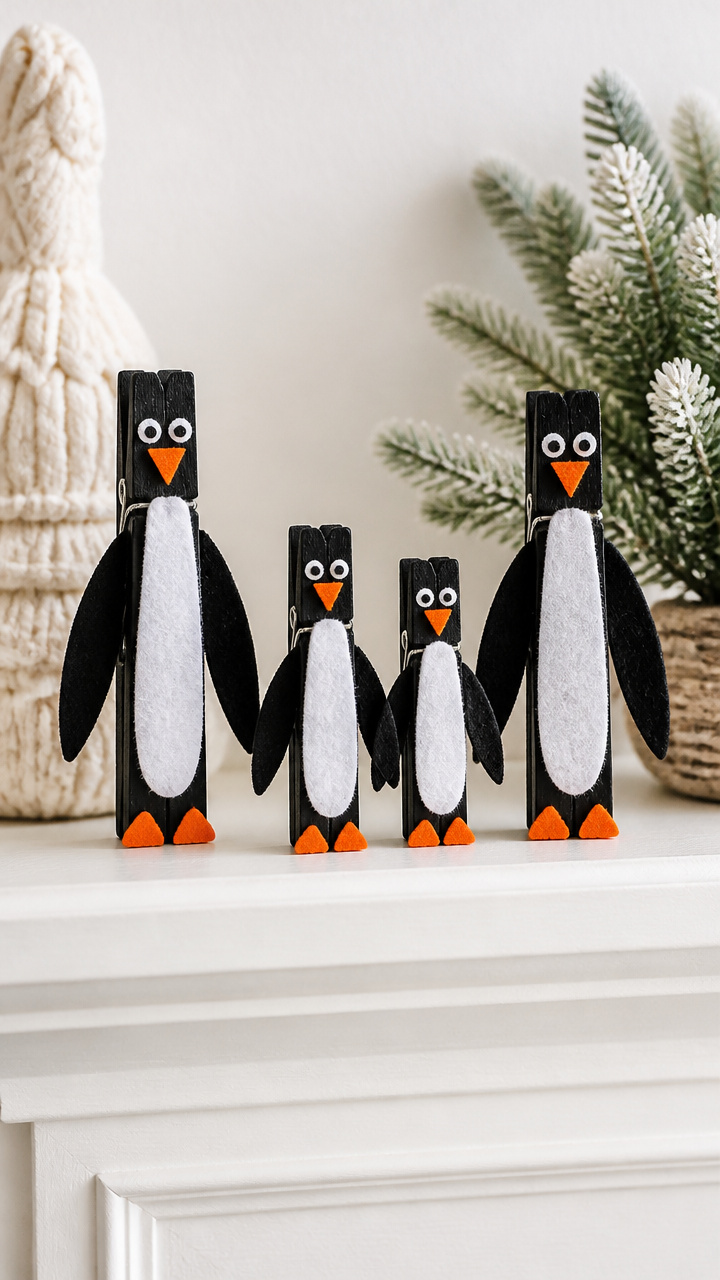
Wooden clothespins gain felt wings and paper feet, standing in a waddling group that fits perfectly on a mantel.
Materials Needed
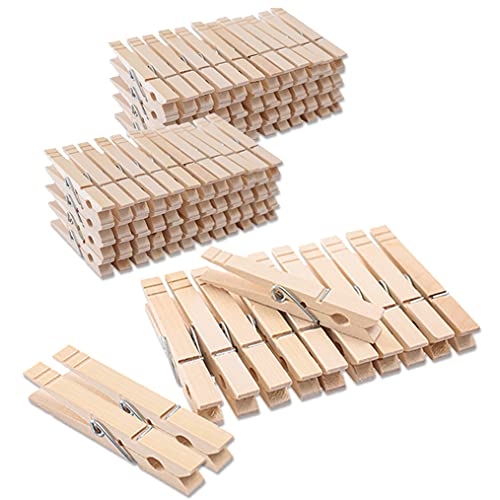
- Wooden clothespins, 12
- Black craft felt, 8×10 inch sheet
- White craft felt, 8×10 inch sheet
- Orange craft foam sheet
- White school glue
- Scissors
How to Make It
- Cut small wing shapes from black felt and glue one to each side of the clothespin body.
- Cut a rounded belly shape from white felt and glue it to the front of the pin below the clip.
- Cut tiny triangle feet from orange craft foam and glue them to the bottom tip.
- Let each piece dry for 10 minutes before arranging in pairs or groups.
- Stand them upright on any flat surface.


22. Aluminum Foil Fish
Easy
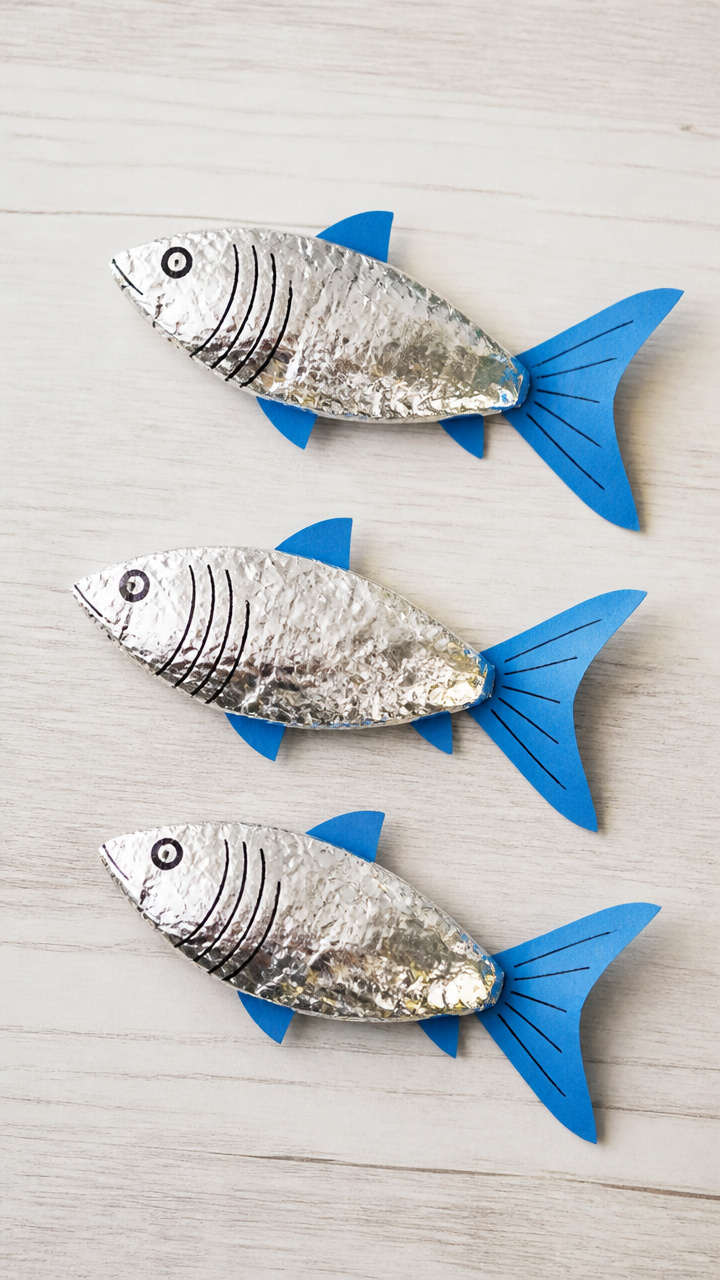
Shiny foil molds into sleek fish shapes with marked gills and tails, flashing like icy river swimmers when hung near a lamp.
Materials Needed
- Heavy-duty aluminum foil, 12×12 inch sheets, 6
- Blue construction paper, 9×12 inch, 6 sheets
- Silver permanent marker
- Scissors
- Glue stick
- Hole punch
- Thread
How to Make It
- Crumple a small ball of foil and press it flat to soften, then shape it into a fish outline with pointed tail and rounded head.
- Use the silver marker to draw gill lines and scale marks on both sides.
- Glue the foil fish onto the center of a blue paper sheet.
- Punch a hole near the top and thread a piece of thread through for hanging.
- Tape the top edge to a window or ceiling beam.


23. Pom-Pom Hot Cocoa Mugs
Easy
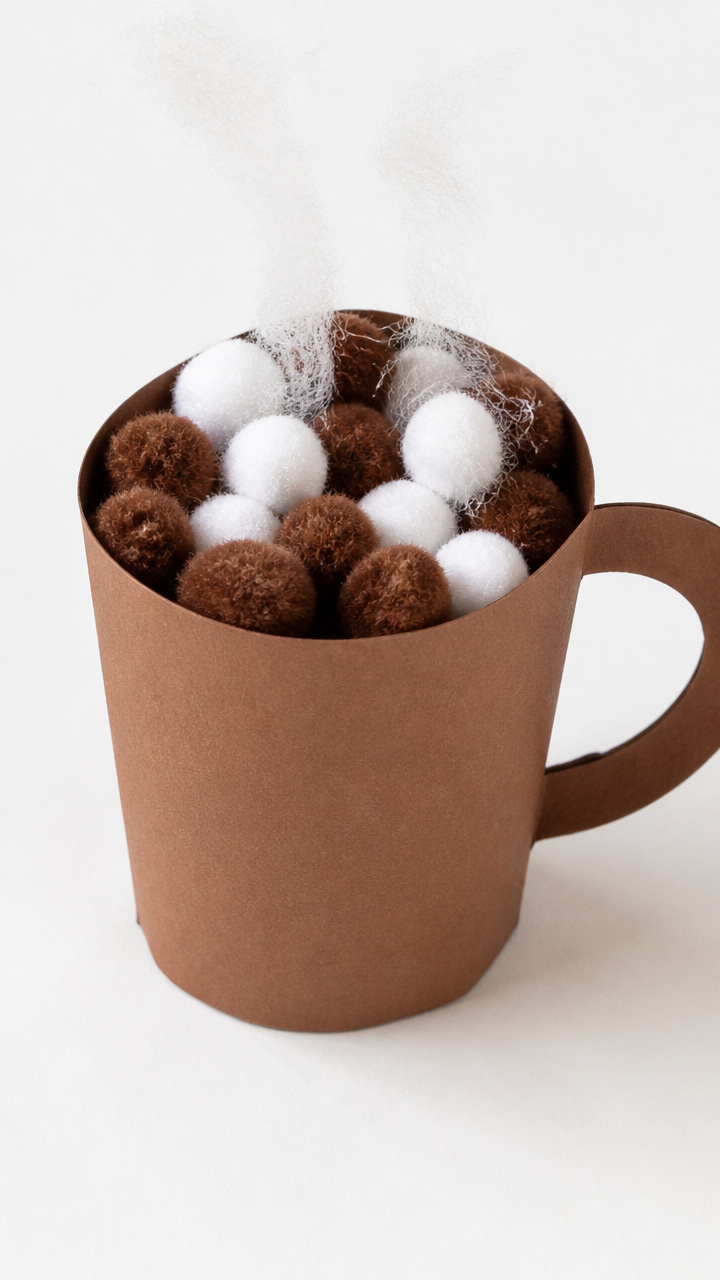
Cardboard mug shapes fill with fluffy brown and white pom-poms, looking like steaming cocoa topped with marshmallows on a cozy afternoon.
Materials Needed
- Brown construction paper, 9×12 inch, 6 sheets
- White cardstock, 6 sheets
- Brown pom-poms, 1/2 inch, 60
- White pom-poms, 1/2 inch, 30
- White school glue
- Mug template (5 inch tall)
- Scissors
- Pencil
How to Make It
- Trace the mug template onto white cardstock and cut out six mugs.
- Glue each mug shape onto the center of a brown construction paper sheet.
- Fill the mug area with alternating layers of brown and white pom-poms, starting with brown at the bottom.
- Press each pom-pom gently into glue to secure and cover the entire mug space.
- Let dry for 30 minutes before display.


24. Nature Collage Snow Scenes
Easy
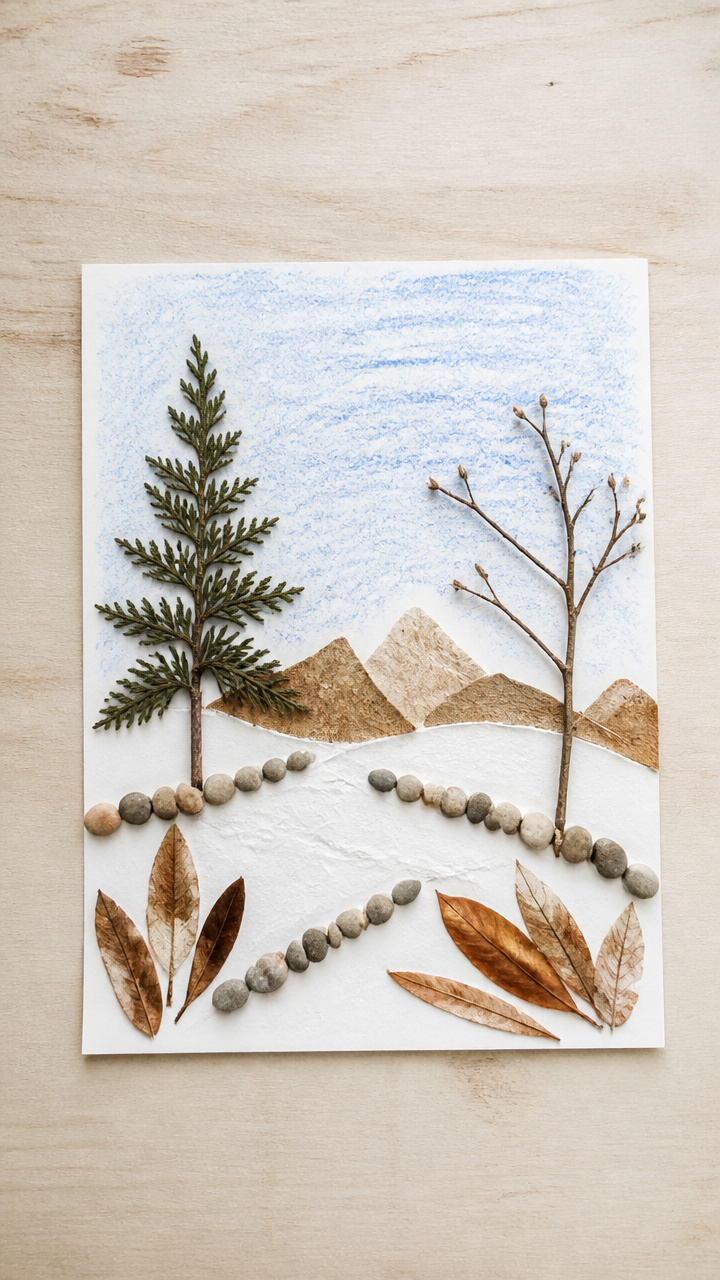
Twigs, dried leaves, and pebbles arrange into wintery landscapes on paper, capturing the quiet beauty of the outdoors on a still day.
Materials Needed
- White drawing paper, 9×12 inch, 6 sheets
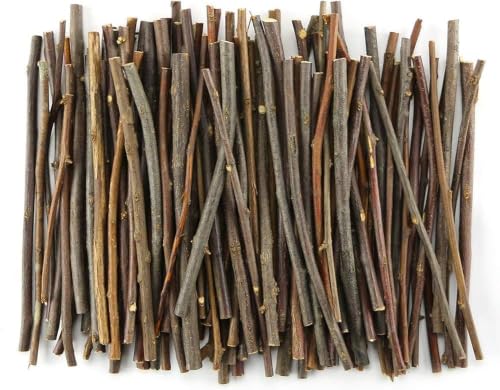
- Collected twigs, 3 inches long, 18
- Dried leaves, small, 12
- Tiny pebbles, 24
- White school glue
- Blue chalk
How to Make It
- Smudge the top third of each paper with blue chalk to suggest a winter sky.
- Draw a wavy horizon line across the lower half with a fingertip to blend the chalk slightly.
- Glue twigs vertically in clusters to form bare trees.
- Place pebbles at the base of trees for rocks and scatter small leaf pieces for drifted snow piles.
- Let the glue dry for 20 minutes before framing or storing.

25. Marbled Coffee Filter Snowflakes
Moderate
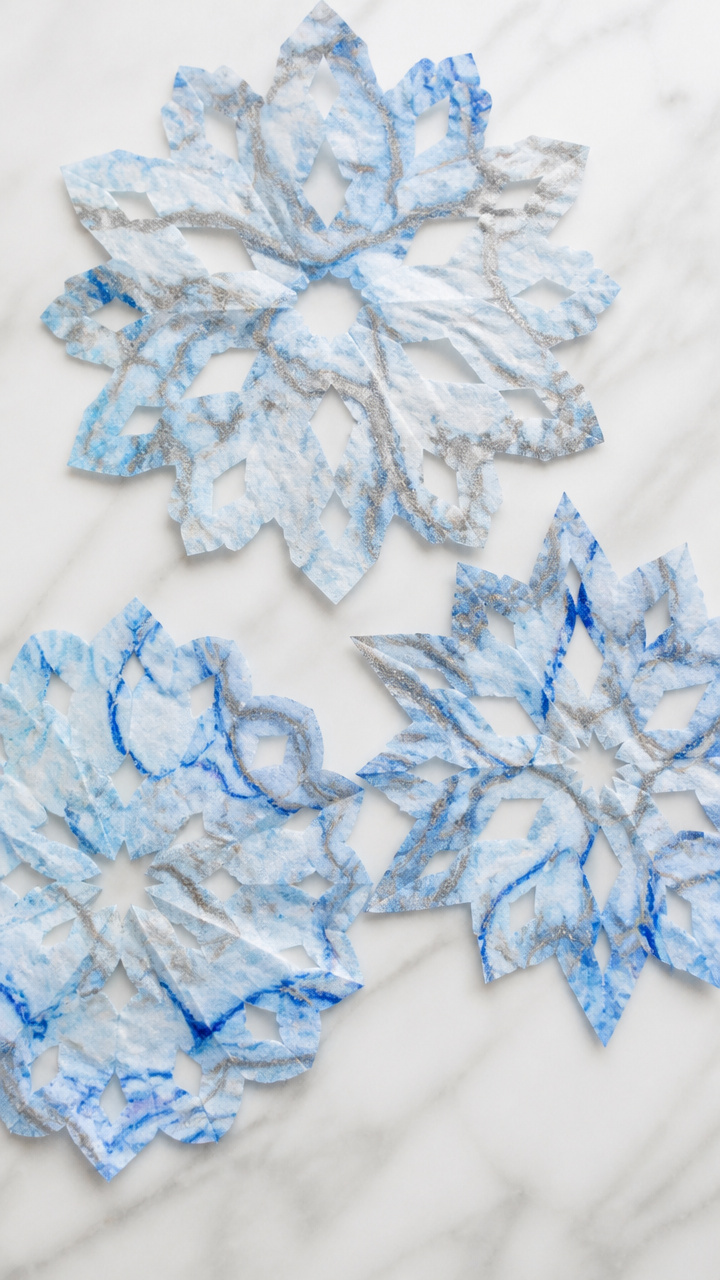
Wet coffee filters absorb drops of food coloring, creating soft bursts of blue and silver that fold and snip into unique melting snow crystals.
Materials Needed
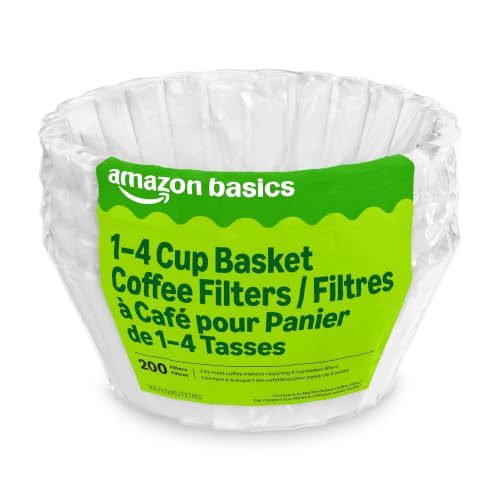
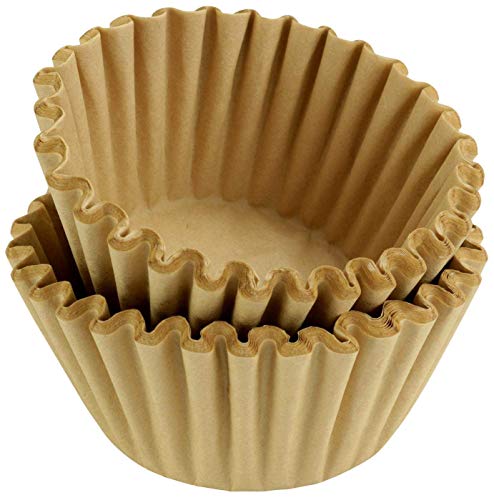
- Round coffee filters, 12
- Food coloring: blue, silver, 3 bottles
- Eye dropper
- Paper plate
- White school glue
- Scissors
- Pencil
How to Make It
- Lay a coffee filter flat on a paper plate and squeeze 3–4 drops of blue and silver food coloring onto the center.
- Wait 1 minute for colors to spread, then let dry completely for 45 minutes.
- Fold each dried filter into a triangle, then fold again into a smaller cone shape.
- Cut small shapes along the edges with scissors and unfold carefully to reveal the snowflake.
- Glue the snowflake onto another filter for thickness and let dry 20 minutes before hanging.

Grab a pair of scissors and start with any one of these projects today. You’ll be surprised how much joy comes from simple supplies and shared creativity.