15 New Year Crafts You Can Make in One Afternoon

Glitter dusts the table, scissors rest on a fresh sheet of cardstock, and the quiet hum of creativity fills the room. There’s something special about making something by hand to welcome a fresh start.
These crafts are designed to be finished in one afternoon, each with clear steps, exact supplies, and real results. No fluff, no guesswork—just satisfying projects that bring warmth and intention to the season.
1. Glittered Mason Jar Candles
Easy
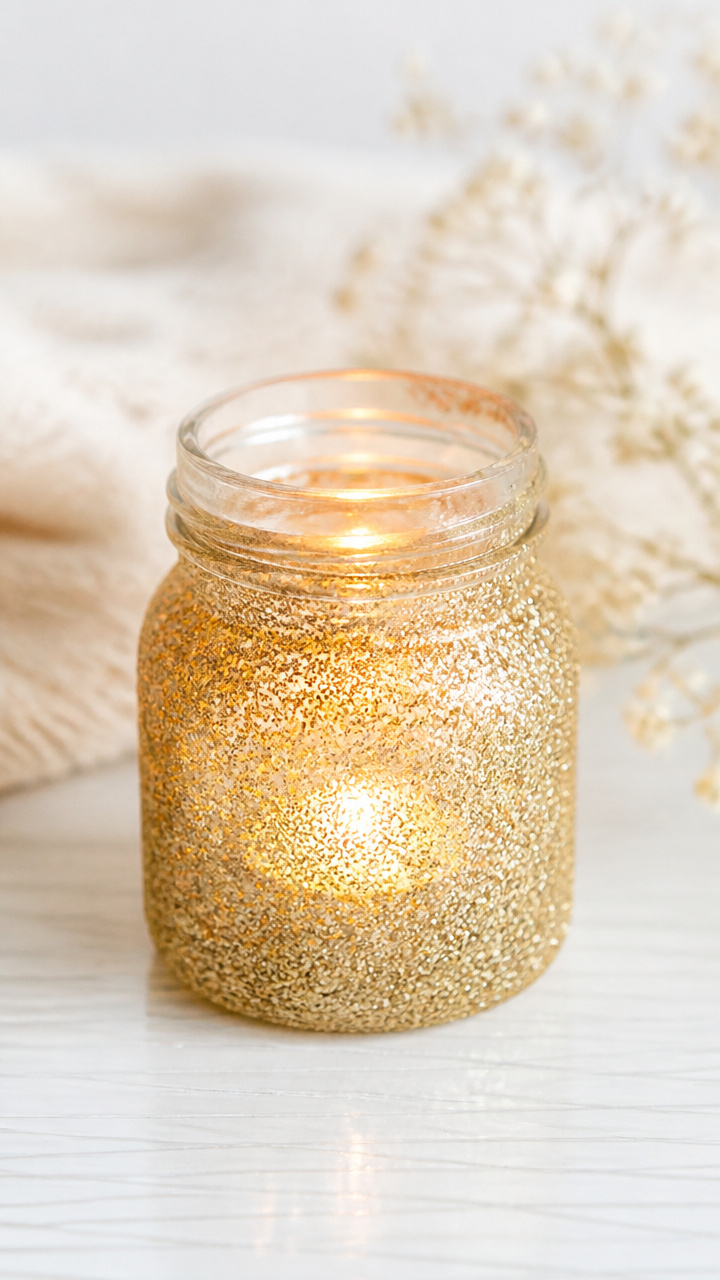
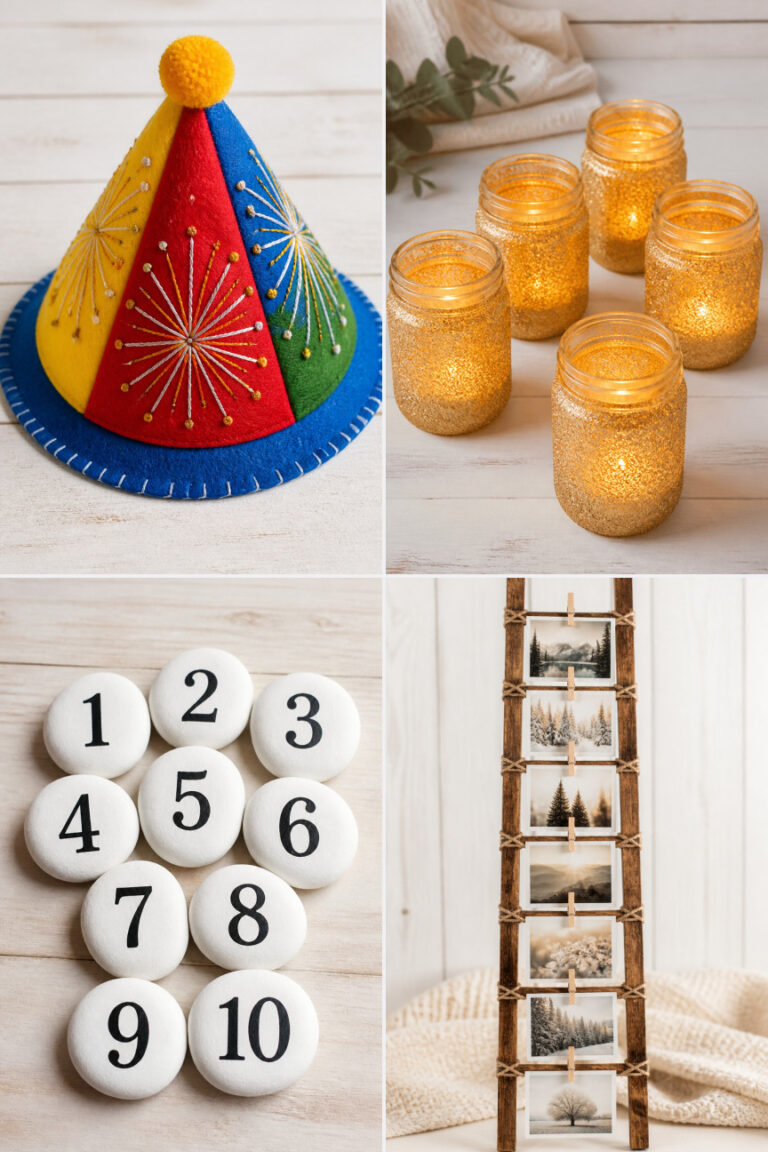
Soft golden light glows through a shimmering glass jar, casting delicate sparkles across the room. These candles make cozy centerpieces or heartfelt gifts.
Materials Needed
- 4-ounce mason jar, 1
- white unscented votive candle, 1
- gold fine glitter, 2 tablespoons
- clear-drying craft glue, 3 tablespoons
- small foam brush, 1
- paper plate, 1
How to Make It
- Pour craft glue onto the paper plate and dip the foam brush into it.
- Apply an even layer of glue to the outside of the mason jar, covering from base to rim.
- Sprinkle gold glitter over the glued surface, rotating the jar until fully coated.
- Let dry for 20 minutes on a flat surface, then gently tap off excess glitter.
- Place the votive candle inside the jar and set on a heat-safe dish.


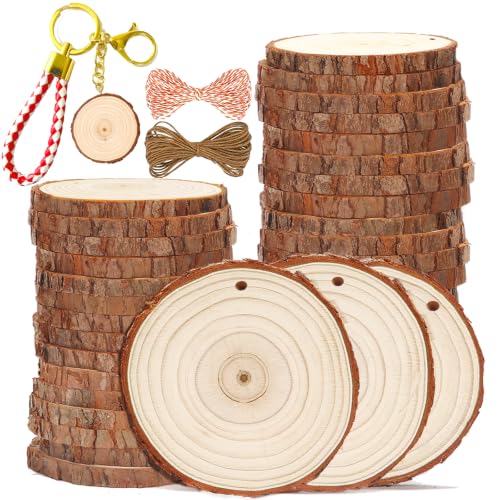
2. Painted Wood Slice Ornaments
Easy

Rustic wood slices painted with bold numbers become charming tree decorations that mark the coming year.
Materials Needed
- unfinished wood slices, 3 inches diameter, 3
- black acrylic paint, 2 ounces
- small flat paintbrush, 1
- red ribbon, 12 inches
- drill with 1/8-inch bit, 1
- paint palette or plate, 1
How to Make It
- Lay the wood slices on a flat surface and place a drop of black paint on the palette.
- Use the flat brush to paint the number of the upcoming year on each slice, such as '2027'.
- Let the paint dry completely for 15 minutes.
- Drill a small hole near the top edge of each slice.
- Thread red ribbon through each hole and tie a loop for hanging.


3. Tissue Paper Window Decor
Easy
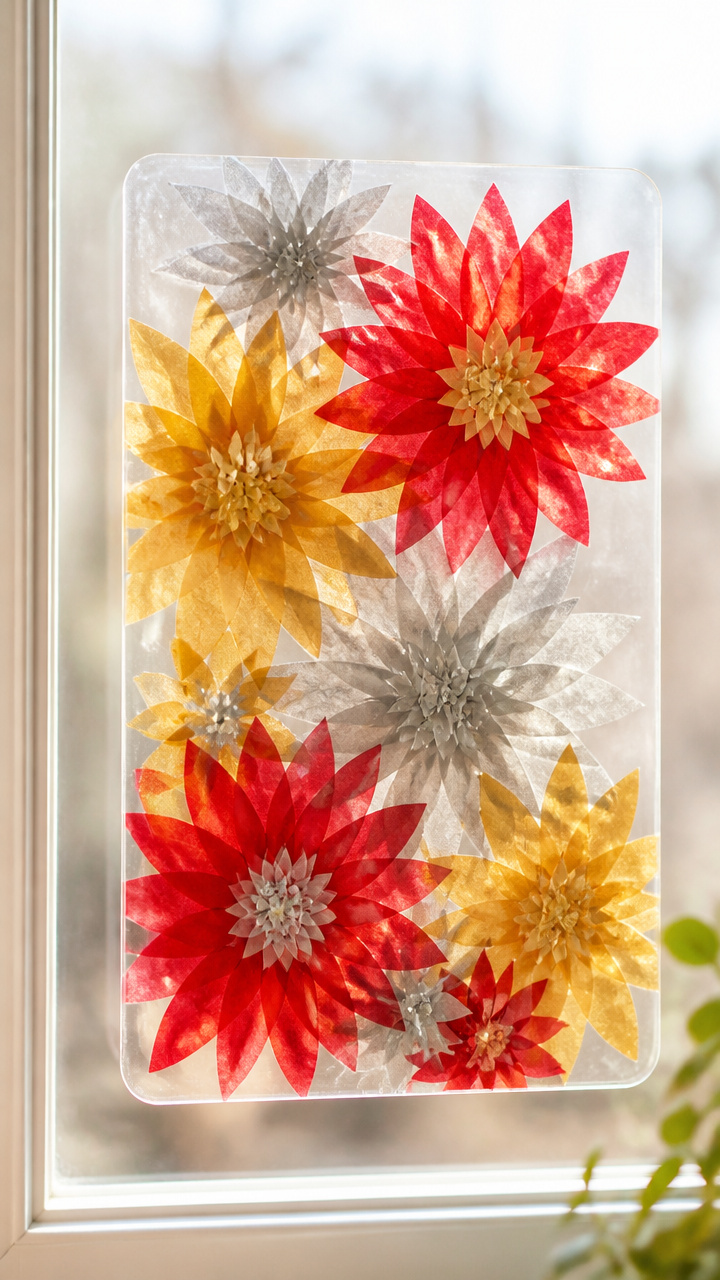
Bright bursts of color bloom on glass when sunlight hits these layered tissue paper sun catchers.
Materials Needed
- tissue paper in red, gold, and silver, 6 sheets total
- scissors, 1 pair
- contact paper, 12×18 inch sheet, 1
- ruler, 1
- pencil, 1
- craft stick, 1
How to Make It
- Cut the tissue paper into 2-inch squares using scissors and ruler.
- Peel the backing off the contact paper and lay it sticky-side up on the table.
- Arrange tissue paper squares in a tight mosaic pattern on the sticky surface.
- Press gently with the craft stick to smooth out air pockets.
- Cover with second side of contact paper if double-sided, or hang directly on window with tape.


4. Felt Fireworks Banner
Moderate
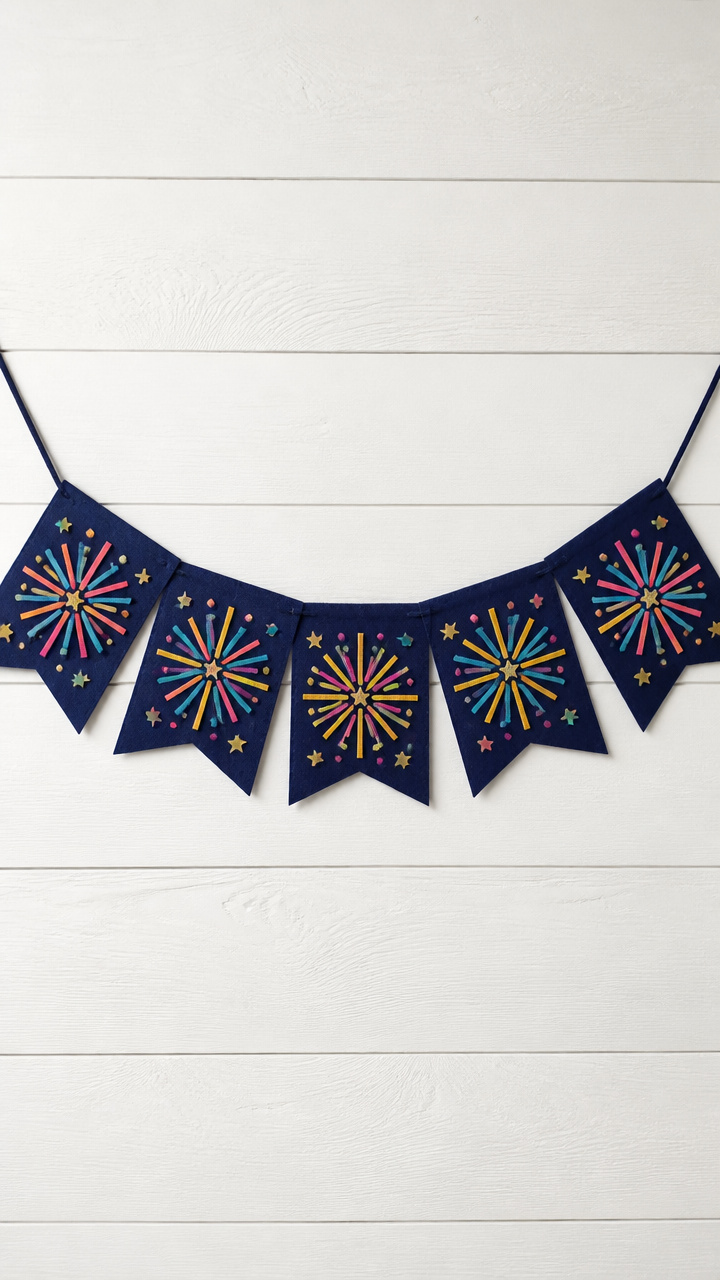
Sharp snips of bright felt form exploding starbursts that flutter above a mantel or doorway.
Materials Needed
- assorted colored felt sheets (pink, yellow, blue, purple), 4 sheets
- fabric scissors, 1 pair
- embroidery thread in white, 1 skein
- tapestry needle, 1
- jute twine, 3 feet
- ruler, 1
- chalk fabric marker, 1
How to Make It
- Use the chalk marker and ruler to draw six 3-inch star shapes on the felt sheets.
- Cut out each star carefully with fabric scissors.
- Vary colors so no two stars in a row match.
- Thread the tapestry needle with 18 inches of embroidery thread and knot the end.
- Stitch through the center of each star onto the jute twine, spacing them 4 inches apart.
- Hang the banner by tying ends of twine around nails or hooks.


5. Clay Number Sculptures
Moderate

Smooth air-dry clay shaped into modern numerals becomes minimalist decor for shelves or tables.
Materials Needed
- white air-dry clay, 1 pound
- rolling pin, 1
- parchment paper, 1 sheet
- number-shaped cookie cutter (size 4), 1
- damp cloth, 1
- fine sandpaper, 1 sheet
- acrylic sealer spray, 1 can
How to Make It
- Lay parchment paper on your work surface and roll the clay to 1/4-inch thickness using the rolling pin.
- Press the number cookie cutter into the clay and lift gently.
- Remove excess clay around the shape and smooth edges with damp cloth.
- Let the number dry upright on a flat tray for 2 hours.
- Sand any rough spots lightly with sandpaper after drying.
- Spray evenly with acrylic sealer in a well-ventilated area and let cure for 30 minutes.


6. Twine-Wrapped Countdown Tags
Easy
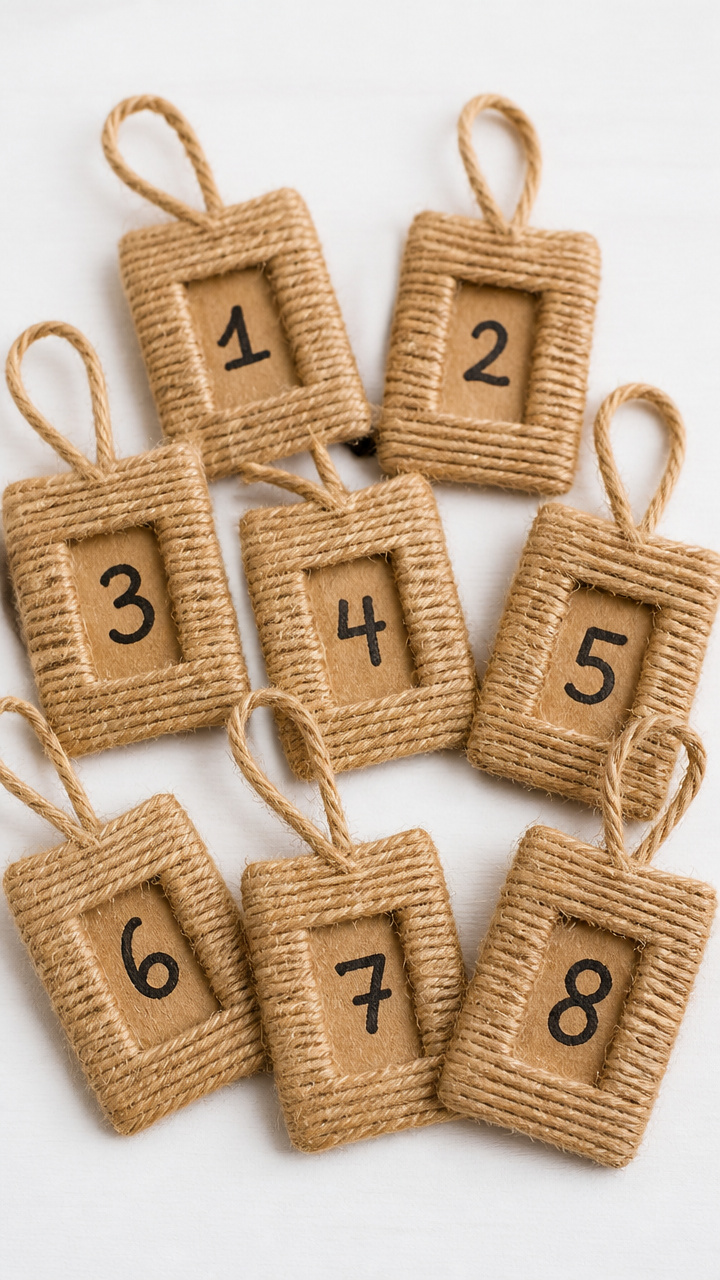
Small cardboard tags wrapped with natural twine hold handwritten wishes for each month ahead.
Materials Needed
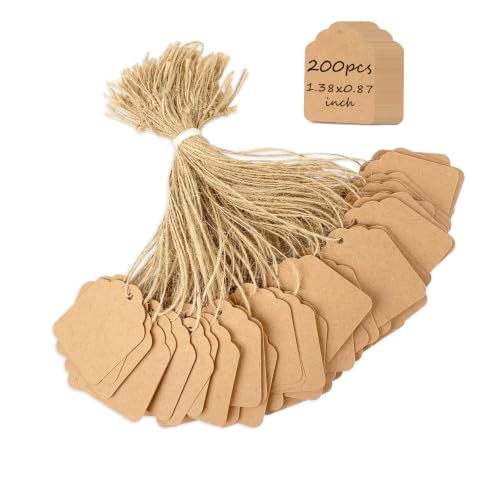
- kraft paper tag, 2×3 inch, 12
- natural jute twine, 1 spool
- black gel pen, 1
- hole punch, 1
- scissors, 1 pair
How to Make It
- Punch a hole at the top of each kraft tag using the hole punch.
- Cut 12-inch lengths of twine, 12 pieces total.
- Wrap one piece of twine around each tag and tie a knot at the top to form a loop.
- Write a monthly intention or hope on each tag, like 'Learn a new recipe' or 'Call a friend'.
- Gather all tags together with a final knot at the top for bundling.


7. Marbled Coffee Filter Fireworks
Easy
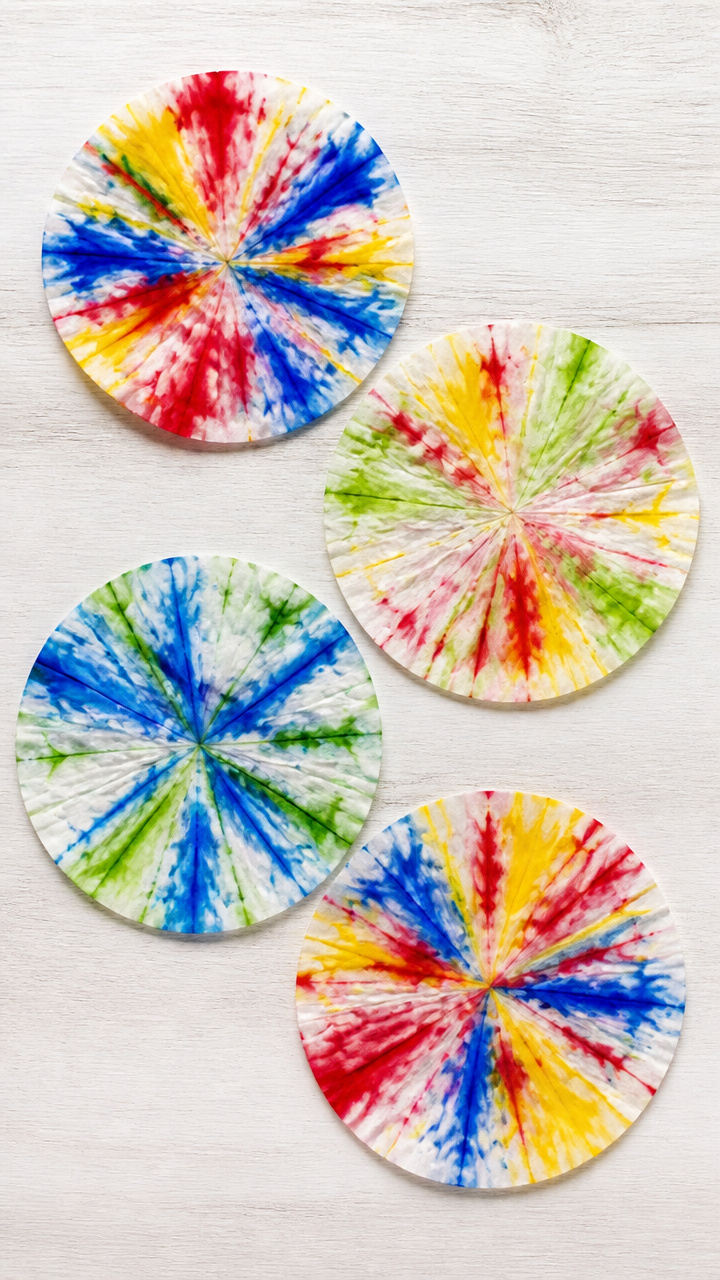
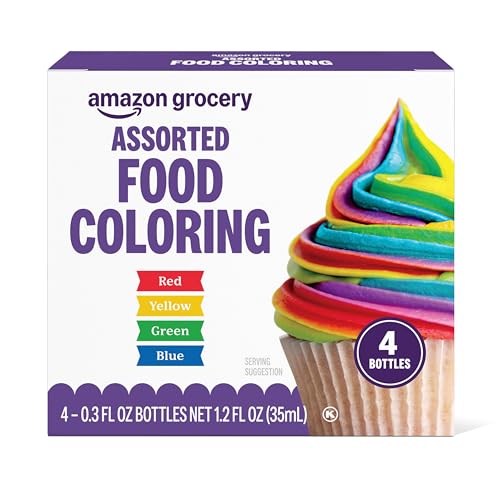
A few drops of food coloring bloom into radiant bursts on coffee filters, mimicking midnight fireworks.
Materials Needed
- white coffee filters, 5
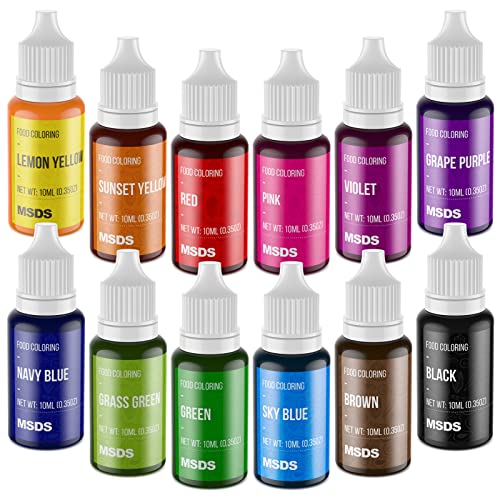
- food coloring in red, blue, yellow, green, 1 bottle each
- eyedropper, 1
- baking sheet, 1
- rubber gloves, 1 pair
- string, 2 feet
How to Make It
- Lay a coffee filter flat on the baking sheet and put on rubber gloves.
- Use the eyedropper to place 3 drops each of red, blue, and yellow food coloring near the center.
- Add 1 drop of green in between colors to blend the effect.
- Wait 2 minutes for colors to spread, then let dry flat for 30 minutes.
- Once dry, gather the filter into a firework shape and tie string around the base to hang.

8. Pom-Pom Clock Refurbish
Moderate
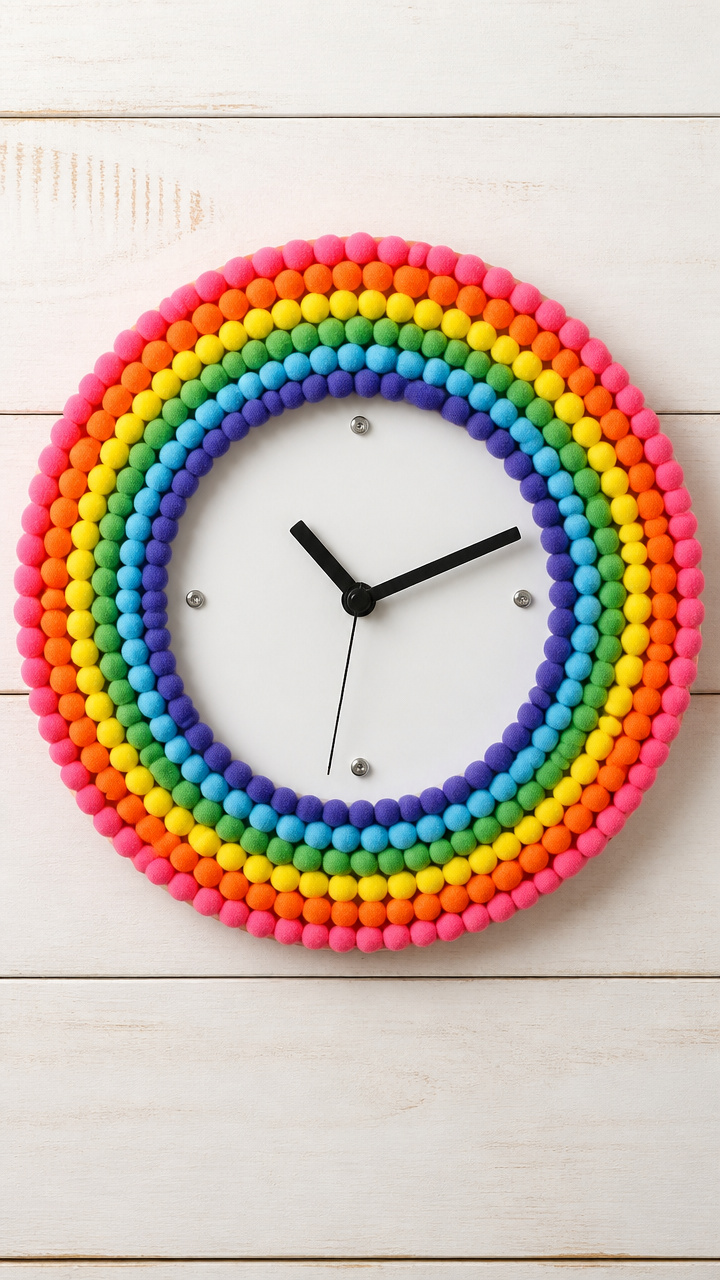
A plain wall clock gets a joyful update with tiny rainbow pom-poms placed around its face.
Materials Needed
- plain round wall clock with visible screws, 1
- mini pom-poms in assorted colors, 50 count
- hot glue gun, 1
- glue sticks, 2
- clock key or battery, 1
How to Make It
- Remove the clock hands and battery or key to stop the mechanism.
- Unscrew the glass or plastic cover and set aside.
- Apply a small dot of hot glue to the back of each pom-pom.
- Press pom-poms in a circular pattern around the outer edge of the clock face, spacing evenly.
- Let glue set for 10 minutes, then reattach the cover, hands, and power source.


9. Foam Stamp Confetti Cards
Moderate
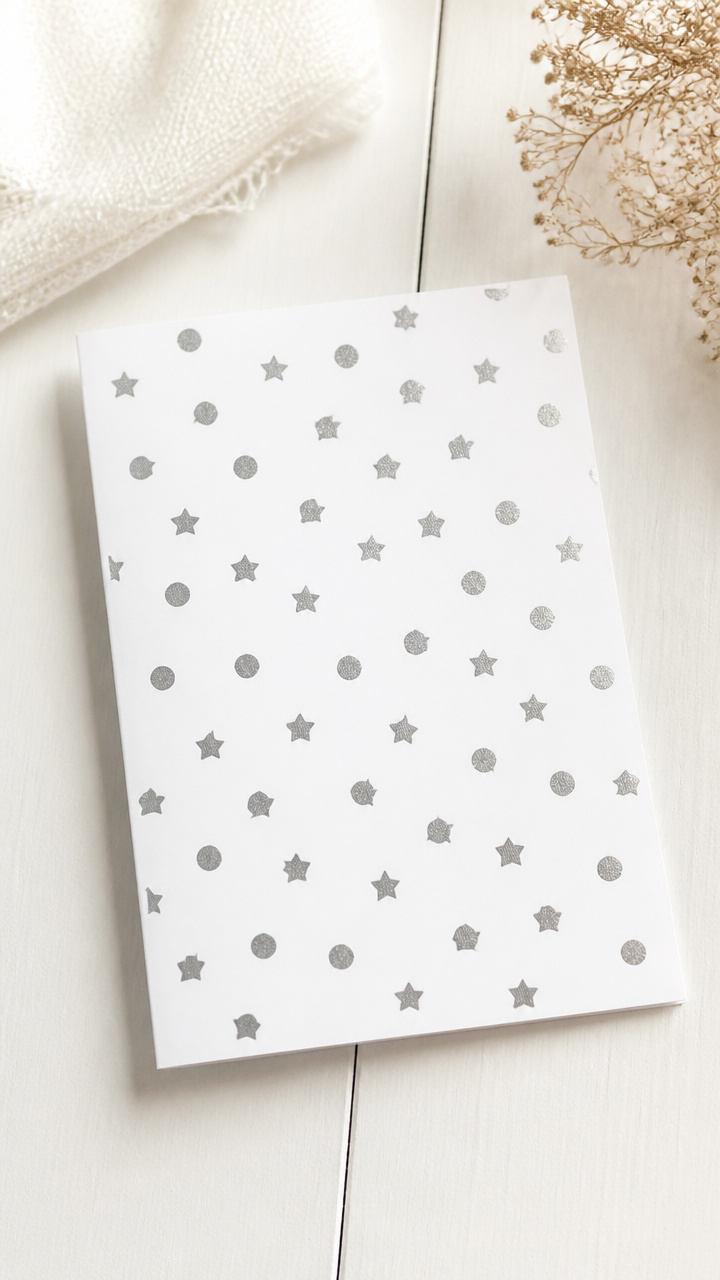
Hand-carved stamps press perfect dots and stars onto blank cards for a festive greeting set.
Materials Needed
- foam sheet, 6×9 inch, 1
- linoleum carving tool set, 1
- cardstock A6 size, white, 5 sheets
- ink pad in silver, 1
- pencil, 1
- ruler, 1
How to Make It
- Use pencil and ruler to lightly sketch a star or dot cluster on the foam sheet.
- Carve away the foam around the design using the linoleum tool, leaving the image raised.
- Press the carved foam stamp into the silver ink pad until fully coated.
- Stamp the design in the corner of each cardstock sheet with firm, even pressure.
- Let ink dry for 5 minutes before writing a message inside.


10. Washi Tape Party Hats
Easy
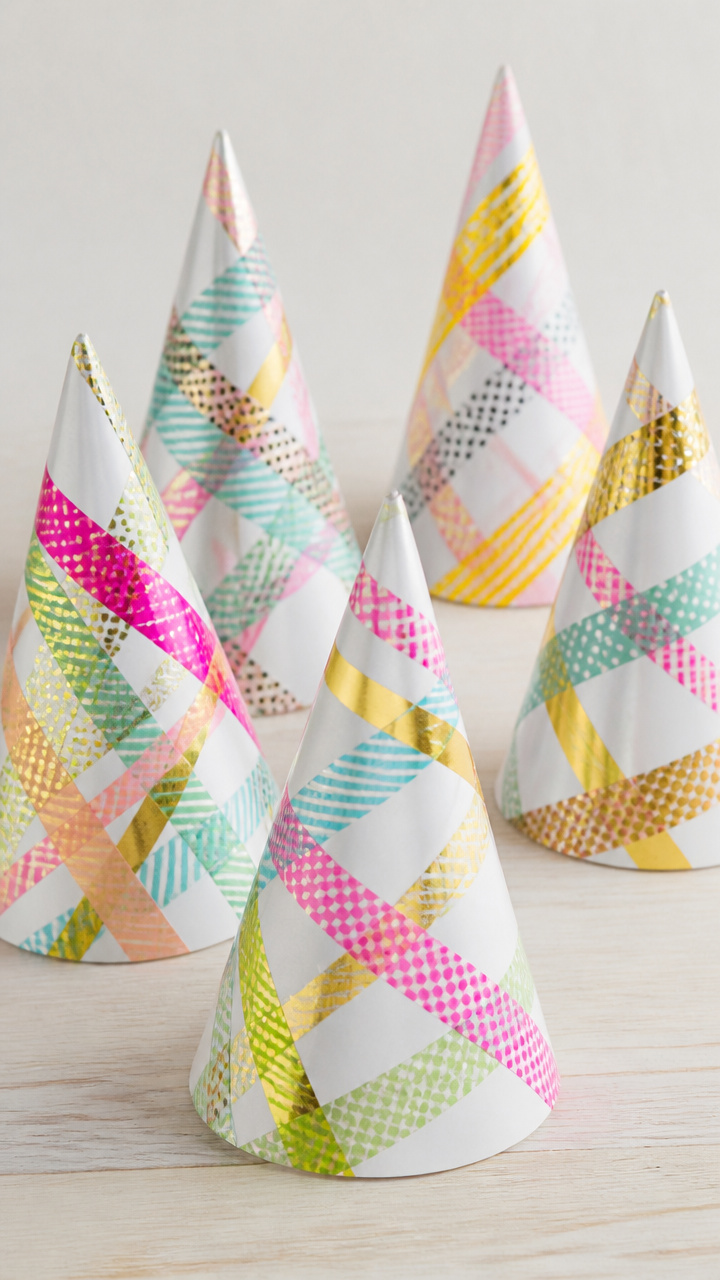
Plain cone hats turn into personalized party gear with crisscrossed strips of decorative tape.
Materials Needed
- paper party hat, basic white, 3
- washi tape in metallic and patterned designs, 3 rolls
- scissors, 1 pair
How to Make It
- Lay a party hat flat and unroll washi tape along one edge from base to tip.
- Press tape down smoothly and cut at the top with scissors.
- Apply a second strip beside the first, slightly overlapping, until the hat is covered.
- Repeat with different tape patterns on each hat.
- Let guests choose their favorite at the gathering.


11. Salt Dough Gift Tags
Moderate
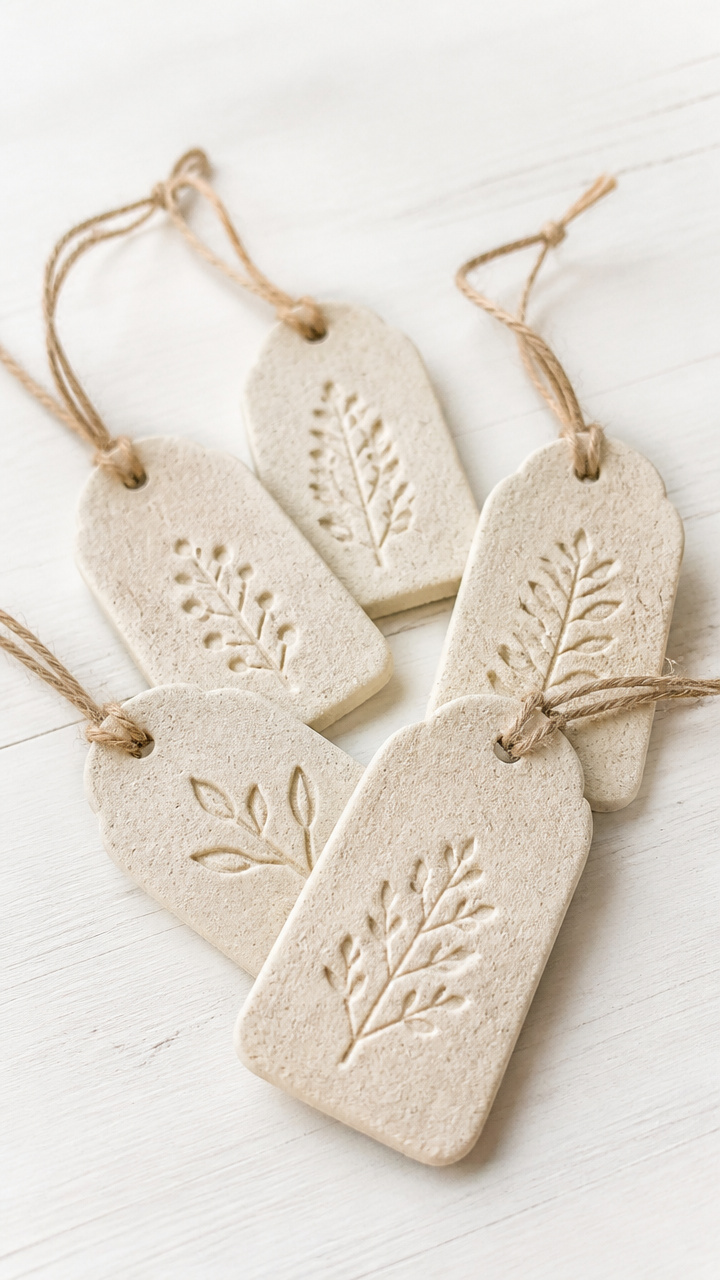
Homemade tags pressed with stamps and baked until crisp carry a handmade charm to every present.
Materials Needed
- all-purpose flour, 1 cup
- table salt, 1/2 cup
- water, 1/2 cup
- mixing bowl, 1
- rolling pin, 1
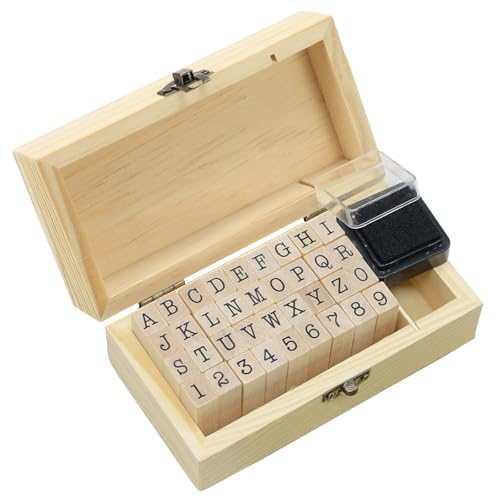
- alphabet stamp set, 1
- baking sheet, 1
- parchment paper, 1 sheet
- acrylic paint in gold, 2 ounces
- small brush, 1
- ribbon, 12 inches
How to Make It
- Mix flour, salt, and water in the bowl until a smooth dough forms.
- Roll dough to 1/4-inch thickness on a floured surface using the rolling pin.
- Cut into 2×1 inch rectangles and press letter stamps into each to spell names or 'Happy'.
- Place on parchment-lined baking sheet and bake at 200°F for 2 hours.
- Paint stamped areas with gold paint using the small brush and let dry 15 minutes.
- Punch hole and thread ribbon through for tying to gifts.

12. Beaded Tassel Keychains
Moderate
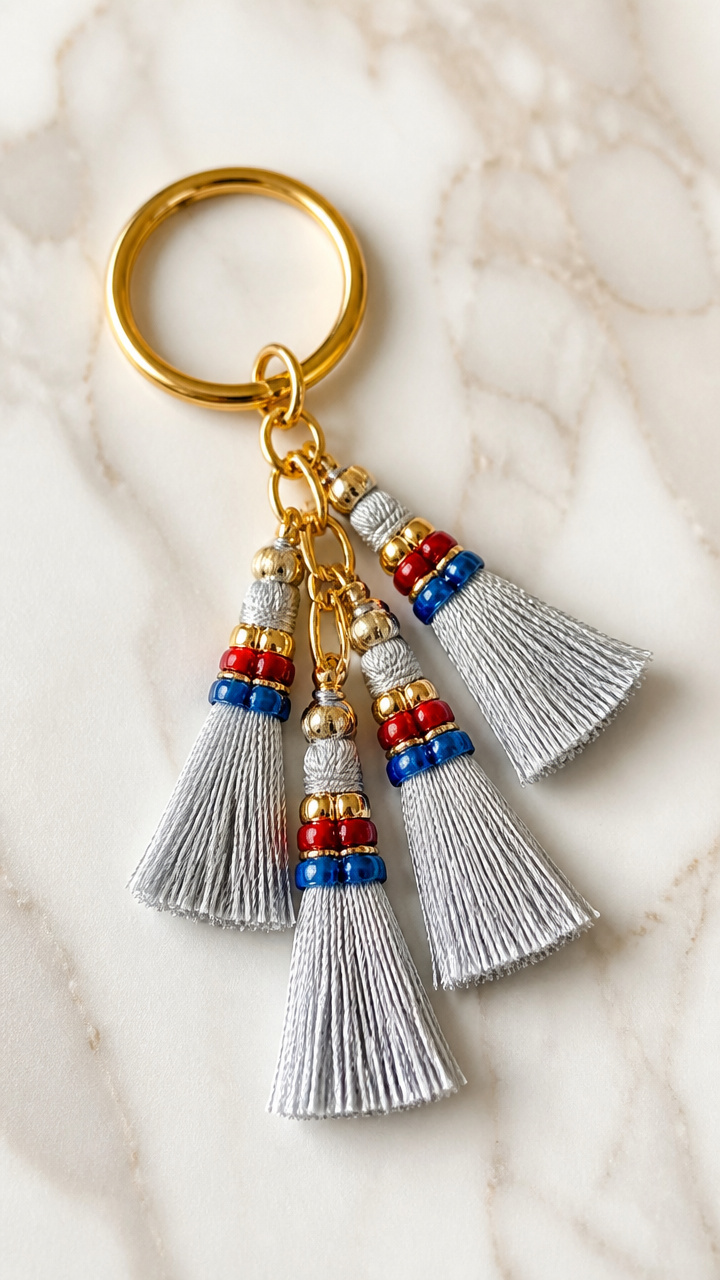
Tiny tassels threaded with colorful seed beads dangle from keys, zippers, or bags.
Materials Needed
- gold metal keyring, 1
- embroidery floss in silver, 1 strand
- size 11/0 seed beads in red, blue, gold, 50 total
- beading needle, 1
- scissors, 1 pair
- jump ring, 1
How to Make It
- Cut a 12-inch length of embroidery floss and thread the beading needle.
- String 10 beads onto the floss, alternating colors.
- Fold floss in half and tie a knot below the beads to form a tassel base.
- Trim the loose ends evenly to 1 inch.
- Open the jump ring with pliers and attach it to the keyring and tassel knot.
- Close the jump ring securely.


13. Cork Rocket Ornaments
Easy
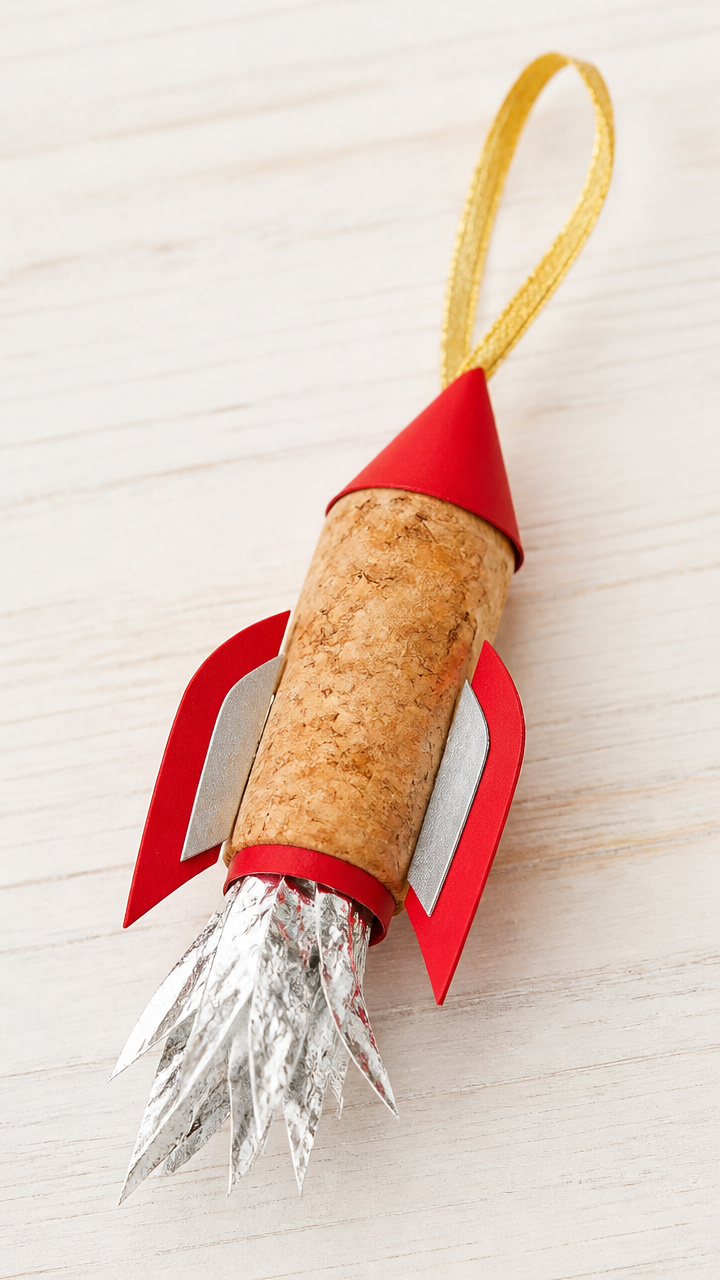
Wine corks launch into space with paper fins and foil flames for a playful tree accent.
Materials Needed
- wine cork, 3
- construction paper in red and silver, 1 sheet each
- scissors, 1 pair
- hot glue gun, 1
- glue sticks, 2
- gold ribbon, 9 inches
- black marker, 1
How to Make It
- Cut three triangular fins from red construction paper, each 1 inch wide at base.
- Color the top of each cork with black marker to resemble a rocket nose.
- Glue two fins on the lower sides of each cork using hot glue.
- Cut a small flame shape from silver foil paper and glue to the cork's base.
- Tie gold ribbon around the middle of each cork and knot for hanging.


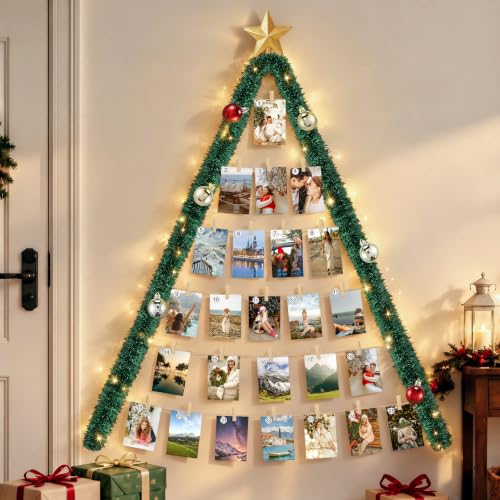
14. Photo Countdown Garland
Easy
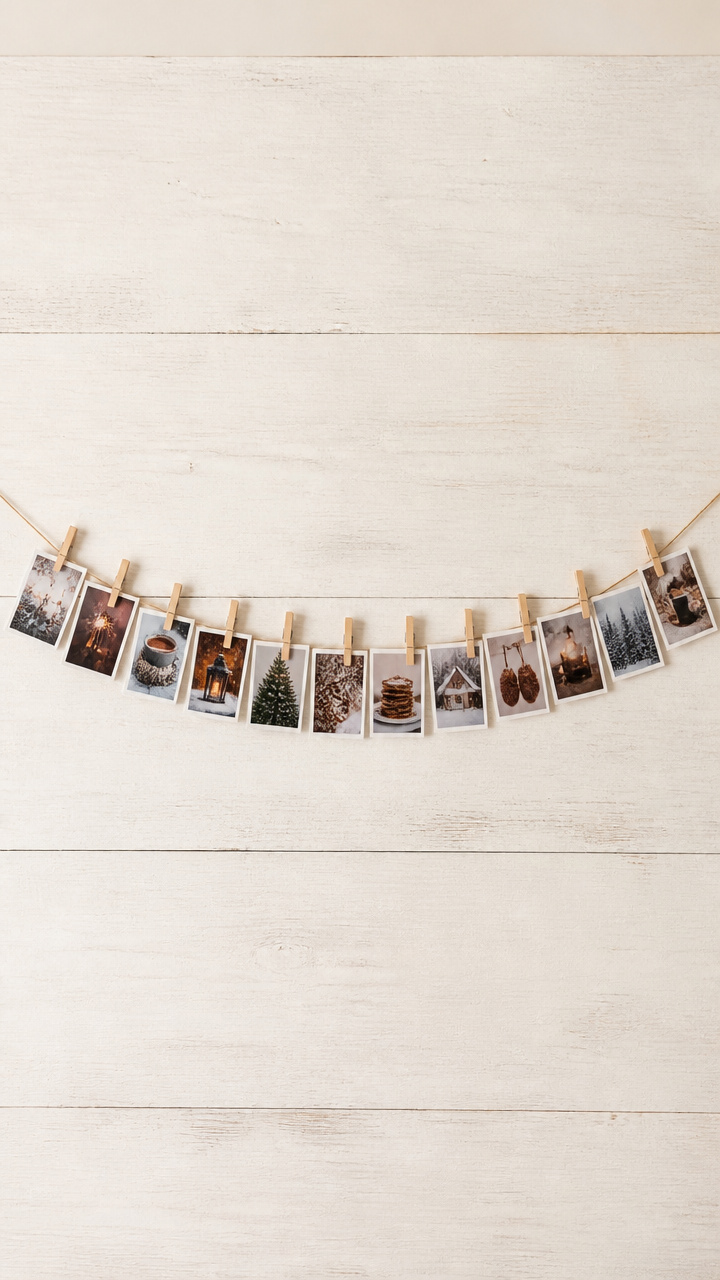
Twelve small photos clipped to a string create a visual journey counting down to next year’s celebration.
Materials Needed
- clothesline string, 4 feet
- mini wooden clothespins, 12
- 2×3 inch printed photos, 12
- scissors, 1 pair
- tape, 1 roll
How to Make It
- Cut the clothesline string to 4 feet using scissors.
- Clip one photo into each clothespin, choosing images that show joy or milestones.
- Space the clothespins evenly along the string, about 3 inches apart.
- Tape both ends of the string to the wall or mantle at equal height.
- Adjust photos so they hang straight and faces are visible.


15. Dip-Dyed Napkin Rings
Moderate
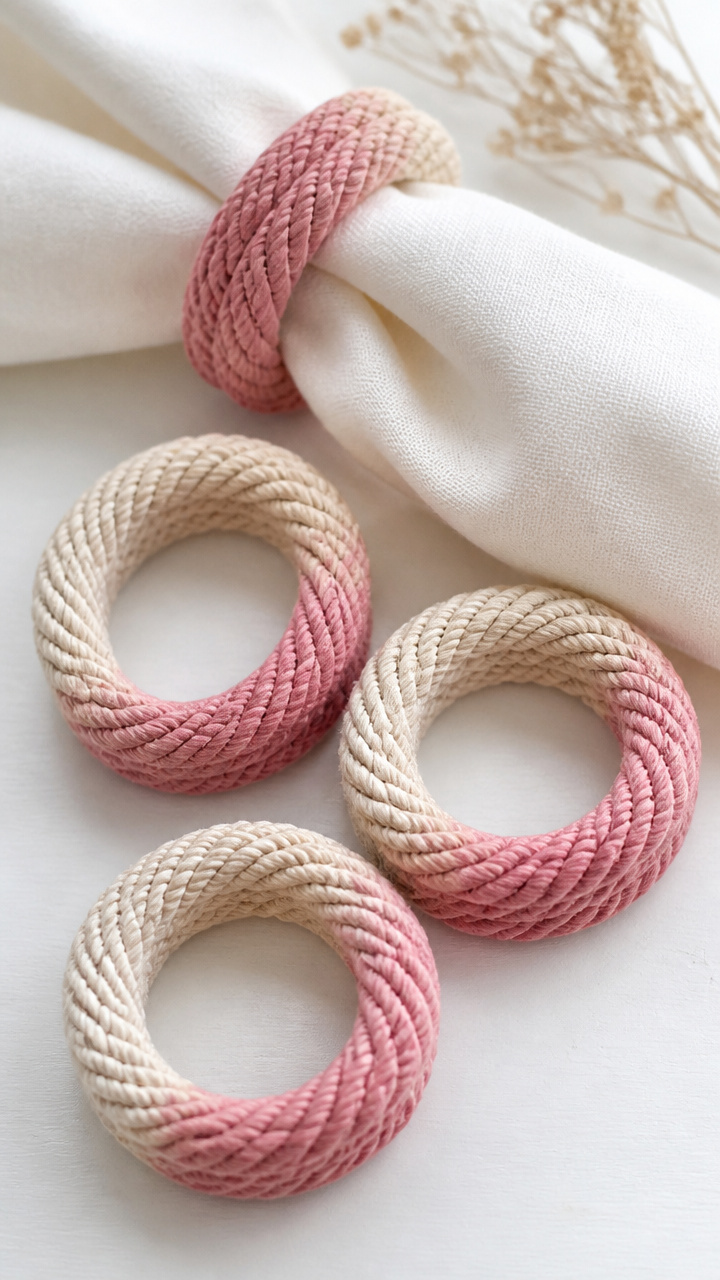
Cotton rope transforms into elegant rings with a gradient dye finish in celebratory hues.
Materials Needed
- natural cotton rope, 1/4 inch diameter, 3 feet
- fabric dye in rose pink, 1 packet
- plastic bowl, 1
- water, 2 cups
- rubber gloves, 1 pair
- measuring cup, 1
- wooden stick, 1
- scissors, 1 pair
How to Make It
- Cut the rope into 6 pieces, each 6 inches long, using scissors.
- Mix fabric dye with 2 cups of hot water in the plastic bowl following packet instructions.
- Put on rubber gloves and stir with the wooden stick.
- Dip one end of each rope piece into the dye, submerging 2 inches.
- Hold for 3 minutes, then lift and let excess drip off.
- Lay flat to dry for 1 hour before using on napkins.


Grab your scissors, pull out that glue, and start crafting. Each piece you make carries your energy and hope into the months ahead.