15 DIY Painted Witch Face Pumpkin Crafts to Try This Year

There’s something magical about painting a pumpkin instead of carving it. You get all the spooky charm without the mess, and the results can be as whimsical or eerie as you like.
Each painted witch face becomes its own character, full of personality and perfect for your porch or mantle. These ideas use accessible materials and clear techniques so you can create one in an afternoon.
1. Glossy Green Witch with Freckles
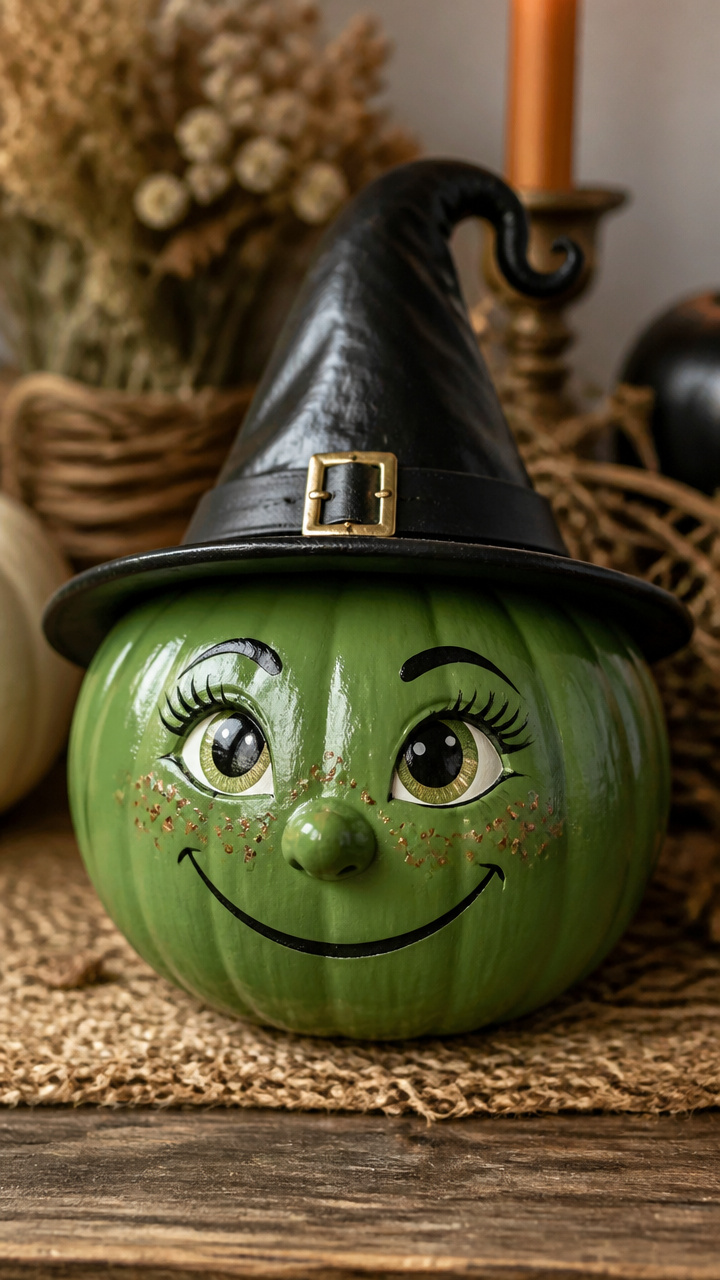
Smooth emerald skin and cinnamon freckles give this witch a playful, garden-goblin charm. The high-gloss finish catches light beautifully on dark evenings.
Materials Needed
- One medium-sized real pumpkin
- Green acrylic paint
- Matte sealant spray
- Glossy sealant spray
- Fine-tipped black paint pen
- Small round paintbrush
- Cotton swab
How to Make It
- Wipe the pumpkin clean with a dry cloth to remove dust. Paint the entire surface with green acrylic paint using the small round brush, applying two even coats with 20 minutes between layers.
- Once fully dry, dot five to seven small circles across the nose and cheeks using the cotton swab dipped in leftover green paint for freckles.
- Draw simple eyes and a tiny upturned mouth with the black paint pen. Let dry completely then spray the entire pumpkin with glossy sealant, holding the can 10 inches away for even coverage.


2. Watercolor Wash Purple Witch
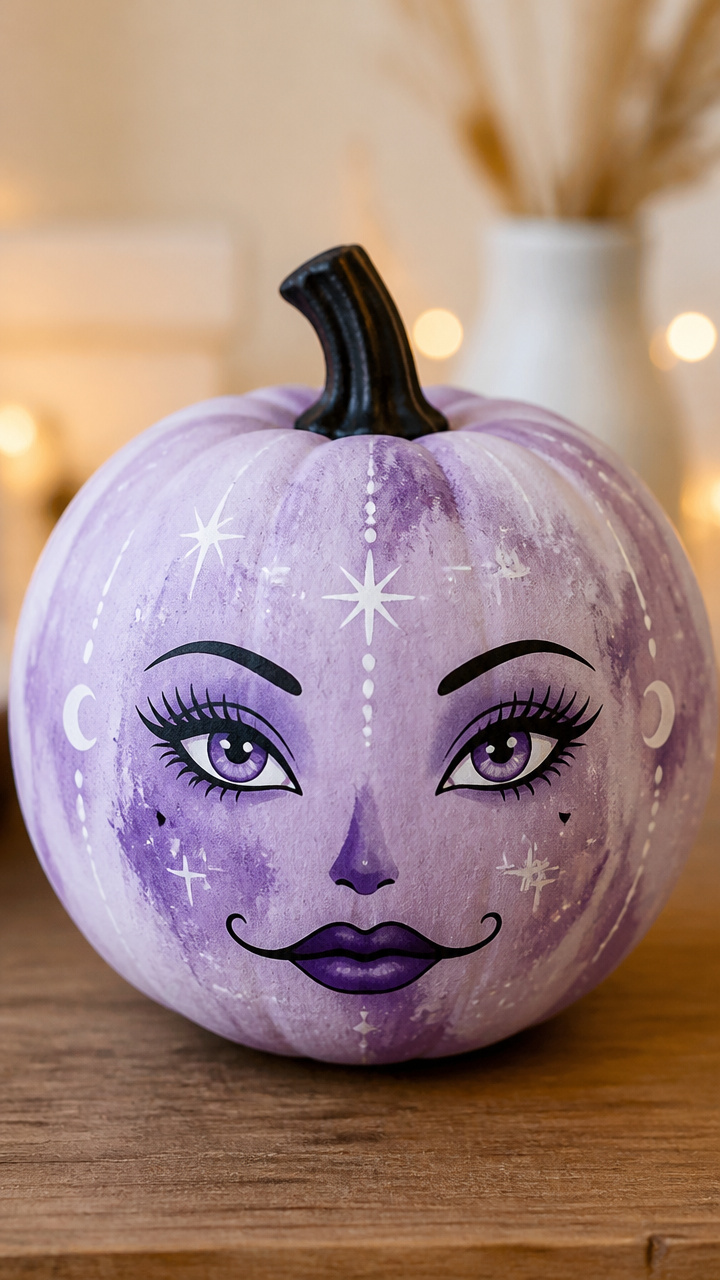
Soft lavender swirls mimic watercolor art on a smooth pumpkin base. This witch has a dreamy, mystical look that stands out among bold Halloween decor.
Materials Needed
- One faux foam pumpkin
- Purple watercolor paint set
- Round size 6 watercolor brush
- Spray bottle with water
- White gel pen
- Paper towel
How to Make It
- Mist the foam pumpkin lightly with the spray bottle until damp but not dripping. Use the watercolor brush to blend purple tones in soft circular motions across one side of the pumpkin.
- Blot any pooling with a paper towel and add a second lighter wash if needed. Let dry for 30 minutes.
- Draw wide, sleepy eyes and a faint crescent moon on the cheek with the white gel pen. Avoid overworking the surface to preserve the delicate wash effect.


3. Charcoal-Smudged Shadow Witch
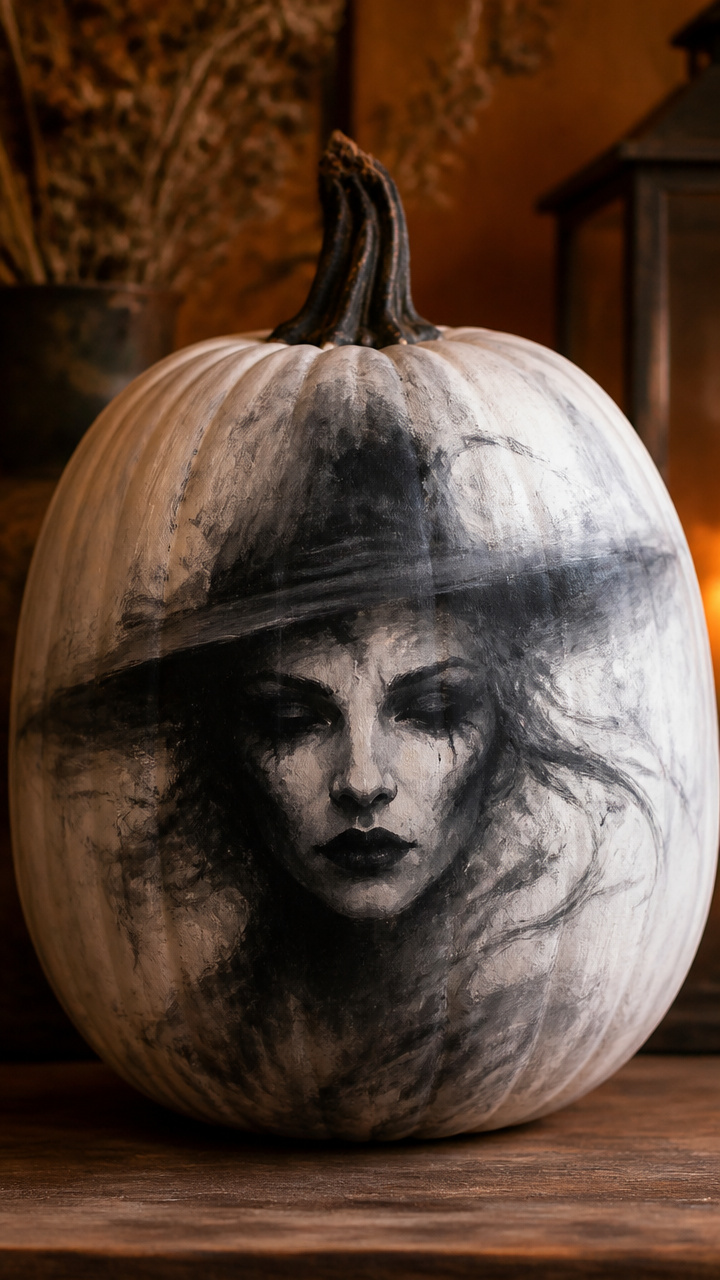
Dark, blurred features created with smudged charcoal paint give this witch a haunting, half-seen presence. It looks like she's emerging from mist.
Materials Needed
- One real pumpkin
- Black acrylic paint
- Gray chalk pastel stick
- Small blending stump
- Flat 1/2-inch paintbrush
- Hairspray
How to Make It
- Paint the pumpkin entirely with black acrylic using the flat brush. Let dry for 25 minutes.
- Use the gray chalk pastel to sketch uneven eyes and a jagged mouth on one side. Smudge each line outward with the blending stump in short dragging motions.
- Hold the pumpkin at arm’s length and lightly mist with hairspray from 12 inches away to set the chalk. Work in a ventilated area and let dry fully before display.


4. Gold Leaf Cracked Witch
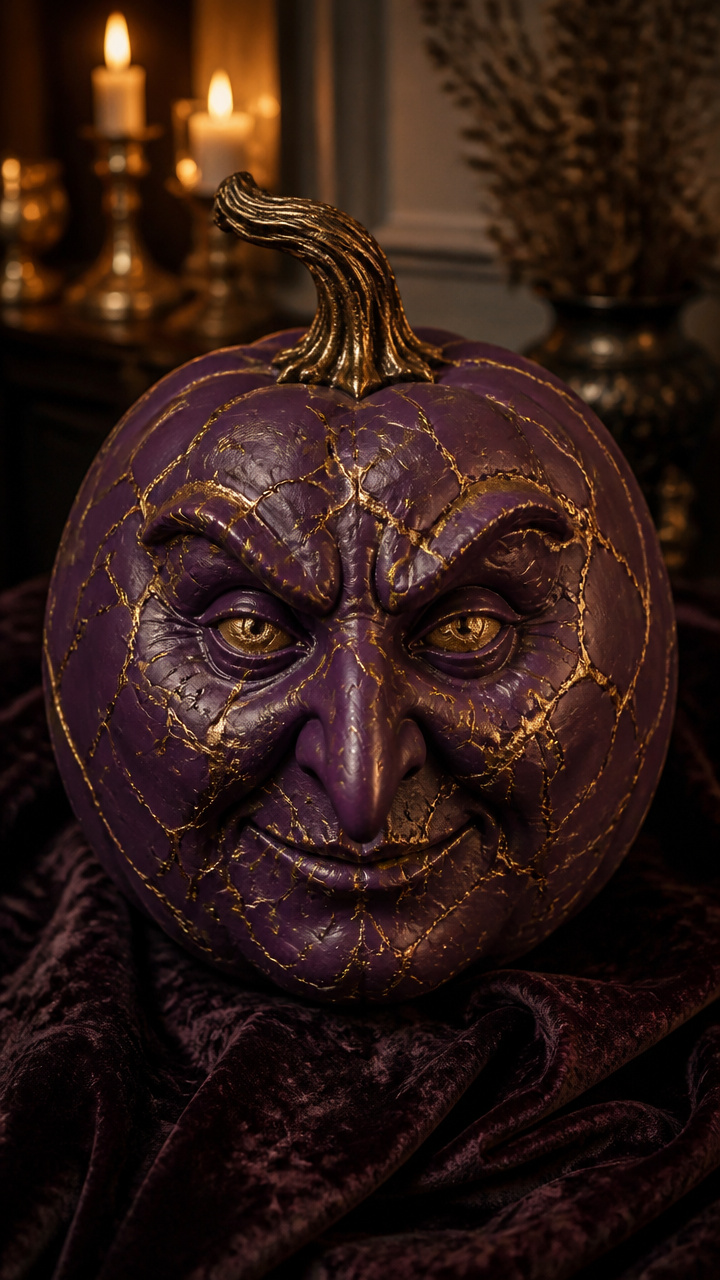
Fissures of gold leaf run through deep plum paint, revealing glowing cracks like enchanted armor. The metallic detail catches every flicker of candlelight.
Materials Needed
- One faux papier-mâché pumpkin
- Plum acrylic paint
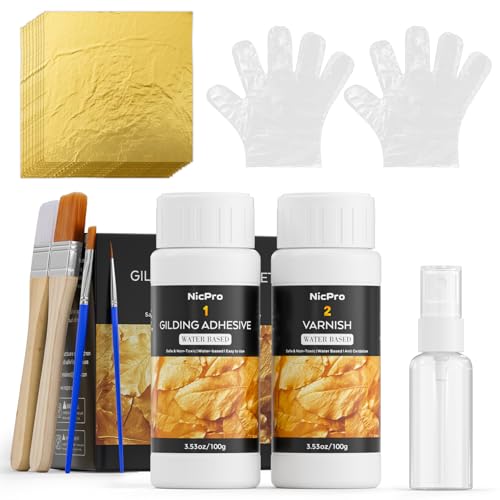
- Gold leaf sheets (3 grams)
- Craft glue in a fine-tip bottle
- Soft makeup sponge
- Disposable gloves
How to Make It
- Apply plum paint evenly with the sponge, covering the entire surface. Let dry for 30 minutes.
- Wear gloves and use the glue bottle to draw thin, branching lines across the front, mimicking cracked earth. Focus around where the eyes and mouth will go.
- Press gold leaf sheets gently over the glued areas, tapping off excess. Blow away loose flakes and let sit 10 minutes before handling.


5. Chalkboard Paint Night Witch
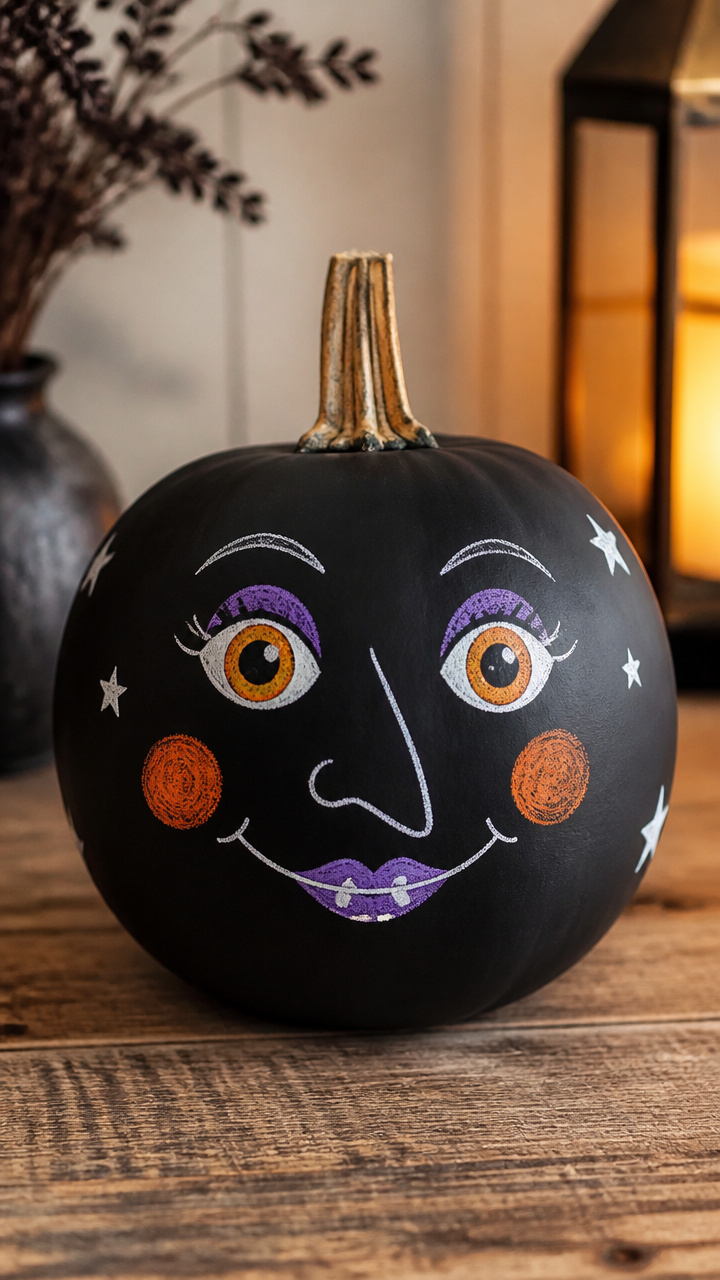
A matte black chalkboard-painted face lets you redraw her expression anytime. This reusable witch changes mood with the week.
Materials Needed
- One real pumpkin
- Black chalkboard paint
- Foam brush
- Colorful chalk sticks (white, orange, purple)
- Chalk holder ring
How to Make It
- Paint the pumpkin with two coats of black chalkboard paint using the foam brush, waiting 20 minutes between coats. Let cure for 2 hours.
- Use white chalk to draw large hollow eyes and a wavy frown. Press lightly to avoid scratching the surface.
- Change the face weekly by erasing with a dry fingertip and redrawing with different colored chalk. Store the pumpkin indoors to preserve the coating.


6. Glitter Mustache Moon Witch
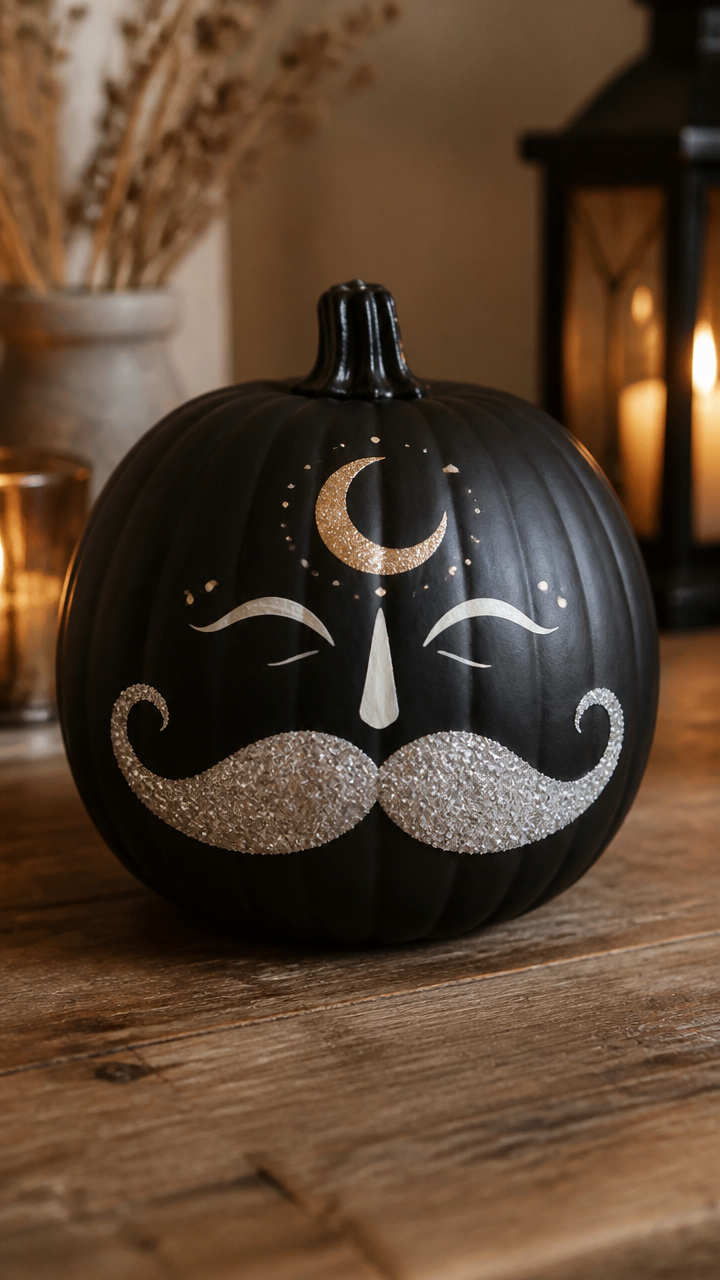
A bold silver mustache arcs under her nose beside a crescent moon cheek tattoo. Fine glitter adds subtle sparkle without the mess.
Materials Needed
- One faux plastic pumpkin
- Black acrylic paint
- Silver fine glitter
- Clear-drying craft glue
- Toothpick
- Small flat brush
How to Make It
- Paint the pumpkin black with the flat brush and let dry for 25 minutes. Ensure no streaks remain by checking under bright light.
- Use the toothpick to trace a curved mustache shape under the center with glue, then sprinkle silver glitter over it. Tap off excess over a trash can.
- Draw a small crescent moon on one cheek with glue and glitter. Let sit undisturbed for 30 minutes to fully set before touching.


7. Neon Outline Electric Witch
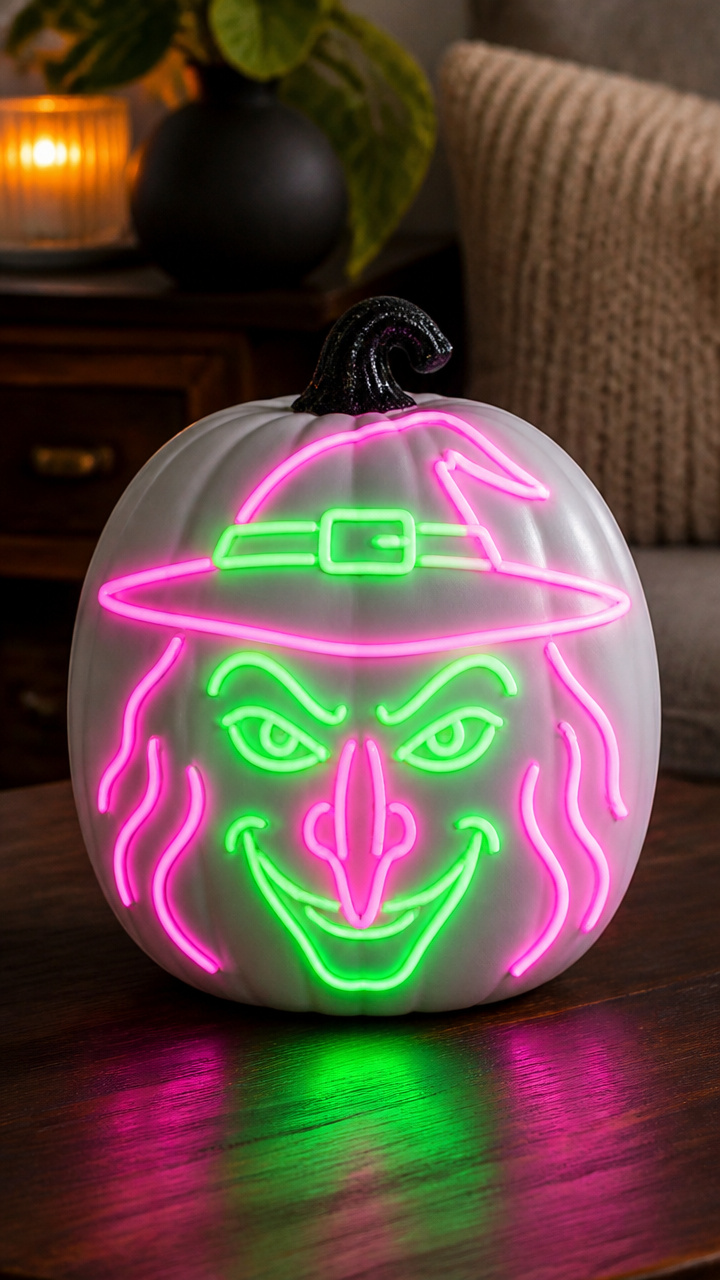
Bright pink and lime outlines glow under UV light, making this witch pulse like a rave spirit. Perfect for parties with black lights.
Materials Needed
- One white faux pumpkin
- Neon pink fabric paint with applicator tip
- Neon green fabric paint with applicator tip
- UV flashlight
- Painter’s tape
How to Make It
- Place painter’s tape on both sides of the pumpkin to create clean edges for the eyes. Squeeze the pink fabric paint along the top and bottom edge of each taped line.
- Remove the tape carefully while paint is still wet to keep sharp borders. Let dry for 20 minutes.
- Use the green paint to draw zigzag eyebrows and a jagged mouth. Test under UV light to confirm brightness before display.


8. Stenciled Lace Veil Witch
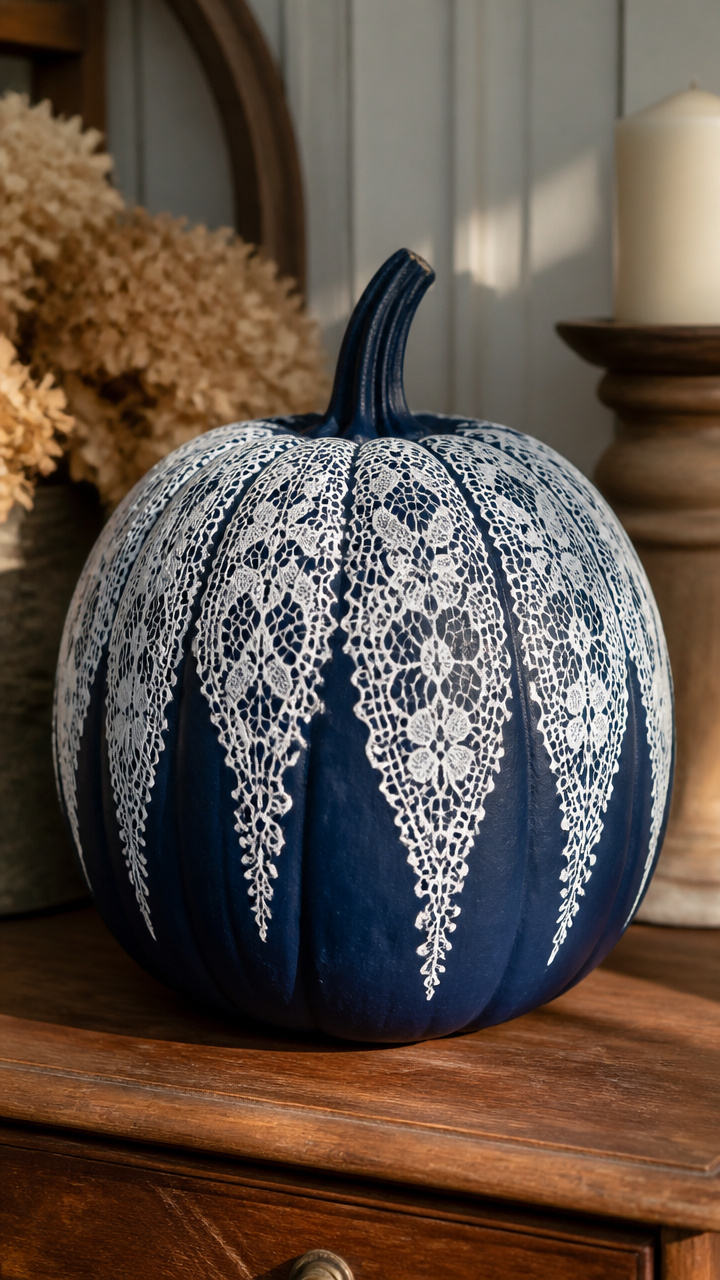
Delicate lace patterns painted in white over dark blue resemble a tattered veil. A stencil ensures crisp, repeatable design.
Materials Needed
- One real pumpkin
- Dark blue acrylic paint
- White acrylic paint
- Lace pattern stencil (3×3 inches)
- Stencil brush
- Hairdryer
How to Make It
- Paint the pumpkin dark blue using the stencil brush in circular pats. Let dry for 25 minutes or speed with a hairdryer on low for 2 minutes.
- Position the lace stencil over one side near the stem. Dab white paint through the openings with the dry stencil brush using light taps.
- Lift the stencil straight up to avoid smearing. Repeat in a new spot if desired. Let dry completely before moving.


9. Speckled Toadstool Witch
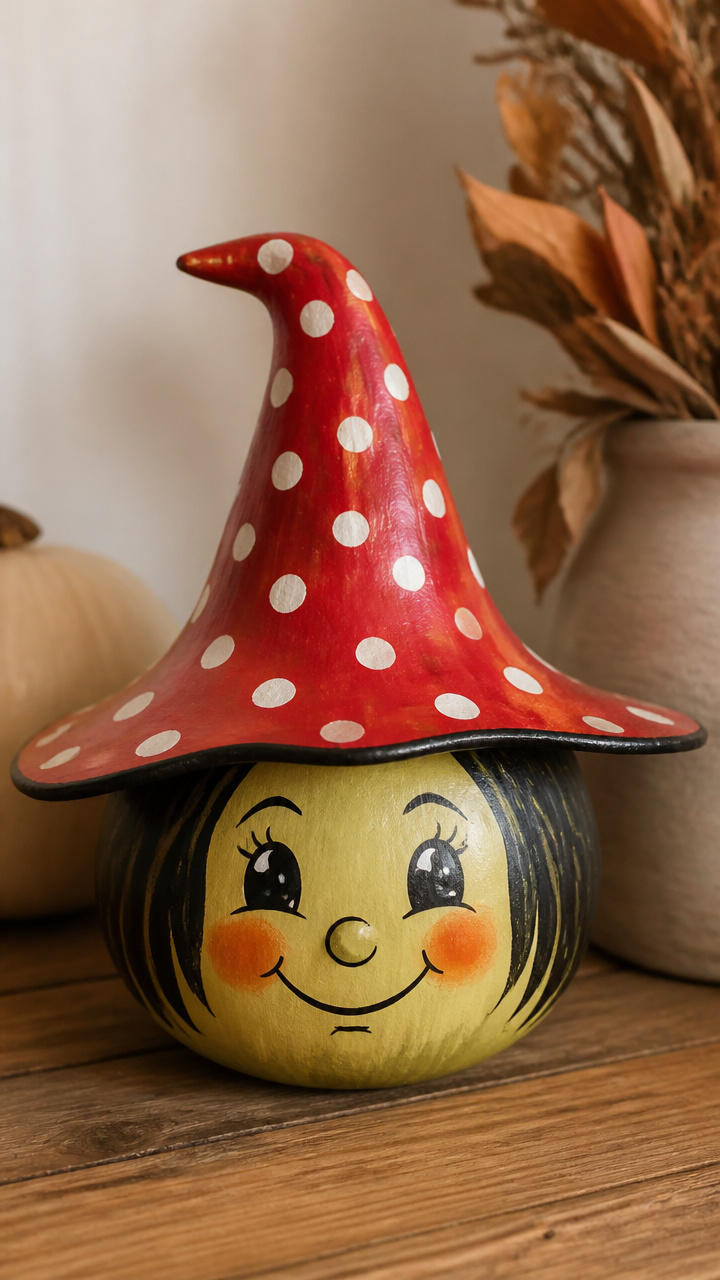
Red hat with white polka dots inspired by poison mushrooms crowns this giggling witch. The speckle technique is fast and foolproof.
Materials Needed
- One faux pumpkin
- Red acrylic paint
- White acrylic paint
- Toothbrush
- Popsicle stick
- Small paint tray
How to Make It
- Paint the top third of the pumpkin red to form the hat. Let dry for 20 minutes.
- Pour a dime-sized drop of white paint into the tray. Run the toothbrush bristles through it, then pull the Popsicle stick backward to flick droplets onto the red area.
- Let speckles dry for 10 minutes. Add facial features freehand with black paint after the dots are set.


10. Marble Swirl Gray Witch
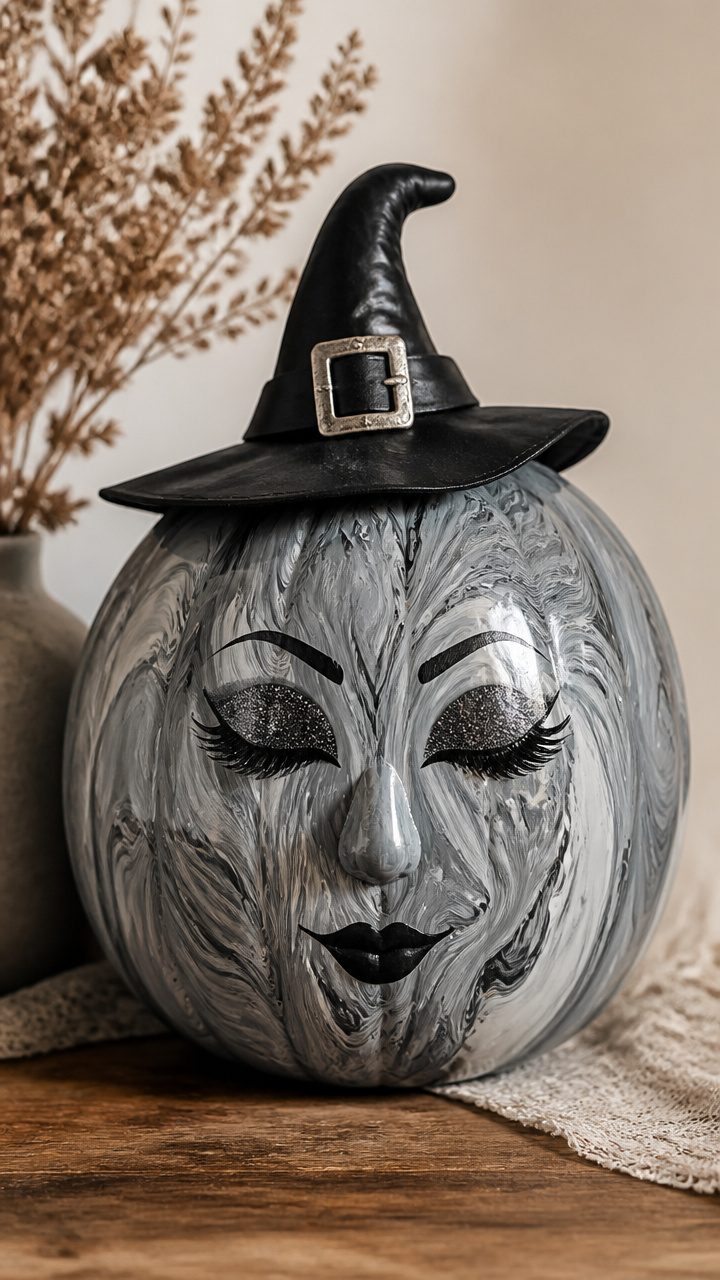
Swirling veins of black and white mimic stone through a stormy gray base. The marbling effect is achieved with dish soap diffusion.
Materials Needed
- One real pumpkin
- Gray acrylic paint
- Black and white acrylic paint
- Dropper
- Dish soap
- Cotton ball
How to Make It
- Paint the pumpkin gray and let dry for 30 minutes. Mix a few drops of dish soap into each black and white paint in separate containers.
- Use the dropper to place random blobs of black and white paint on the surface. Gently drag a cotton ball through them to create swirling veins.
- Do not touch once blended. Let sit for 45 minutes to dry completely before adding simple dot eyes with black paint.


11. Raised Texture Clay Witch
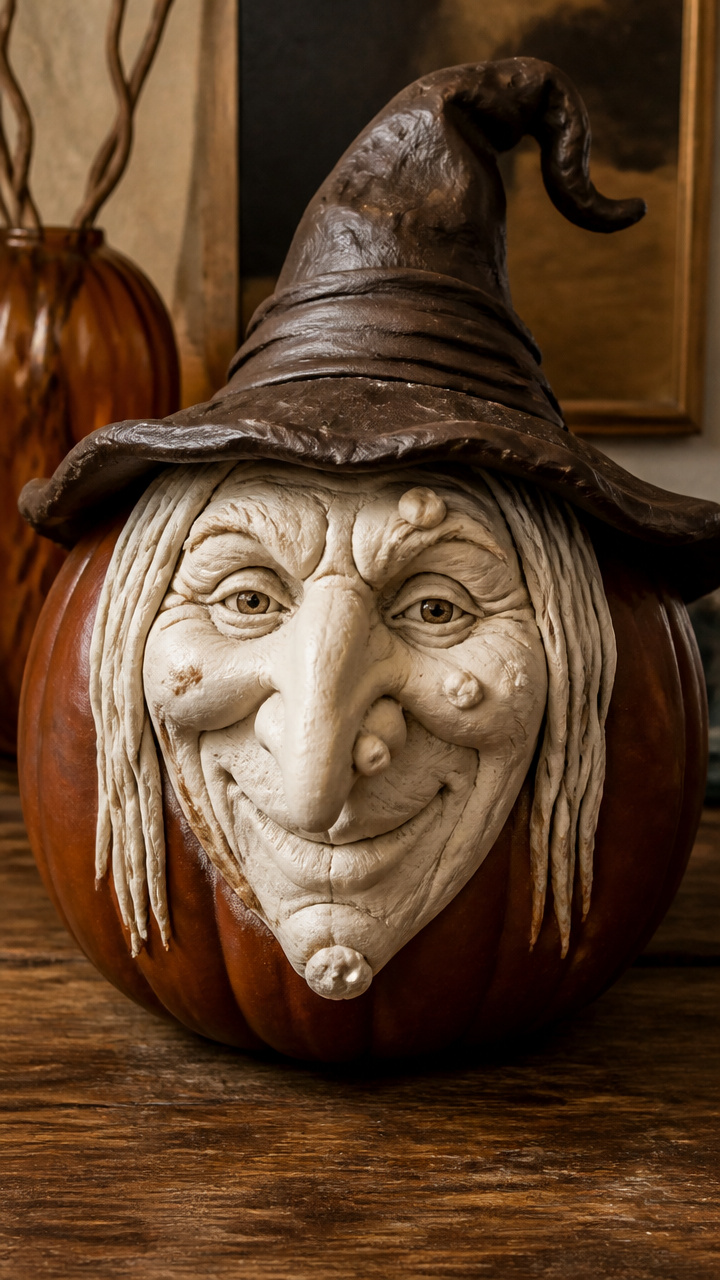
Air-dry clay forms bumpy warts and a crooked nose that you paint over. The 3D texture makes her feel alive.
Materials Needed
- One real pumpkin
- White air-dry clay (50 grams)
- Brown acrylic paint
- Rolling pin
- Clay sculpting tool
- Clear varnish
How to Make It
- Roll small clay pieces into lumps for warts and a larger oval for the nose. Press them firmly onto the pumpkin surface using the sculpting tool to blend edges slightly.
- Let clay dry completely for 24 hours in a dry room. Do not speed with heat.
- Paint the entire pumpkin including clay parts with brown acrylic in two thin coats. Once dry, brush on a light coat of clear varnish to protect texture.


12. Two-Tone Split Personality Witch
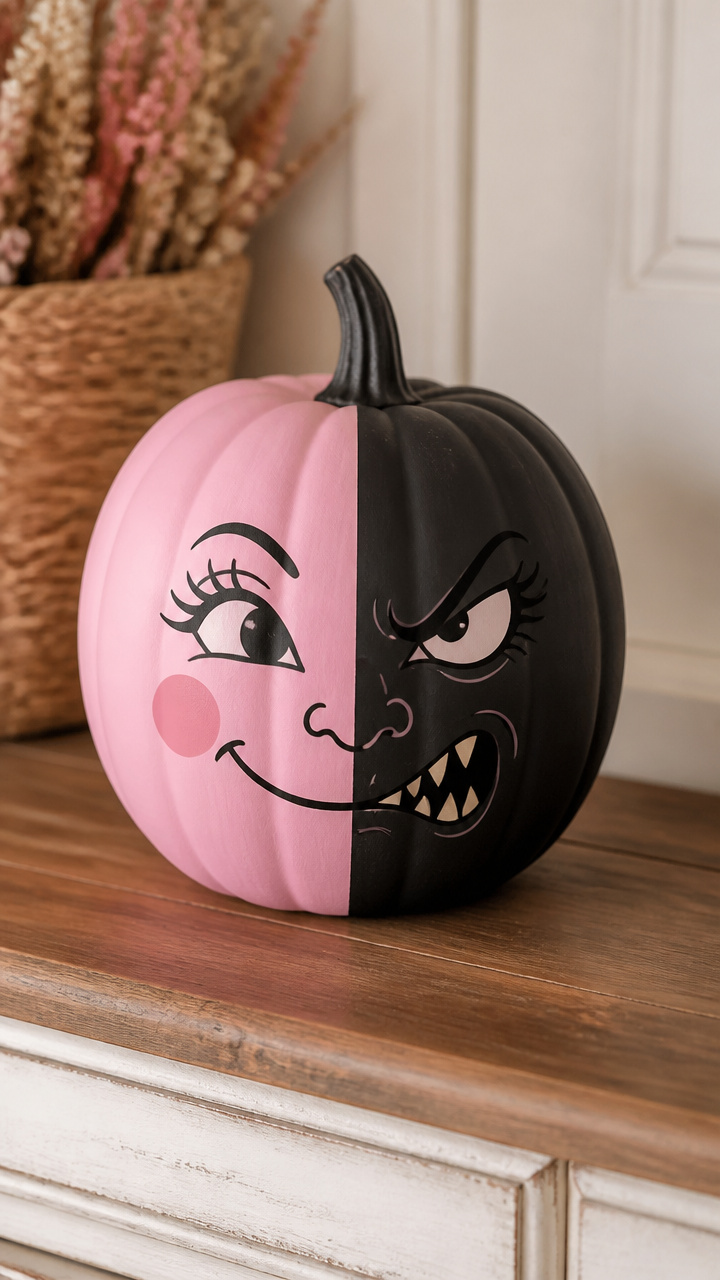
Half sweet smile, half snarl creates a dual-natured witch. Painter’s tape keeps the divide razor-sharp.
Materials Needed
- One white faux pumpkin
- Black acrylic paint
- Pink acrylic paint
- Painter’s tape
- Angled brush
- Ruler
How to Make It
- Use the ruler to find the vertical center and apply painter’s tape from top to bottom in a straight line. Press edges firmly to prevent bleed.
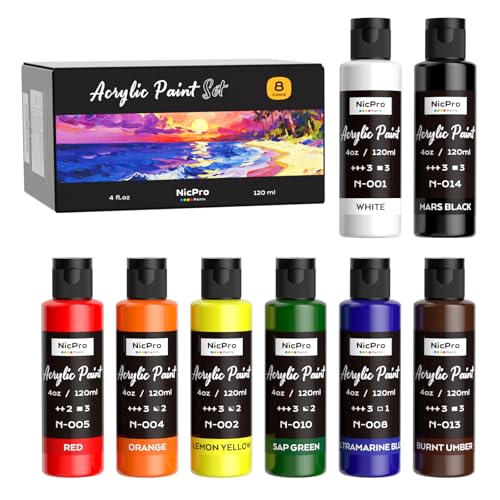
- Paint one side pink and the other black with the angled brush. Wait 25 minutes for full drying before removing tape.
- On the pink side, draw a wink and heart eye. On the black side, add a scar and jagged teeth. Keep features aligned at the center seam.

13. Faux Stained Glass Witch
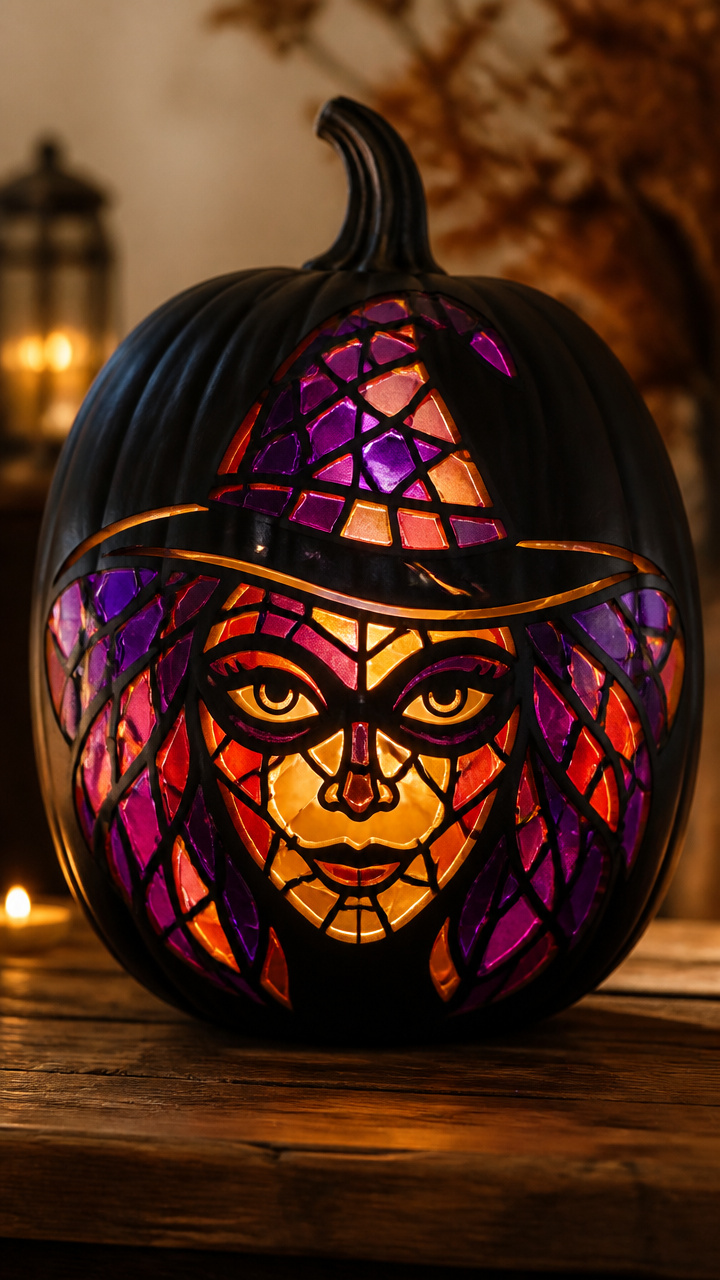
Transparent paints layered over black create a glowing window effect. Light shines through her painted mask like church glass.
Materials Needed
- One thin-skinned real pumpkin
- Black acrylic paint
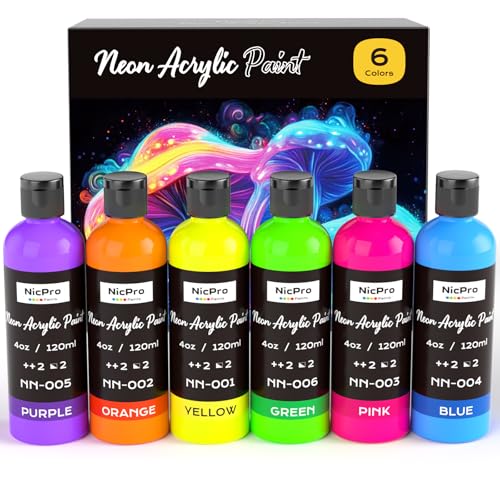
- Transparent red, purple, and yellow craft paint
- Fine liner brush
- Tealight LED candle
How to Make It
- Paint the inside walls of the hollowed pumpkin with black acrylic using your hand to spread paint evenly. Let dry for 30 minutes.
- On the outside, use the liner brush to paint geometric eye shapes with transparent colors, letting each dry 10 minutes between applications.
- Place the tealight inside and turn it on at dusk. The colors will glow like stained glass against the dark background.


14. Patchwork Quilt Witch
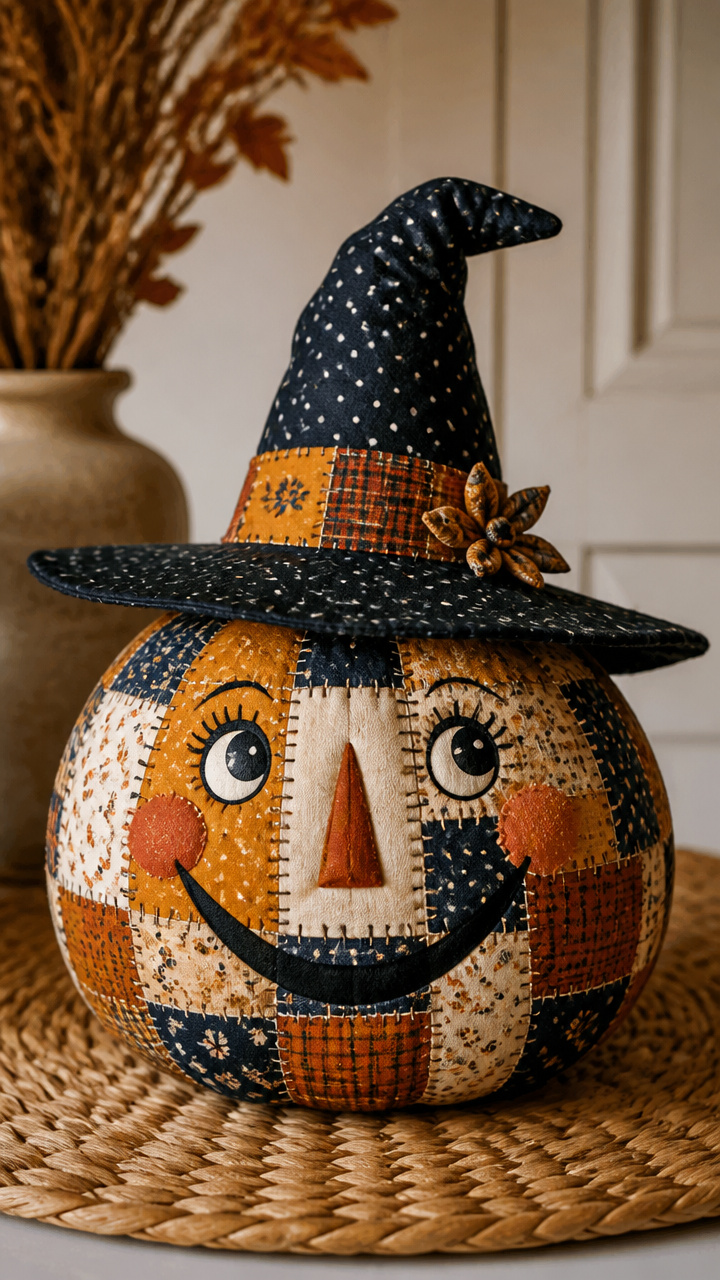
Overlapping fabric squares painted directly onto the pumpkin mimic a stitched quilt. Each patch gets its own tiny pattern.
Materials Needed
- One real pumpkin
- Assorted acrylic paints (mustard, rust, navy, cream)
- Small square stencil (1 inch)
- Round detail brush
- Pencil
How to Make It
- Sketch a grid of 1-inch squares across the front with pencil, spacing them tightly but not touching. Use light pressure.
- Fill each square with a different color using the detail brush. Let adjacent squares dry before painting to avoid bleeding.
- Once all patches are dry, use the pencil to lightly draw cross-stitch lines in each square. Do not press hard.


15. Glow-in-the-Dark Star Witch
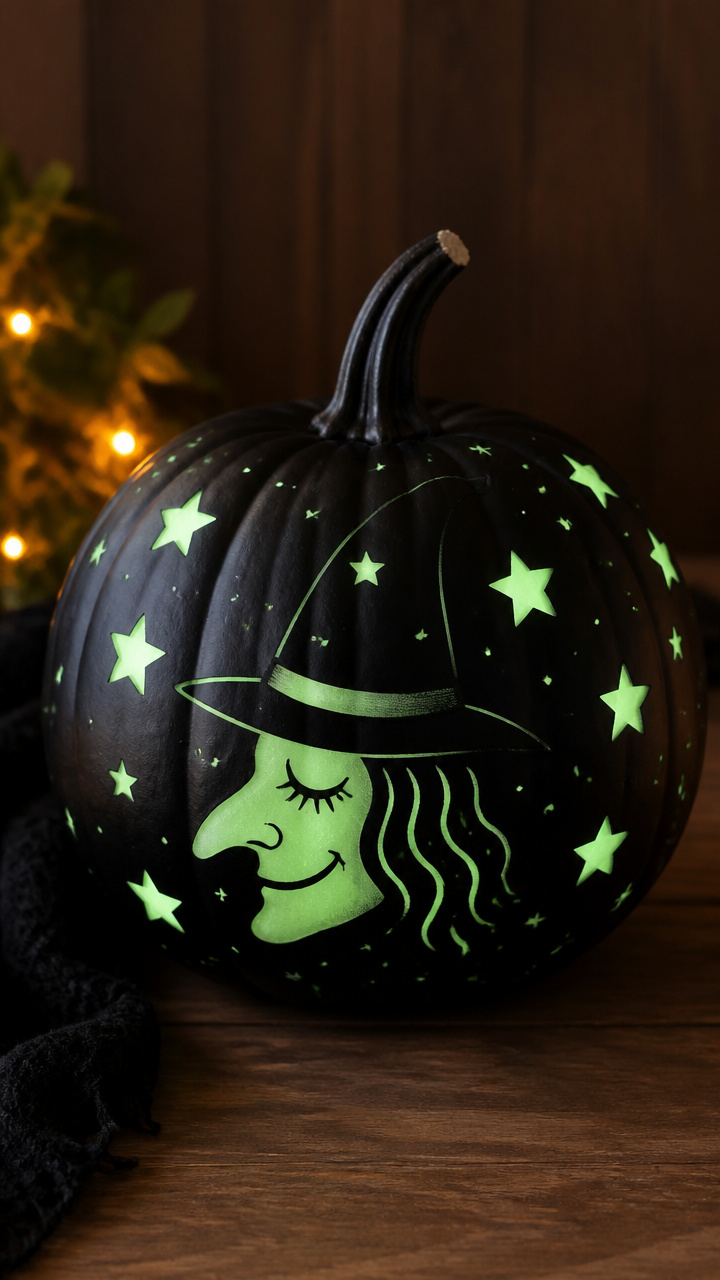
Constellations appear on her face only after dark. Glow paint absorbs light by day and pulses softly at night.
Materials Needed
- One black faux pumpkin
- Glow-in-the-dark paint
- Star-shaped hole punch
- White printer paper
- Dotting tool or pencil
How to Make It
- Trace the star punch onto paper and cut out five templates. Tape them in a cluster on the pumpkin’s forehead.
- Dip the dotting tool into glow paint and dab around each star edge, pressing firmly to ensure clean lines. Remove paper immediately.
- Let dry for 40 minutes. Charge the stars by placing the pumpkin near a lamp for 10 minutes before turning off the lights.


You’ve got everything you need to bring these witches to life, one brushstroke at a time. Grab your favorite pumpkin and let their personalities unfold as you paint.