15 Easy Letter Z Crafts for Preschoolers
Introducing the letter Z can be playful and full of energy when you use hands-on activities that spark curiosity. These crafts invite little fingers to trace, stick, paint, and build while learning the shape and sound of Z.
Each project uses simple supplies you likely have at home and focuses on one clear skill like cutting, coloring, or gluing. They’re made for short attention spans but deliver big moments of pride.
1. Z is for Zebra Stripes
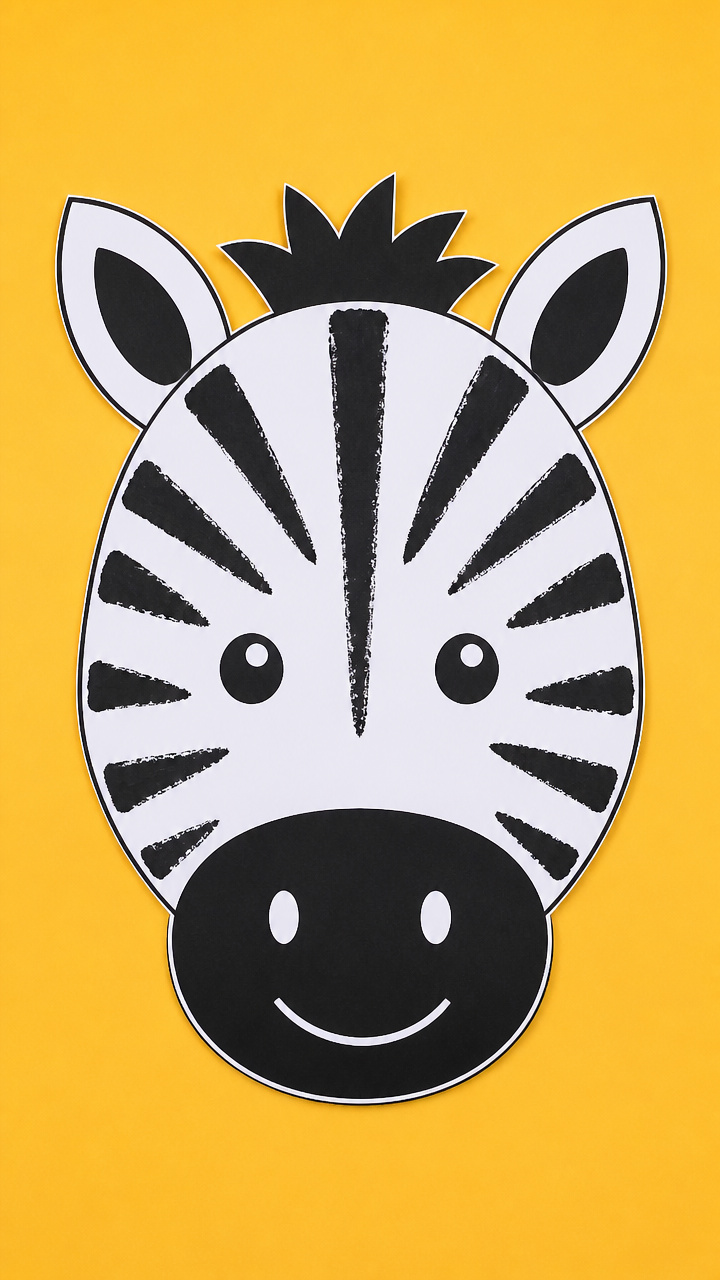
Soft cotton swabs help paint bold black stripes across a smiling zebra face drawn on sturdy paper. This craft builds fine motor control while reinforcing the zigzag motion of the letter Z.
Materials Needed
- A4 white cardstock
- Black washable paint
- Cotton swabs (6 per child)
- Pencil
- Black marker
- Glue stick
- Scissors
- Pre-cut white paper strips for mane
How to Make It
- Draw a large oval face and two pointed ears on the cardstock using a pencil, then outline with a black marker.
- Dip one end of a cotton swab into black paint and press it along the face to create short vertical stripes, leaving white gaps between each.
- Use scissors to cut small fringe lines along the edge of the white paper strips, then glue them along the back edge of the head for a fluffy mane.
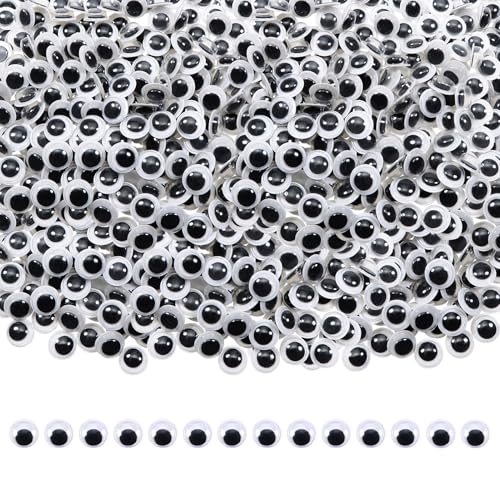
- Let the paint dry completely before adding googly eyes with glue or drawing a smile with the black marker.


2. Zigzag Construction Paper Snake
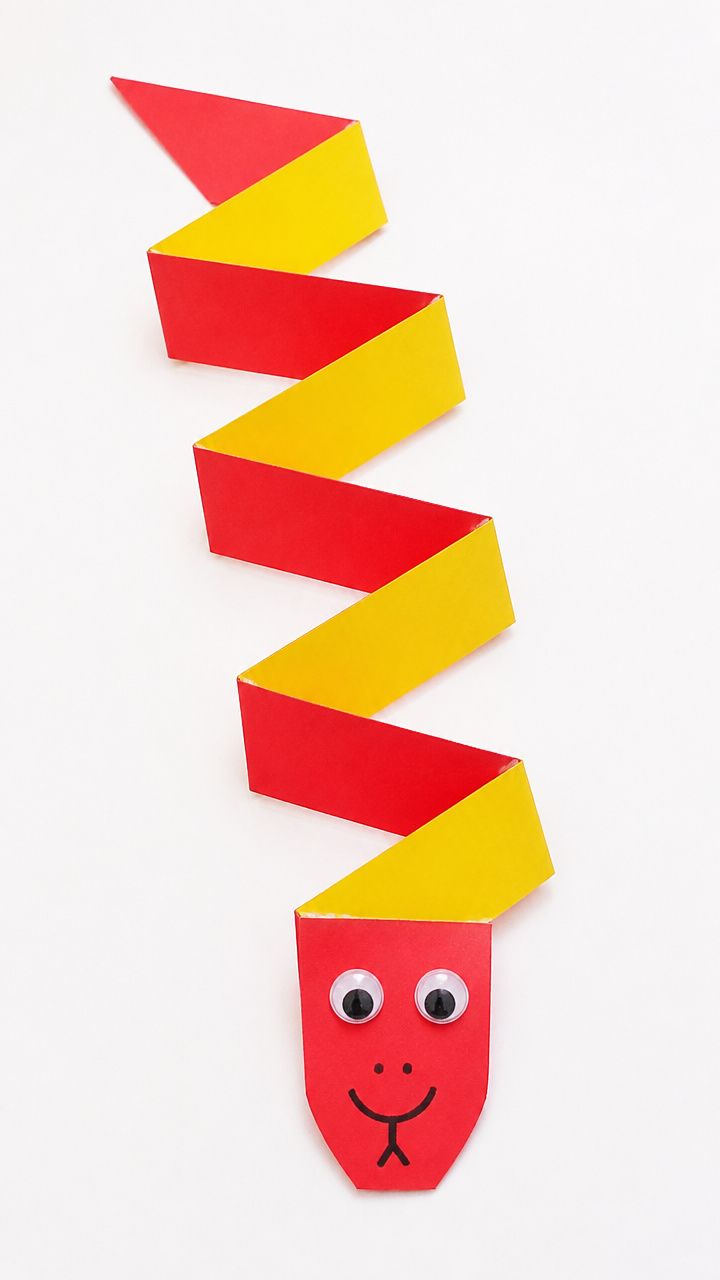
Bright red and yellow triangles fold together in a sharp zigzag pattern to form a wiggly snake that undulates off the page. This craft teaches pattern recognition and scissor skills.
Materials Needed
- Red construction paper
- Yellow construction paper
- Child-safe scissors
- White school glue
- Googly eyes (5mm)
- Black fine-tip marker
How to Make It
- Cut 8 equilateral triangles, 4 from red paper and 4 from yellow, each measuring 3 inches per side.
- Glue the first red triangle flat on a blank sheet, then add a yellow triangle so its base overlaps the tip of the red one, forming a zig line.
- Continue alternating colors and gluing bases to tips until all triangles are used, creating a long angular snake body.
- Draw a forked tongue with the black marker and stick on two googly eyes near the front triangle.


3. Zip Line Alphabet Tag
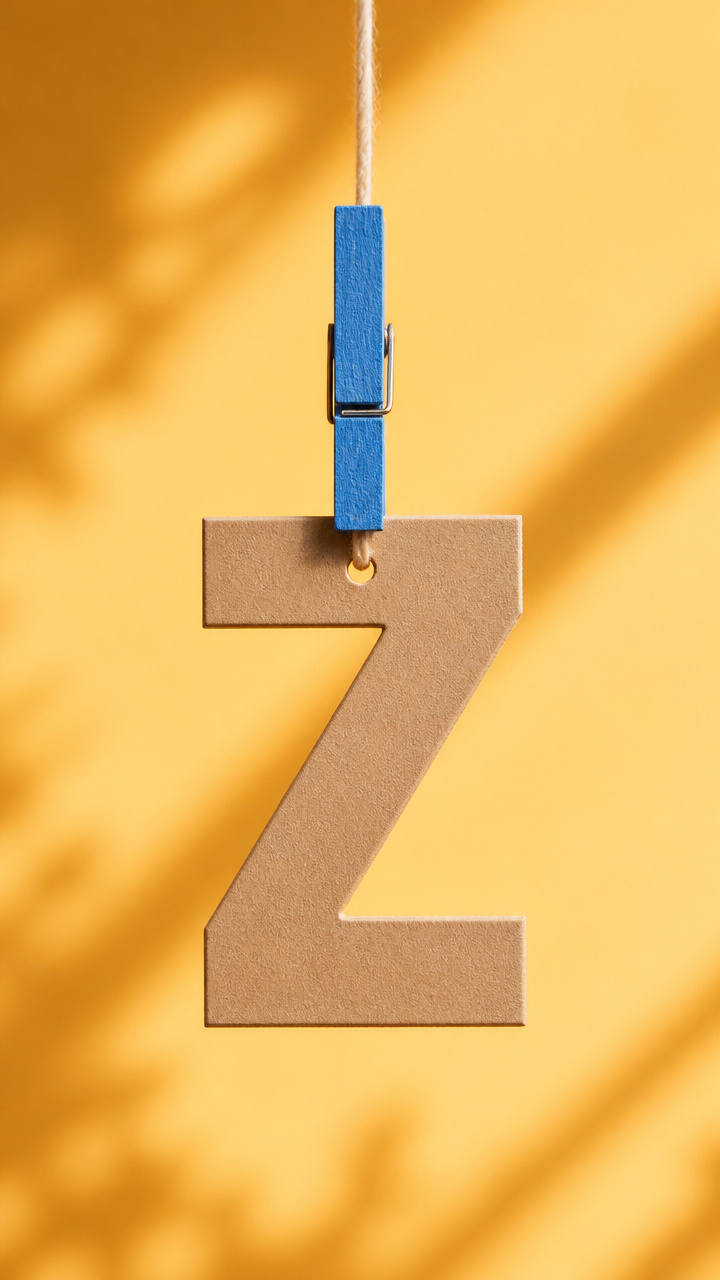
A mini clothespin person dangles from a yarn zip line shaped like a giant cursive Z. Kids love sliding the figure down while practicing letter formation.
Materials Needed
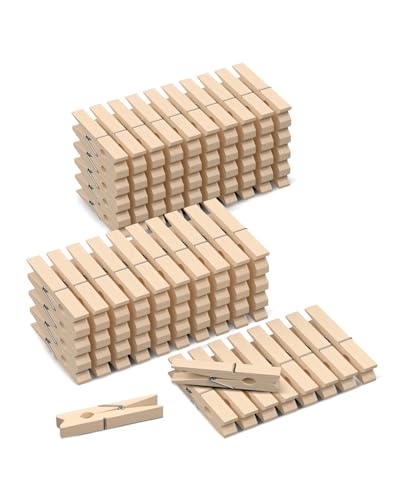
- Clothespin (wooden, unpainted)
- Yarn (1 yard per child)
- Blue acrylic paint
- Paintbrush
- Tape
- Cardboard letter Z template (5 inches tall)
- Crayons
How to Make It
- Paint the clothespin blue and let it dry for 10 minutes on wax paper.
- Lay the cardboard Z flat and tape one end of the yarn to the top left point, then stretch it diagonally down to the bottom right point.
- Tape the yarn securely at both ends so it forms a taut diagonal line over the Z shape.
- Once the clothespin is dry, draw a face and arms with crayons, then clip it onto the yarn near the top to slide down.


4. Zippy Popsicle Stick Frame
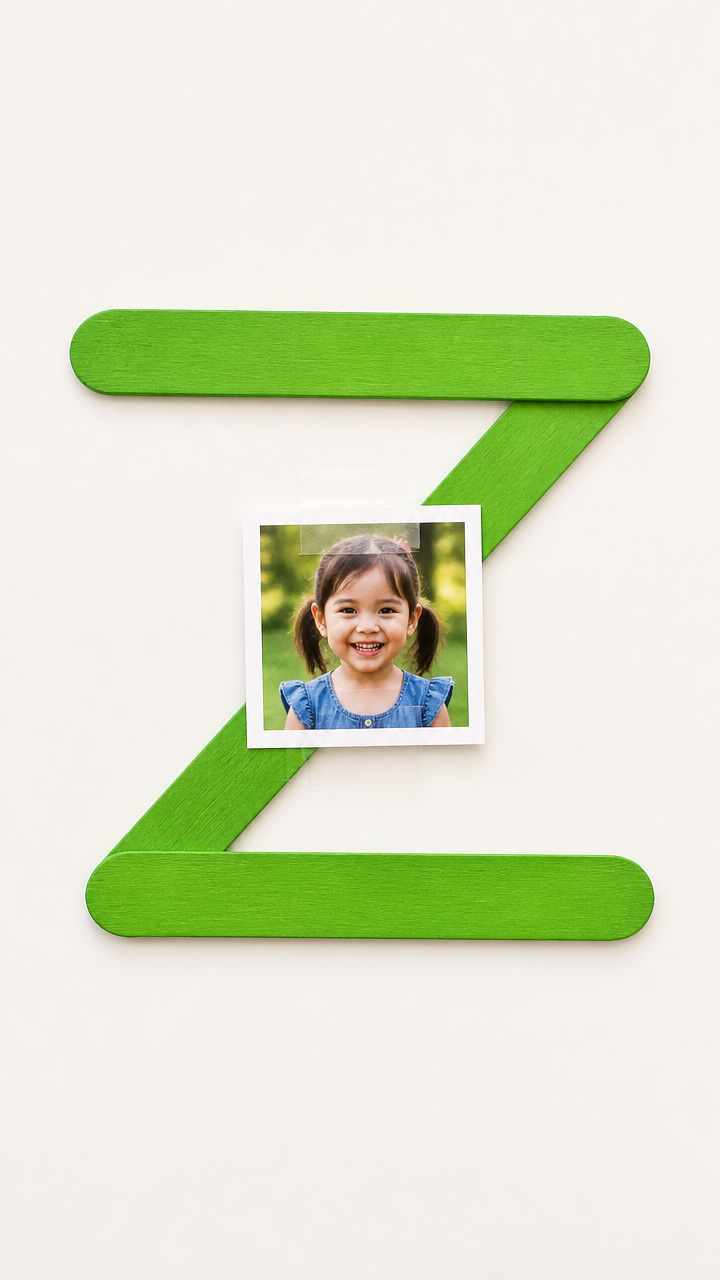
Three popsicle sticks join in a bold Z shape and hold a tiny photo or drawing. This craft strengthens hand-eye coordination and makes a sweet keepsake.
Materials Needed
- 3 standard popsicle sticks per child
- White glue
- Washable green paint
- Paintbrush
- Small printed photo (1.5 x 1.5 inches)
- Clear tape
- Hole punch
How to Make It
- Paint all three popsicle sticks with green paint and set aside to dry for 12 minutes on a paper towel.
- Place one stick vertically on the table, then lay a second stick diagonally from the top middle to the bottom left.
- Add the third stick diagonally from the center to the bottom right, forming a capital Z, and glue all contact points.
- Once dry, tape the photo to the back center of the frame and punch a hole at the top to hang with string.


5. Zapped Lightning Bolt Drawing
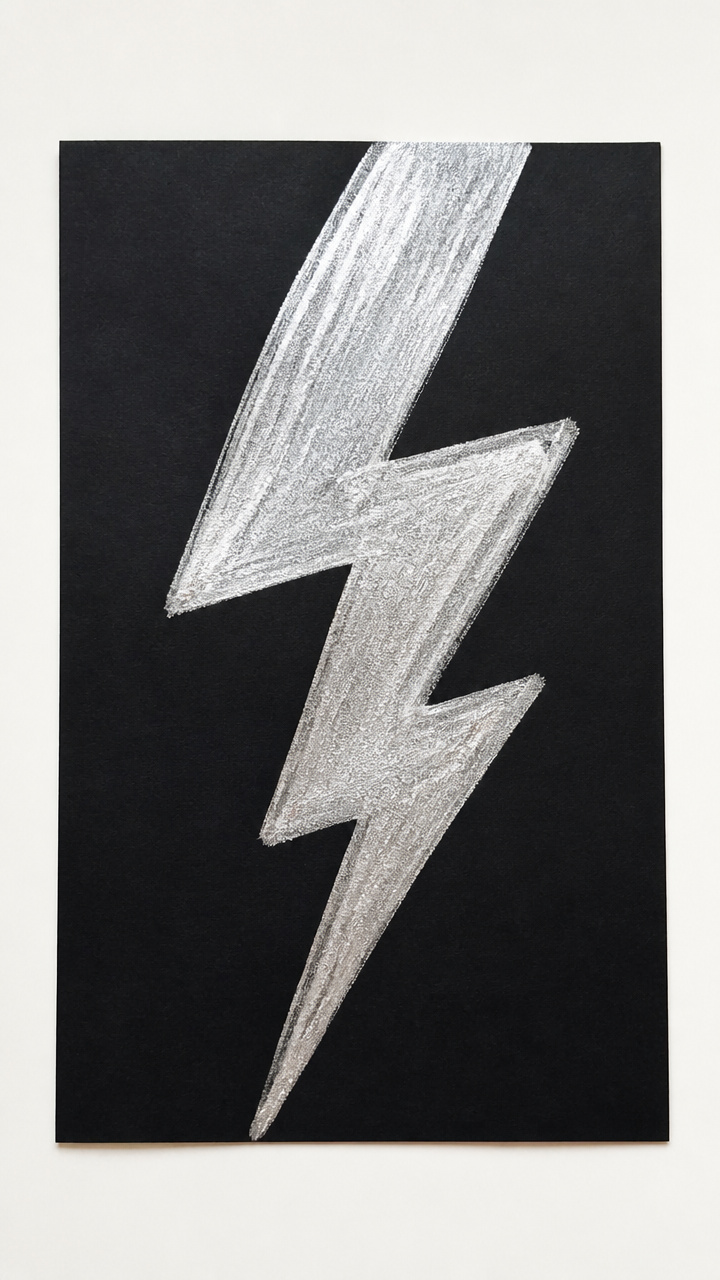
Finger painting with silver paint creates jagged lightning bolts that twist like the letter Z. It’s messy fun that links the sound of 'z' to something fast and bright.
Materials Needed
- Black construction paper (6×9 inches)
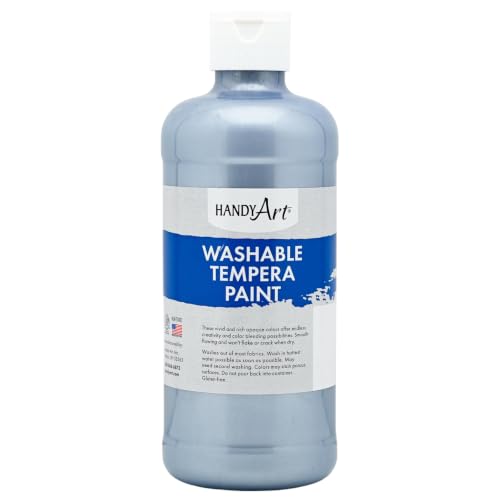
- Silver washable paint
- Plastic spoon
- Paper plate
- Smock or apron
How to Make It
- Pour a tablespoon of silver paint onto a paper plate and stir once with the spoon.
- Press your index finger into the paint, then drag it quickly across the black paper in a sharp zigzag line from top to bottom.
- Lift your finger at each angle point to make clean corners, repeating to create 2–3 lightning streaks.
- Set the artwork flat to dry for 15 minutes away from direct sunlight.


6. Zoo Animal Mask Template
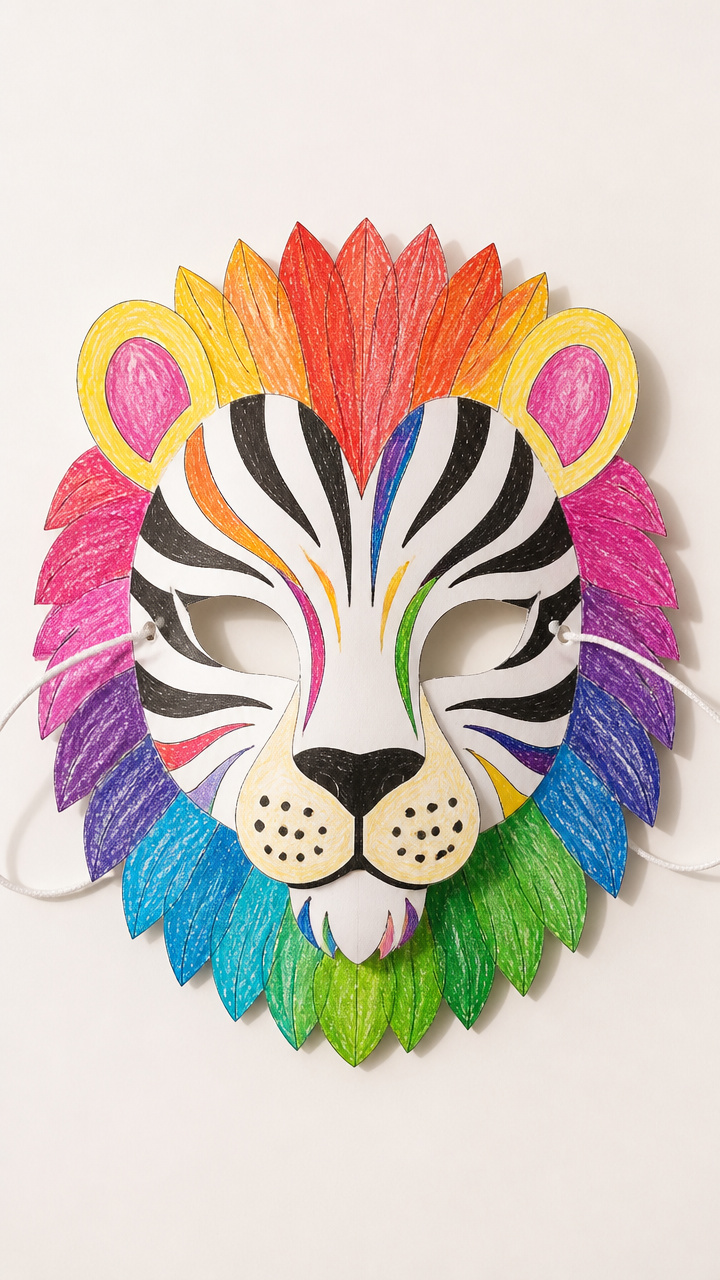
A zebra or zany zoo creature mask features a bold Z on the forehead and ear flaps for wearing. Kids personalize it with colors and practice animal names starting with Z.
Materials Needed
- Printed lion-zebra hybrid mask template on A4 paper
- Crayons (assorted colors)
- Scissors
- Elastic string (12 inches)
- Hole punch
- Glue stick
- Pre-cut Z shapes from glitter paper
How to Make It
- Color the mask face with crayons, choosing stripes, spots, or wild patterns for your zoo animal.
- Cut out the entire mask and the eye holes using scissors, following the printed lines carefully.
- Glue a glitter Z onto the forehead area just above the eyes, pressing firmly for 5 seconds.
- Punch holes on each side of the mask and tie the elastic string to fit around the head.


7. Zinnia Flower Tissue Art
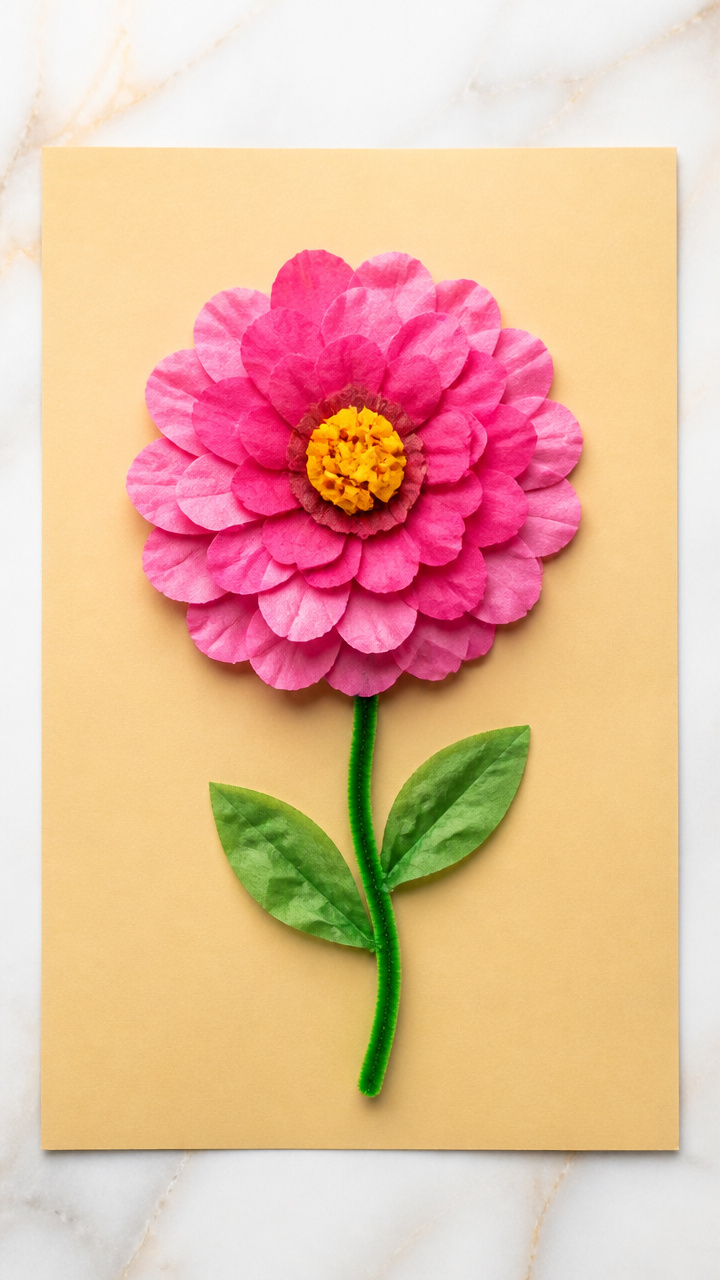
Crumpled tissue paper blooms into bright pink zinnias glued onto a garden scene. This craft introduces texture and color blending with minimal mess.
Materials Needed
- Pink tissue paper sheets (2 per flower)
- Green pipe cleaners (1 per stem)
- White glue
- Manila paper (9×12 inches)
- Scissors
- Glue stick
- Brown crayon
How to Make It
- Cut tissue paper into 1-inch squares and crumple a handful into a tight ball to form the flower center.
- Glue the crumpled ball in the middle of the manila paper, then surround it with loose outer squares to create layered petals.
- Bend the bottom inch of a green pipe cleaner to form roots, then glue it vertically behind the flower as a stem.
- Rub a brown crayon lightly at the base to draw soil and let the glue dry for 20 minutes before display.


8. Zigzag Ribbon Bookmark
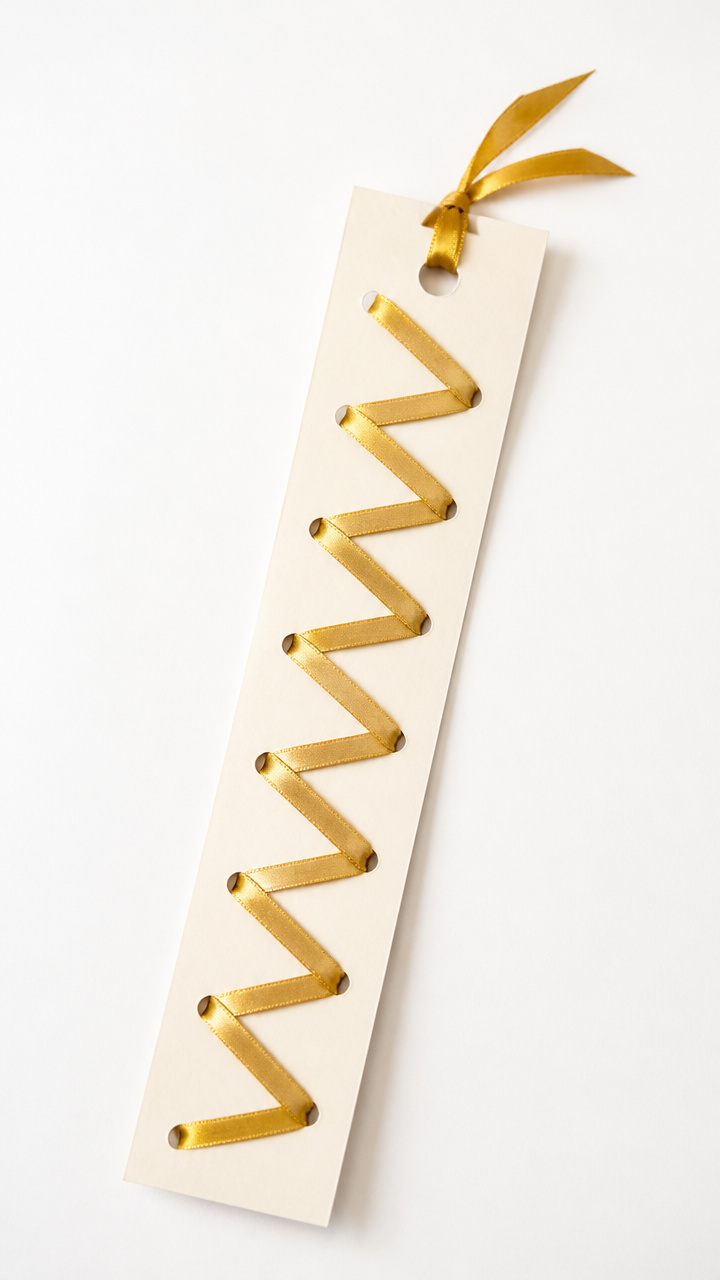
A satin ribbon weaves through slits cut in cardstock to form a shimmering Z. This useful craft doubles as a reading reward or gift.
Materials Needed
- A4 cardstock
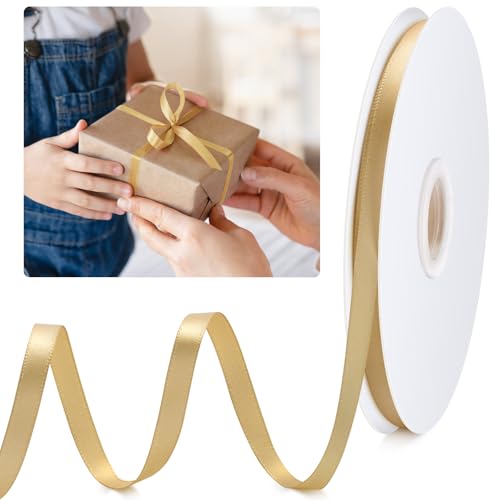
- Gold satin ribbon (1/4 inch wide, 12 inches long)
- Pencil
- Ruler
- Craft knife (for adult use)
- Glue dot
- Scissors
How to Make It
- Fold the cardstock in half horizontally to create a 5.5 x 4.25 inch bookmark, then mark two slits with a pencil: one 1 inch from the top left, another 1 inch from the bottom right.
- An adult cuts a 1-inch horizontal slit at each marked spot using a craft knife on a cutting mat.
- Thread the ribbon through the top slit from back to front, then weave it diagonally down to the bottom slit and pull through.
- Tie a knot at the back bottom end and secure with a glue dot; trim excess ribbon with scissors.


9. Zippy Race Car Wheels
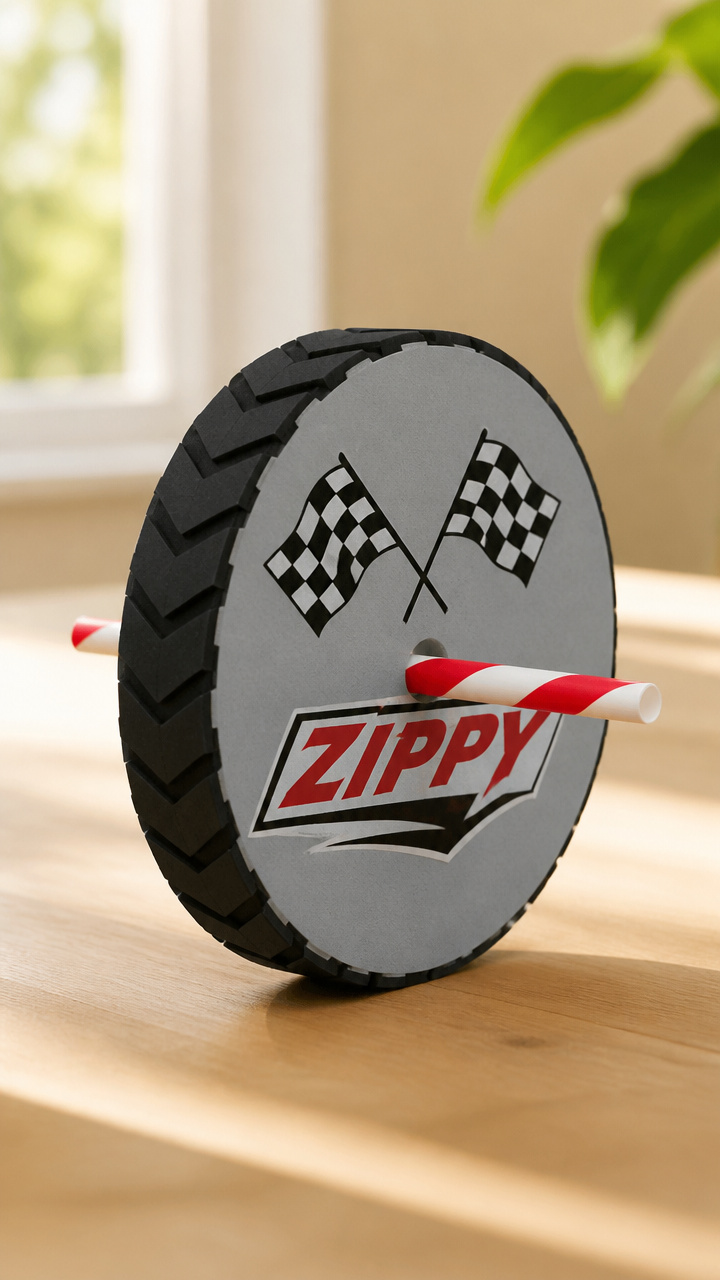
Foam wheels spin on a taped-down straw chassis under a painted Z car body. This interactive craft rolls across tables and teaches motion words like zoom and zip.
Materials Needed
- Gray foam sheets
- Straw (plastic or paper)
- Black paint
- Paintbrush
- Scissors
- Tape
- Cardboard rectangle (3×6 inches)
- Crayons
How to Make It
- Cut two circles, 1.5 inches in diameter, from gray foam for wheels using scissors.
- Paint the cardboard rectangle black and let it dry for 10 minutes on newspaper.
- Tape the straw horizontally across the underside of the cardboard, centered between the ends.
- Push a foam wheel onto each end of the straw so they spin freely, then draw a large white Z on the top with crayons.


10. Zombie Hand Puppet
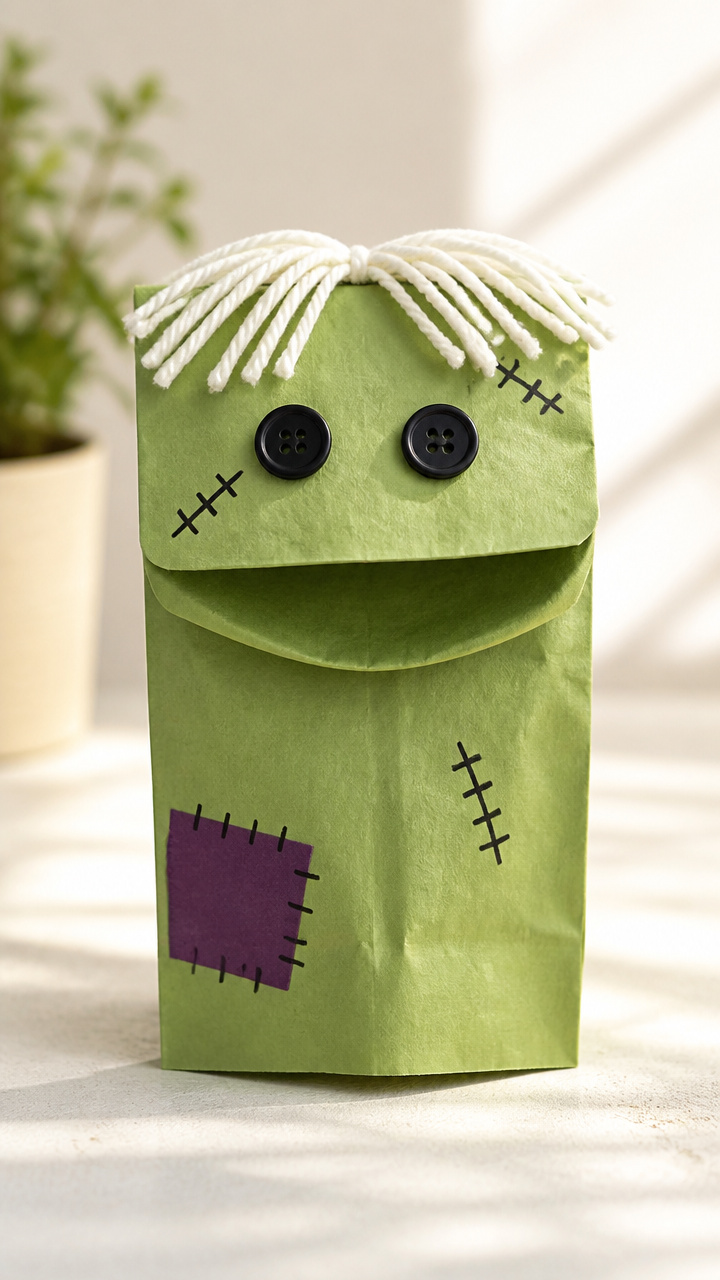
A green paper bag becomes a friendly zombie with ragged edges, button eyes, and a stitched mouth. Kids wiggle it while saying 'Z is for Zombie'.
Materials Needed
- Small lunch-sized paper bag
- Green washable paint
- Paintbrush
- Black buttons (2)
- White yarn (6 inches)
- Glue
- Scissors
- Black marker
How to Make It
- Paint the front of the paper bag green and let it dry completely for 15 minutes.
- Glue two black buttons onto the upper part of the bag for eyes, spacing them 2 inches apart.
- Cut 6 pieces of white yarn, each 1 inch long, and glue them vertically across the lower half to look like stitches.
- Use the black marker to draw jagged teeth below the stitches, then slide your hand inside to make it talk.


11. Zipline Zipper Pull
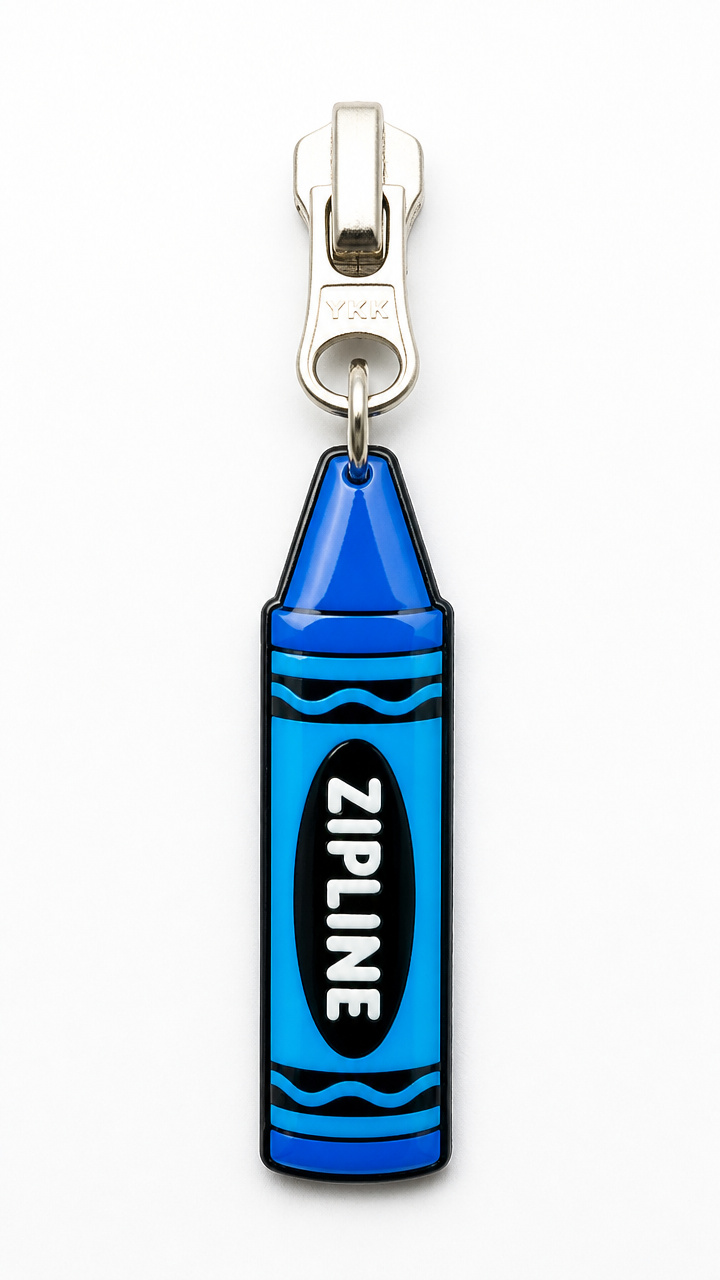
A laminated zipper tag with a bold Z slides along actual jacket zipper teeth. This portable craft reinforces letter recognition during outdoor play.
Materials Needed
- Cardstock scrap
- Hole punch
- Laminating sheet
- Scissors
- Blue crayon
- Jacket with zipper
- Permanent marker
How to Make It
- Draw a large Z on the cardstock with a blue crayon, filling the space as much as possible.
- Cut out the Z shape with scissors, staying close to the lines to keep it neat.
- Slide the shape into a laminating sheet and run it through a laminator, then trim any excess plastic.
- Punch a hole through the top edge and thread it onto a jacket zipper, letting it glide up and down the teeth.


12. Zigzag Pipe Cleaner Sculpture
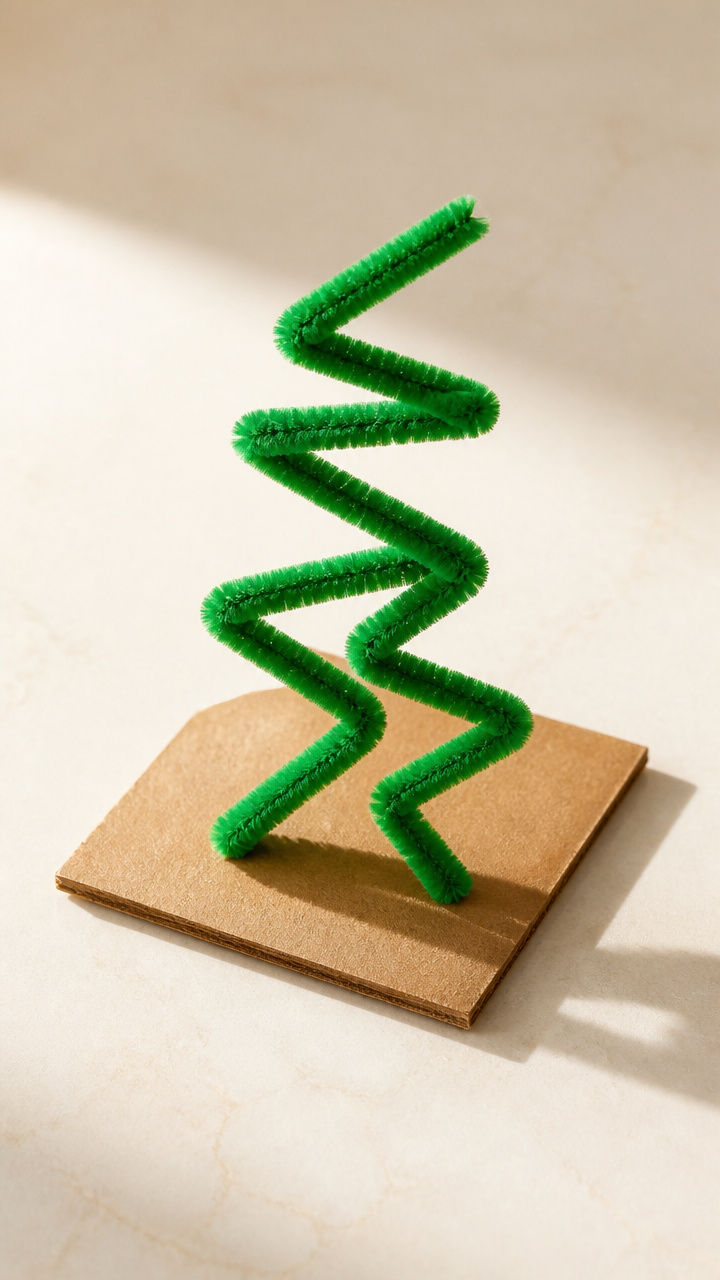
Bent green pipe cleaners form a freestanding Z that balances on a cardboard base. This 3D craft helps kids feel the angles of the letter with their hands.
Materials Needed
- Green pipe cleaners (3 per child)
- Cardboard square (4×4 inches)
- Hot glue gun (adult use only)
- Scissors
- Ruler
How to Make It
- Lay one pipe cleaner straight across the cardboard base and ask an adult to glue each end down with hot glue.
- Bend a second pipe cleaner into a sharp diagonal line from the top center to the bottom left, then glue both ends.
- Bend the third pipe cleaner from the center to the bottom right, matching the opposite angle, and glue in place.
- Let the glue cool for 2 minutes before lifting; use ruler to check alignment if needed.


13. Zippy Paper Plate Fan
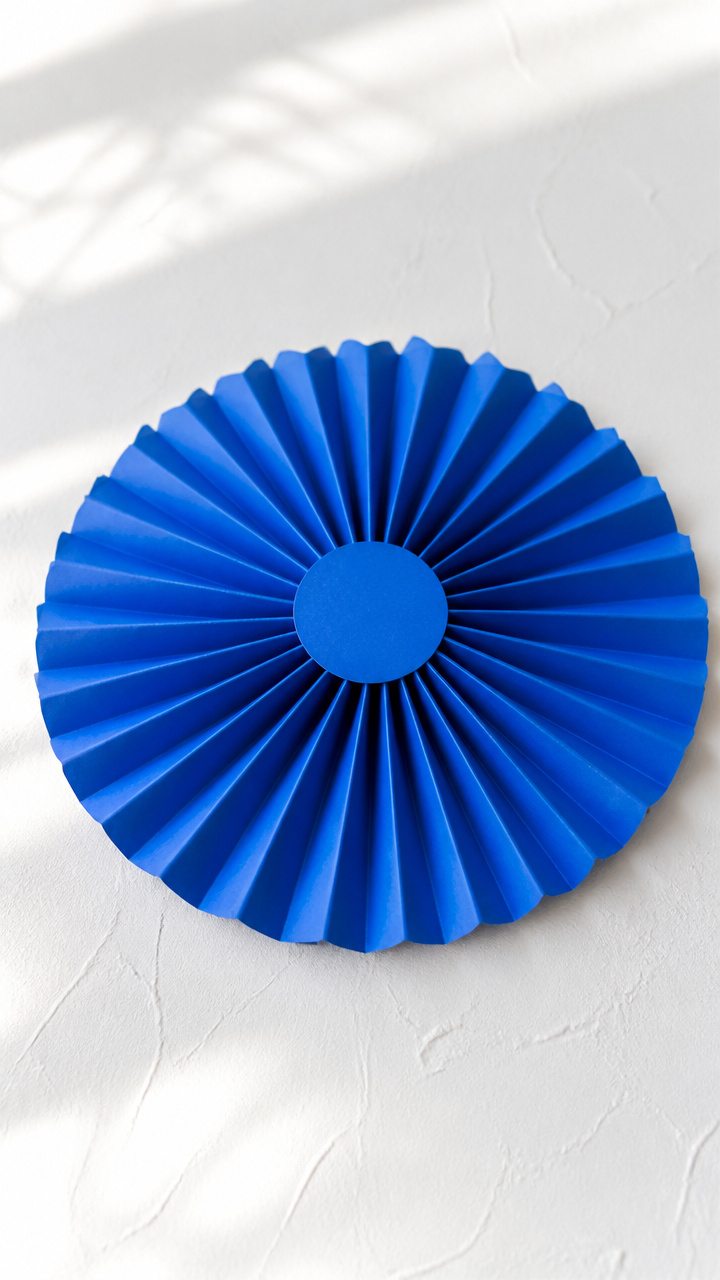
A folded paper plate with zigzag edges fans out like an accordion when pulled, revealing a bold Z in the center. This kinetic craft cools and teaches symmetry.
Materials Needed
- Paper plate
- Scissors
- Blue crayon
- Pencil
- Ruler
- Glue stick
- Cardstock circle (3 inches diameter)
How to Make It
- Draw a Z in the center of the plate with a blue crayon, making it thick and easy to see.
- Cut from the outer rim to 1 inch from the center every 1.5 inches around the plate, creating even tabs.
- Fold every other tab toward the center and glue them flat to form a starburst pattern.
- Glue the cardstock circle over the center to hide the folds and highlight the Z.


14. Zigzag Crayon Rubbing
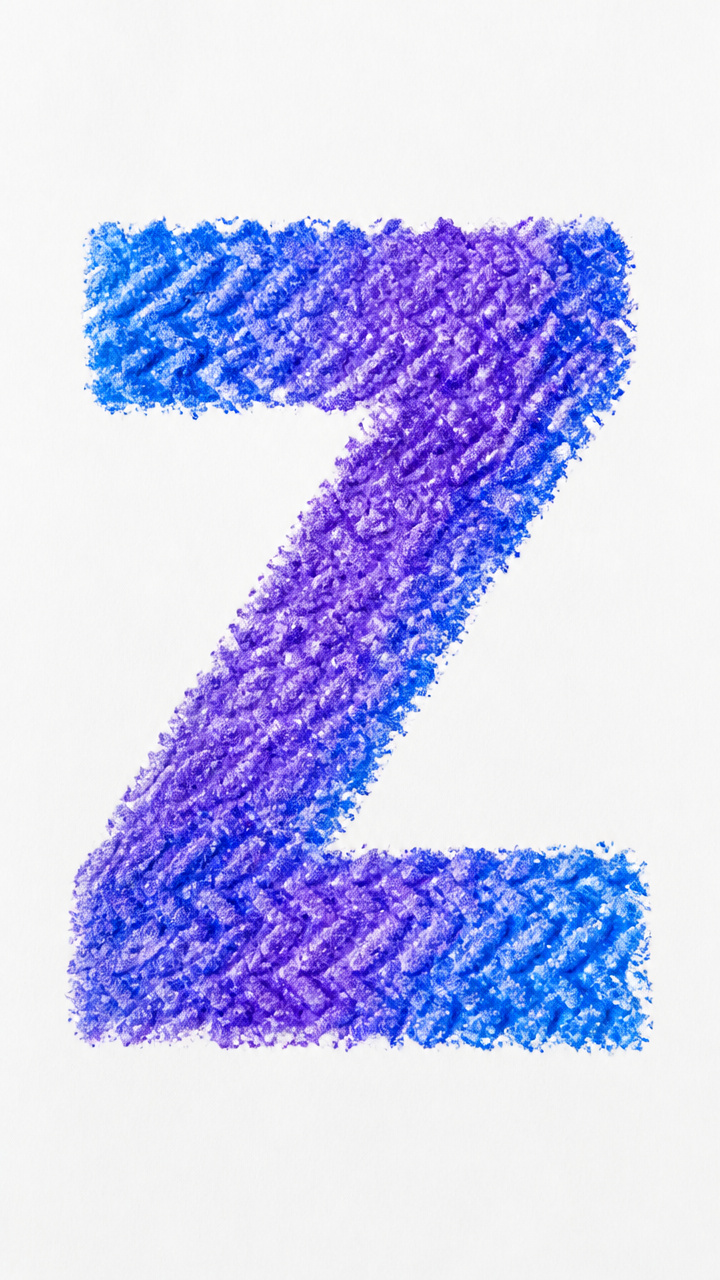
Crayon shavings melt under warm iron into a textured Z revealed by rubbing over bumpy paper. This sensory craft combines science and art.
Materials Needed
- White printer paper
- Blue and purple crayons
- Grater
- Wax paper (6×6 inches)
- Iron (adult use only)
- Cardboard letter Z (1/4 inch thick)
- Blank paper
How to Make It
- Shave small curls from blue and purple crayons using the grater over wax paper.
- Place the cardboard Z under a sheet of blank paper and sprinkle crayon shavings over the top.
- Cover with wax paper and ask an adult to gently iron over it on low heat until wax melts and seeps through.
- Peel back the wax paper to reveal a colorful, bumpy Z shape perfect for crayon rubbing with white paper on top.


15. Zippy String Art Board
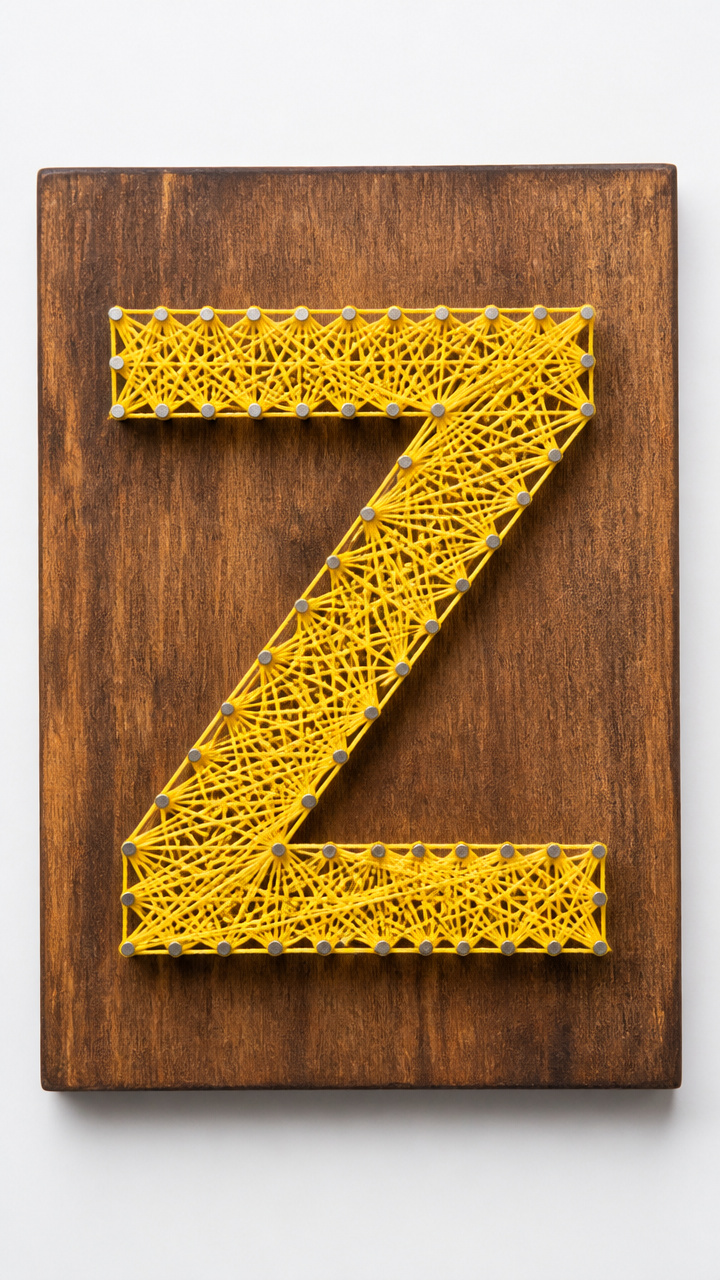
Nails tapped into wood form a Z outline strung tightly with yellow embroidery floss. This tactile piece builds focus and hand strength.
Materials Needed
- Wood board (6×8 inches)
- Small nails (12 total)
- Hammer (adult use)
- Yellow embroidery floss
- Scissors
- Black marker
- Ruler
How to Make It
- Draw a large Z on the wood with a black marker using the ruler for straight lines.
- Tap one nail at each sharp corner and at both ends of the Z, placing 12 nails evenly spaced.
- Tie the floss securely around the bottom left nail, then wrap it tightly over each nail in order.
- Keep tension as you go and tie off at the last nail, trimming excess with scissors.


You’ve got everything you need to bring the letter Z to life in ways that delight and teach. Grab your supplies and let those little hands start zipping, zapping, and zinging through creativity.