15 Valentine’s Day Paper Garland Ideas to Make at Home

Red paper hearts flutter between kitchen windows, catching afternoon light and turning a quiet corner into something joyful. You don’t need fancy supplies or years of crafting to make moments like this.
With just scissors, glue, and a few sheets of colored paper, you can create garlands that bring warmth to your walls, mantels, or doorways. Each one is a small act of love, made by hand and meant to be seen.
1. Folded Heart Banners
Easy

Crisp white triangles dangle with tiny red hearts folded neatly at their peaks, creating a clean, modern look perfect for classroom doors or bookshelves. The subtle pop of color feels festive without overwhelming the space.
Materials Needed
- A4 red construction paper, 5 sheets
- A4 white cardstock, 5 sheets
- Scissors
- Ruler
- Pencil
- Glue stick
- White cotton string, 6 feet
How to Make It
- Cut each white cardstock sheet into 3 equal vertical strips using scissors and a ruler, yielding 15 strips total.
- On one short end of each strip, fold up a 1-inch triangle to form a pennant shape and press the crease firmly.
- Cut small heart shapes from red construction paper, about 0.75 inches tall, making one for each pennant.
- Glue one red heart centered on the folded tip of each white pennant.
- Measure 6 inches from the left edge of the first pennant and punch a tiny hole, then thread the cotton string through and tie a knot to secure.
- Repeat spacing every 6 inches across all pennants, tying each in place on the string.
2. Lace-Cut Doily Hearts
Easy
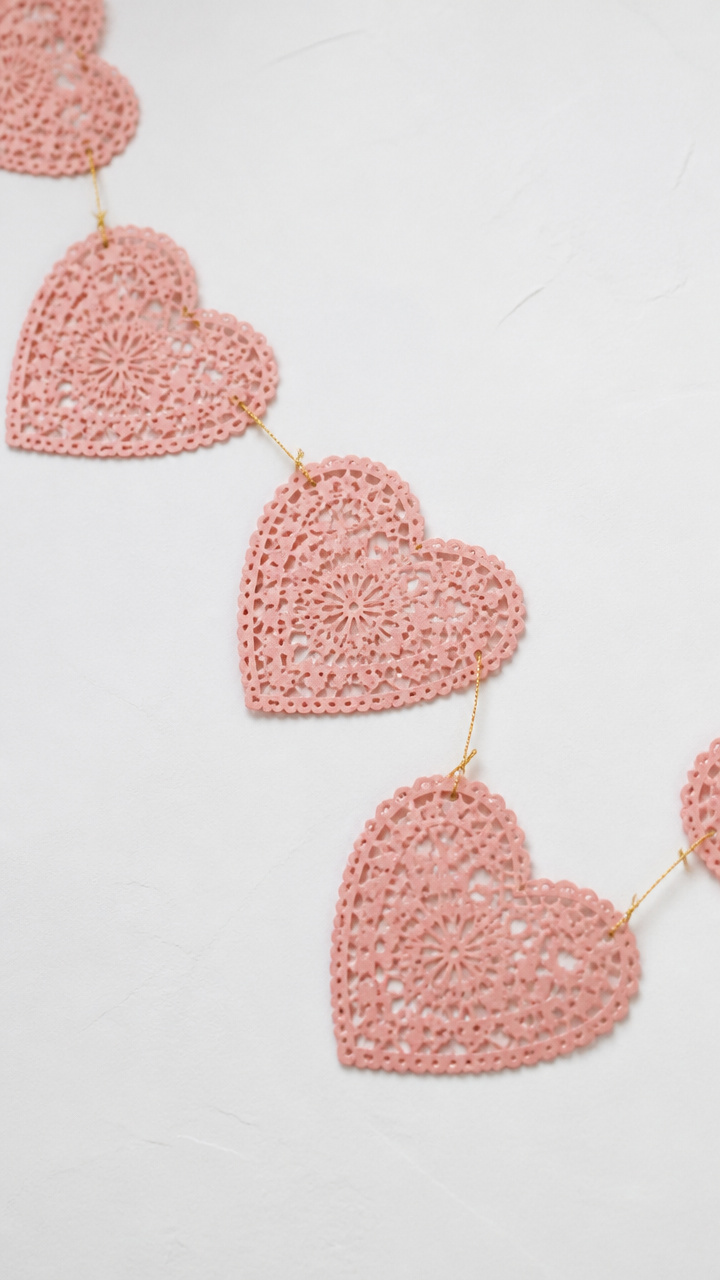
Delicate snowflake-like patterns spiral from the centers of rosy pink doilies, giving off a vintage charm ideal for tea parties or bedside displays. The soft texture adds elegance with almost no effort.
Materials Needed
- Pink paper doilies, 12-inch diameter, 10 count
- Gold embroidery floss, 1 spool
- Scissors
- Small heart-shaped hole punch, 1 inch
- Tapestry needle
How to Make It
- Place the heart-shaped hole punch in the center of one doily and press firmly to cut out the shape.
- Repeat for all 10 doilies, keeping cuts centered.
- Thread the tapestry needle with 3 feet of gold embroidery floss and knot one end.
- Slide the needle through the top edge of the first doily, just below the scalloped rim, and pull the floss through until the knot stops it.
- Space each doily 4 inches apart as you add them to the floss, sliding each new one down the thread.
- Tie a loop at each end of the floss for hanging once all doilies are threaded.
3. Watercolor Bleed-Through Hearts
Moderate
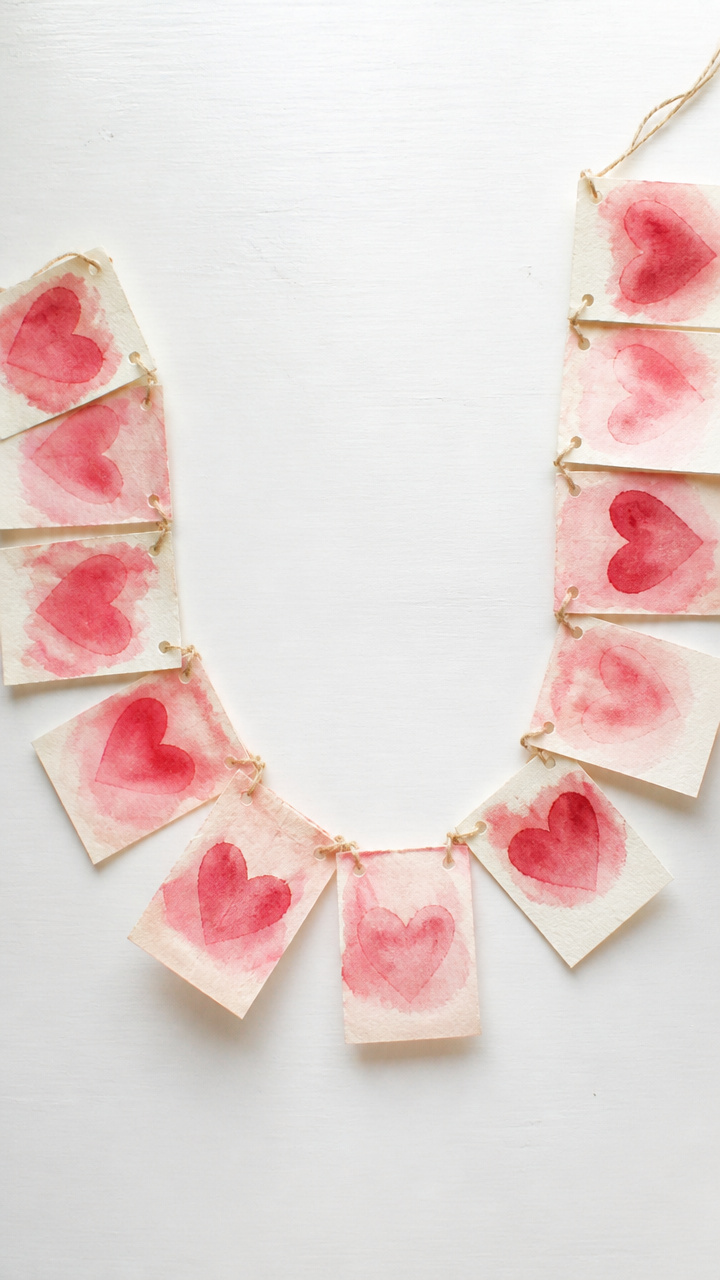
Soft washes of crimson and blush bloom across connected paper rectangles, with heart silhouettes glowing where paint soaked through layers. This piece brings an artistic touch to dining tables or window sills.
Materials Needed
- A4 watercolor paper, cold press, 8 sheets
- Round watercolor brush, size 6
- Red watercolor paint
- Pink watercolor paint
- Small spray bottle filled with water
- Clipboard
- Binder clips, 2
- White twine, 5 feet
- Hole punch
How to Make It
- Stack 8 watercolor sheets evenly and secure both long edges with binder clips to keep them aligned.
- Use the round brush to paint loose heart outlines across the top sheet, varying sizes between 2 and 3 inches.
- Lightly mist the painted hearts with water from the spray bottle so colors bleed softly into the layers beneath.
- Let the stack sit undisturbed for 20 minutes until paint transfers to lower sheets.
- Carefully unclip and separate each sheet, letting them dry flat for 1 hour.
- Punch one hole at each top corner of every sheet and thread twine through alternating sides to create a zigzag garland.
4. Pop-Up Dimension Hearts
Moderate

Three-dimensional hearts spring forward from flat kraft paper rectangles, casting delicate shadows when hung near a lamp or window. This dynamic effect draws eyes without demanding attention.
Materials Needed
- A4 kraft paper, 6 sheets
- Red fine-tip marker
- Craft knife
- Cutting mat
- Metal ruler
- Bone folder
- Double-sided tape, 0.25-inch width
- Jute cord, 7 feet
How to Make It
- Score each kraft paper sheet vertically down the center with the bone folder and ruler, creasing lightly.
- Draw a heart shape, 3 inches tall, centered on the left half of the first sheet.
- Use the craft knife and ruler to cut along the heart outline, applying gentle pressure to avoid tearing.
- Fold the sheet along the center crease so the cut heart faces outward, forming a pop-up element.
- Apply small pieces of double-sided tape to the back edges of the sheet and press closed to lock the fold.
- Punch two holes at the top corners of each completed card and string jute cord through, spacing cards 5 inches apart.
5. Foil-Stamped Love Letters
Moderate
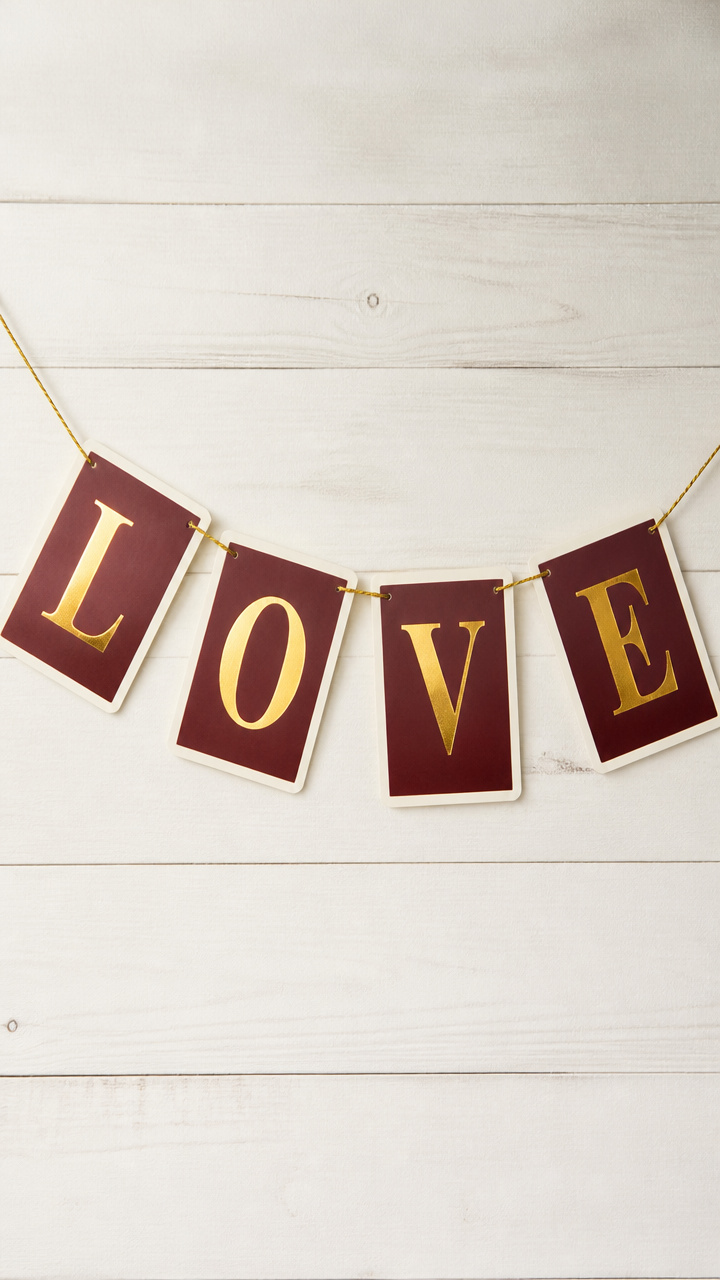
Shimmering gold letters spell out 'LOVE' on deep burgundy flags, each framed by crisp white borders for contrast. This bold garland works beautifully above a dessert table or photo backdrop.
Materials Needed
- A4 burgundy cardstock, 4 sheets
- Gold foil sticker sheet, 8.5 x 11 inches
- Paper trimmer
- Letter stencil set (uppercase), 3 inches tall
- Craft blade
- Tweezers
- White glue pen
- Nylon fishing line, 8 feet
How to Make It
- Use the paper trimmer to cut each burgundy sheet into 4 equal horizontal strips, making 16 total.
- Position the 'L', 'O', 'V', 'E' stencils one at a time in the center of four strips and trace lightly with pencil.
- Cut gold foil pieces slightly larger than each letter using the craft blade.
- Apply white glue pen inside the traced letter outlines and wait 10 seconds for tackiness.
- Use tweezers to place gold foil over each letter, pressing gently to adhere.
- String the four decorated flags onto fishing line with 6 inches between each, adding plain burgundy strips in between for rhythm.
6. Tissue Paper Pom Garland
Easy
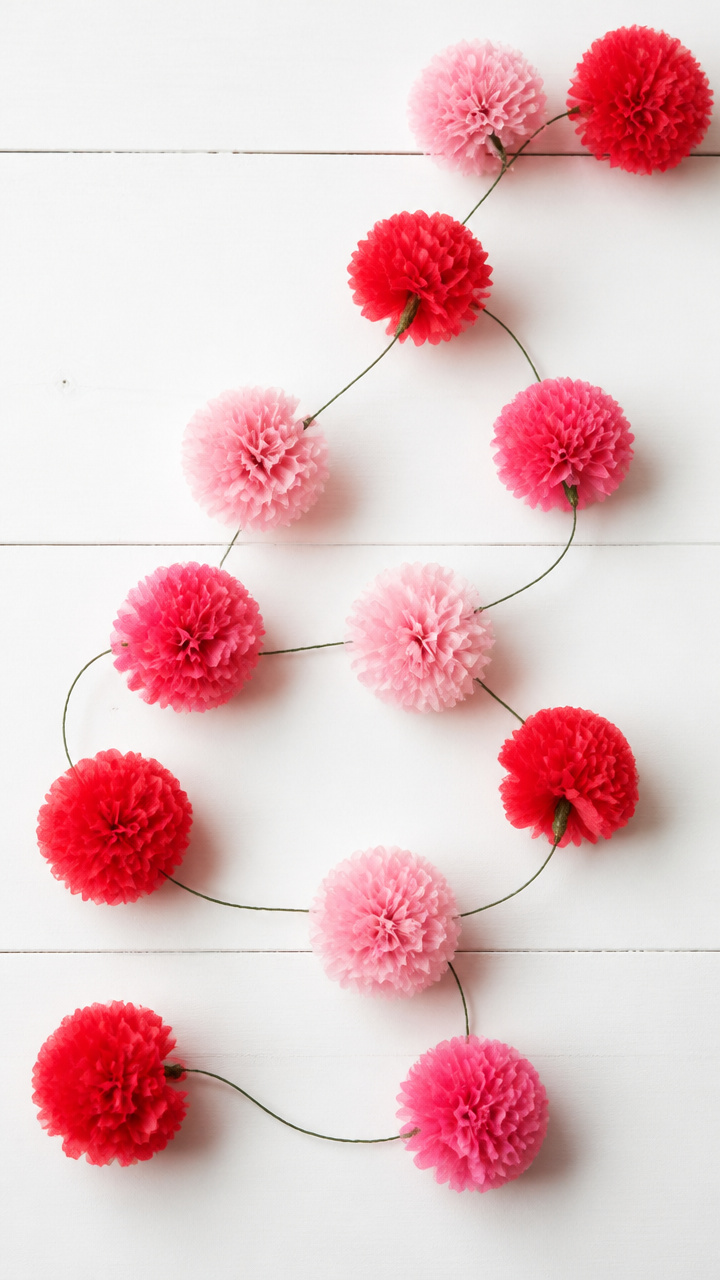
Fluffy spheres of red and pink tissue paper bounce gently along a thin ribbon, bringing playful movement to a child’s room or party arch. Their lightweight bounce catches every breeze.
Materials Needed
- Red tissue paper, 20-sheet pack
- Pink tissue paper, 20-sheet pack
- Scissors
- Green floral wire, 18 gauge, 10 feet
- Ruler
How to Make It
- Stack 10 sheets of red tissue paper and fold accordion-style with 1-inch pleats using your fingers.
- Repeat with 10 sheets of pink tissue paper.
- Cut a 6-inch length of floral wire and wrap it around the center of the red folded stack, twisting tightly on the back.
- Fan out each layer of tissue paper toward the center, one by one, flipping alternating sides until fully opened.
- Repeat fanning process with the pink stack and attach it directly behind the red pom using the same wire twist.
- String five red-pink poms onto the remaining floral wire, spacing them 8 inches apart, and twist the ends to secure.
7. Origami Crane Chain
Advanced
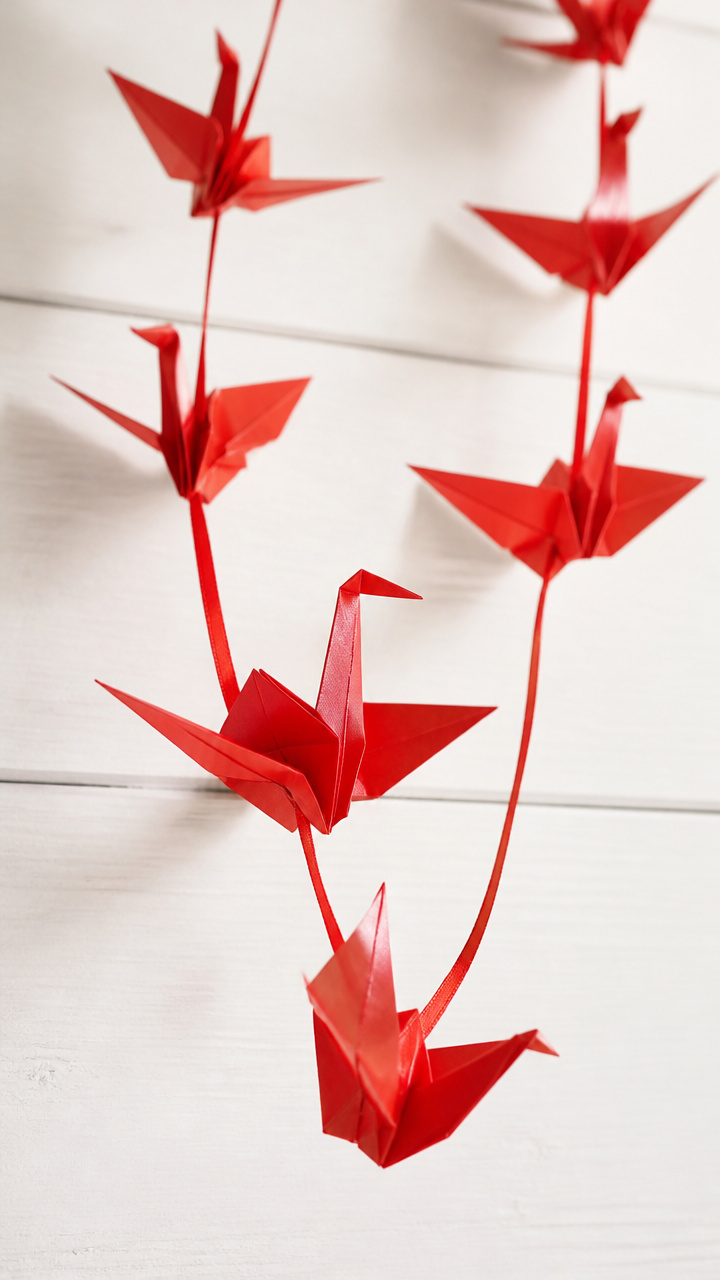
Tiny red cranes, each folded with care, link together in a graceful line that sways above a console table or bedframe. This meaningful design carries a quiet message of affection.
Materials Needed
- Origami paper, solid red, 3 x 3 inches, 30 sheets
- Mini clothespins, 15 count
- Thin satin ribbon, 10 feet
- Tweezers
How to Make It
- Fold one origami crane using the traditional method: valley fold diagonally, then mountain fold opposite diagonal, followed by petal and squash folds to form wings and head.
- Use tweezers to pinch small details like the beak if fingers struggle with tight folds.
- Repeat folding to complete 30 cranes total, setting each aside carefully.
- Open one mini clothespin and clip it onto the body of the first crane, just behind the wings.
- Clip the second crane’s body into the same clothespin from the opposite side to link them.
- Continue connecting cranes with clothespins every 4 inches along the satin ribbon, draping it loosely when displayed.
8. Paper Quilled Heart Medallions
Advanced
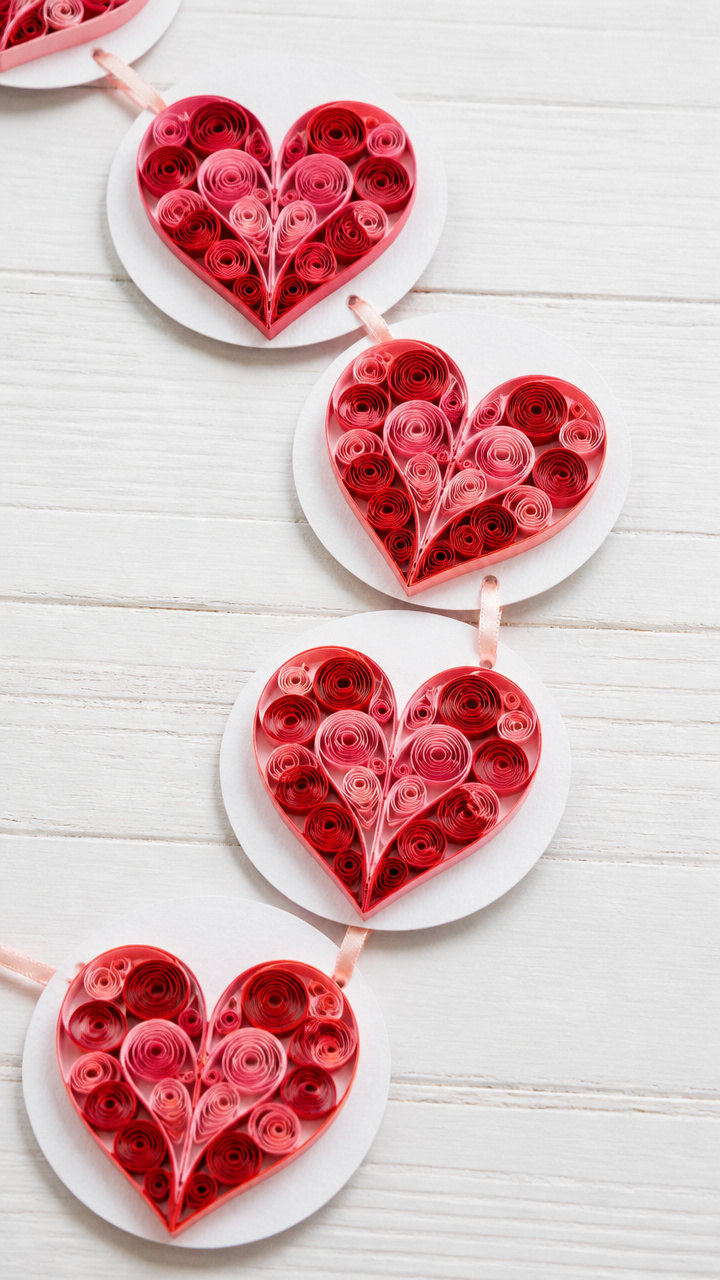
Tightly coiled spirals of crimson and blush paper form heart-shaped medallions that catch the light like tiny jewels. These intricate discs shine when grouped above a mirror or shelf.
Materials Needed
- Quilling paper strips, 1/8 inch wide, red, 50 count
- Quilling paper strips, 1/8 inch wide, pink, 50 count
- Quilling tool with slotted tip
- White glue, liquid
- Tweezers
- Cardboard circles, 2 inches diameter, 10 count
- Gold metallic thread, 6 feet
How to Make It
- Wrap one red quilling strip around the slotted quilling tool and slide it off gently, pinching one end to form a teardrop shape.
- Apply a dot of white glue to the tail end and press it against the cardboard circle near the edge.
- Repeat with alternating red and pink teardrops, placing each tip toward the center to form a heart outline.
- Fill the inner curve of the heart with tighter coils, gluing each in place with tweezers for precision.
- Let each medallion dry for 30 minutes before handling.
- Punch two small holes at the top edge of each cardboard base and thread gold metallic thread through, spacing medallions 5 inches apart.
9. Cutout Shadow Boxes
Moderate

Layered hearts in graduated shades hang flat but cast depth through overlapping silhouettes, creating visual interest on blank walls. The interplay of light and form makes this standout subtly.
Materials Needed
- A4 cardstock: cherry red, 3 sheets
- A4 cardstock: dusty rose, 3 sheets
- A4 cardstock: pale pink, 3 sheets
- Craft knife
- Cutting mat
- Heart template, 4 inches tall
- Glue dots, 0.5-inch
- Ribbon, 1-inch wide, 7 feet
How to Make It
- Trace the heart template onto each red sheet and cut out using the craft knife on the cutting mat.
- Repeat tracing and cutting for dusty rose and pale pink sheets, making 3 hearts per color.
- Stack one heart of each color, largest on bottom, aligning centers, and attach with a single glue dot at the very center.
- Repeat stacking to make 3 layered hearts total.
- Lay the ribbon face-down and position each layered heart on top, spaced 8 inches apart.
- Secure each heart to the ribbon with two glue dots placed at top and bottom edges.
10. Hand-Torn Edge Banners
Easy
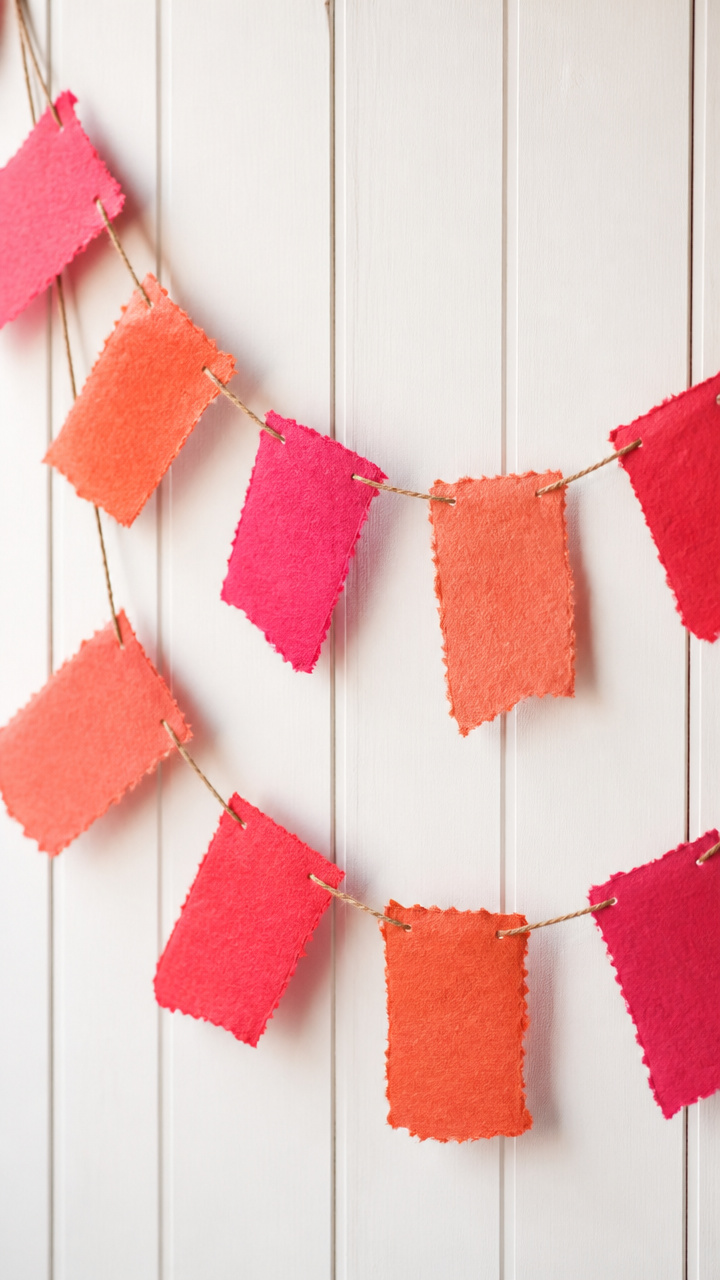
Rough, organic edges on coral and magenta paper give a raw, heartfelt feel, like love notes ripped from a journal. This rustic garland suits farmhouse kitchens or cozy reading nooks.
Materials Needed
- Construction paper: coral, 5 sheets
- Construction paper: magenta, 5 sheets
- Scissors
- Twine, 8 feet
- Glue stick
- Pencil
How to Make It
- Tear each coral and magenta sheet vertically into 3 uneven strips, using your hands to create jagged, natural edges.
- Alternate colors and lay 10 strips in a line, leaving 1 inch of overlap between each.
- Run a glue stick along the overlapping edge and press down firmly to bond.
- Continue until all strips form one long, wavy banner.
- Cut two 6-inch lengths of twine and glue one to each end of the banner, letting it extend beyond the edges for hanging.
- Let glue dry for 10 minutes before displaying.
11. Sticker-Frame Mini Hearts
Easy
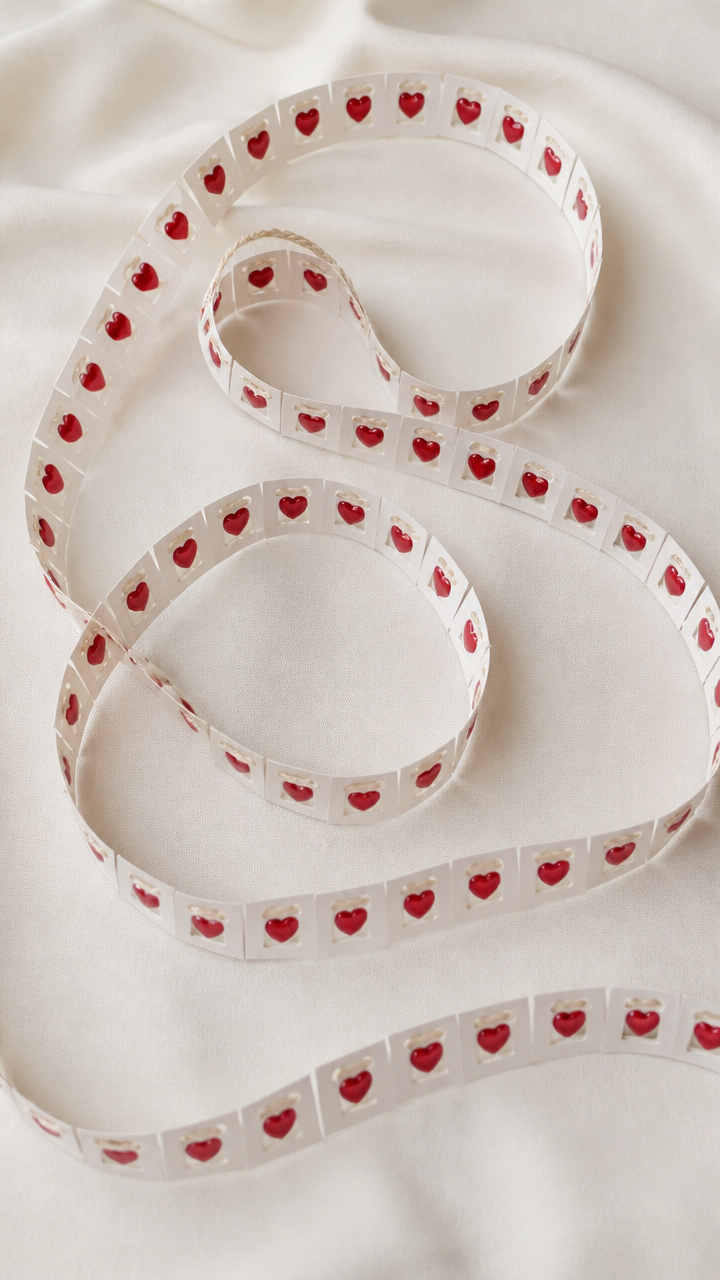
Tiny die-cut hearts float inside clear sticker windows on a crisp white strand, offering a minimalist look that brightens entryways or desks. The glossy accents reflect light like dewdrops.
Materials Needed
- White printer paper, A4, 10 sheets
- Heart-shaped clear sticker labels, 1 inch diameter, 50 count
- Red gel pen
- Hole punch
- Yarn, cream-colored, 6 feet
- Scissors
How to Make It
- Cut each A4 sheet into 4 equal rectangles using scissors, making 40 total.
- Draw a small heart freehand in the center of each rectangle using the red gel pen.
- Peel one clear sticker label and center it over the drawn heart, pressing firmly to seal.
- Repeat for 40 cards, covering each heart completely.
- Punch one hole in the top-left corner of each card.
- Thread yarn through each hole in sequence, knotting every 4 inches to hold cards in place.
12. Salt-Dough Pressed Petals
Moderate
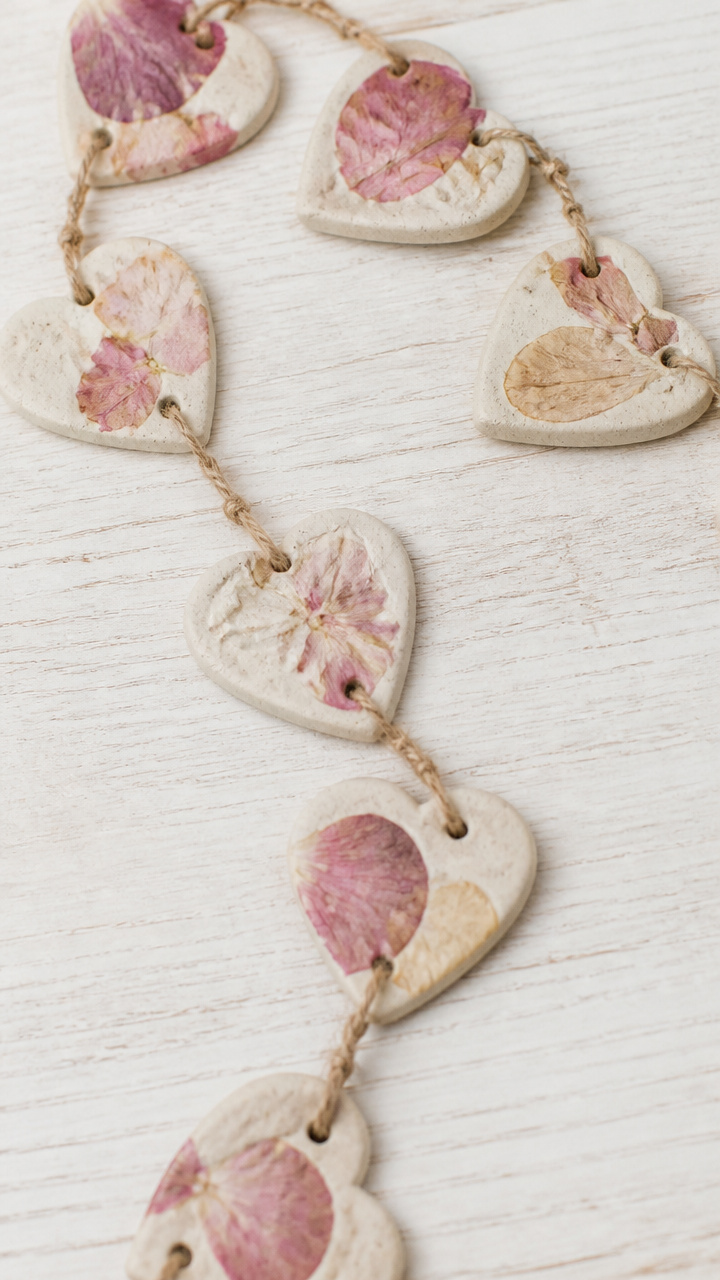
Rose-colored salt dough hearts hold impressions of real flower petals, preserving nature’s detail in a keepsake garland. These textured charms work well in sunrooms or beside garden doors.
Materials Needed
- Homemade salt dough (1 cup flour, 1/2 cup salt, 1/2 cup water)
- Fresh rose petals, 20 count
- Rolling pin
- Heart-shaped cookie cutter, 2 inches
- Baking sheet
- Parchment paper
- Red acrylic paint
- Paintbrush, flat 1/2 inch
- Leather cord, 8 feet
- Needle
How to Make It
- Mix flour, salt, and water in a bowl until smooth, then knead 2 minutes on a floured surface.
- Roll dough to 1/4 inch thickness using the rolling pin.
- Press the heart cutter into dough and lift out each shape, placing on parchment-lined baking sheet.
- Gently press one rose petal into the center of each heart and remove after leaving an imprint.
- Bake at 200°F for 3 hours until hard, then let cool completely.
- Paint each dried heart with red acrylic paint and let dry 1 hour.
- Use a needle to pierce two small holes at the top of each heart and lace leather cord through, spacing 6 inches apart.
13. Gradient Ombre Fans
Moderate
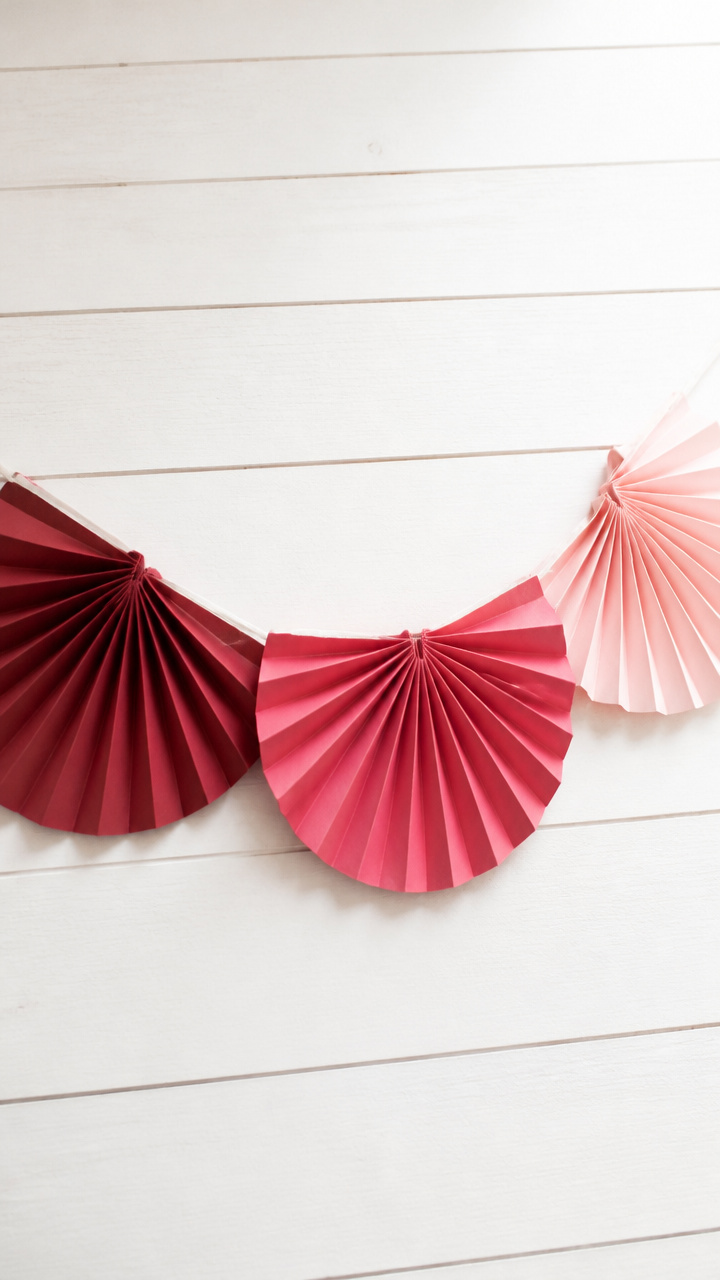
Fans open in a soft fade from deep maroon to pale blush, creating a warm wave of color across a mantel or doorway. The repeated shape brings harmony to busy spaces.
Materials Needed
- Cardstock: maroon, 3 sheets
- Cardstock: raspberry, 3 sheets
- Cardstock: blush, 3 sheets
- Ruler
- Bone folder
- Glue stick
- Double-sided tape
- Narrow ribbon, 7 feet
How to Make It
- Cut each cardstock sheet into 4 equal vertical strips, 2 inches wide, using ruler and scissors.
- Accordion-fold each strip with 0.75-inch pleats using the bone folder for sharp creases.
- Glue one end of each fan shut with a glue stick and let dry 5 minutes.
- Arrange fans in order: maroon, raspberry, blush, repeating the sequence three times.
- Attach each fan to the ribbon spine using double-sided tape at the glued base.
- Space fans 3 inches apart along the ribbon, ensuring consistent orientation.
14. Chalkboard Heart Messages
Easy
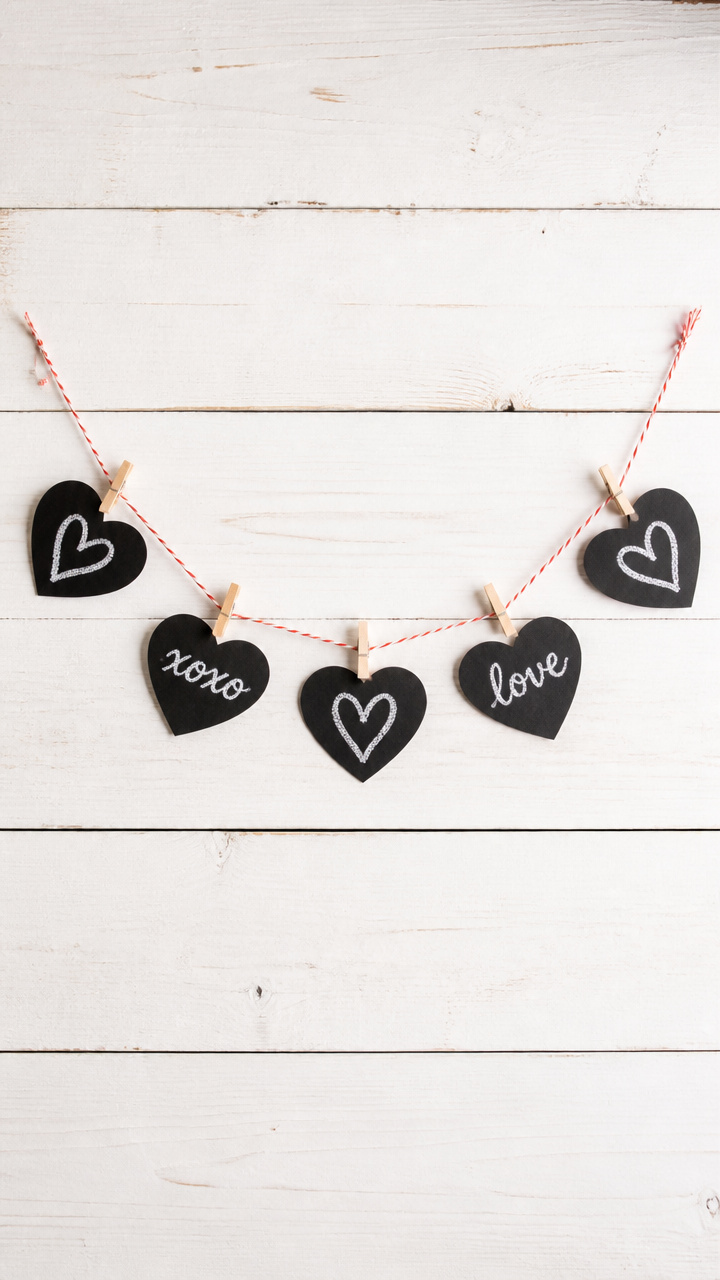
Matte black hearts display handwritten sweet phrases in cursive chalk, changing the mood with every rewrite. This interactive garland invites daily little notes of affection.
Materials Needed
- Chalkboard paper, 12 x 12 inches, 10 sheets
- Heart punch, 3 inches
- White chalk pencil
- Chalkboard eraser cloth
- Twisted paper cord, 9 feet
- Clothespins, mini, 10 count
How to Make It
- Use the heart punch to cut 10 hearts from the chalkboard paper.
- Write a short phrase like 'You're Mine' or 'Be Mine' on each heart using the white chalk pencil.
- Wipe any smudges gently with the chalkboard eraser cloth.
- Clip one mini clothespin to the top edge of each heart.
- Attach each clothespin to the twisted paper cord, spacing hearts 8 inches apart.
- Hang and refresh messages whenever you like by erasing and rewriting.
15. Pinwheel Spin Hearts
Advanced
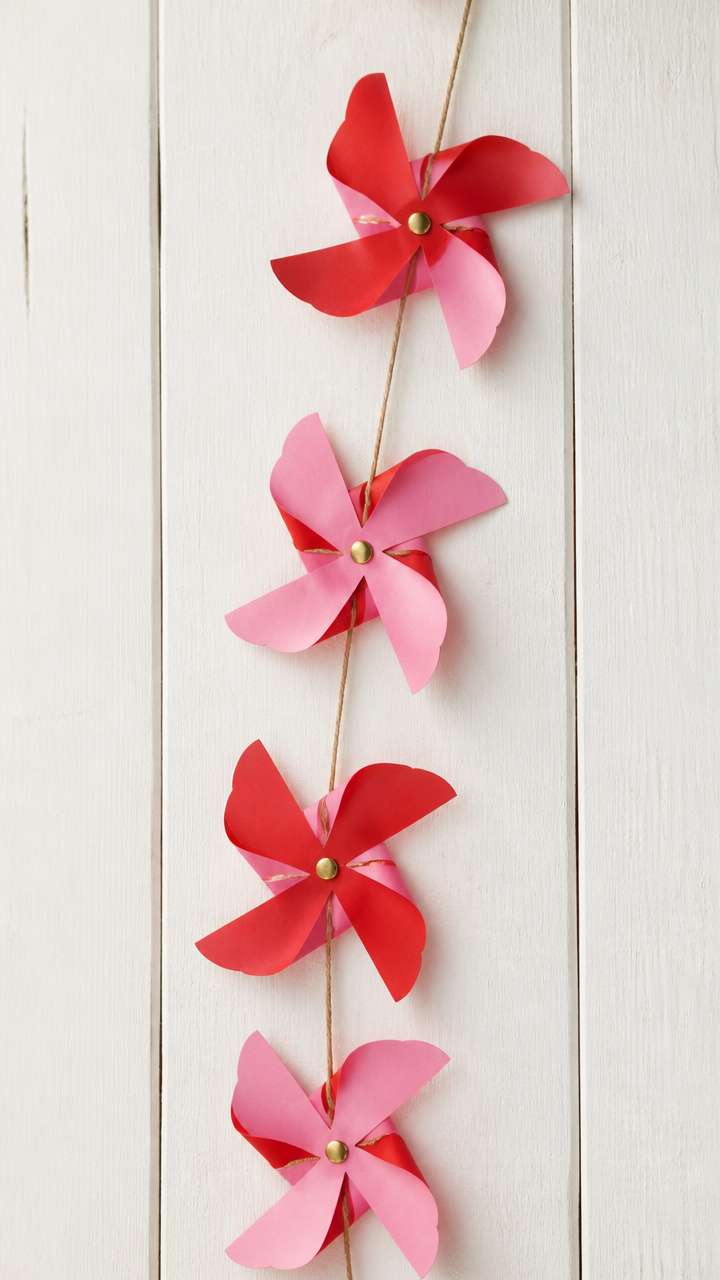
Four-pointed hearts spin gently in air currents, their bright fronts flipping to soft backs with every breeze. Mounted on a line, they add motion and joy to porches or playrooms.
Materials Needed
- A4 cardstock: bright red, 5 sheets
- A4 cardstock: soft pink, 5 sheets
- Brass fasteners, 1 inch, 10 count
- Ruler
- Pencil
- Scissors
- Straw segments, 1 inch long, 10 count
- Fishing line, 10 feet
How to Make It
- Cut one red and one pink sheet into 4 equal squares, 5 x 5 inches, repeating for all sheets to make 40 squares.
- Draw diagonal lines from corner to corner on each square with pencil.
- Cut along each line from corner to center point, stopping 1 inch short.
- Fold every other corner to the center and secure with a brass fastener through the straw segment underneath for smooth spinning.
- Alternate red and pink pinwheels as you attach them to the fishing line using the fastener arms threaded through small knots in the line.
- Space each pinwheel 9 inches apart, ensuring blades can rotate freely.
Each of these garlands holds a little piece of your time and care, transforming simple paper into something full of warmth. Pick one that speaks to you and start cutting, folding, or painting today.