20 Winter Crafts for Kids to Beat Cabin Fever

Snow piles high outside, mittens dry by the radiator, and the living room becomes a kingdom of restless energy. This is the season when simple paper, glue, and imagination can spark hours of joy.
These crafts turn quiet afternoons into creative adventures. Each one is designed to engage small hands and curious minds, using materials you can gather quickly and techniques that build confidence with every step.
1. Felt Snowflake Ornaments
Easy
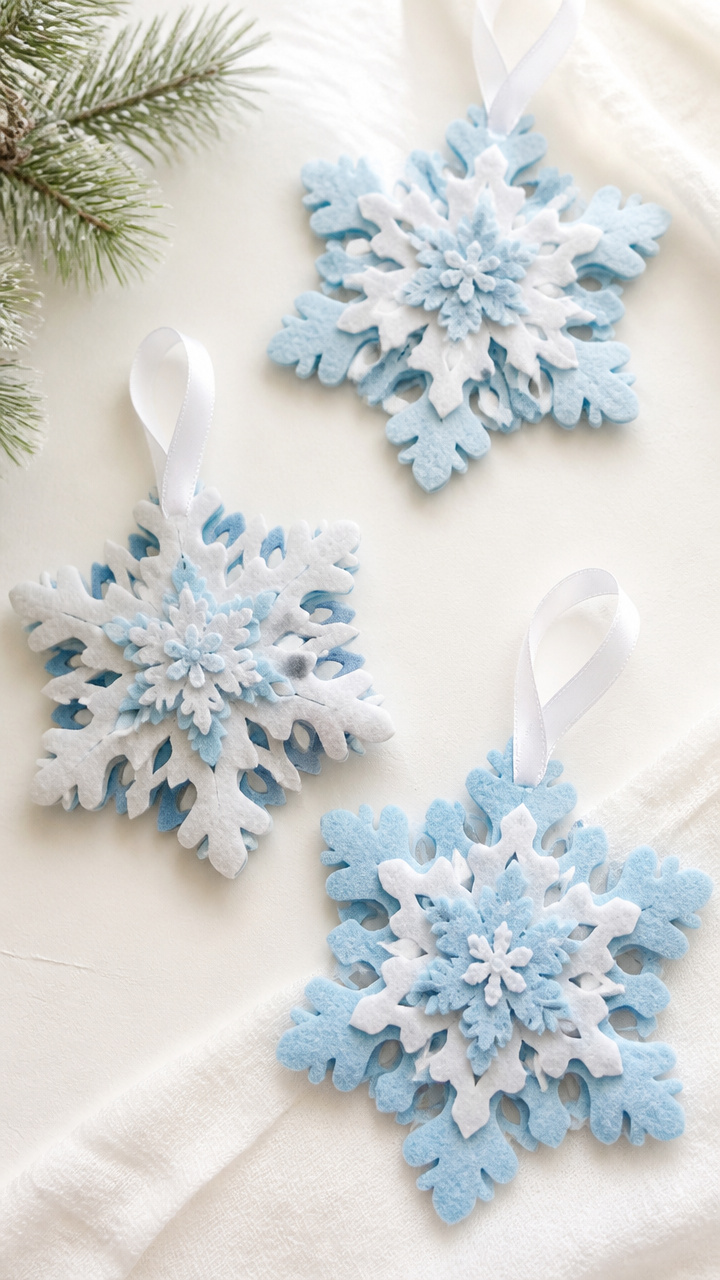
Delicate layered snowflakes in soft pastel felt dangle from ribbon, catching the winter light near a window or tree. These hold their shape better than paper and invite kids to explore symmetry with fabric.
Materials Needed
- 3 sheets pastel blue felt (9 x 12 inches each)
- Scissors
- White craft glue
- Ribbon scraps (12 inches long, 3 pieces)
- Pencil
- Snowflake stencil (printed, 4 inches wide)
How to Make It
- Trace the snowflake stencil onto the felt with a pencil and cut out three identical shapes.
- Stack the felt snowflakes and glue them together at the center with a dot of white craft glue.
- Glue one end of a ribbon piece to the back of the top snowflake, letting the other end hang for hanging.


2. Cinnamon Apple Pomanders
Moderate
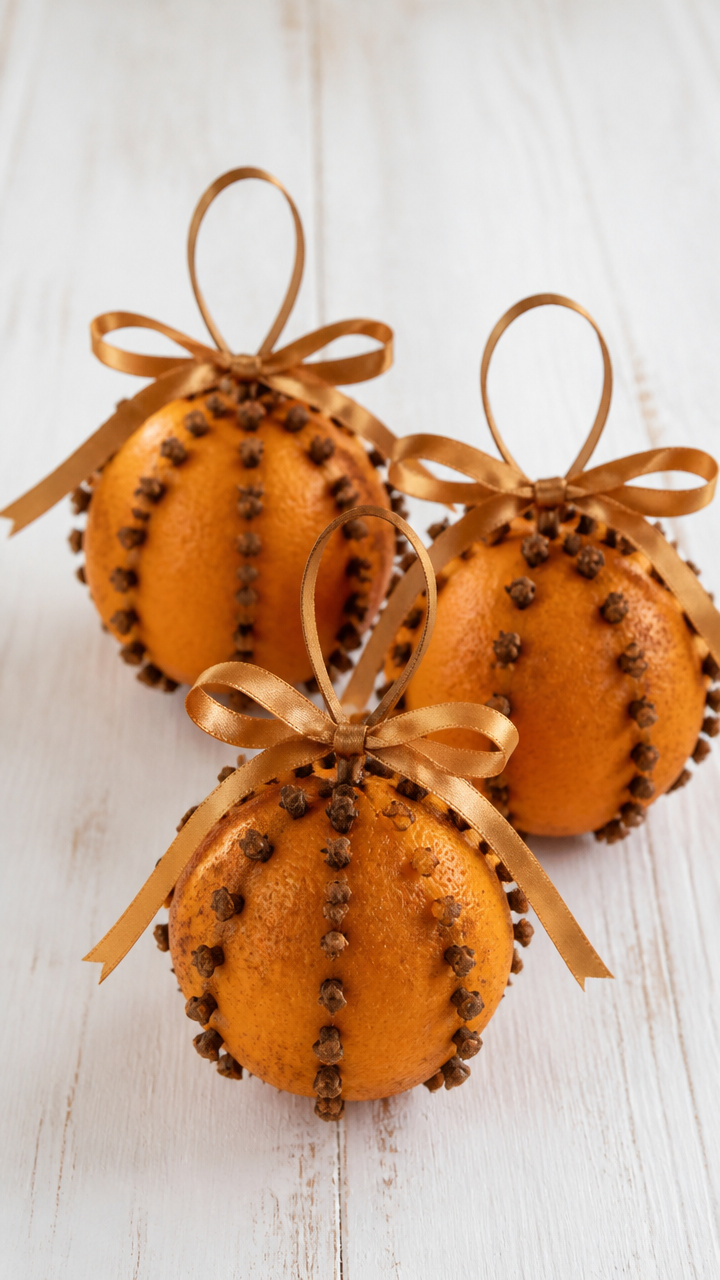
Spicy-scented pomanders wrapped in ribbon make cheerful desk decorations or host gifts. The blend of citrus and spice fills the room with warmth as kids press cloves one by one.
Materials Needed
- 2 medium oranges
- 250 whole cloves
- Ground cinnamon (1/4 cup)
- Ribbon (18 inches per pomander, 2 pieces)
- Toothpicks
- Small bowl
How to Make It
- Stick cloves into the orange surface in spiral or dot patterns using fingers or a toothpick to start holes.
- Roll the clove-covered orange in ground cinnamon to absorb juice and add scent.
- Tie ribbon around the pomander in a loop for hanging and place in a bowl to dry for 5 days.


3. Toilet Paper Roll Penguins
Easy
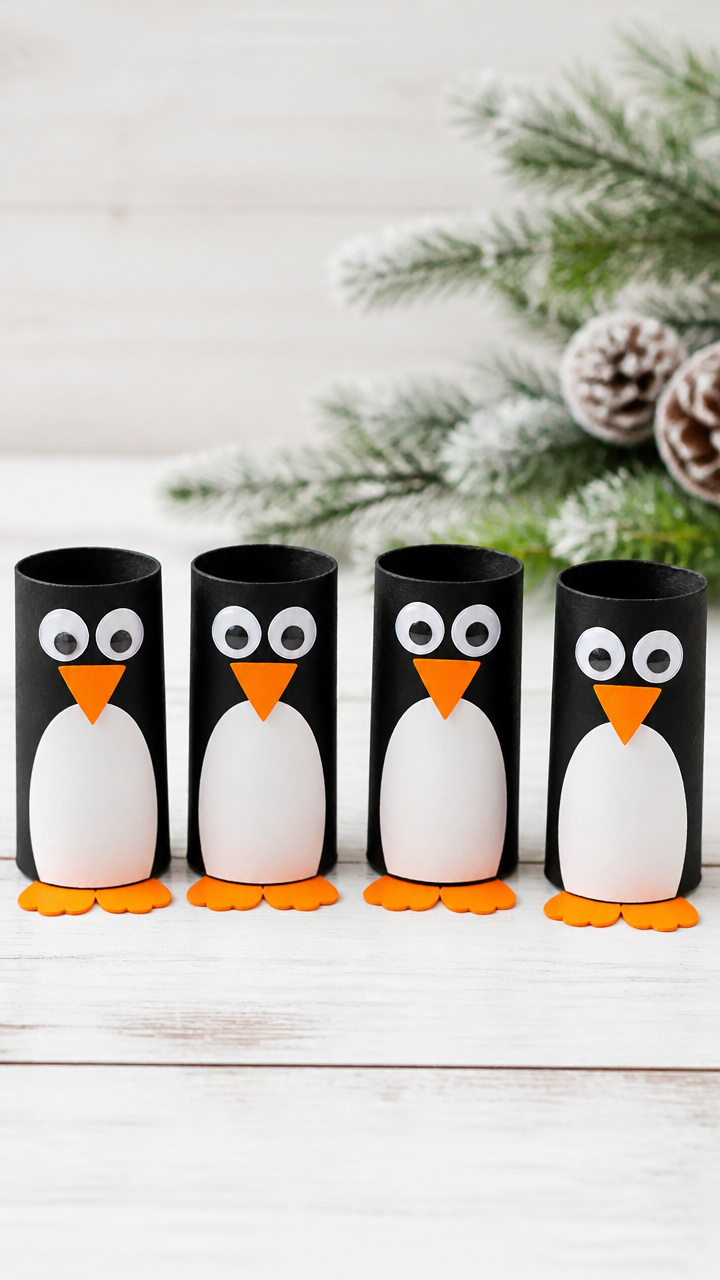
Chubby black-and-white penguins waddle across shelves thanks to simple rolls and bold paint. Their flat feet keep them upright, making them ideal for storytelling scenes.
Materials Needed
- 4 empty toilet paper rolls
- Black acrylic paint
- White acrylic paint
- Orange craft foam sheet
- Googly eyes (12 mm, 8 pieces)
- Paintbrush
- Scissors
- White craft glue
How to Make It
- Paint each roll solid black and let dry completely on a paper towel for 20 minutes.
- Paint the front half of the roll white, leaving the back black, and let dry for another 20 minutes.
- Cut small triangle beaks from orange craft foam and glue them below googly eyes on each penguin.


4. Salt Dough Maple Leaves
Moderate
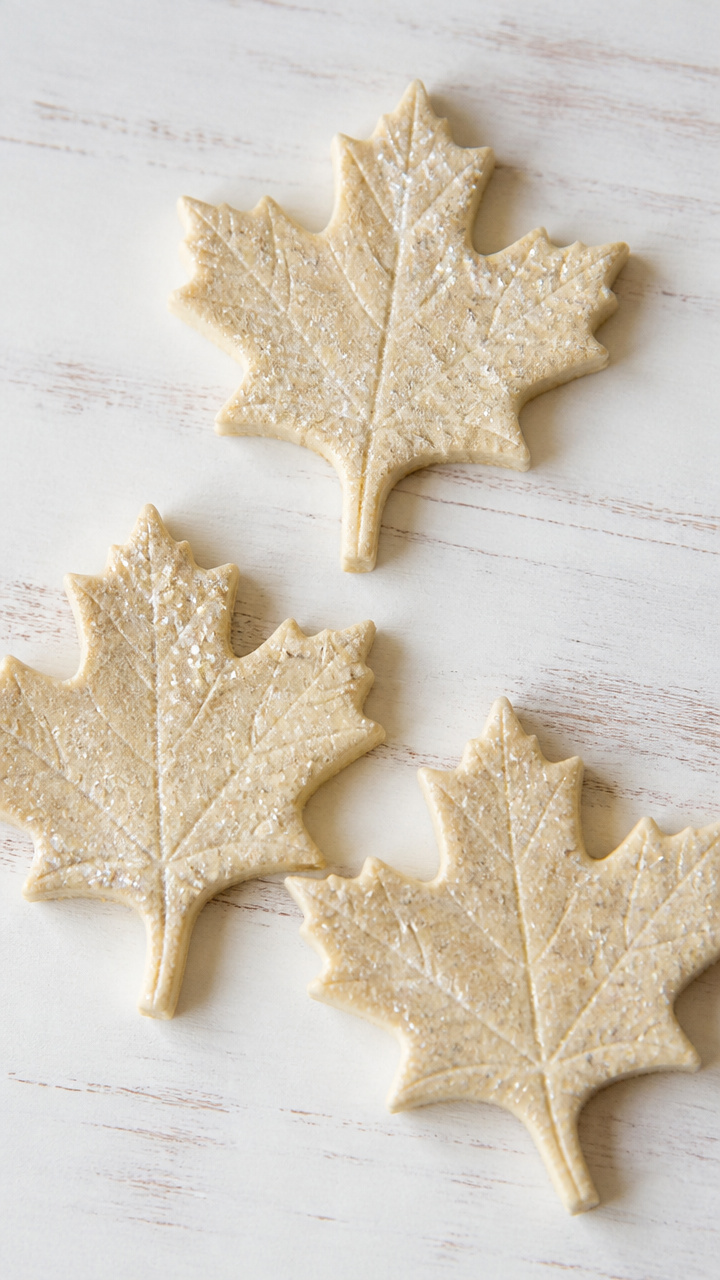
Hand-shaped maple leaves with textured veins bake into keepsakes that hold a child's fingerprint. Use them as gift tags or window hangings with a coat of glitter.
Materials Needed
- 2 cups all-purpose flour
- 1 cup table salt
- 3/4 cup warm water
- Rolling pin
- Maple leaf cookie cutter (3 inches)
- Straw
- Baking sheet
- Parchment paper
- Clear acrylic sealer spray
How to Make It
- Mix flour, salt, and warm water in a bowl until a smooth dough forms, kneading for 2 minutes.
- Roll the dough to 1/4 inch thick and cut out shapes with the maple leaf cutter.
- Push a straw through the top edge to make a hanging hole, then bake on a parchment-lined sheet at 200°F for 3 hours.
- Cool completely and spray both sides with acrylic sealer to preserve.

5. Glitter Mason Jar Snow Globes
Moderate
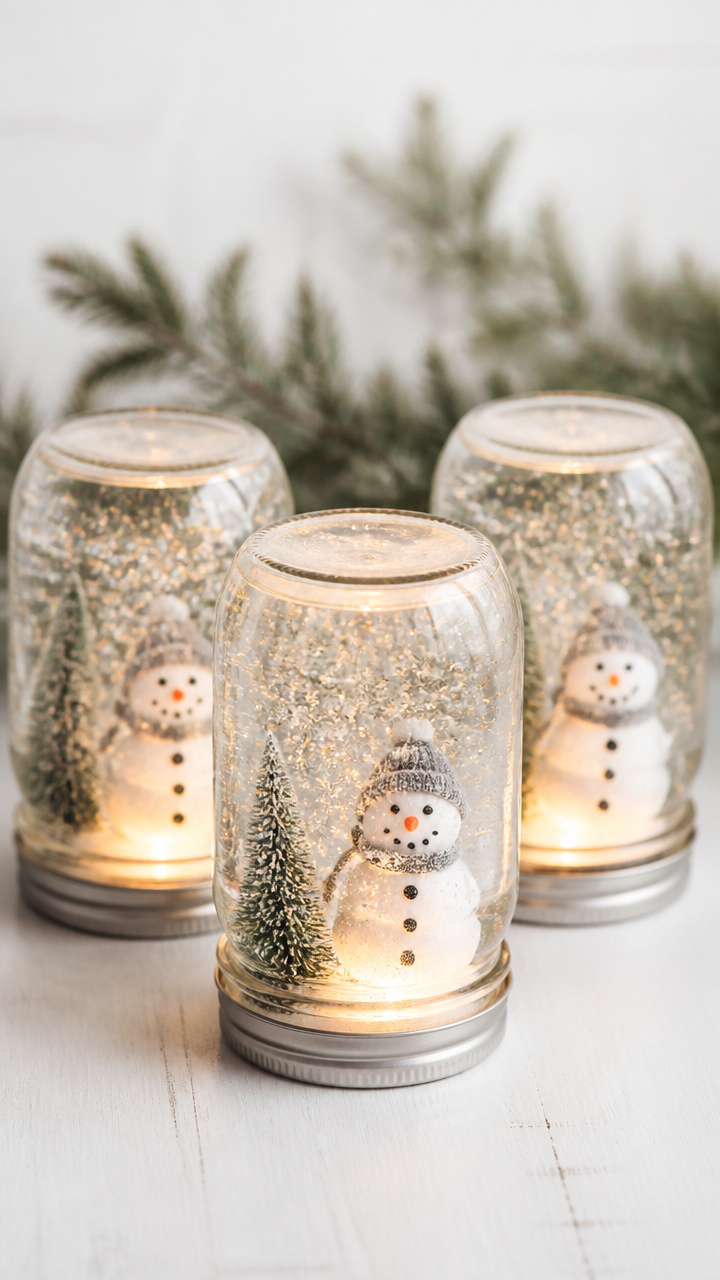
Mini winter scenes swirl inside sealed jars when shaken, glowing on a nightstand with a tea light beneath. Kids choose tiny figures and colors to match their favorite snowy day.
Materials Needed
- 4 oz mason jars with lids (3 pieces)
- Distilled water (3/4 full per jar)
- Clear school glue (2 tablespoons per jar)
- Fine white glitter (1 teaspoon per jar)
- Mini plastic snowmen (3 pieces)
- Glycerin (1/2 teaspoon per jar)
- Hot glue gun and glue sticks
How to Make It
- Glue a snowman figure to the inside of each jar lid using hot glue and let cool for 5 minutes.
- Fill each jar with distilled water, 2 tablespoons glue, 1/2 teaspoon glycerin, and 1 teaspoon glitter.
- Screw the lid on tightly and turn upside down to test. Seal the rim with hot glue if any leaks appear.


6. Popsicle Stick Igloos
Moderate
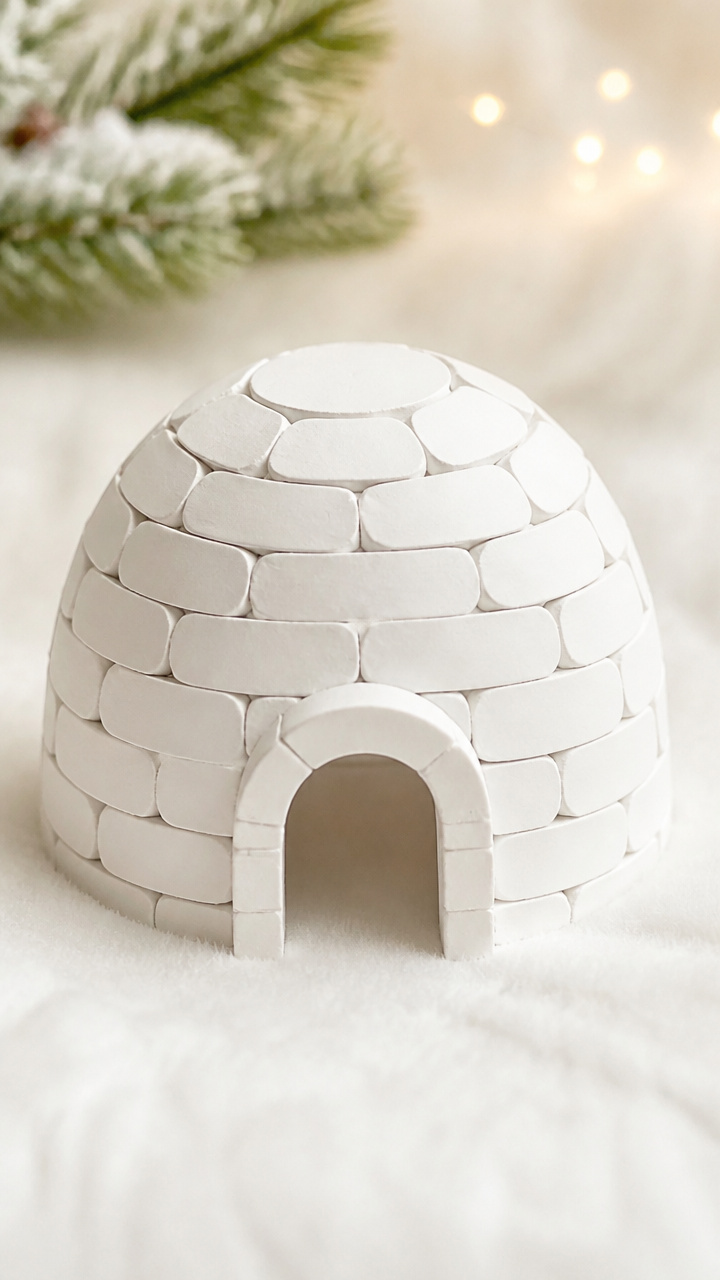
Interlocking sticks form a miniature dome where tiny figures can shelter from pretend blizzards. The glue holds strong, and the open doorway invites imaginative play.
Materials Needed
- 50 flat wooden popsicle sticks
- White acrylic paint
- Paintbrush
- White craft glue
- Circular template (3 inches diameter)
- Sandpaper (1 piece)
How to Make It
- Paint all sticks white and let dry on a flat surface for 30 minutes.
- Sand the ends lightly to help them fit snugly when layered.
- Glue sticks in a circular pattern around the template, angling each slightly inward, and stack layers to form a dome, letting glue dry 10 minutes between layers.



7. Cotton Ball Snowmen
Easy
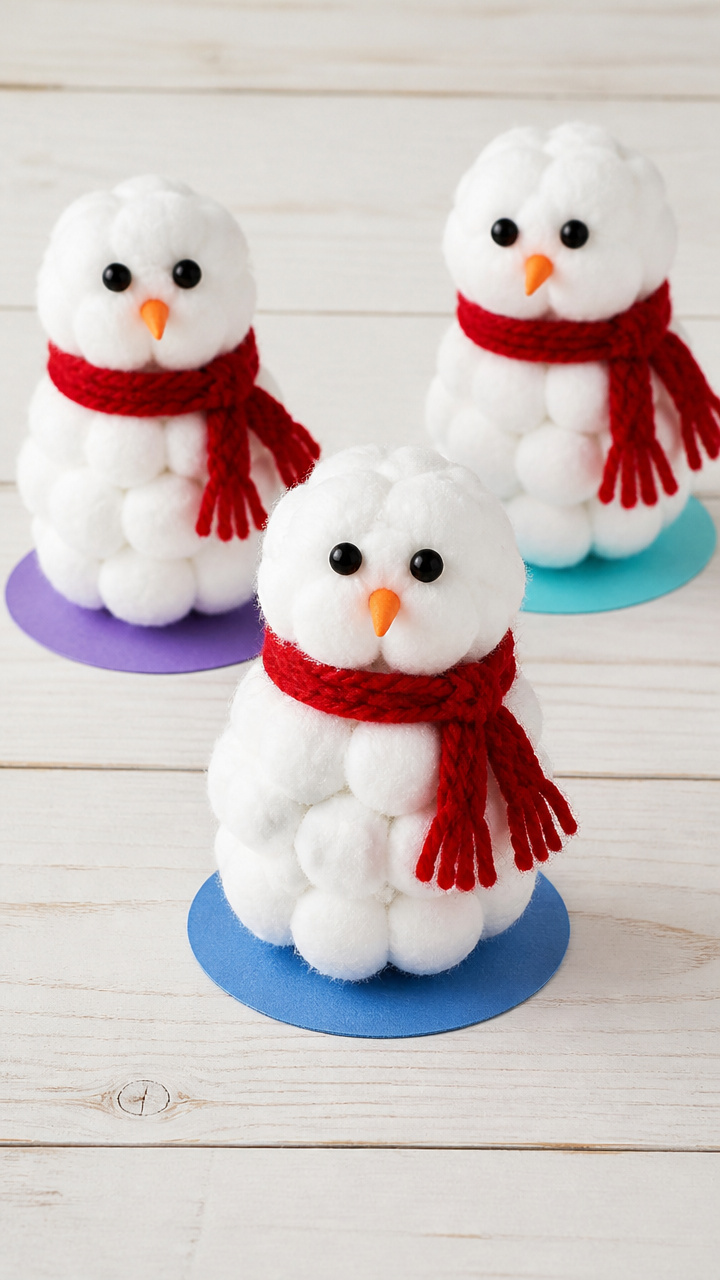
Plump cotton snowmen with carrot noses and scarf stripes stand proudly on construction paper bases. Their soft texture invites touch and storytelling.
Materials Needed
- Large cotton balls (12 pieces)
- Black craft foam sheet
- Orange craft foam sheet
- Red yarn (12 inches)
- Googly eyes (10 mm, 6 pieces)
- White craft glue
- Scissors
- Blue construction paper (8.5 x 11 inches, 3 sheets)
How to Make It
- Glue three cotton balls in a stack on blue paper to form each snowman body.
- Cut small circles from black foam for eyes and a triangle from orange foam for the nose, then glue in place.
- Cut a 4-inch piece of red yarn and glue it around the middle cotton ball as a scarf.


8. Yarn-Wrapped Paper Plate Wreaths
Easy
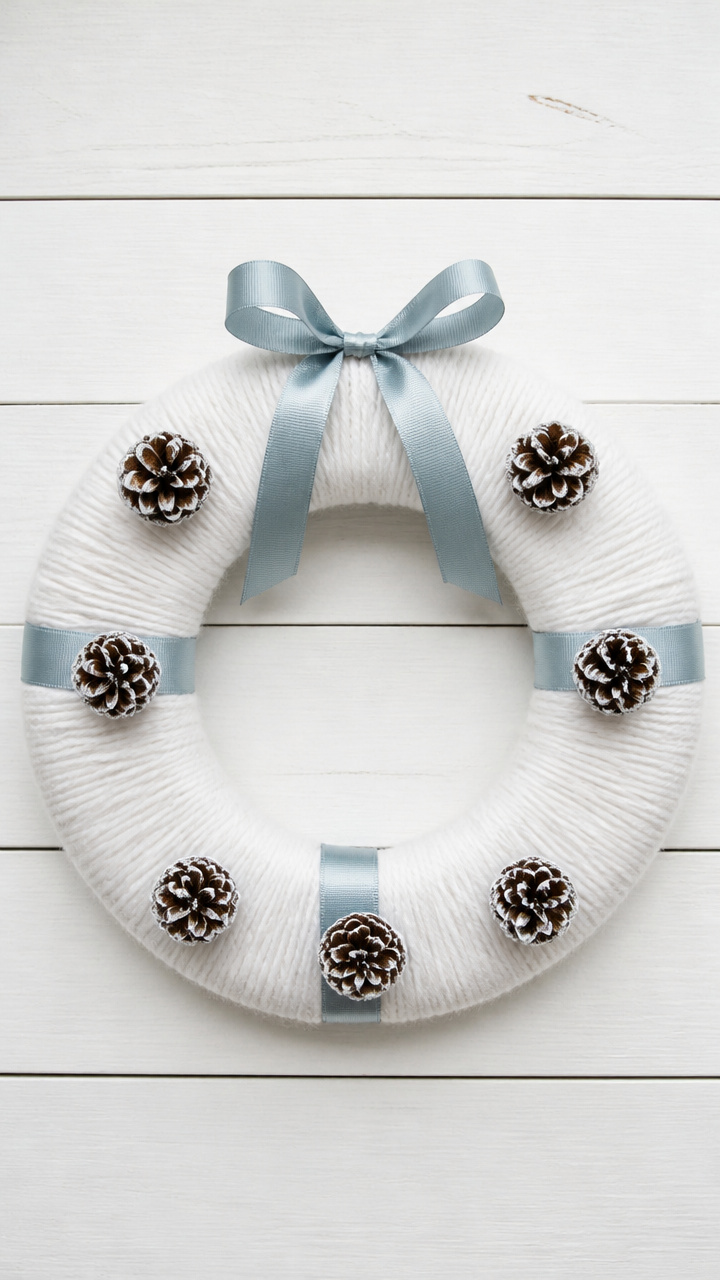
Thick white yarn spirals across a paper plate, forming a frosty wreath dotted with pinecones and ribbon. The wrapping builds fine motor control and results in a display-ready piece.
Materials Needed
- 3 paper plates (9 inches)
- White yarn (10 yards)
- Hot glue gun and glue sticks
- Mini pinecones (6 pieces)
- Ribbon (12 inches, 3 pieces)
- Scissors
How to Make It
- Cut out the center of each paper plate, leaving a 2-inch ring.
- Apply a dot of hot glue to the edge of the ring and press the yarn end down to secure.
- Wrap the yarn tightly around the ring, overlapping slightly, and glue the end when full. Glue two pinecones and a ribbon bow to the bottom.


9. Shaving Cream Snow Paintings
Easy
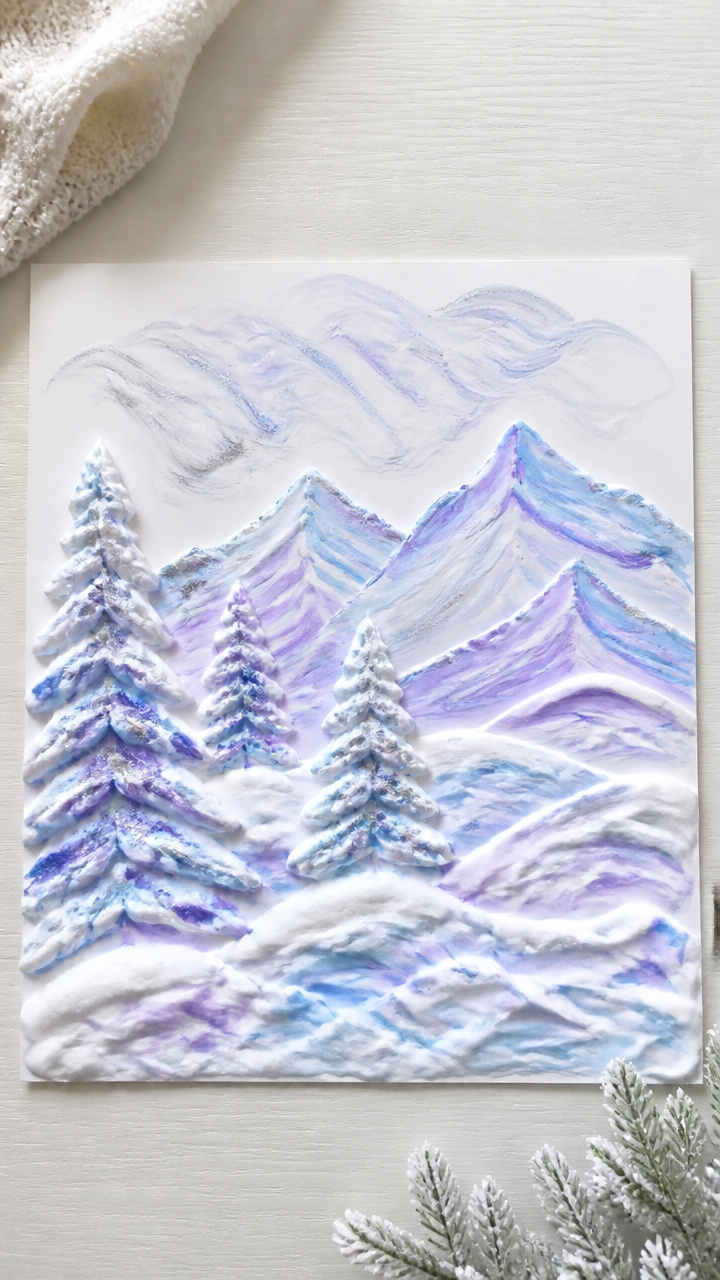
Fluffy white paint made from shaving cream and glue spreads like real snow and dries with a soft, puffy texture. Kids swirl colors on top for wintry landscapes.
Materials Needed
- 1 cup shaving cream
- 1/2 cup white school glue
- Mixing bowl
- Spoon
- Food coloring (blue, purple, silver, 3 drops each)
- A4 white cardstock (3 sheets)
- Popsicle sticks (3 pieces)
How to Make It
- Mix shaving cream and glue in a bowl until smooth and fluffy.
- Divide into three portions and tint each with a different food coloring using a spoon.
- Spread a base layer of white mixture on each cardstock sheet, then swirl colored portions on top with a popsicle stick. Let dry flat for 6 hours.

10. Pipe Cleaner Reindeer
Moderate
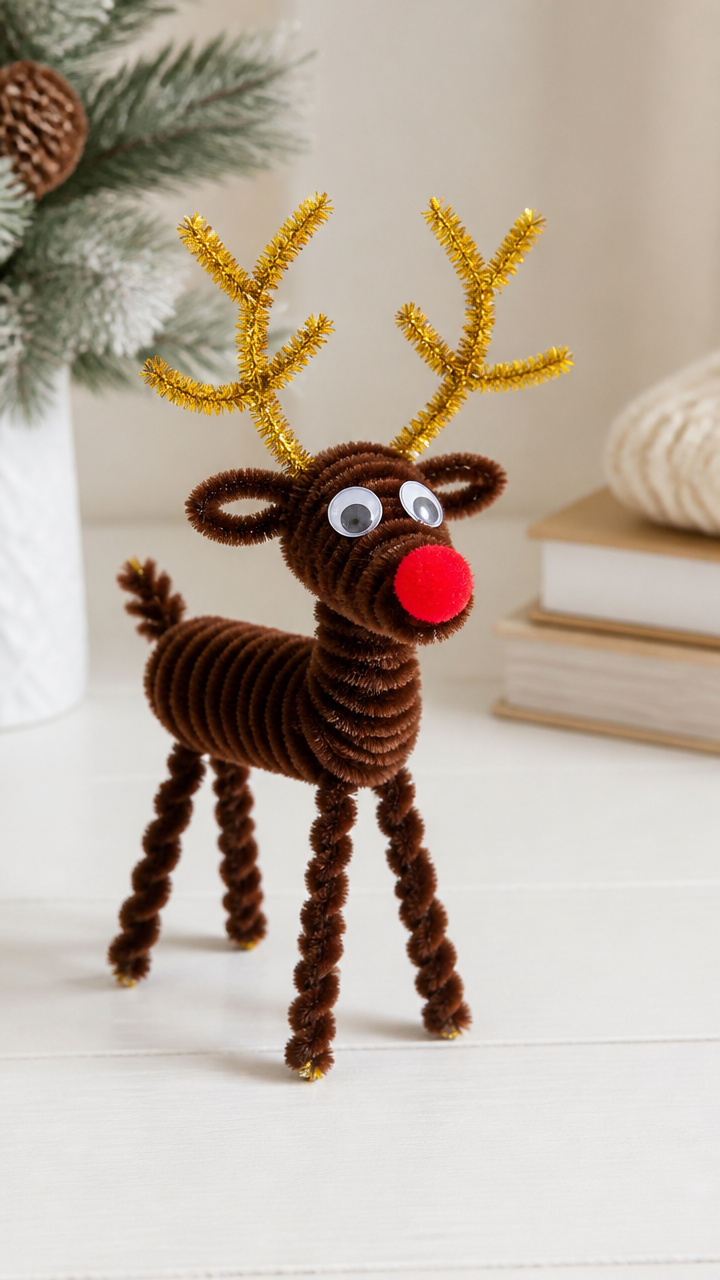
Twisted gold and brown pipe cleaners form antlers, legs, and a face that stands on its own. These lightweight reindeer leap into holiday stories or decorate a shelf.
Materials Needed
- Brown pipe cleaners (6 pieces)
- Gold pipe cleaners (3 pieces)
- Googly eyes (8 mm, 6 pieces)
- Red pom-poms (6 mm, 6 pieces)
- White craft glue
- Pliers (optional)
How to Make It
- Bend one brown pipe cleaner in half to form legs and twist the top into a neck and head loop.
- Wrap a gold pipe cleaner around the head loop to make antlers, twisting ends to secure.
- Glue on googly eyes and a red pom-pom nose, letting dry for 10 minutes.


11. Button Snowflake Art
Easy
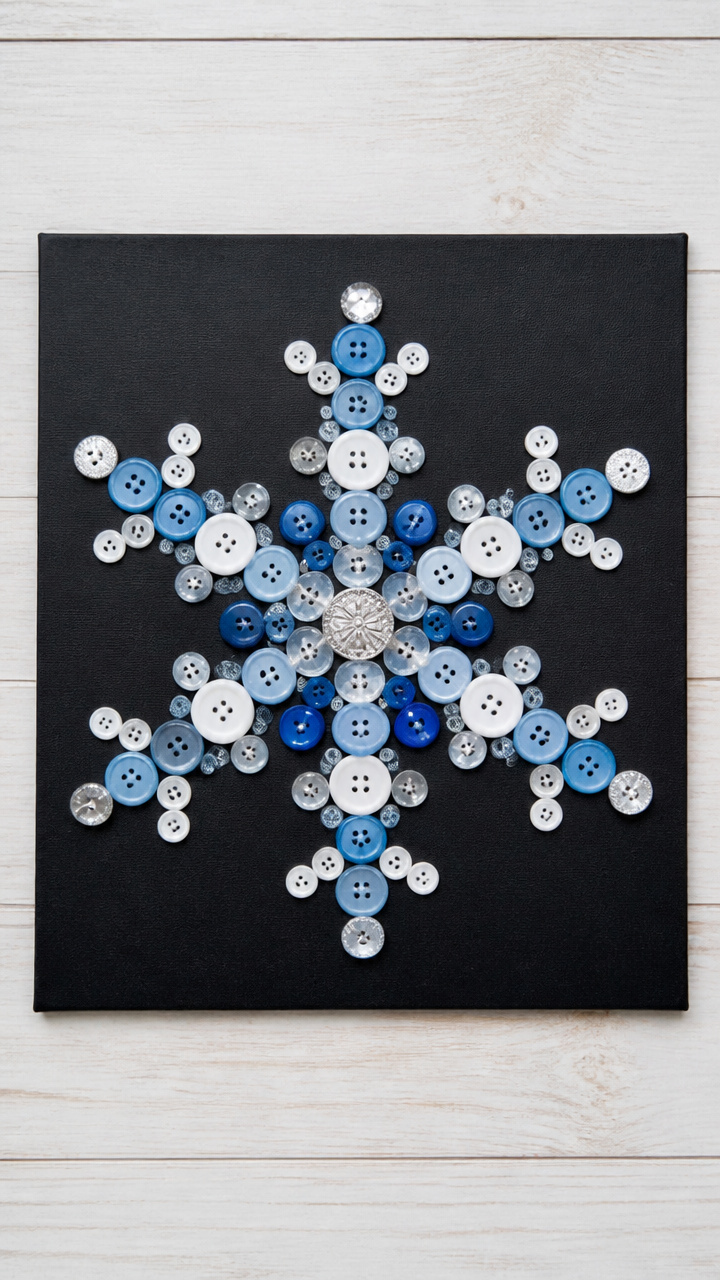
Colorful buttons in icy shades cluster into snowflake patterns on black cardboard, held with permanent glue. The raised texture catches light like real frost.
Materials Needed
- Black cardstock (8.5 x 11 inches, 3 sheets)
- Assorted blue, white, and silver buttons (30 pieces)
- Tacky glue
- Snowflake template (printed, 5 inches)
- Pencil
How to Make It
- Trace a snowflake shape onto black cardstock and erase any visible lines after tracing.
- Arrange buttons along the snowflake arms in clusters, leaving space for glue to dry.
- Glue each button firmly in place and let the artwork dry flat for 2 hours.


12. Melted Crayon Snowmen
Advanced
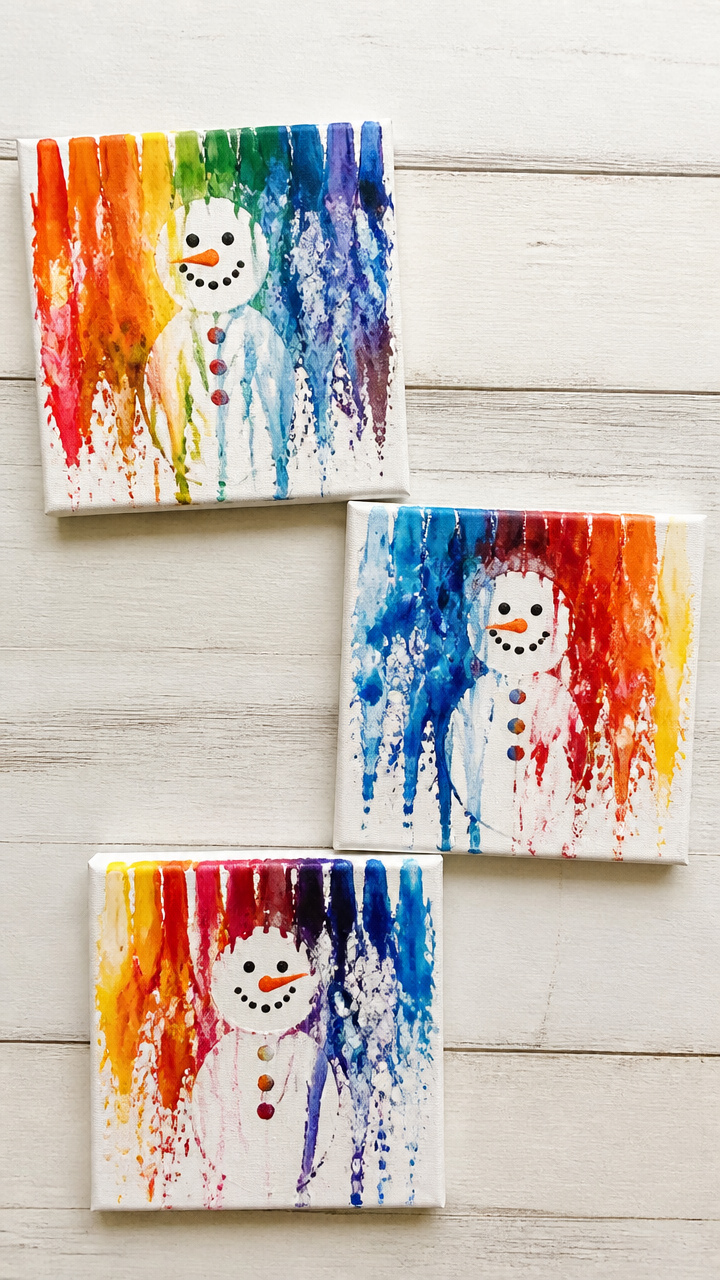
Shaved crayon bits melt down a canvas into colorful snowmen bodies when warm air hits them. The surprise swirls of color make each one a unique winter moment.
Materials Needed
- White canvas boards (6 x 6 inches, 3 pieces)
- Crayons in white, blue, red, yellow (peeled and shaved, 2 tablespoons shavings per canvas)
- Hair dryer
- Painter's tape
- Cardboard stand (to tilt canvas)
How to Make It
- Tape the top edge of each canvas to a cardboard stand to tilt it at 45 degrees.
- Pile crayon shavings at the base of each canvas in a snowman shape.
- Use a hair dryer on medium heat to melt the shavings, letting them drip slowly into place. Let cool completely before removing tape.
![Crayola Inspiration Art Case Coloring Set - Tie-Dye (140ct), Art Supplies Set For Kids, Travel Drawing Kit, Gift for Girls & Boys, Ages 5+ [Amazon Exclusive]](https://m.media-amazon.com/images/I/51wKWtC3NLL._SL500_.jpg)

13. Pinecone Owls
Easy
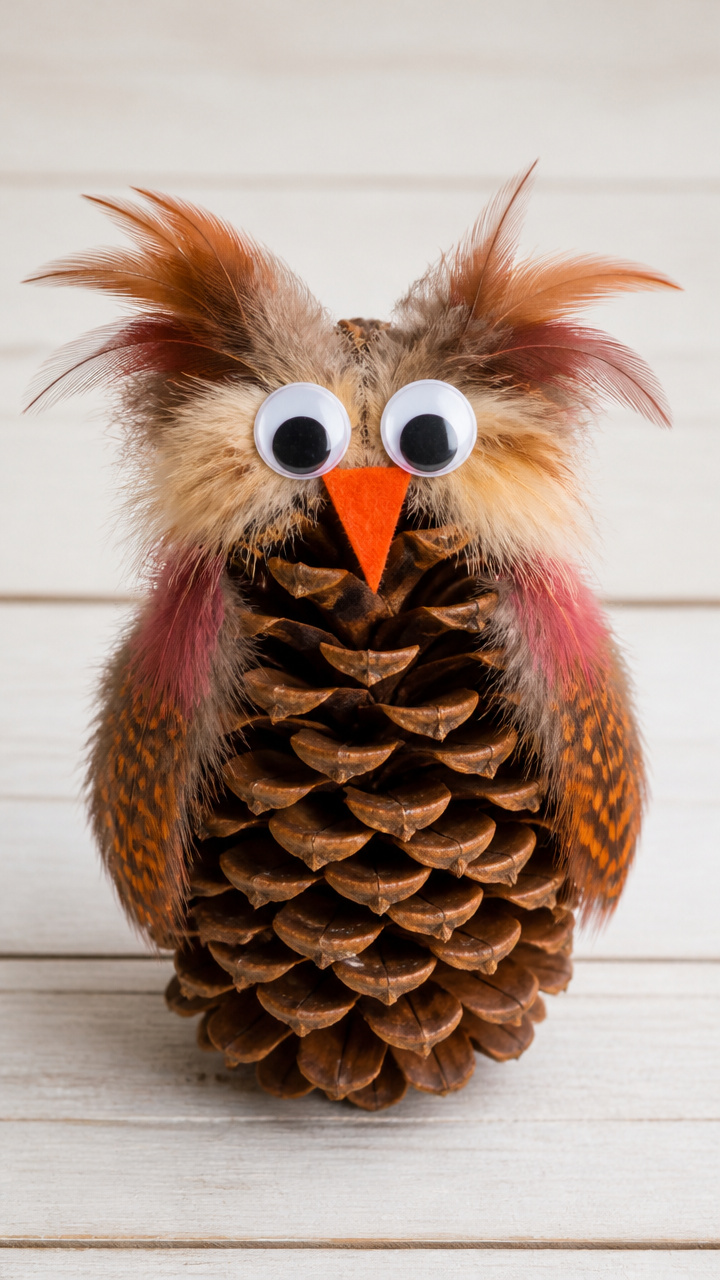
Fluffy brown pinecones become wise owls with feather tufts and bright eyes. They perch on bookshelves or desks, adding a touch of woodland charm.
Materials Needed
- 3 medium pinecones
- Orange craft foam sheet
- Feathers (assorted colors, 6 pieces)
- Googly eyes (15 mm, 6 pieces)
- White craft glue
- Scissors
How to Make It
- Cut small triangle beaks from orange craft foam.
- Glue two feathers upright at the top of each pinecone for ears.
- Glue on googly eyes and a beak just below, letting each dry for 15 minutes.


14. Edible Ice Cream Cone Snowmen
Easy
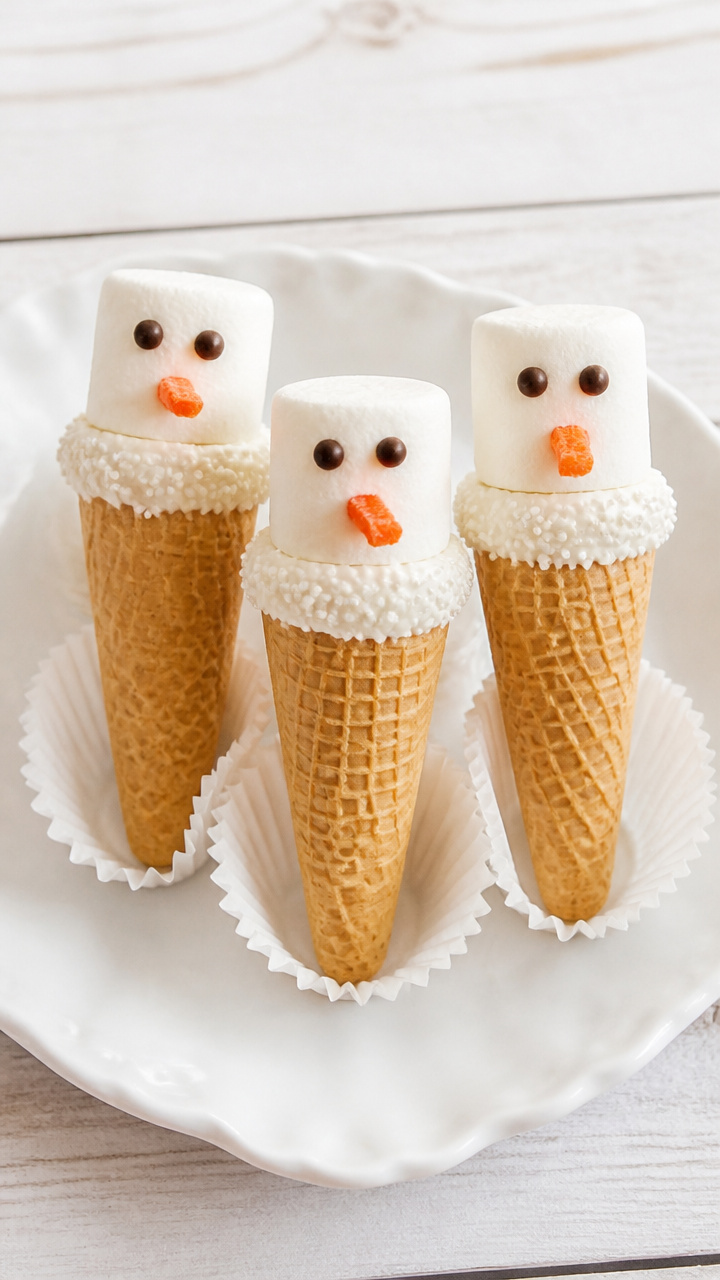
Sugar cones wear marshmallow heads and candy scarves, standing in cupcake liners for a sweet treat that doubles as decoration. Kids assemble them with care and eat with delight.
Materials Needed
- 3 sugar ice cream cones
- Large marshmallows (3 pieces)
- Frosting (vanilla, 1/4 cup)
- Chocolate chips (9 pieces)
- Orange candy strips (fruit roll-up, 3 pieces)
- Cupcake liners (3 pieces)
How to Make It
- Place a sugar cone in each cupcake liner.
- Dab frosting on the top edge of the cone and set a marshmallow on top to form the head.
- Press two chocolate chips into the marshmallow for eyes and cut a wavy strip from fruit roll-up for the scarf, draping it around the base of the head.


15. Tissue Paper Stained Glass
Easy
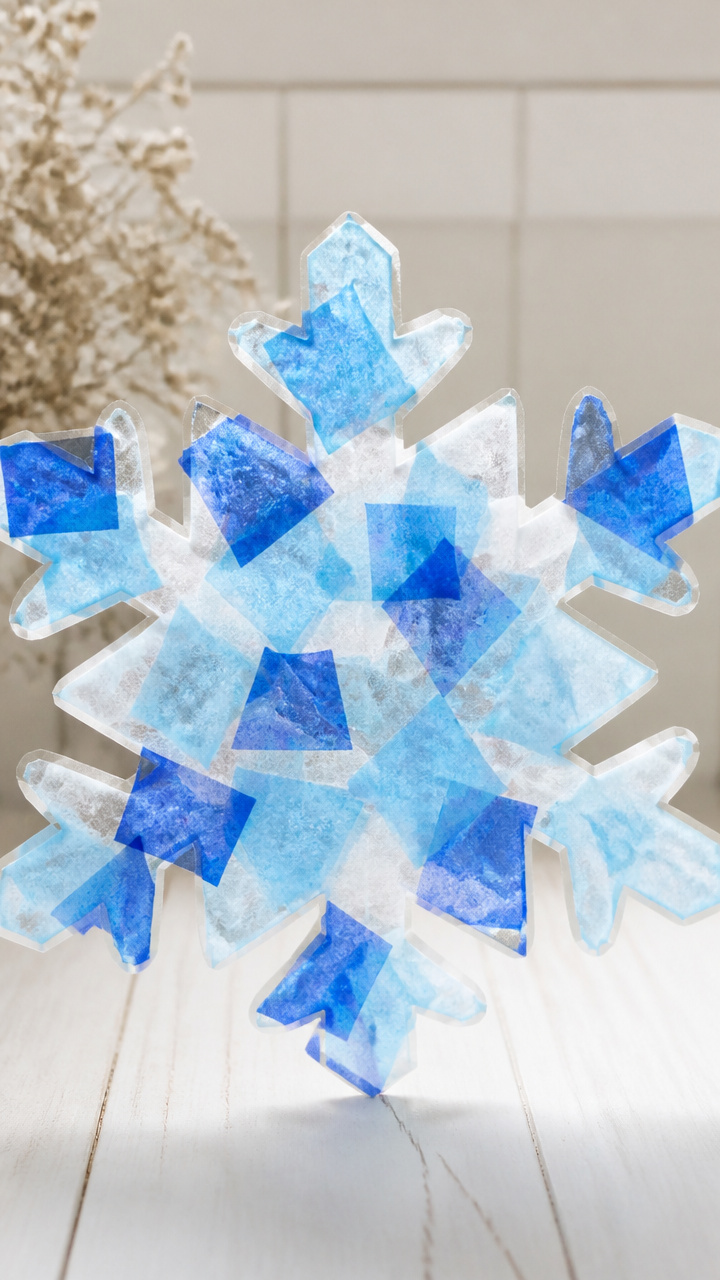
Layered squares of blue and white tissue paper glow like frost on windows when taped in place. The soft color shift mimics winter skies at dusk.
Materials Needed
- White contact paper (12 x 12 inches, 3 sheets)
- Blue and white tissue paper (6 x 6 inches squares, 12 pieces total)
- Scissors
- Roll of clear tape
- Spray adhesive
How to Make It
- Spray the sticky side of contact paper with adhesive and lay it sticky-side up on a flat surface.
- Tear tissue paper into 2-inch pieces and layer them on the contact paper to fill the sheet.
- Cover with a second sheet of contact paper, sticky sides together, and trim edges. Tape to a sunny window.


16. Cardboard Tube Snowflakes
Moderate
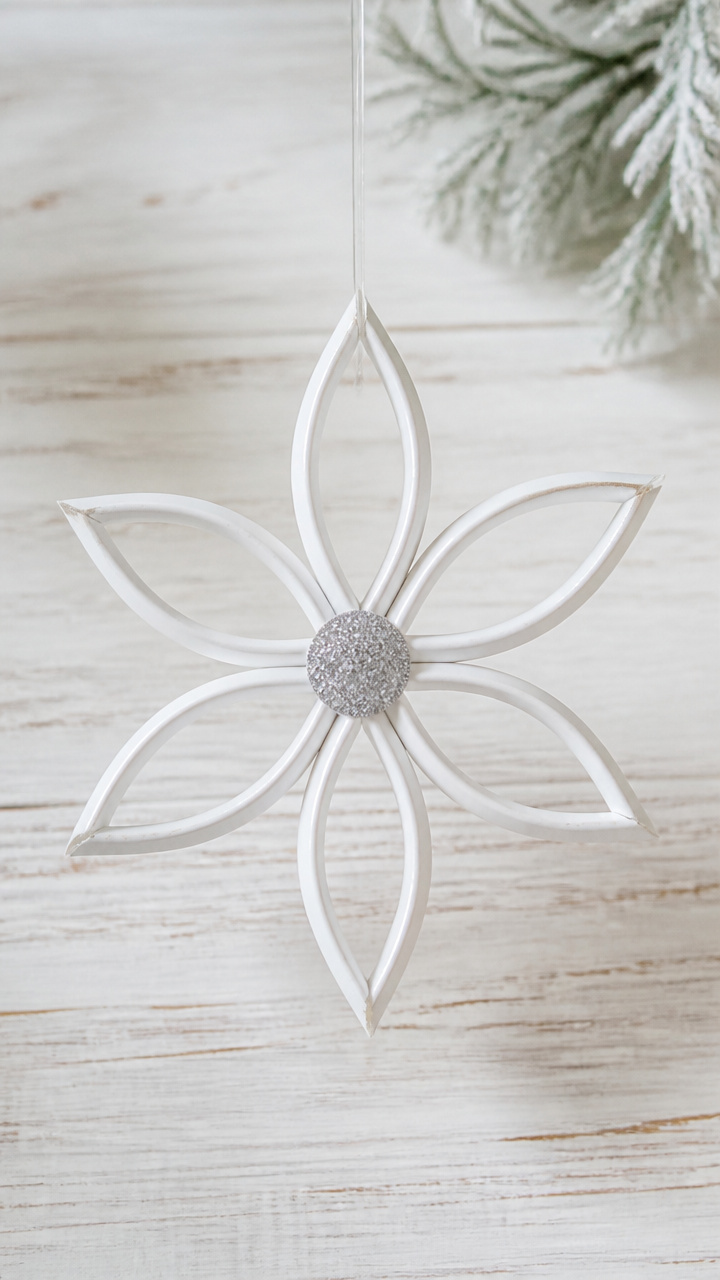
Six toilet paper tubes radiate from a center hub, painted white and glittered like real snowflakes. They hang from ceilings or doors in a fluttering cluster.
Materials Needed
- 6 empty toilet paper tubes
- White acrylic paint
- Paintbrush
- Hot glue gun and glue sticks
- Silver glitter (2 tablespoons)
- Fishing line (12 inches)
- Ruler
How to Make It
- Cut each tube into 1-inch rings, making six rings per snowflake.
- Paint each ring white and let dry for 20 minutes.
- Glue six rings in a star pattern around a central ring, then add a second layer offset for depth. Sprinkle glitter on wet paint and let dry. Attach fishing line to hang.


17. Fingerprint Snowmen Cards
Easy
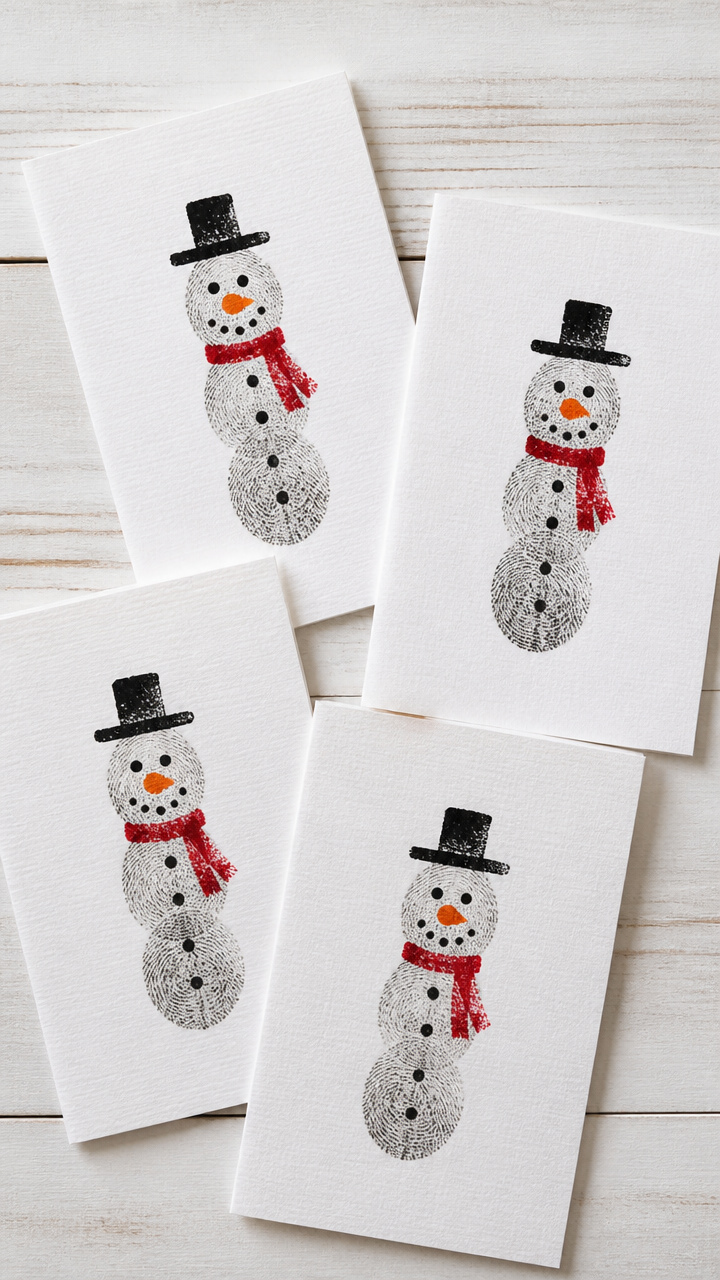
Inky thumbprints grow hats, arms, and scarves into cheerful cards for family. The personal touch of a child's print makes each one a keepsake.
Materials Needed
- White index cards (3 x 5 inches, 5 pieces)
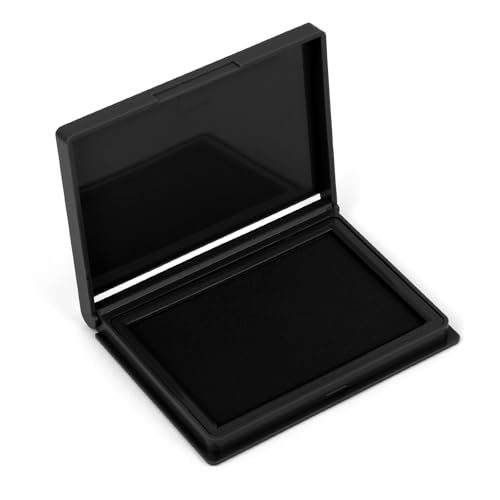
- Black ink pad
- Fine black marker
- Orange marker
- Red marker
- Cotton swabs
How to Make It
- Press a thumb into the ink pad and stamp three prints in a column on the front of each card.
- Use the black marker to draw top hats and stick arms on the middle print.
- Add orange carrot noses with the orange marker and red scarves with the red marker, letting ink dry for 5 minutes.


18. Waxed Paper Winter Scenes
Moderate
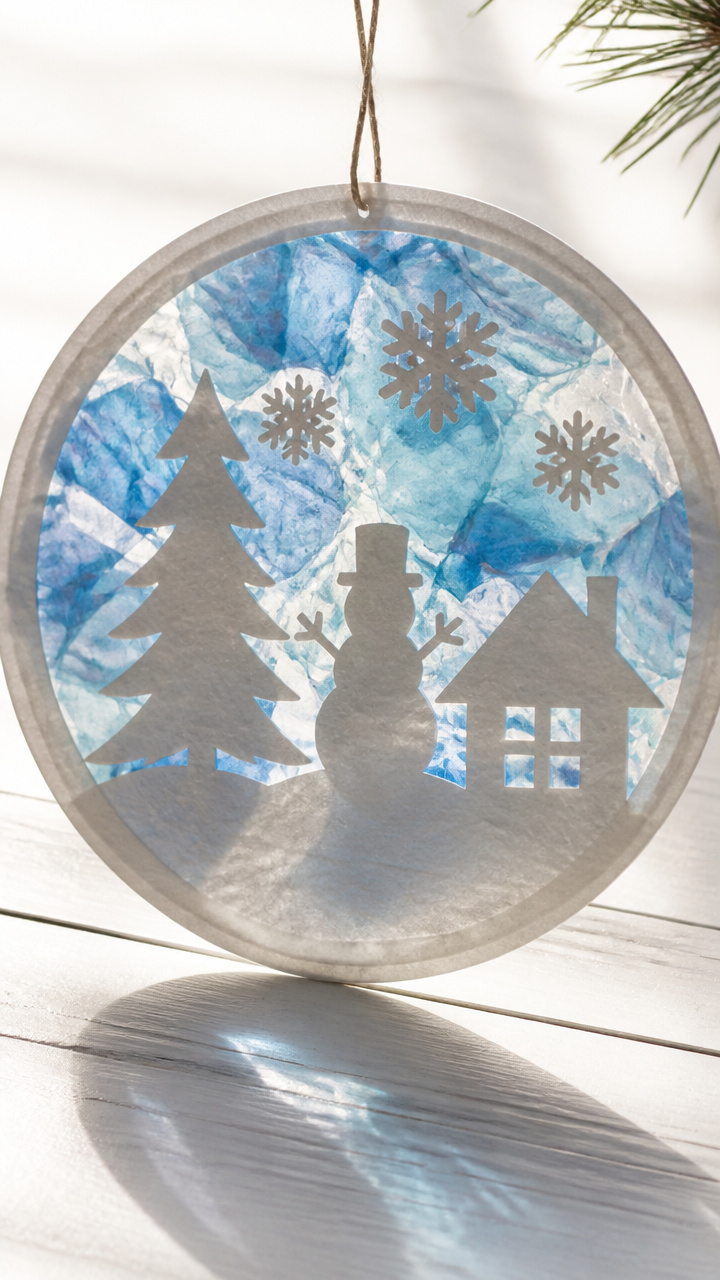
Crayon shavings melt into dreamy backgrounds when ironed between waxed paper sheets. Kids arrange shapes before heat fuses them into luminous suncatchers.
Materials Needed
- White and blue crayons (peeled and shaved, 3 tablespoons)
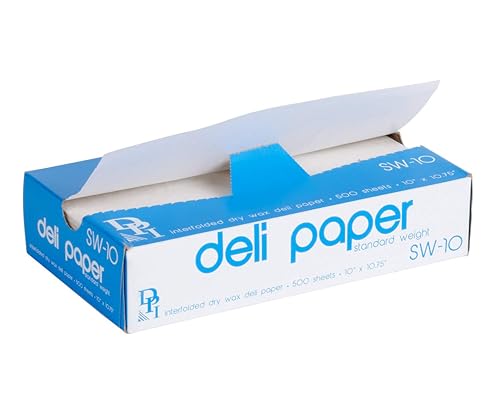
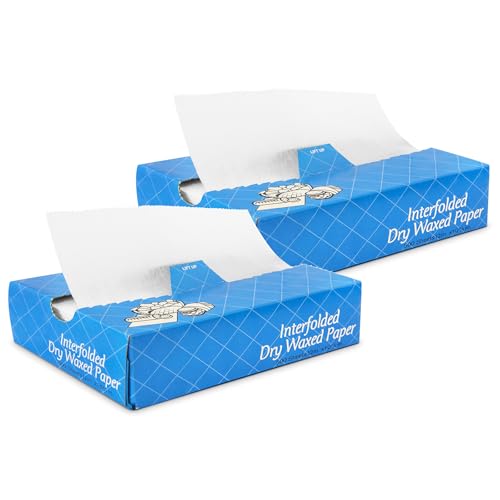
- Waxed paper sheets (8.5 x 11 inches, 6 pieces)
- Iron
- Parchment paper (2 sheets)
- Scissors
- Winter shape templates (tree, snowman, bird)
How to Make It
- Cut two waxed paper sheets to the same size and place one on an ironing board.
- Sprinkle crayon shavings inside a drawn shape on the waxed paper, keeping edges clear.
- Cover with the second waxed paper sheet and place a parchment sheet on top. Iron on low heat for 10 seconds until melted. Cool before handling.

19. Puffy Paint Handprint Turkeys
Easy
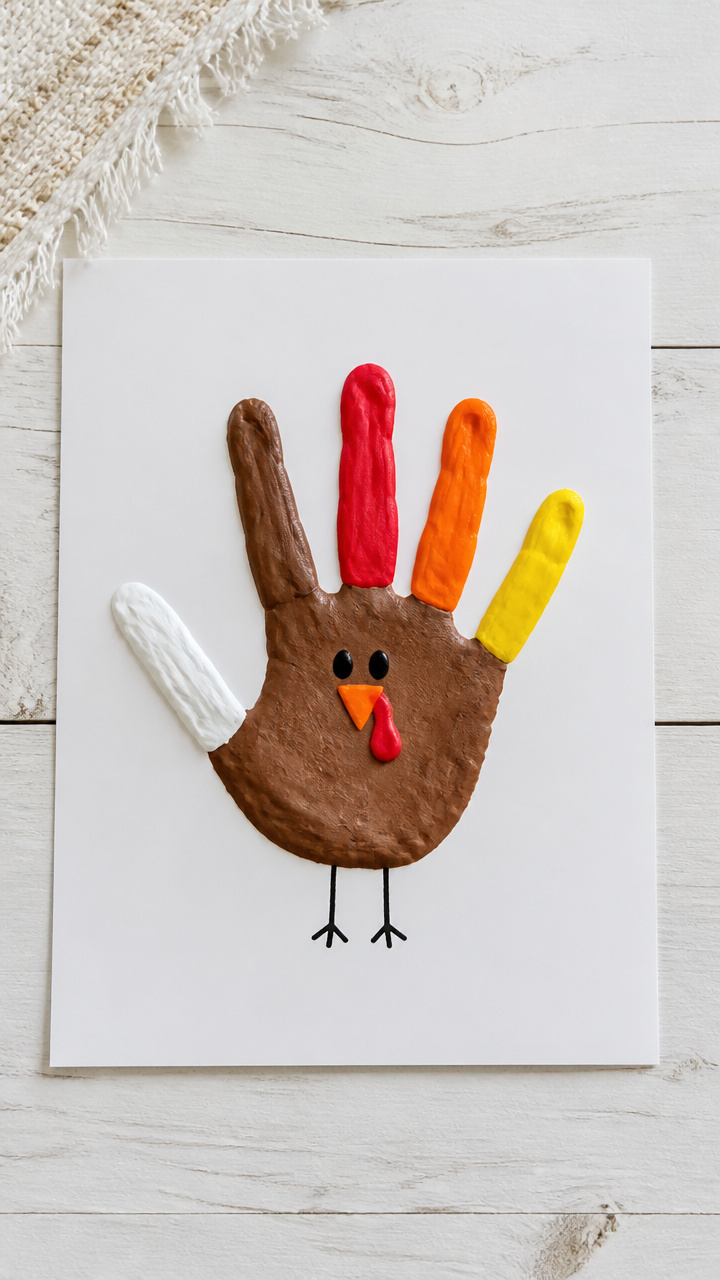
Five-fingered handprints in puffy paint fan out like turkey feathers, each one uniquely textured. The 3D paint adds depth and fun to a winter gratitude display.
Materials Needed
- White puffy paint (4 oz bottle)
- Brown puffy paint (4 oz bottle)
- Red, orange, yellow puffy paint (1 oz each)
- A4 white cardstock (3 sheets)
- Black marker
How to Make It
- Squeeze white puffy paint onto the palm and fingers of one hand and press firmly onto cardstock to make a handprint.
- Use brown paint to add a small turkey body above the print and let dry for 4 hours.
- Add a red wattle, orange beak, and yellow legs with markers after drying.


20. Clothespin Penguin Families
Easy
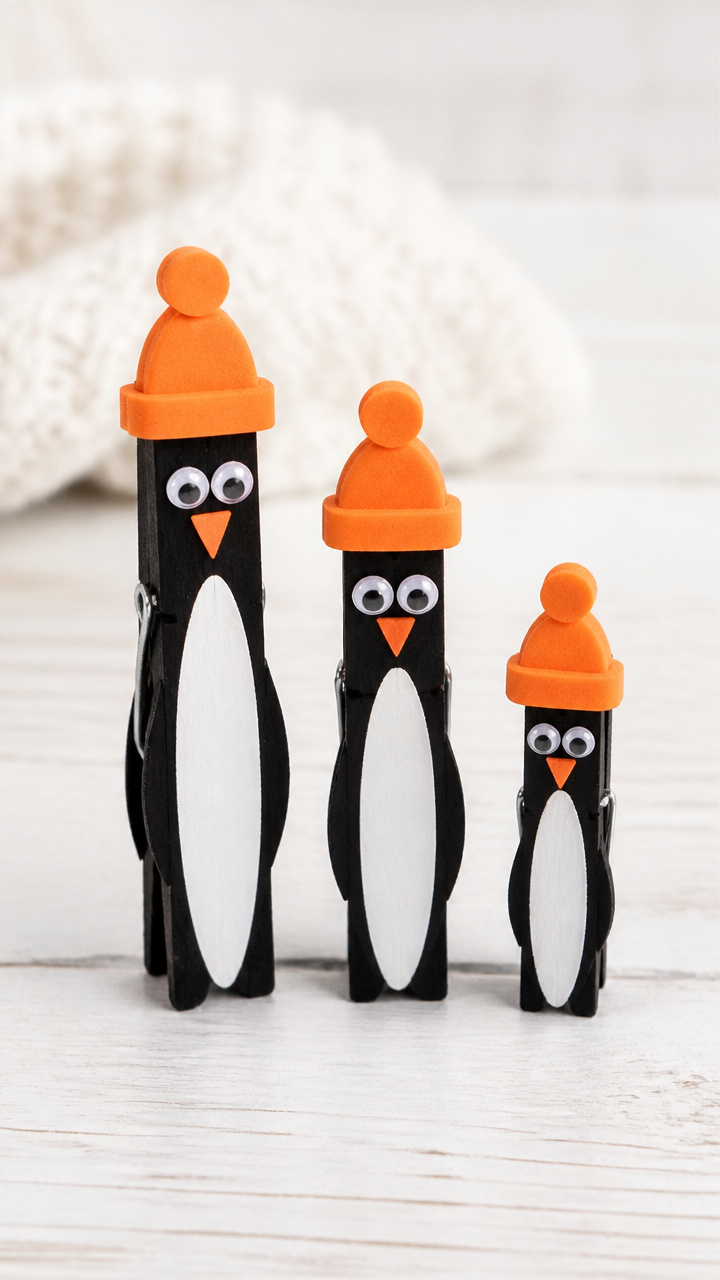
Wooden clothespins wear painted faces and foam hats, standing in a line as a waddling family. Their spring grip lets them clip onto photos or notes.
Materials Needed
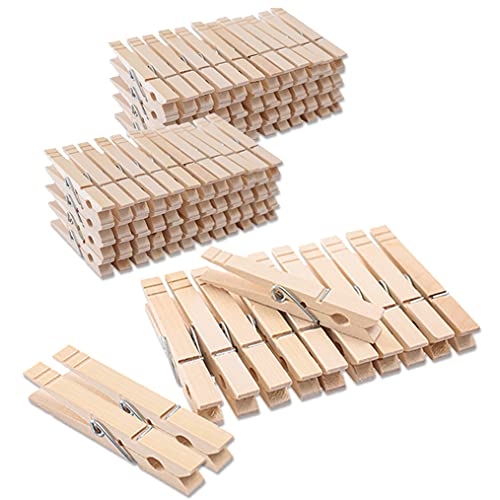
- 3 wooden clothespins
- Black acrylic paint
- White acrylic paint
- Orange craft foam sheet
- Googly eyes (8 mm, 6 pieces)
- Paintbrush
- White craft glue
- Scissors
How to Make It
- Paint the top half of each clothespin white and the bottom half black, letting dry for 20 minutes.
- Paint a small white face circle on the top of each and let dry another 10 minutes.
- Cut small triangle beaks from orange foam and glue them below googly eyes on each face.


Grab a pair of scissors, pour out some glue, and let the quiet winter hours fill with color and laughter. You've got everything you need to start right now.