15 Easy January Crafts for Seniors with Simple Steps

Soft light filters through winter windows, casting gentle patterns on quiet rooms. This is the perfect time to gather simple supplies and create something with your hands, something that brings color, comfort, and a quiet sense of pride.
Each of these crafts uses everyday materials and clear steps, designed for steady hands and curious minds. You'll finish with cheerful decorations, thoughtful gifts, or small keepsakes that make the season feel a little brighter.
1. Felt Flower Bouquet
Easy
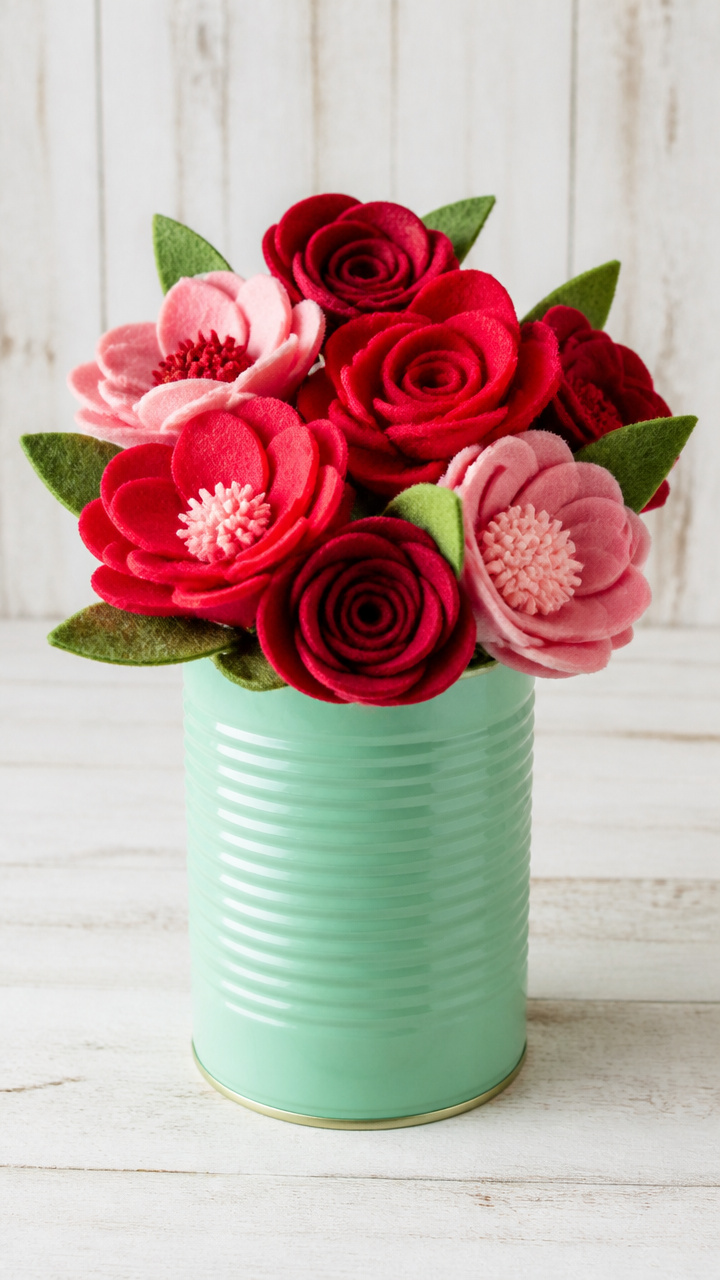
Silky red and pink felt blooms stay fresh all winter in a painted tin can vase. This cheerful arrangement lifts the mood without needing water or sunlight.
Materials Needed
- 3 sheets red craft felt
- 2 sheets pink craft felt
- 1 empty soup can, cleaned
- Acrylic paint (mint green)
- Paintbrush size 6
- Hot glue gun with 5 glue sticks
- Scissors
- 4 wooden skewers
How to Make It
- Paint the outside of the soup can with mint green acrylic paint. Let it dry completely, about 20 minutes.
- Cut 5 large flower shapes from red felt and 3 smaller ones from pink felt, each with 5 rounded petals.
- Glue a wooden skewer to the back center of each flower using hot glue. Hold for 10 seconds until set.
- Arrange the flowers in the can like a bouquet, tucking the skewers inside. Add extra glue if needed to secure.
2. Yarn-Wrapped Picture Frame
Easy
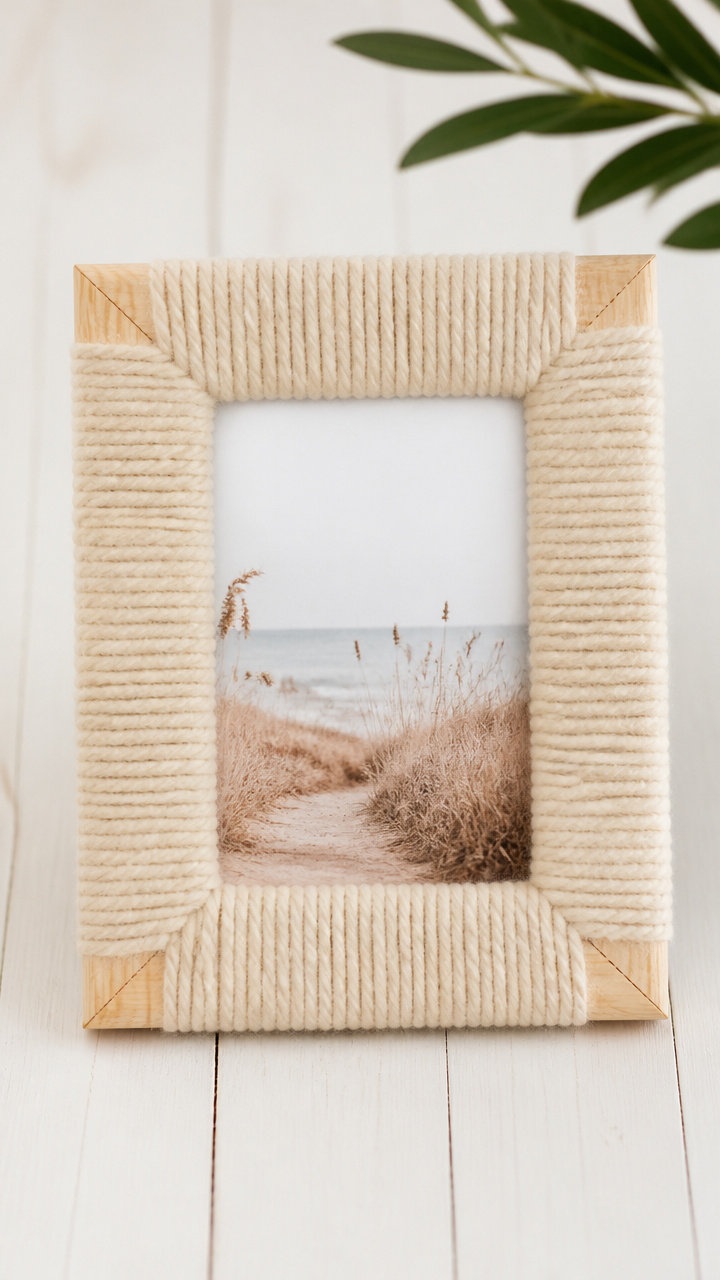
A plain wooden frame becomes cozy and textured with soft cream yarn wraps. It holds a favorite photo and adds warmth to any side table.
Materials Needed
- Unfinished pine picture frame, 5×7 inches
- Cream bulky yarn, 1 skein
- White school glue
- Small foam brush
- Scissors
How to Make It
- Brush a thin layer of white school glue along one long edge of the frame front.
- Press the yarn end onto the glued spot and wrap tightly around the frame widthwise, overlapping slightly.
- Continue wrapping and adding glue every few inches to keep yarn secure. Cover all visible wood.
- Trim the yarn end and glue it down. Let dry 30 minutes before inserting a photo.


3. Button Snowman Ornament
Easy
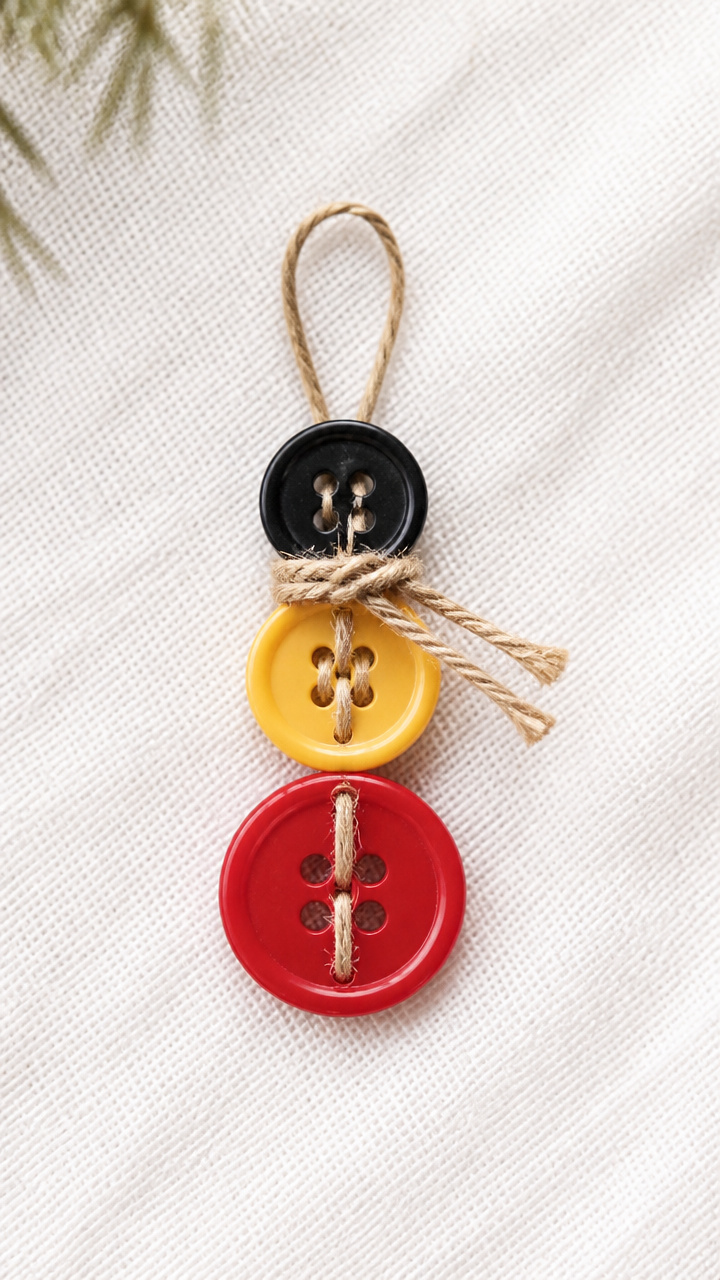
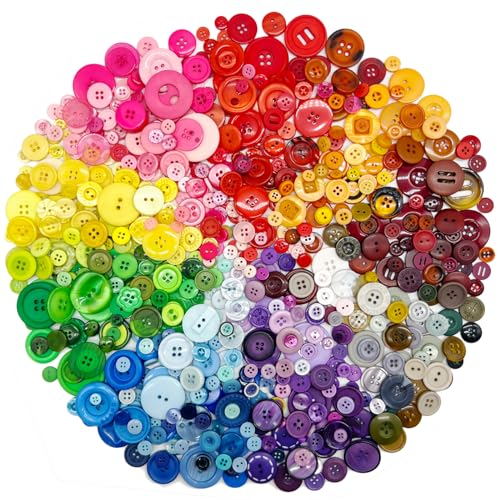
Three mismatched buttons stack into a tiny snowman wearing a twine scarf. Hang him on a tree or give as a card accent.
Materials Needed
- Large black button, 1 inch diameter
- Medium yellow button, 3/4 inch
- Small red button, 1/2 inch
- Black embroidery floss, 1 yard
- Twine, 6 inches
- Plastic needle
- Googly eyes, 6 mm, 2 pack
- Tacky glue
How to Make It
- Thread the plastic needle with black embroidery floss and knot the end. Stitch through the centers of all three buttons to stack them vertically.
- Tie a double knot at the top of the floss to form a hanger loop.
- Glue two googly eyes just above the yellow button. Let dry 10 minutes.
- Wrap twine once around the middle button and tie a small knot for a scarf.


4. Paper Quilled Greeting Card
Moderate
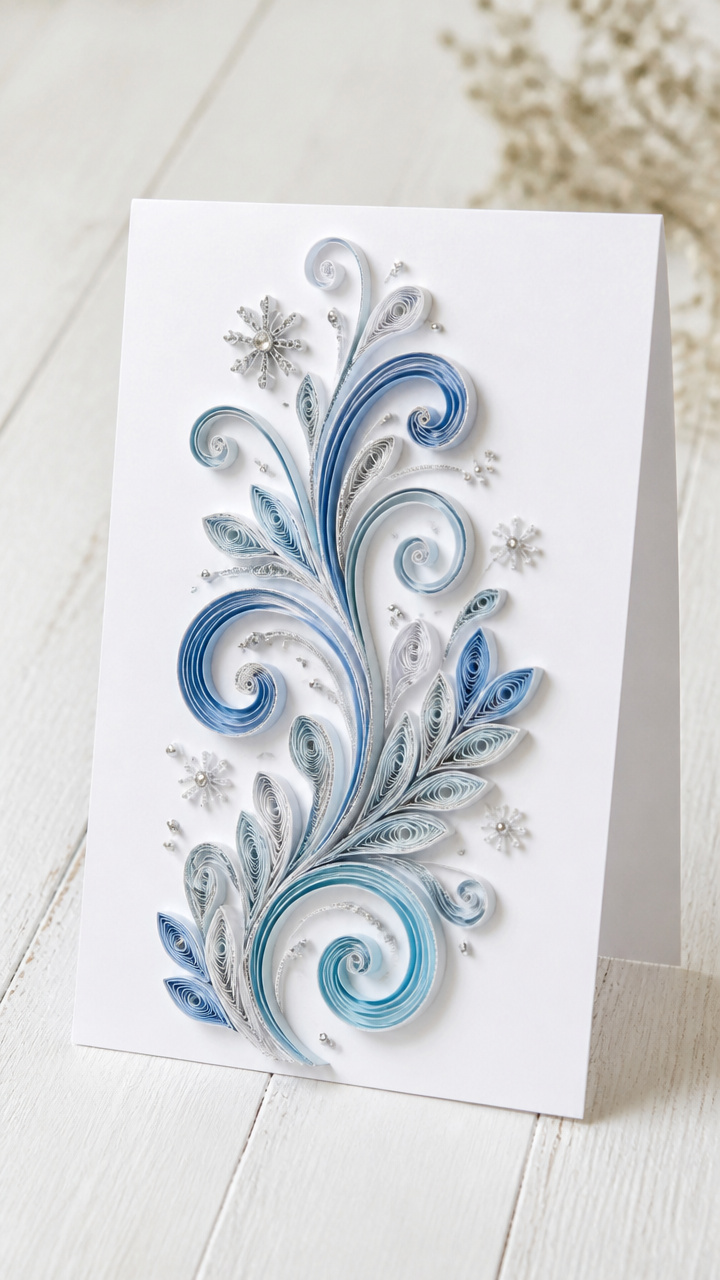
Delicate swirls of blue and silver paper form a frosty design on handmade stationery. Send it to a friend who loves winter details.
Materials Needed
- A4 white cardstock, folded to 5.5 x 8.5 inches
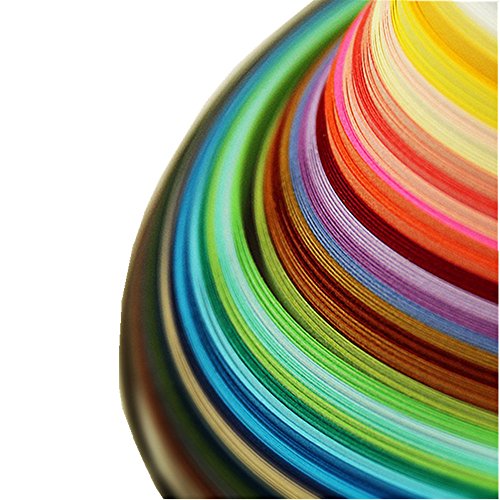
- Quilling paper strips, 1/8 inch wide: 3 blue, 3 silver
- Quilling tool (slotted type)
- White craft glue
- Tweezers
- Pencil
How to Make It
- Roll each paper strip tightly around the slotted quilling tool and slide off gently to form loose coils.
- Pinch one end of each blue coil to make teardrop shapes. Pinch two ends of each silver coil to make marquise shapes.
- Glue the shapes in a cluster near the top left of the card front, letting tips point outward like frost.
- Use tweezers to position pieces and let the card dry flat for 20 minutes.


5. Scented Pinecone Wreath
Easy
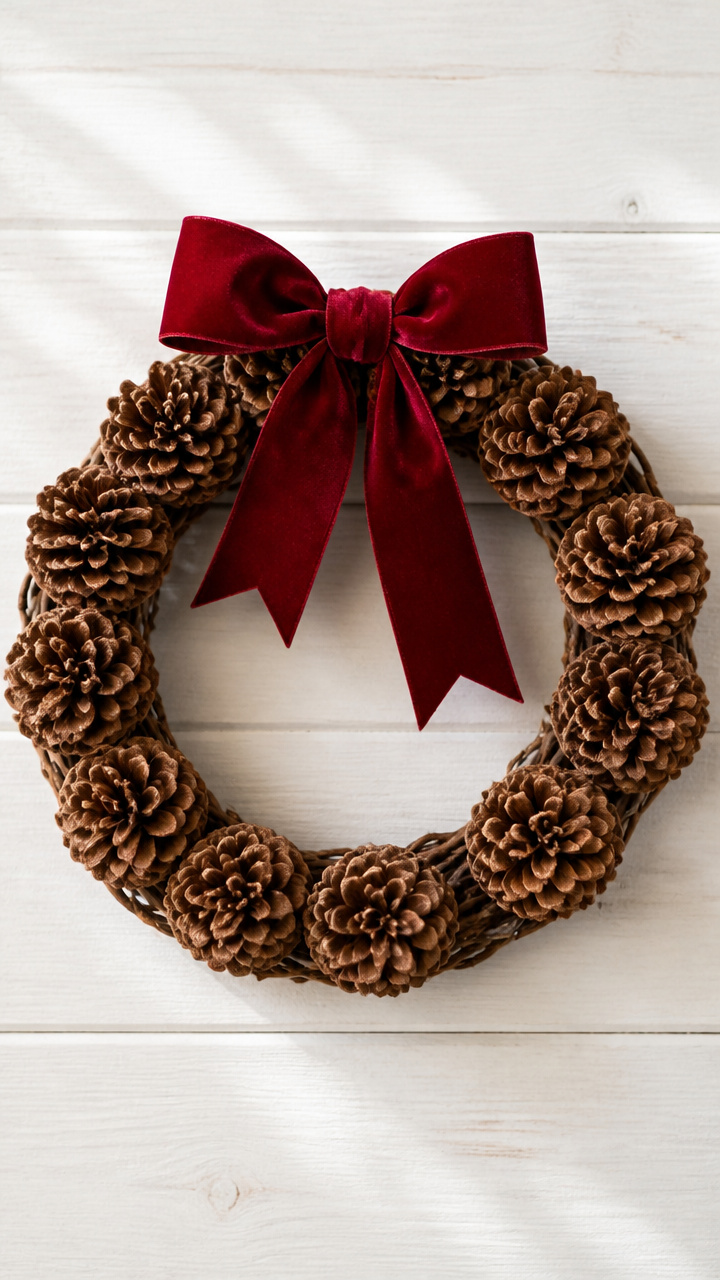
A bundle of cinnamon-scented pinecones forms a rustic wreath that fills the room with holiday spice. Perfect for apartment doors or kitchen walls.
Materials Needed
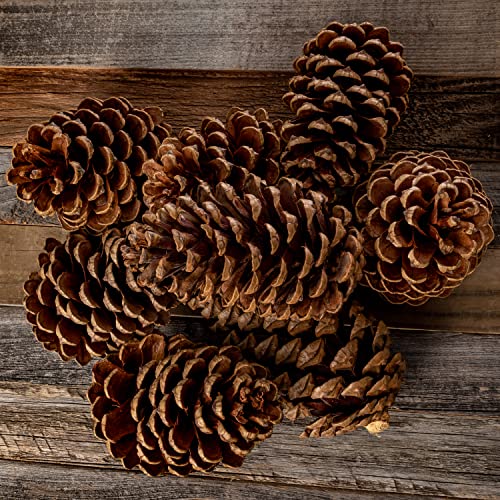
- 12 medium pinecones
- Cinnamon essential oil, 10 drops
- Hot glue gun with 3 glue sticks
- 12-inch grapevine wreath base
- Red velvet ribbon, 18 inches
How to Make It
- Place 10 drops of cinnamon essential oil in a small dish. Dip the base of each pinecone into the oil and let sit 5 minutes to absorb scent.
- Glue each pinecone to the grapevine base, placing them close together with tips pointing outward.
- Let glue dry 15 minutes. Tie the ribbon into a bow and glue it at the bottom of the wreath.


6. Fabric Scrap Coasters
Easy
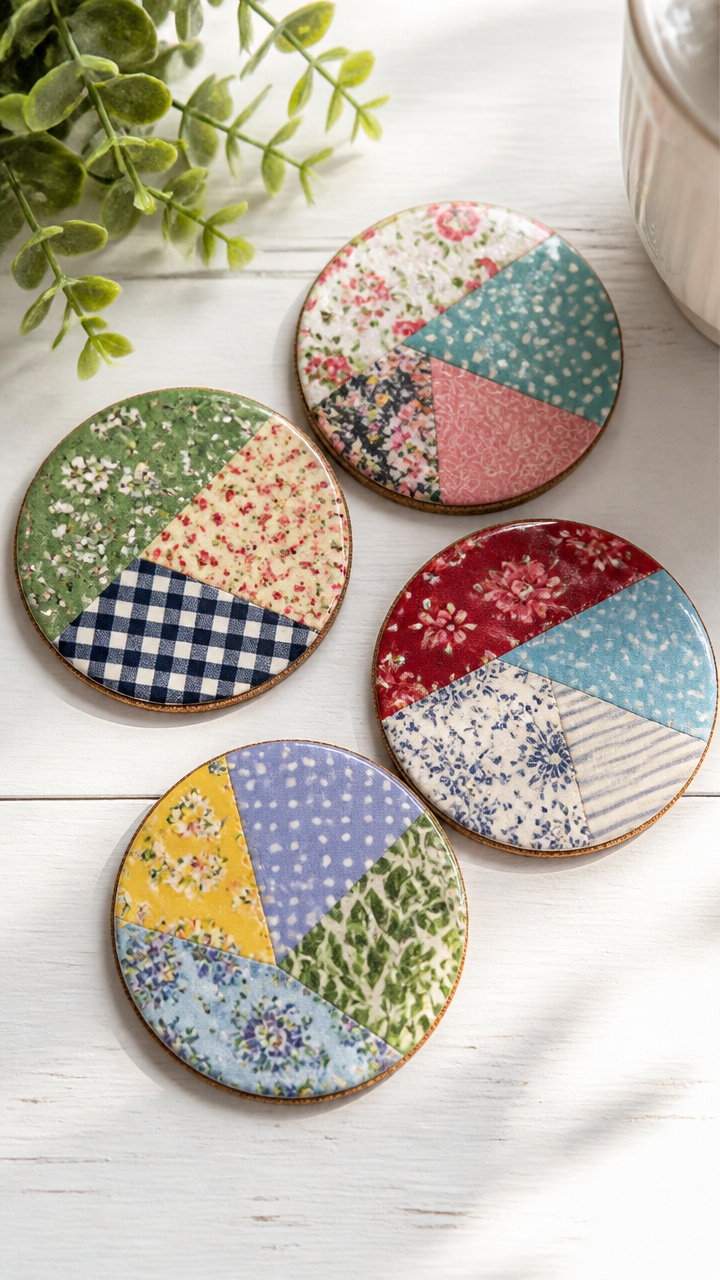
Colorful cotton fabric scraps cover cork circles to make practical, washable coasters. Use old shirts or pillow covers for personal flair.
Materials Needed
- 4 cork circles, 4 inches diameter
- Cotton fabric scraps, 5×5 inches each, 4 pieces
- Spray adhesive
- Scissors
- Clear contact paper, 12×12 inch sheet
How to Make It
- Lay each fabric scrap face down and spray the back lightly with adhesive.
- Center a cork circle on each fabric piece and press firmly. Trim excess fabric with scissors.
- Cut four 4.5-inch squares of contact paper. Place one over each fabric-covered coaster and smooth out bubbles.
- Trim the contact paper edges flush with the cork using sharp scissors.


7. Popsicle Stick Bird Feeder
Easy
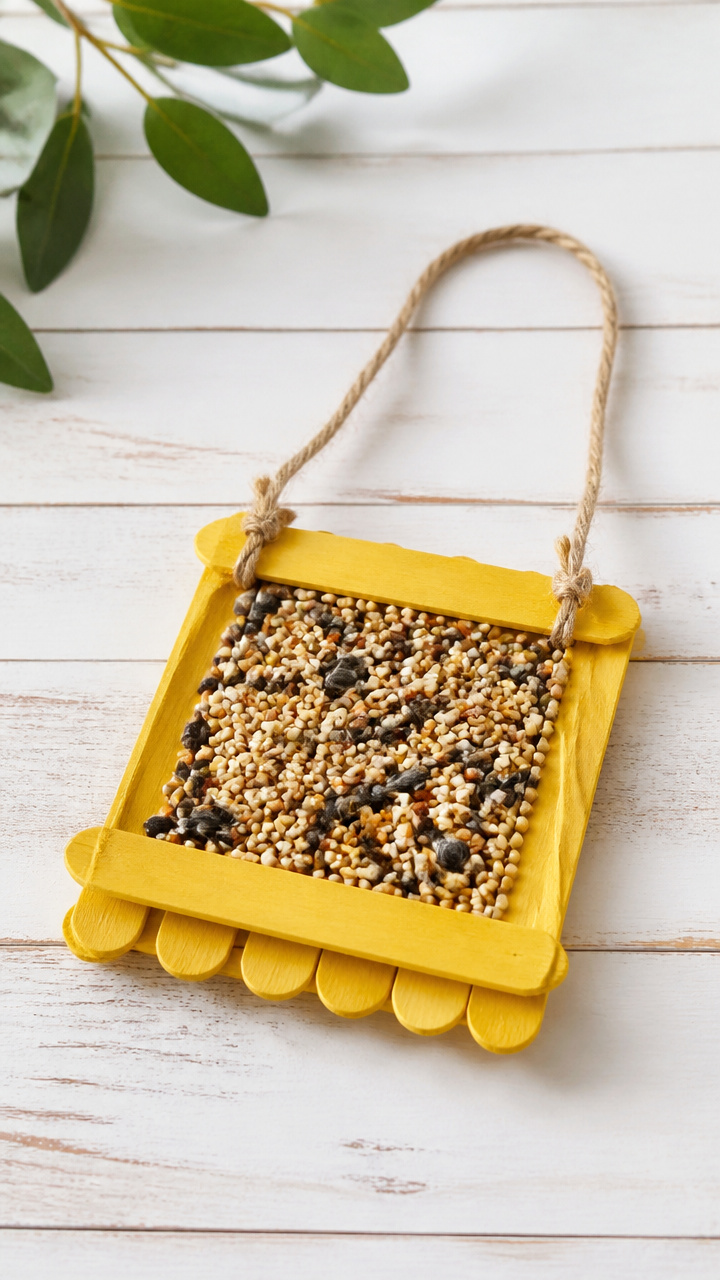
Five painted sticks form a mini platform that holds seeds for visiting birds. Watch feathered friends from your kitchen window.
Materials Needed
- 5 flat wooden popsicle sticks
- Yellow acrylic paint
- Paintbrush size 4
- Strong string, 12 inches
- Waterproof wood glue
- Birdseed, 1/4 cup
How to Make It
- Paint both sides of all sticks with yellow acrylic paint. Let dry 20 minutes.
- Lay three sticks side by side. Glue two more sticks perpendicularly across the top and bottom to form a grid.
- Tie the string around the top corner where two sticks meet. Let glue dry 30 minutes.
- Sprinkle birdseed onto the platform before hanging outside.


8. Washi Tape Journal Cover
Easy
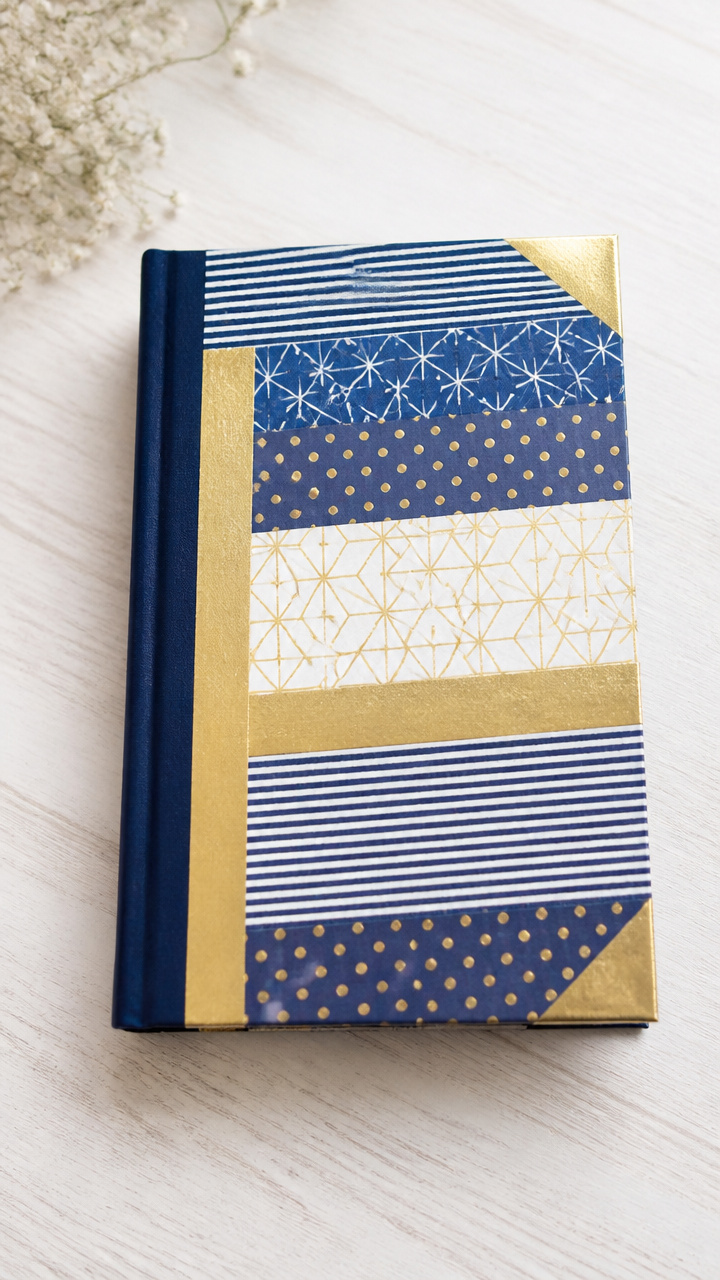
Plain notebooks transform with colorful washi tape stripes and corners. Keep notes stylish and easy to find on your shelf.
Materials Needed
- Plain notebook, A5 size
- Washi tape, 3 patterns (blue stripe, gold dot, white geometric), 1 roll each
- Scissors
- Ruler
How to Make It
- Measure 2 inches from the spine on the front cover and place a vertical strip of blue stripe tape.
- Add a 1-inch square of gold dot tape to each corner of the front cover.
- Run a horizontal strip of white geometric tape across the top edge, trimming ends neatly with scissors.
- Smooth all tape edges with your fingertip to prevent lifting.


9. Salt Dough Ornaments
Easy
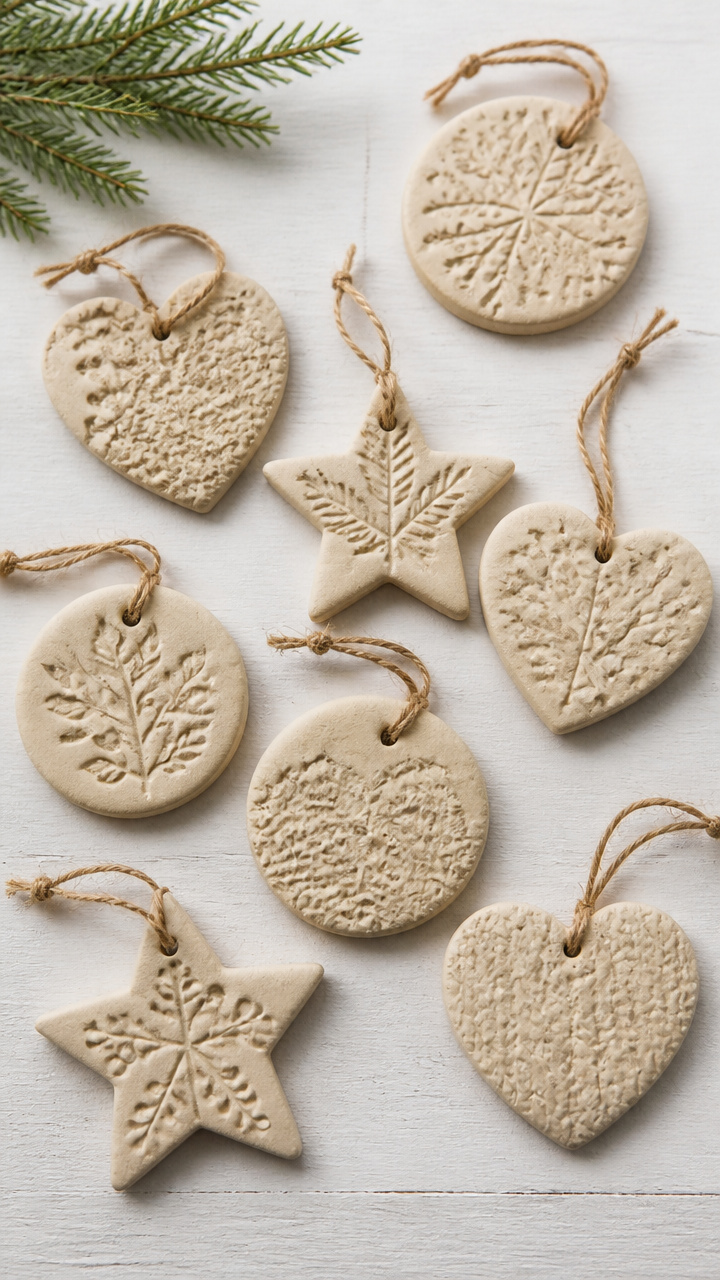
Simple dough made from pantry staples bakes into keepsake shapes stamped with handprints or words. A tradition that lasts for years.
Materials Needed
- 2 cups all-purpose flour
- 1 cup table salt
- 3/4 cup warm water
- Rolling pin
- Straw
- Cookie cutters (star, heart, circle)
- Baking sheet
- Parchment paper
- Red ribbon, 12 inches per ornament
How to Make It
- Mix flour, salt, and warm water in a bowl until a smooth dough forms. Knead 2 minutes on a floured surface.
- Roll dough to 1/4 inch thick. Cut shapes with cookie cutters. Push a straw through the top to make a hole.
- Place ornaments on a parchment-lined baking sheet. Bake at 200°F for 3 hours until hard.
- Cool completely, then thread ribbon through holes for hanging.


10. Tea Bag Snowflakes
Easy
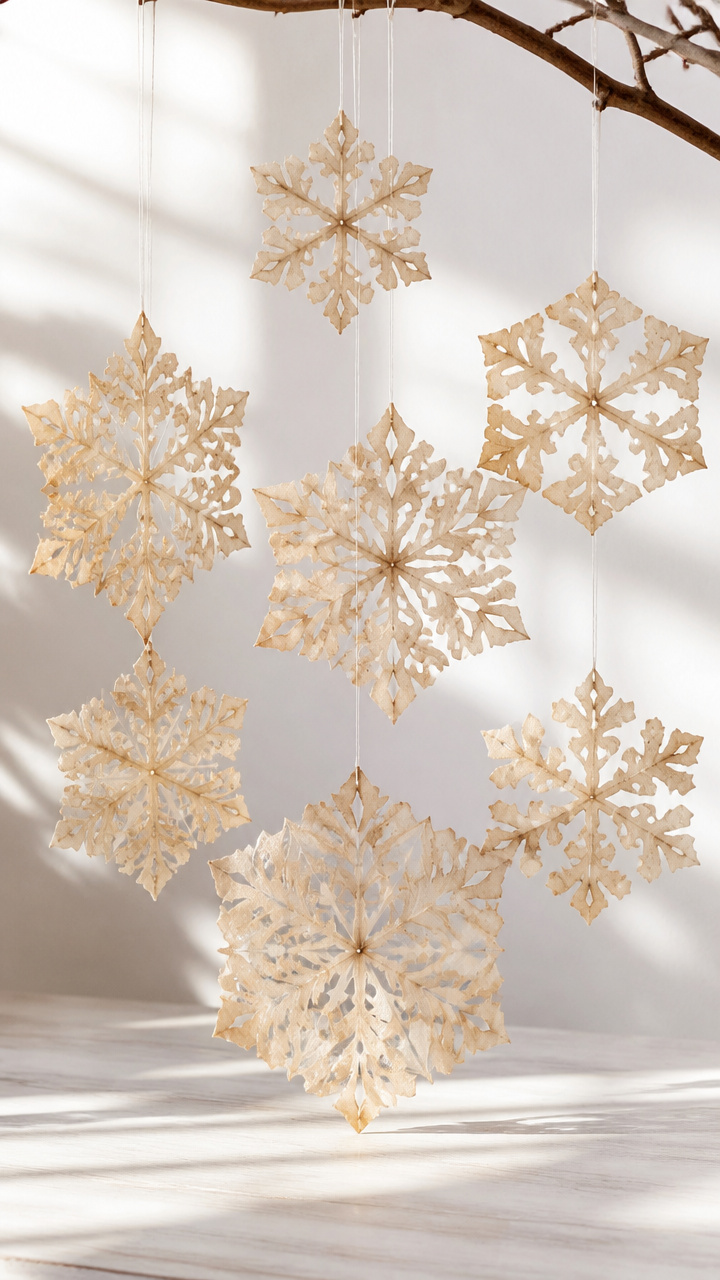
Used tea bags dry flat and become delicate lace when cut into six-pointed designs. Hang them in clusters by the window.
Materials Needed
- 6 used and dried tea bags (plain paper type)
- Scissors
- White thread, 18 inches
- Needle
- Pencil
How to Make It
- Empty tea leaves from each bag and rinse under water. Press between paper towels and air dry overnight.
- Fold one bag accordion-style into six sections, then cut small shapes along the edges with scissors.
- Unfold to reveal a snowflake pattern. Repeat with remaining bags.
- Thread a needle with white thread and stitch through the center of each snowflake to hang.


11. Knit Hat Mug Cozy
Easy
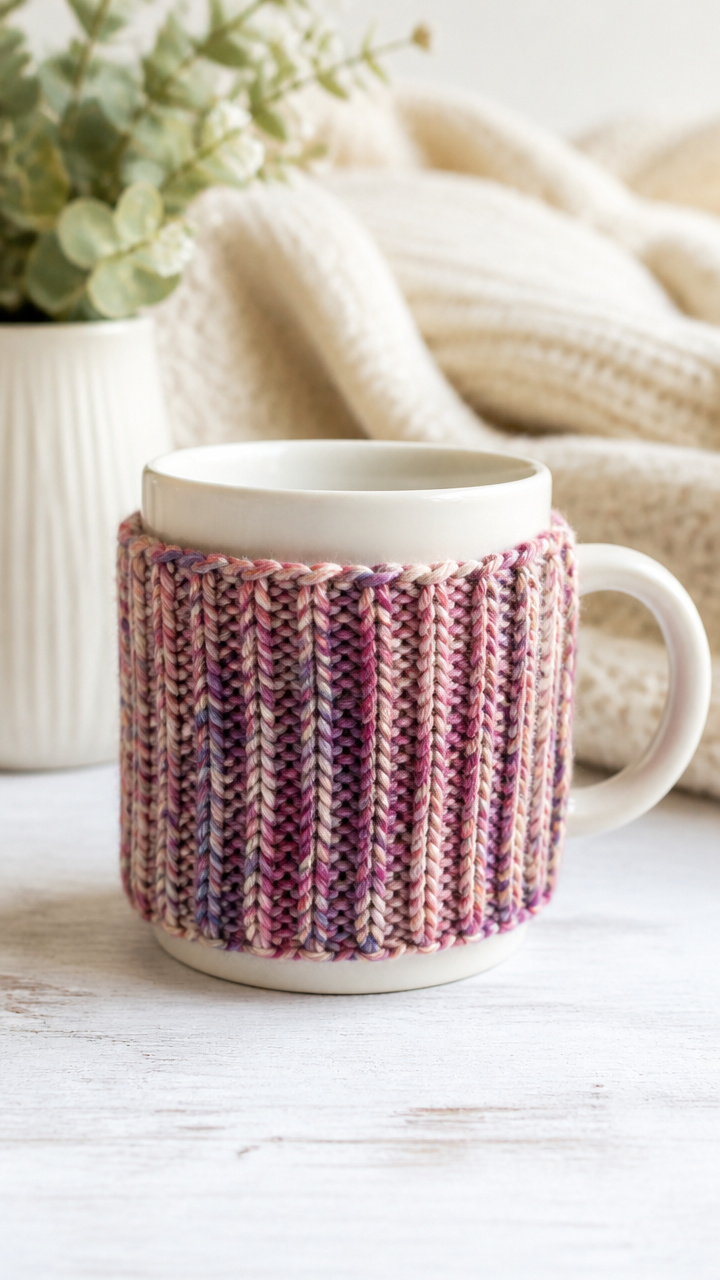
An old wool hat gets repurposed into a snug sleeve that keeps tea warm. Great for using up worn winter accessories.
Materials Needed
- Old knit wool hat, any color
- Fabric scissors
- Chalk marker
- Mug, standard size
- Needle and matching thread
How to Make It
- Turn the hat inside out and lay flat. Wrap it around your mug, marking where it overlaps with chalk.
- Cut a rectangle from the hat material 1 inch taller and wider than the mug’s height and circumference.
- Sew the two short edges together with a backstitch to form a tube.
- Slide onto mug to check fit. The cozy should stretch slightly for snugness.


12. Photo Block Magnet
Easy
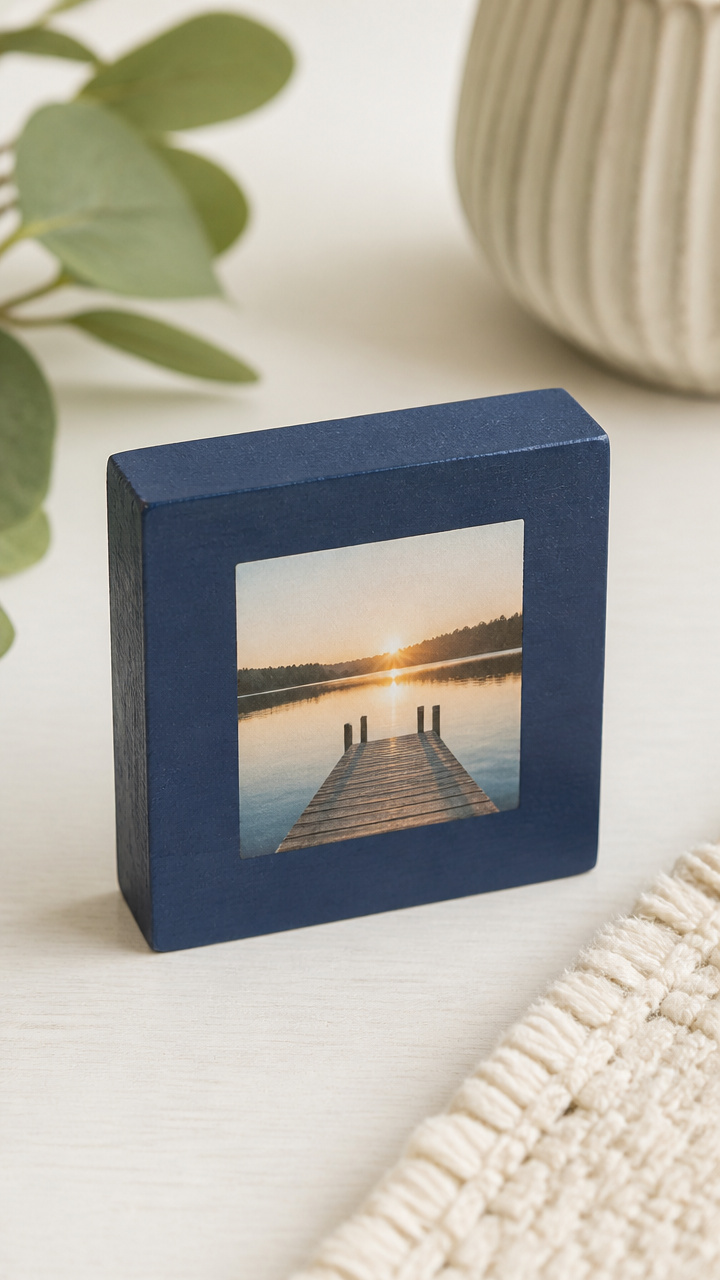
A small framed photo adheres to a painted wooden block with a magnet on back. Display memories on the fridge without nails.
Materials Needed
- Wooden block, 3x3x1 inches
- Craft paint (navy blue), 1 oz
- Paintbrush size 5
- Small printed photo, 2×2 inches
- Mod Podge
- Fridge magnet disc, 1 inch
- Hot glue gun
How to Make It
- Paint the wooden block with navy blue craft paint. Let dry 20 minutes.
- Brush a thin layer of Mod Podge on the front of the block. Center the photo and press down smoothly.
- Seal the photo with another layer of Mod Podge. Let dry 30 minutes.
- Glue the magnet disc to the back of the block with hot glue. Hold 15 seconds until firm.
13. Lacing Cards with Shapes
Easy
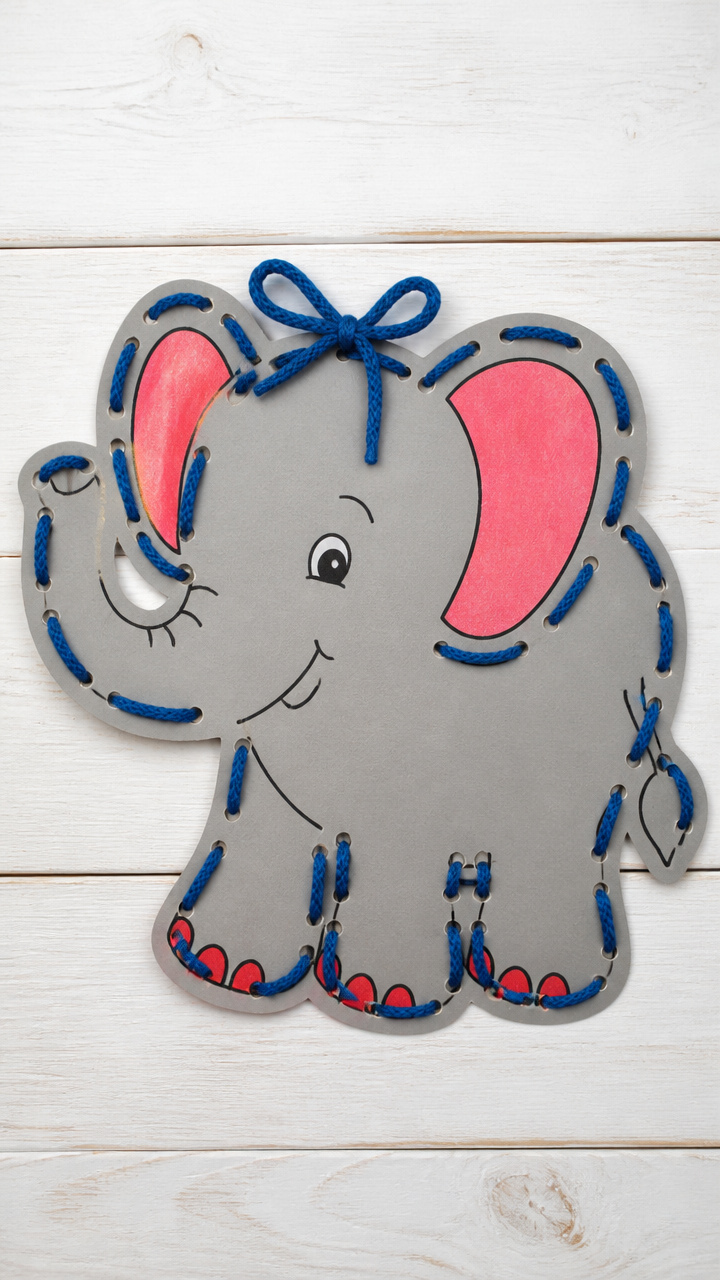
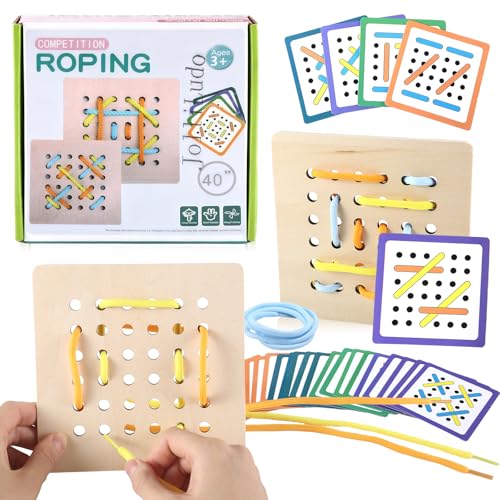
Sturdy cardboard cutouts with punched holes help improve dexterity using shoelace threading. Make animal shapes for grandchildren to enjoy.
Materials Needed
- Cardboard, 8×10 inches
- Pencil
- Scissors
- Hole punch
- Waxed shoelace, 24 inches, blue
- Markers (black, red)
How to Make It
- Draw a simple cat shape on the cardboard with pencil. Cut it out with scissors.
- Use the hole punch to make 10-12 holes around the edge of the cat shape.
- Color the cat with black and red markers. Let ink dry 5 minutes.
- Thread the shoelace through the holes from front to back, lacing in any pattern.


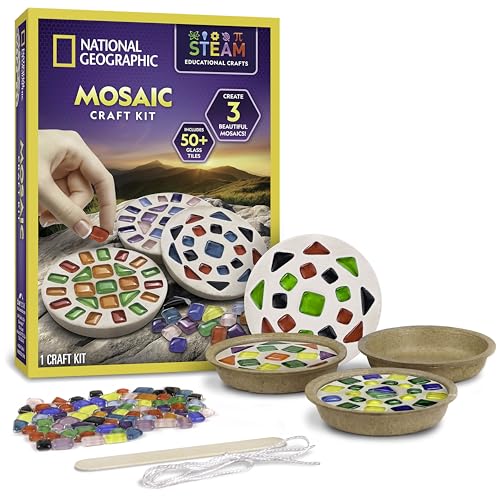
14. Crayon Mosaic Art
Moderate
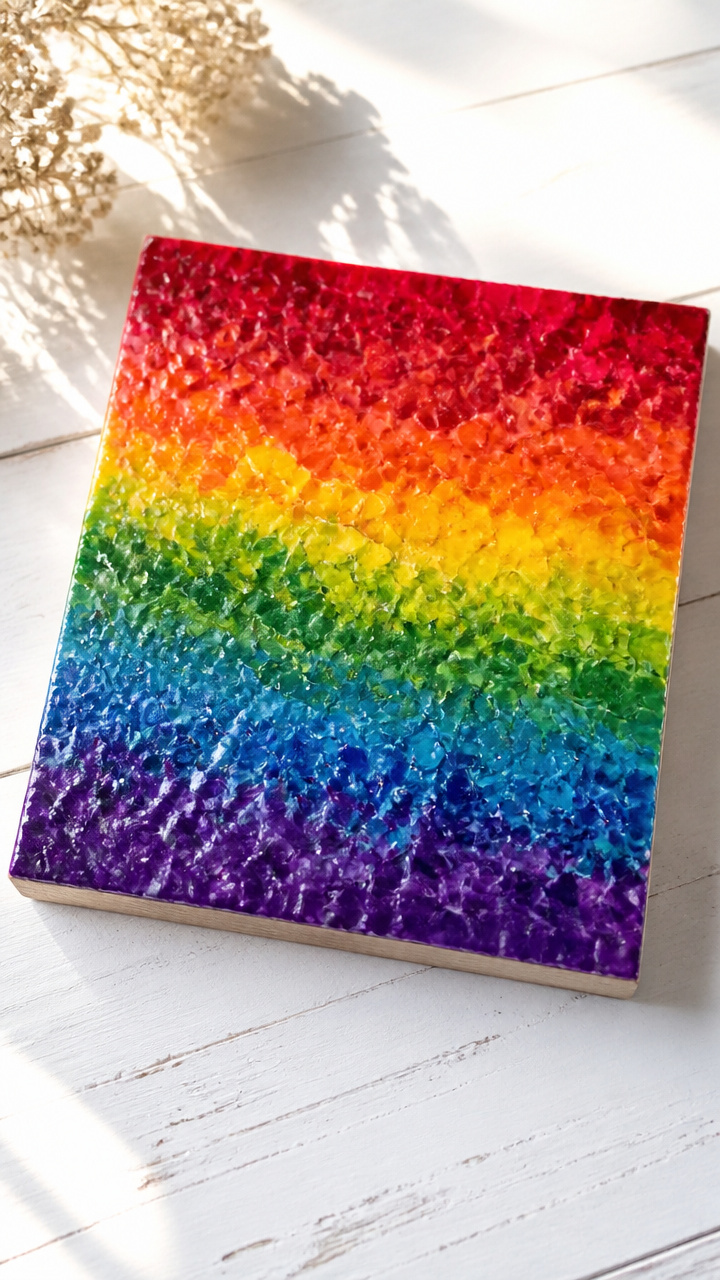
Broken crayon pieces melt into a rainbow tile pattern on a wooden board. Sunlight makes the waxy surface shimmer.
Materials Needed
- Wooden board, 6×6 inches
- Assorted broken crayons, peeled, 20 pieces
- Aluminum foil
- Oven-safe tray
- Oven mitt
- Hairdryer
How to Make It
- Line the tray with foil. Arrange crayon pieces on the board in a tight mosaic pattern.
- Place the board on the tray and heat in a 250°F oven for 12 minutes, watching closely.
- Remove with oven mitt and let cool 10 minutes. If wax isn’t spread, use a hairdryer on high to melt peaks.
- Let cool completely before displaying near a sunny window.

15. Tissue Paper Suncatcher
Easy
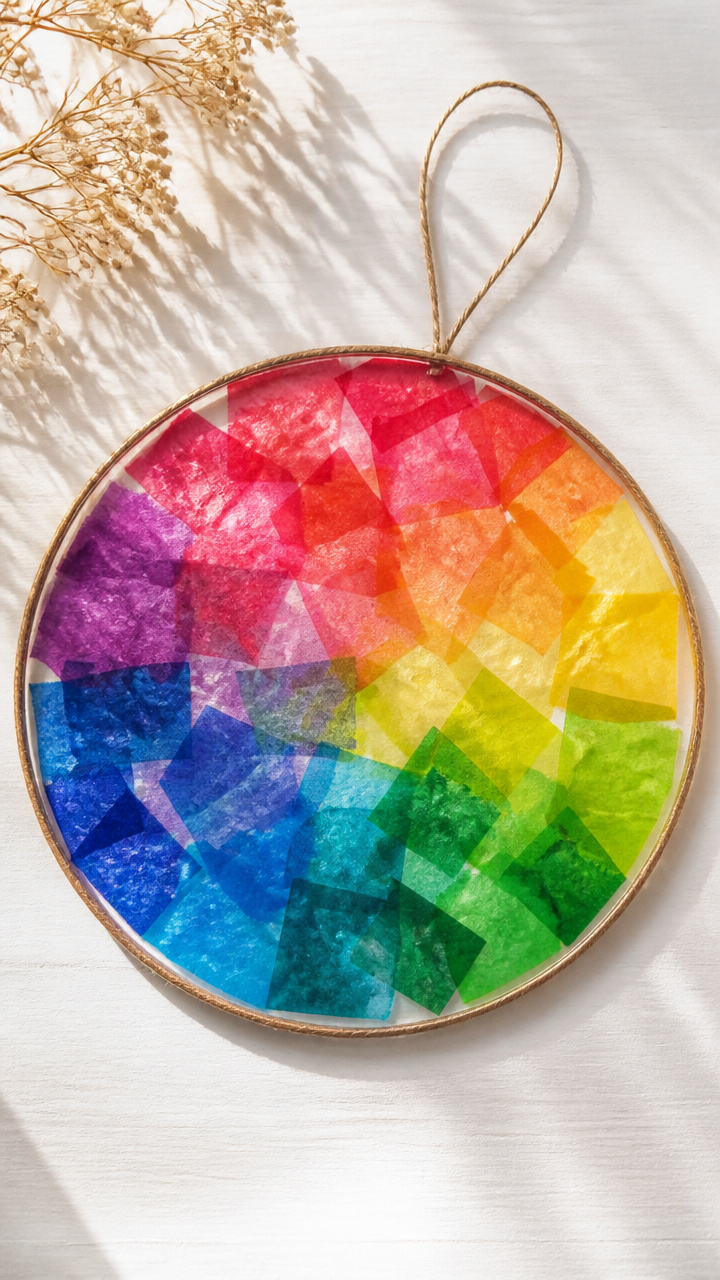
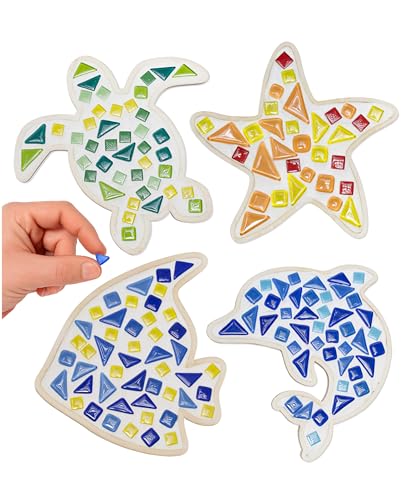
Bright tissue squares stick to contact paper in a stained-glass style panel. Light shines through vivid colors on dull days.
Materials Needed
- Clear contact paper, 12×12 inch sheet
- Tissue paper, 6 colors, cut into 1-inch squares
- Scissors
- Round cookie cutter, 7 inches
- String, 10 inches
How to Make It
- Peel the backing off the contact paper and lay sticky side up on a flat surface.
- Place tissue squares close together on the sticky surface to fill the area within the cookie cutter’s outline.
- Place the cookie cutter over the design and press gently. Cut around it with scissors.
- Punch two holes at the top and thread string through for hanging in a window.


You’ve got everything you need right at hand to start creating today. Pick one craft that catches your eye and give yourself the gift of making something beautiful.