20 Sensory January Crafts for Toddlers and Little Hands

Cold windows, mittens piled by the door, tiny hands eager to make marks and squish textures—January is full of quiet moments perfect for simple, sensory-rich crafting. These activities meet little ones where they are, using safe materials that invite touching, pressing, pouring, and exploring.
Each craft builds fine motor skills without feeling like work. You’ll find ideas that use what’s already in your cupboards and others worth a quick store run—all tested for joy, ease, and toddler-sized attention spans.
1. Salt Painting on Black Paper
Easy
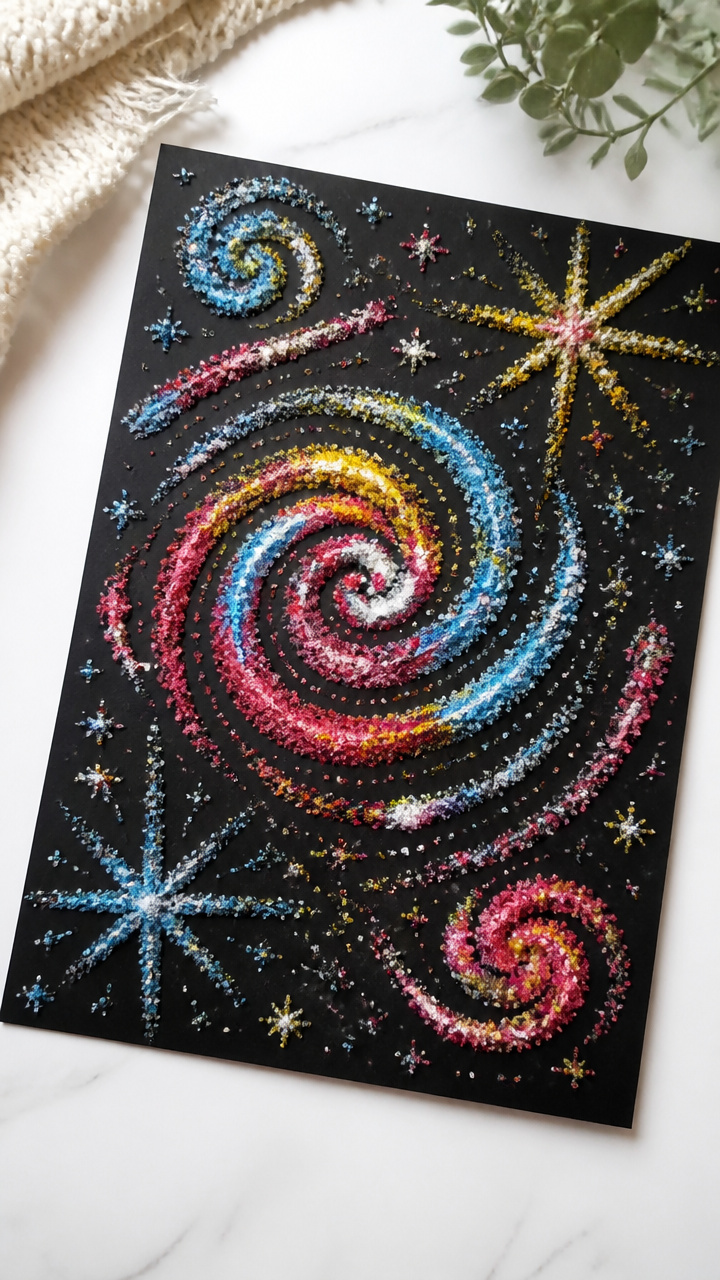
Vibrant paint swirls into coarse salt, creating glowing artwork that holds texture under tiny fingers. This one mesmerizes with sparkle and color contrast.
Materials Needed
- 8 tablespoons table salt
- 4 sheets A4 black cardstock
- 3 drops liquid watercolor in red
- 3 drops liquid watercolor in blue
- 3 drops liquid watercolor in yellow
- 3 small squeeze bottles with fine tips
- tray or shallow baking pan
How to Make It
- Pour the salt evenly across the tray to create a thin layer about 1/4 inch deep.
- Fill each squeeze bottle with one color of liquid watercolor and 2 tablespoons of water.
- Place one sheet of black cardstock at a time into the salt-lined tray.
- Let your child squeeze lines and dots of colored water onto the paper, watching the pigment spread through the salt.
- Lift the paper carefully and set it flat to dry for 20 minutes before displaying.


2. Puffy Paint Handprint Trees
Easy
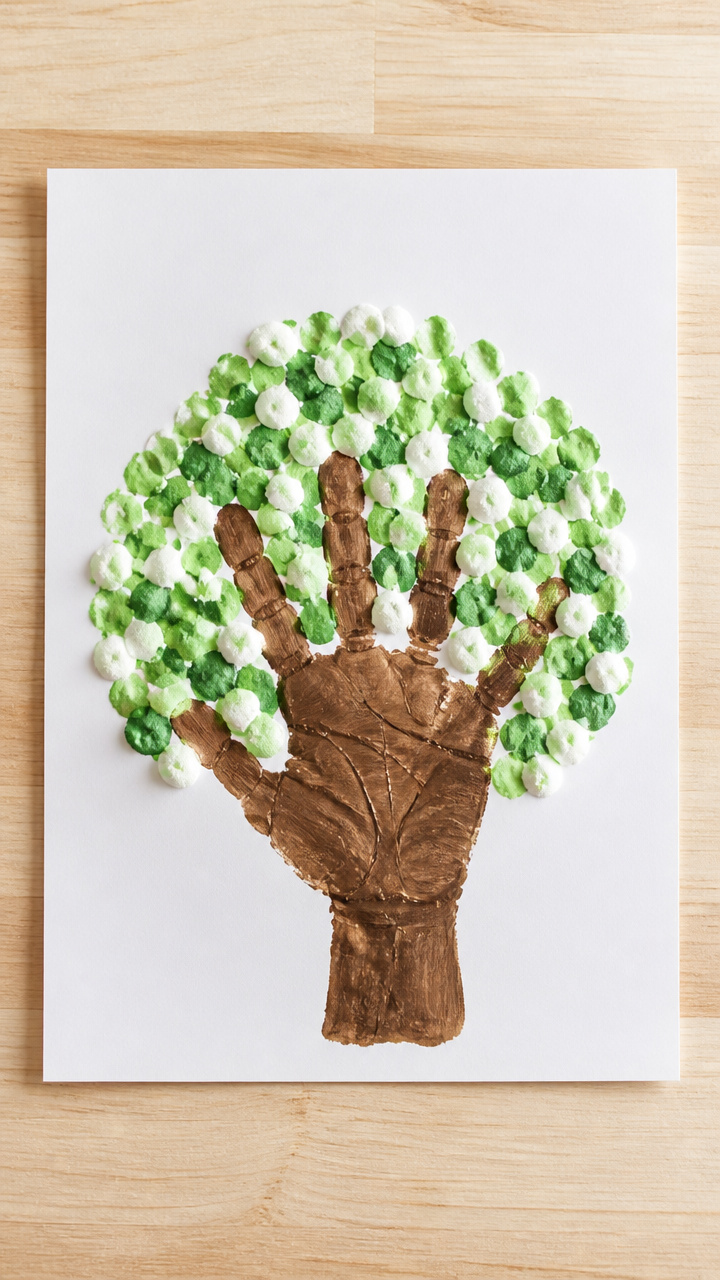
Three-ingredient puffy paint gives dimension to handprint trunks and finger-dabbed treetops. The raised texture keeps little hands engaged long after drying.
Materials Needed
- 1/2 cup all-purpose flour
- 1/4 cup salt
- 1/2 cup water
- 3 small mixing bowls
- food coloring in brown, green, white
- A4 white drawing paper
- spoon for mixing
How to Make It
- In each bowl, mix 1/6 cup flour, 1 tablespoon salt, and 1/6 cup water until smooth.
- Add 3 drops of brown food coloring to one bowl, green to another, white to the third, stirring well.
- Help your child press their palm and fingers firmly into the brown mixture to coat the hand.
- Press the hand vertically on the paper to form a tree trunk, then repeat with fingertips in green for leaves and white for snow accents.
- Let the artwork dry completely overnight on a flat surface.


3. Cotton Ball Snowmen Collage
Easy
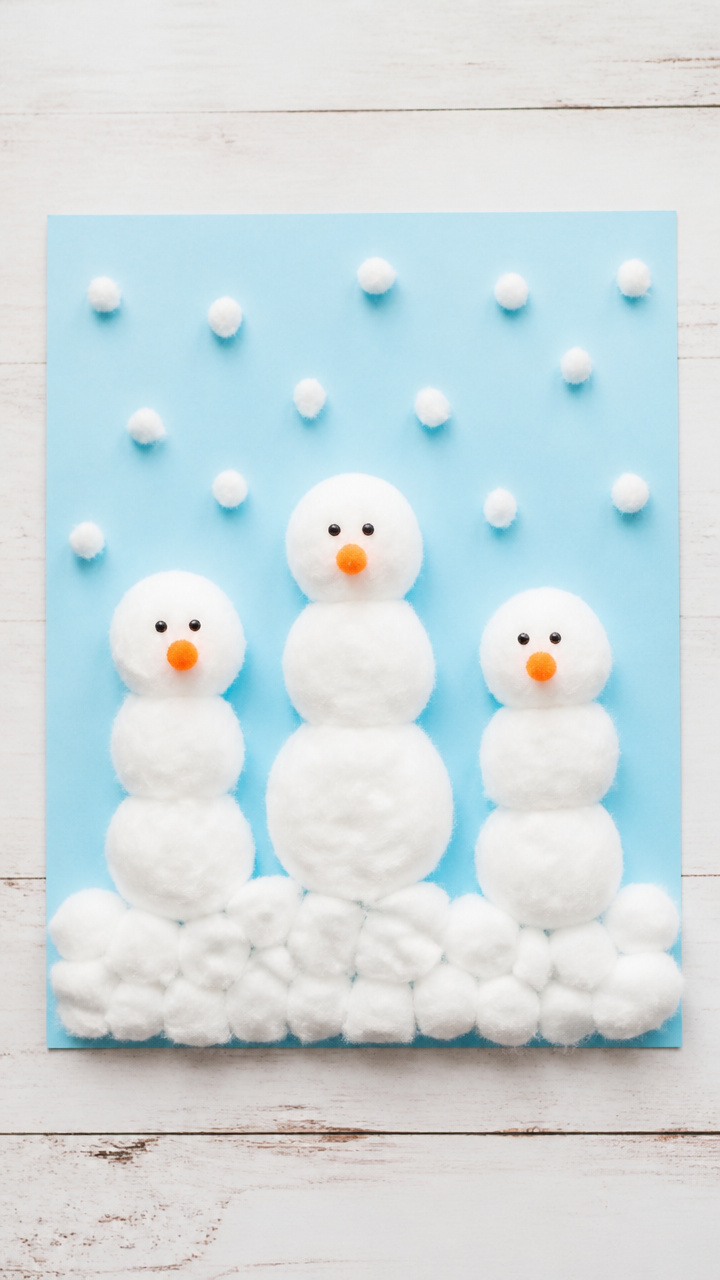
Fluffy cotton balls stick to glue outlines to build soft snowmen with personality. This tactile collage invites sorting, placing, and storytelling.
Materials Needed
- A4 light blue construction paper
- white school glue in a bottle with fine tip
- 50 white cotton balls
- 10 small orange pom-poms (6mm)
- 10 black adhesive dots (8mm)
- black fine-tip washable marker
How to Make It
- Draw three large circles stacked vertically on the paper using the glue bottle to outline each snowman shape.
- Let your child place one cotton ball at a time over the glue lines, pressing gently to adhere.
- Glue an orange pom-pom between the middle and top cotton ball sections for each snowman's nose.
- Stick a black adhesive dot above each nose for eyes and add three below for buttons.
- Use the marker to draw a short line for a mouth and curved lines for arms on each snowman.


4. Shaving Cream Marble Paper
Moderate
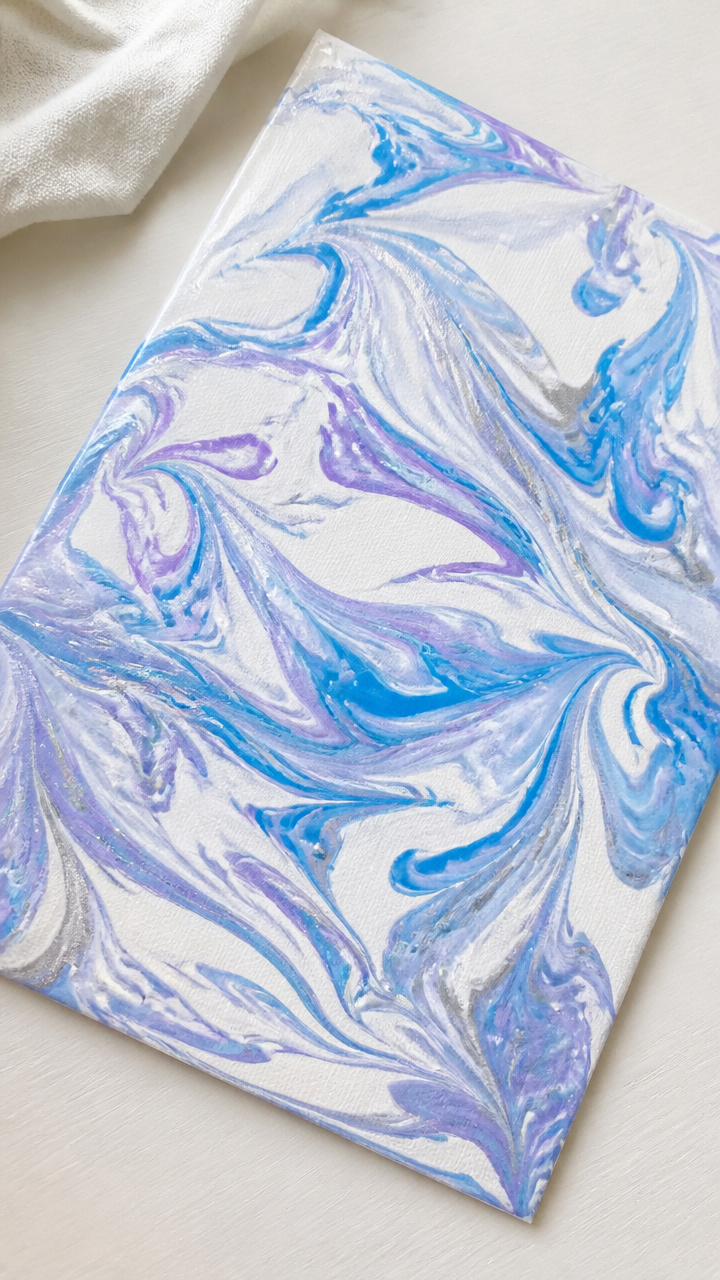
Swirled shaving cream and food coloring transform plain paper into marbled masterpieces with a cool, foamy feel. Cleanup is fast and scent-free.
Materials Needed
- 1 can unscented shaving cream
- 9 drops blue food coloring
- 6 drops purple food coloring
- 3 drops silver liquid food coloring
- A4 heavy white drawing paper (120gsm)
- flat tray larger than the paper
- spoon
- popsicle stick
- paper towel sheet
How to Make It
- Spray shaving cream into the tray to cover the bottom with a 1/2 inch layer.
- Drop blue, purple, and silver coloring randomly across the foam surface.
- Drag the popsicle stick through the colors to create swirls and patterns.
- Lay one sheet of paper gently on top of the foam, pressing lightly with flat hands for 10 seconds.
- Lift the paper and lay it on the paper towel to dry for 30 minutes, then scrape excess foam off with the spoon.


5. Pipe Cleaner Snowflakes
Moderate
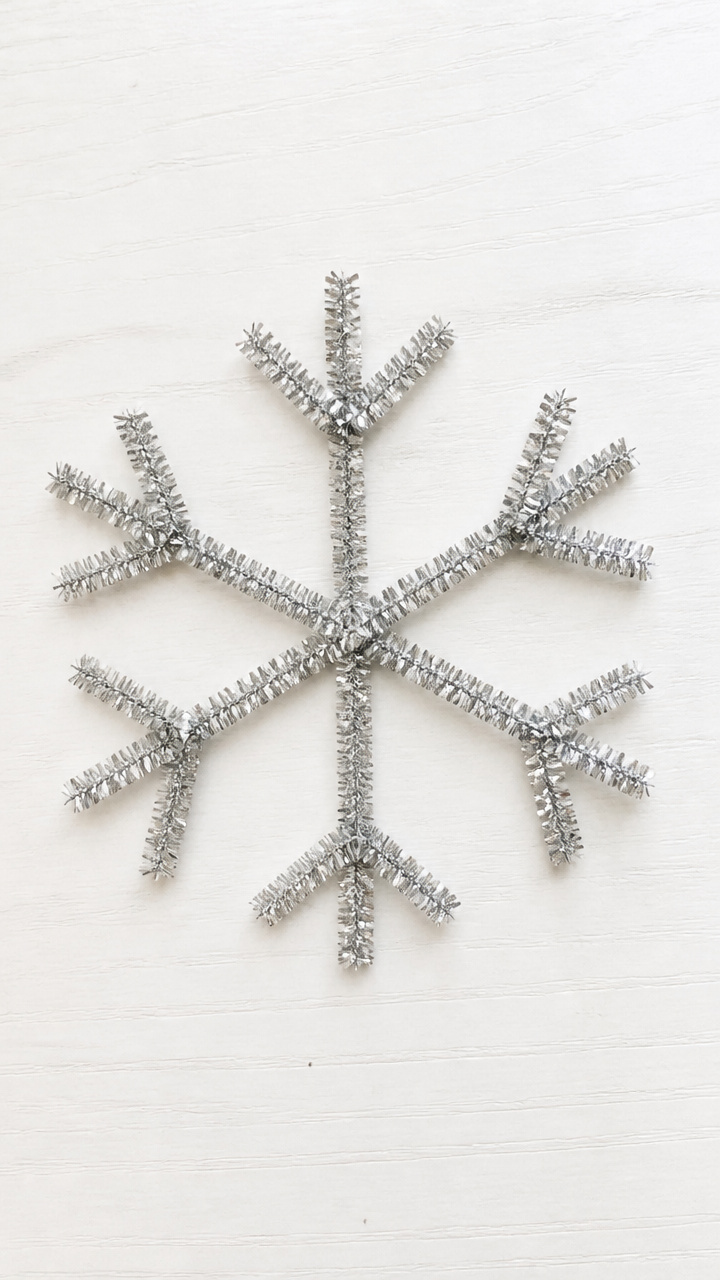
Bendable pipe cleaners twist into glittering snowflake shapes that catch light and hold shape when touched. These double as window decorations.
Materials Needed
- 6 silver glitter pipe cleaners per snowflake
- round plastic lid (about 3 inches diameter)
- scissors
- glitter spray (optional)
How to Make It
- Cut two pipe cleaners in half to make four equal pieces.
- Lay one full-length pipe cleaner vertically on the table.
- Cross a half-length piece horizontally over the center to form a 'T'. Twist once to secure.
- Add the second half piece diagonally from top left to bottom right, twisting at center.
- Add the last half piece from top right to bottom left, twisting to complete the six-point base. Wrap ends around outer points and tuck in. Shape over the lid for uniform curve.


6. Glitter Ice Cube Tray Art
Easy
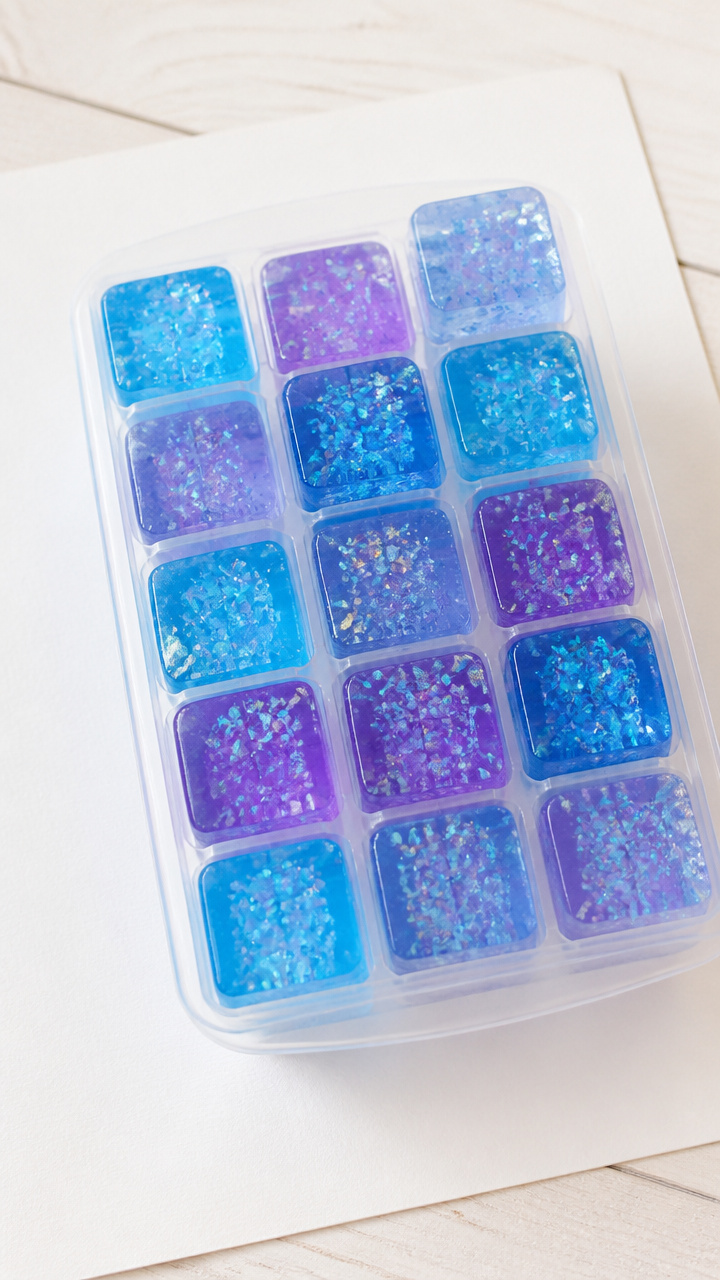
Colorful ice cubes made with glitter and water become stamps for frosty prints. Cold touch adds surprise to every press.
Materials Needed
- 1 ice cube tray
- 1/2 cup warm water
- 6 drops blue food coloring
- 6 drops purple food coloring
- 1 tablespoon iridescent glitter
- A4 white cardstock
- tongs
How to Make It
- Divide the warm water between 6 compartments of the ice cube tray.
- Add one drop of blue coloring to three cubes, one drop of purple to the other three, then sprinkle a pinch of glitter into each.
- Freeze for at least 4 hours until solid.
- Place the cardstock on a flat surface.
- Use tongs to pick up one frozen cube and press it gently onto the paper for 5 seconds, leaving a wet glitter mark. Repeat with other cubes.


7. Textured Mitten Rubbing Art
Easy
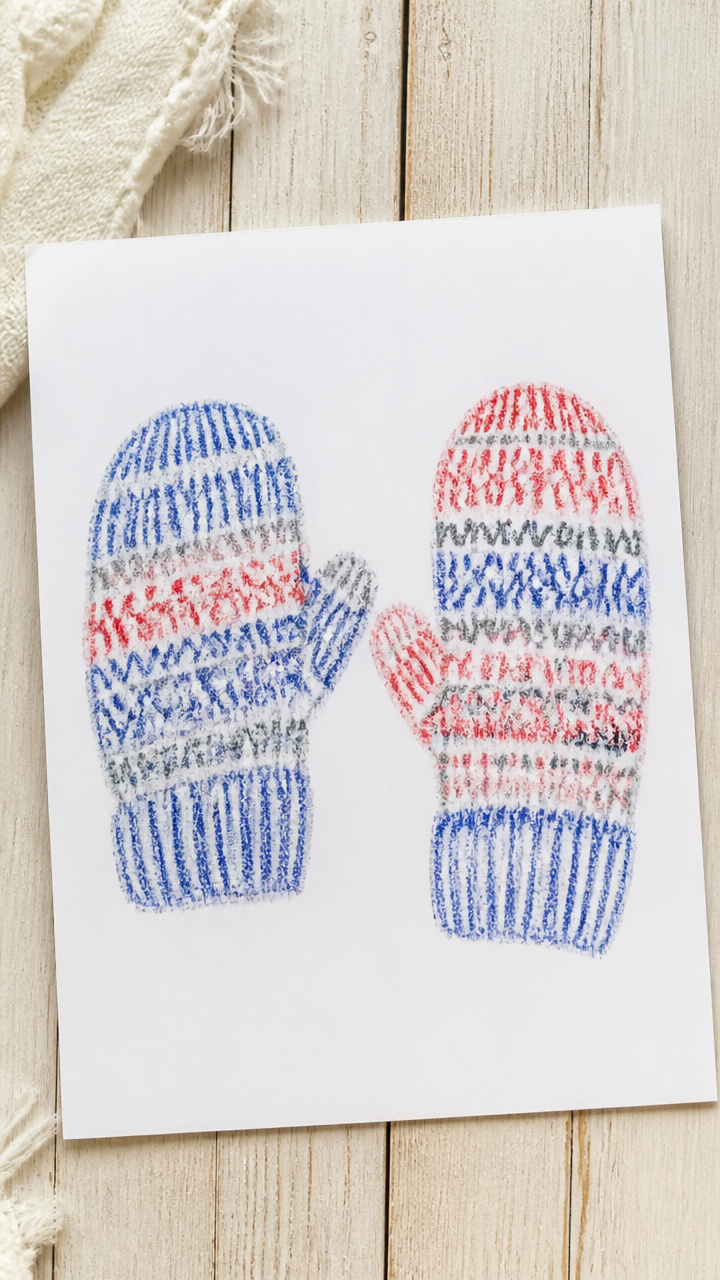
Crayon rubbings reveal hidden textures beneath mittens placed under paper. This quiet activity sharpens observation and grip control.
Materials Needed
- 2 winter mittens with knit or ribbed texture
- A4 white printer paper
- 4 crayons with no paper wrappers (blue, red, gray, white)
- tape
How to Make It
- Place one mitten flat on the table and tape it down securely.
- Lay a sheet of paper over the mitten, smoothing it flat with your hand.
- Hold a crayon sideways and color gently over the paper above the mitten, revealing the texture underneath.
- Repeat with the second mitten and different crayon colors on a new sheet.


8. Felt Snowball Toss Board
Moderate
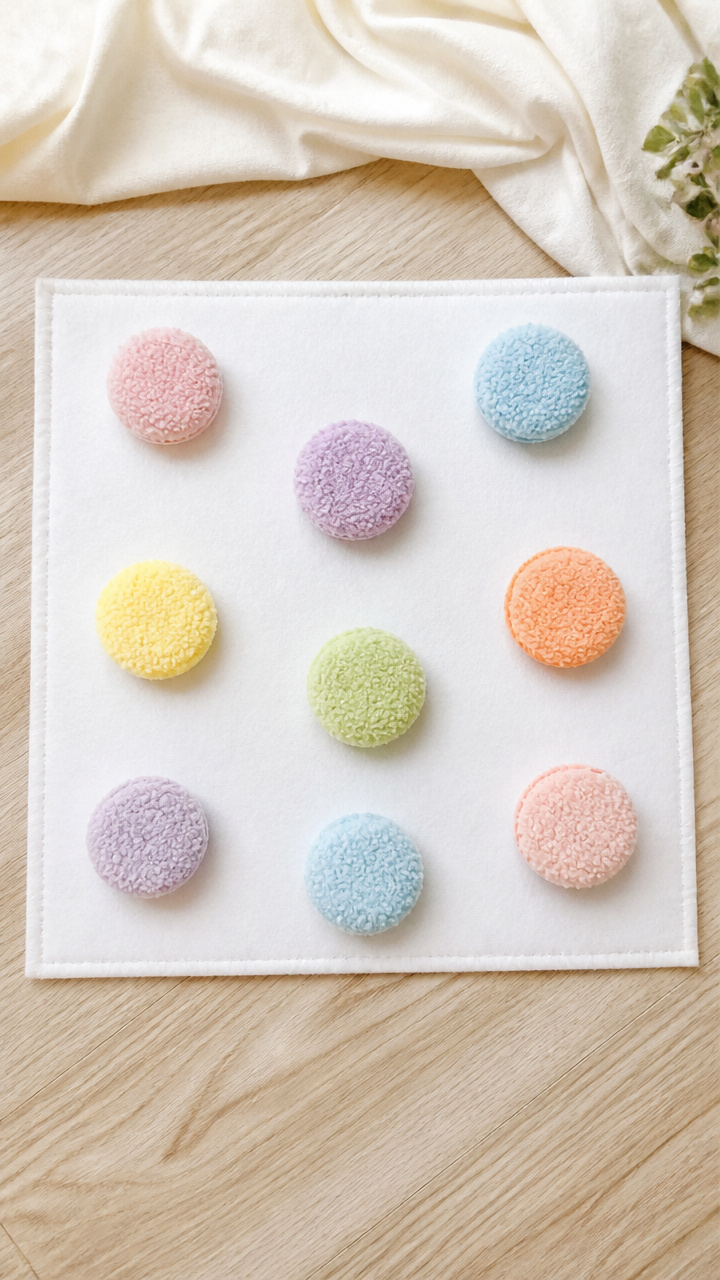
Soft felt snowballs land on a Velcro-backed board for a sensory aiming game. This active craft supports coordination and cause-effect learning.
Materials Needed
- 12-inch square stiffened felt board (white)
- 1 roll hook-and-loop tape (self-adhesive, 1/2 inch wide)
- 6 pastel-colored felt squares (6×6 inches)
- scissors
- ruler
- fabric glue
How to Make It
- Cut the loop side of the tape into 12 one-inch strips and stick them evenly spaced on the felt board to form a grid.
- Cut each felt square into nine 2-inch circles using scissors.
- Fold the edge of each circle slightly and apply a dot of fabric glue to secure a small piece of hook tape to the back.
- Let the glue dry for 30 minutes.
- Let your child toss the felt 'snowballs' to stick onto the board.


9. Pinecone Sensory Bin
Easy
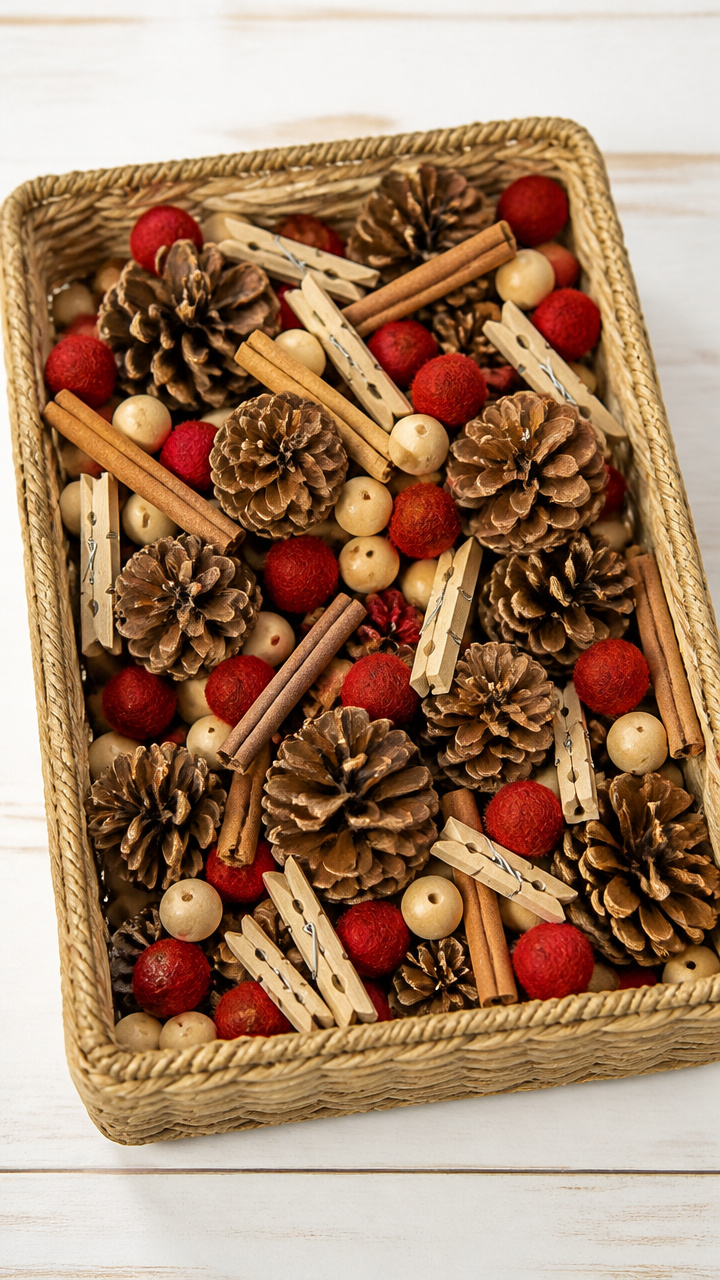
A basket filled with pinecones, cinnamon sticks, and wool scraps invites sorting, nesting, and sniffing. Natural scents and rough-bumpy textures spark curiosity.
Materials Needed
- 1 medium wicker basket
- 12 small dried pinecones
- 8 cinnamon sticks
- 6 red wool pom-poms
- 4 wooden clothespins
- 10 wooden beads (1 inch)
How to Make It
- Place all materials into the basket in loose layers.
- Set the bin on the floor or low table where your child can sit comfortably.
- Let your child explore freely, encouraging pinching, picking up, clipping beads with clothespins, and arranging items.


10. Wax Resist Snow Scene
Easy
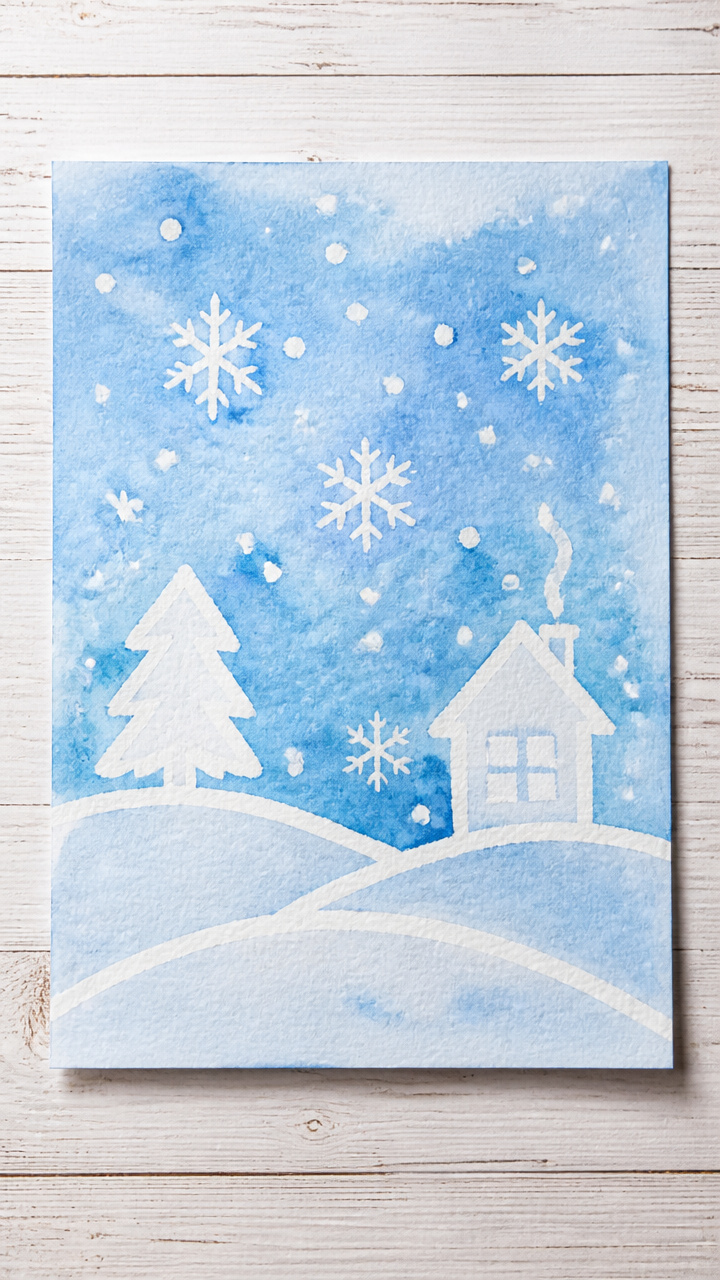
White crayon drawings appear when painted over with cool blue watercolor. The magic of reveal delights every time.
Materials Needed
- white unscented candle
- A4 watercolor paper
- liquid watercolor in sky blue
- 1 small paintbrush (size 6 round)
- shallow dish of water
- paper towel
How to Make It
- Use the candle to draw snowflakes, clouds, and snow drifts on the dry watercolor paper, pressing firmly.
- Pour a teaspoon of blue watercolor into the dish and add two tablespoons of water.
- Dip the brush into the paint and cover the entire paper with a thin wash.
- Watch the wax-resisted areas stay white while the rest turns blue. Set aside to dry on a flat surface.


11. Button Mitten Matching
Moderate
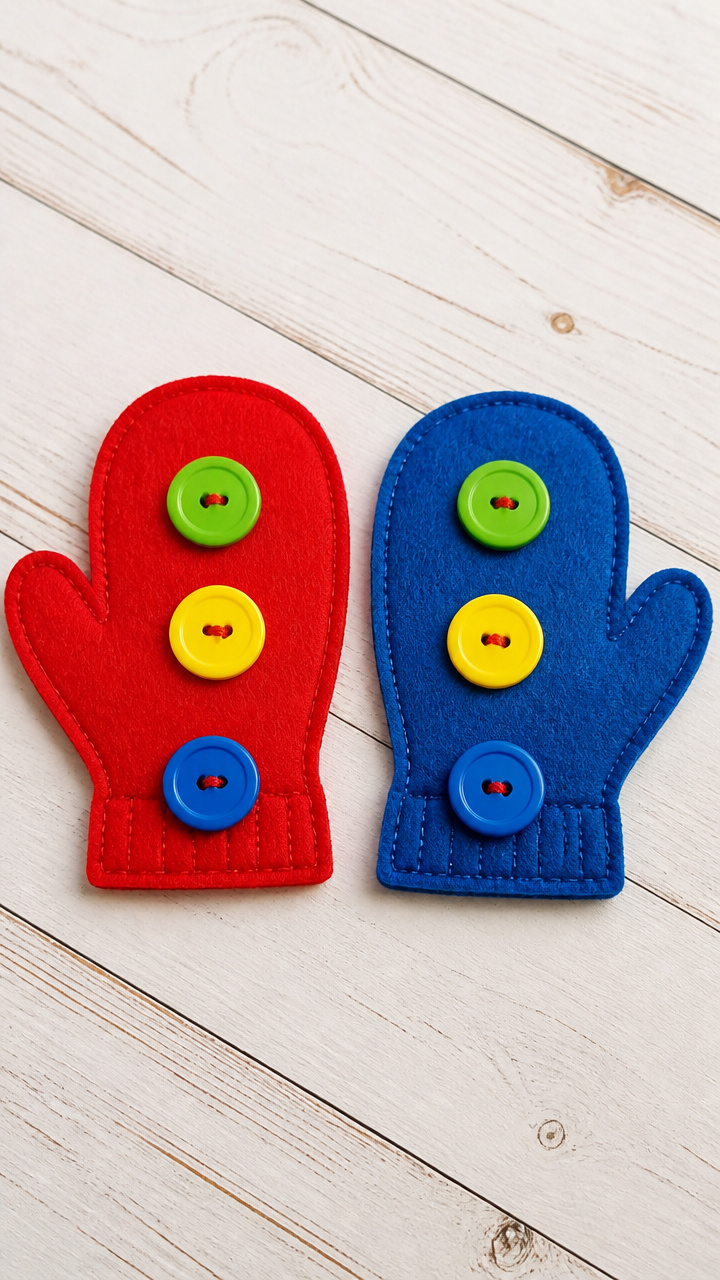
Colorful buttons snap into pairs on felt mittens, building sorting skills and finger strength. The chunky pieces are easy to grip.
Materials Needed
- 2 sheets red felt (9×12 inches)
- 1 sheet blue felt (9×12 inches)
- 24 large two-hole buttons (1 inch) in 6 colors
- fabric scissors
- fabric marker
- needle and white thread
How to Make It
- Cut two mitten shapes from red felt and two from blue felt using scissors and a drawn template.
- Place matching buttons in pairs and mark buttonhole positions with fabric marker on each mitten front.
- Sew each button securely to one mitten using needle and thread, knotting tightly on the back.
- Lay the plain-back mittens nearby and let your child match and snap buttons into place.
12. Oobleck Snow Dough
Easy
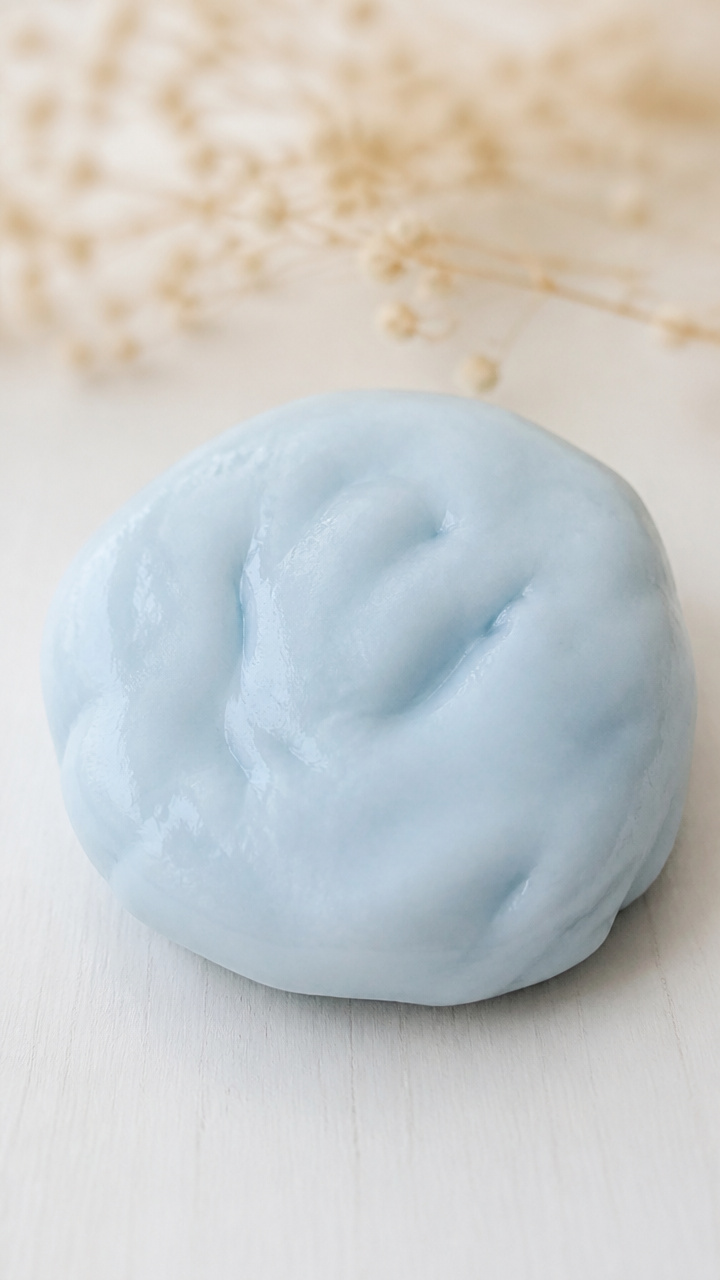
A cornstarch and lotion blend creates snow-like dough that flows like liquid but packs like solid. This non-toxic mix invites endless squeezing and molding.
Materials Needed
- 1 cup cornstarch
- 1/2 cup white lotion (unscented)
- 10 drops blue food coloring
- mixing bowl
- spoon
How to Make It
- Add cornstarch to the bowl and stir in the lotion slowly with the spoon.
- Add blue food coloring and mix until the color is uniform and the texture holds together when pressed.
- Let your child scoop, pack, and release the dough, observing how it behaves differently based on pressure.


13. Yarn-Wrapped Cardboard Snowflakes
Moderate
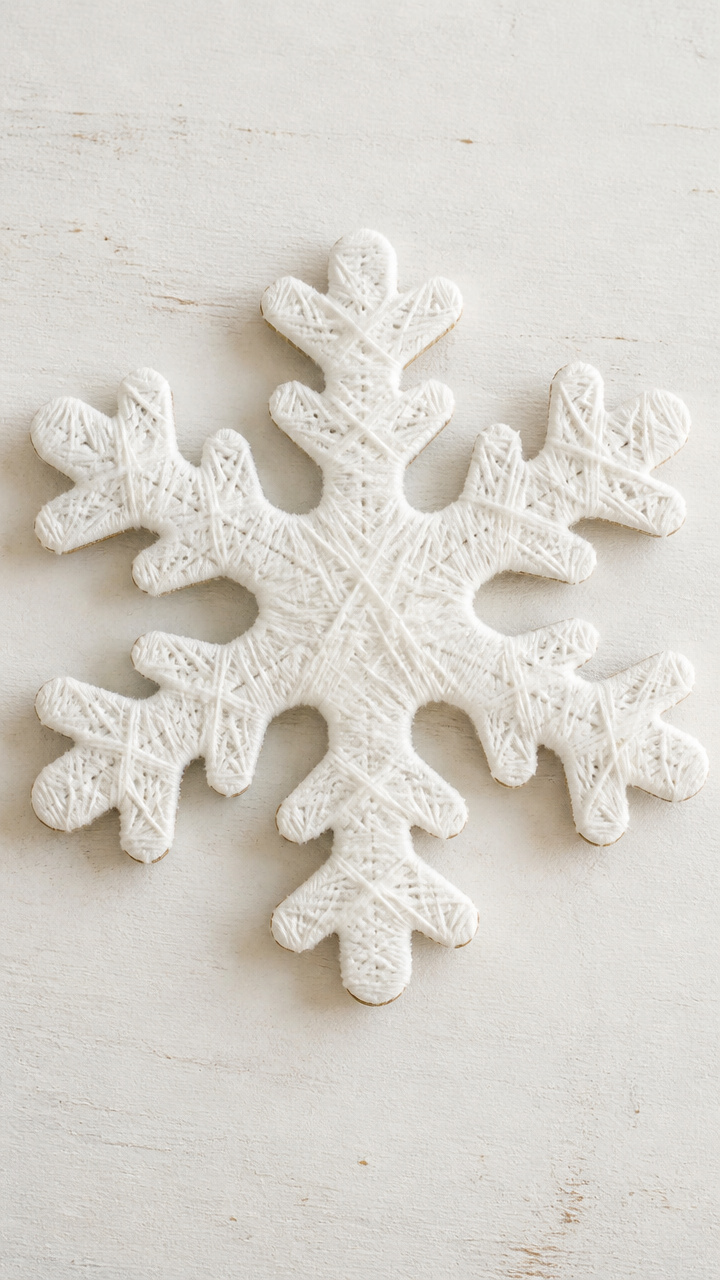
Stiff cardboard cutouts become soft with layers of wrapped white yarn. The wrapping motion builds hand strength and focus.
Materials Needed
- cardboard (from a shipping box)
- scissors
- pencil
- white yarn (size 4, 50 yards)
- craft glue
- paintbrush
How to Make It
- Draw a six-point snowflake shape 4 inches wide on the cardboard and cut it out with scissors.
- Apply a small dot of glue to one end of the snowflake with the brush.
- Press the yarn end onto the glue and wait 10 seconds for it to hold.
- Wrap the yarn tightly around the snowflake, covering the edges completely, adding glue every inch to secure.
- Trim the yarn end and glue it down. Let dry for 30 minutes.


14. Ice Excavation Rescue
Easy
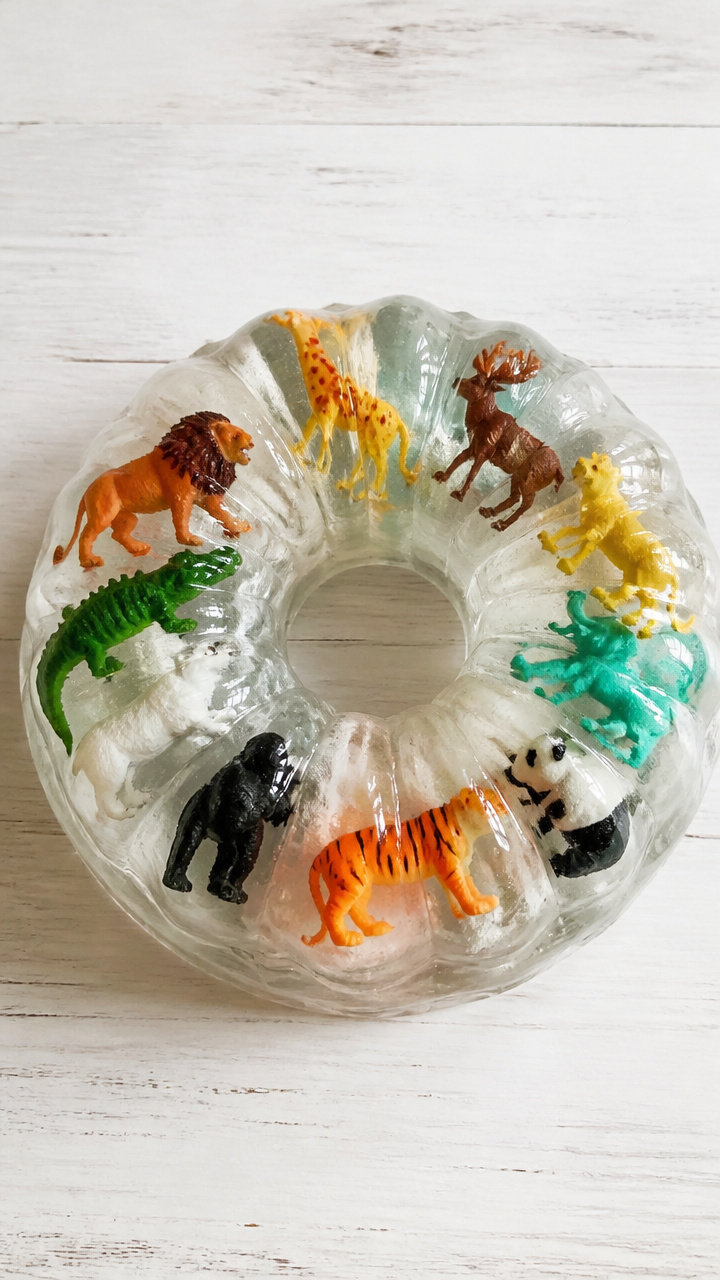
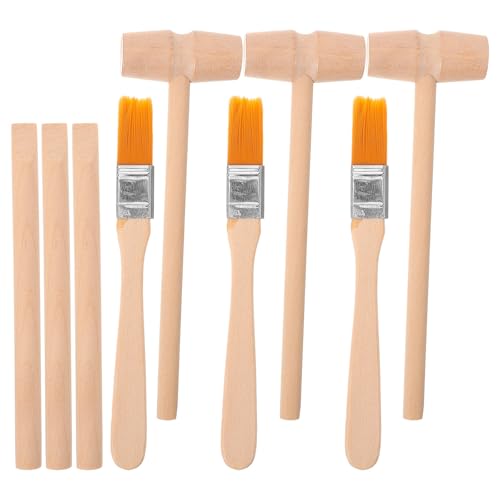
Toys frozen inside clear ice blocks await warm water and tools to set them free. This slow-melt game teaches patience and temperature change.
Materials Needed
- 12 small plastic animals
- 1 Bundt cake pan
- water
- freezer
- toy hammer
- plastic spoon
- spray bottle with warm water
How to Make It
- Place 3 animals in the Bundt pan and fill halfway with water. Freeze for 2 hours.
- Add more animals and top off with water. Freeze overnight.
- Place the ice block on a tray outdoors or in the sink.
- Give your child the toy hammer, spoon, and spray bottle to chip, scoop, and melt the ice and rescue the figures.


15. Glue Dot Sticker Roads
Easy
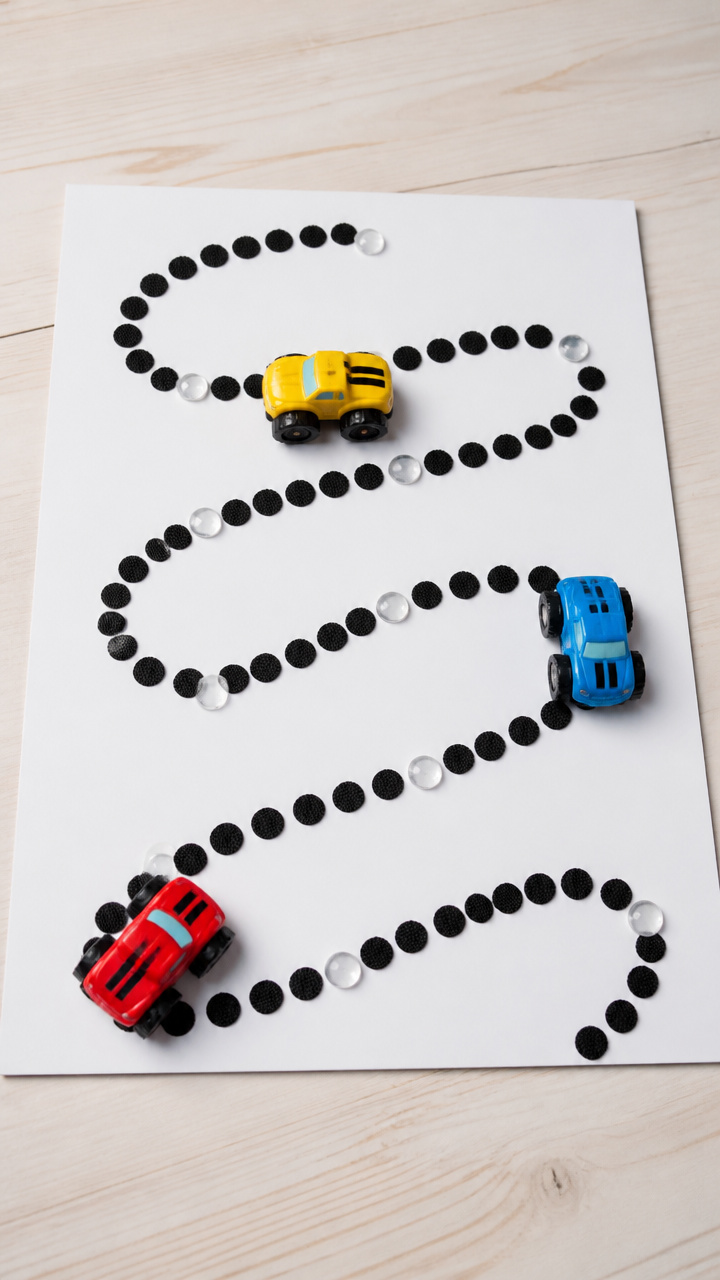
Black glue dots form sticky road paths for toy cars to follow. The raised lines guide wheels and build tracking skills.
Materials Needed
- A4 white cardstock
- black school glue in bottle with fine tip
- 100 clear round stickers (1/2 inch)
- 3 toy cars with rubber wheels
How to Make It
- Squeeze squiggly lines of black glue across the cardstock to form roads, varying thickness and curves.
- Press a clear sticker over each spot where roads intersect or turn sharply.
- Let the glue dry completely for 1 hour until raised and tacky.
- Let your child drive toy cars along the roads, sticking briefly to the glue lines and popping off with a gentle pull.


16. Puffy Shaving Cream Prints
Easy
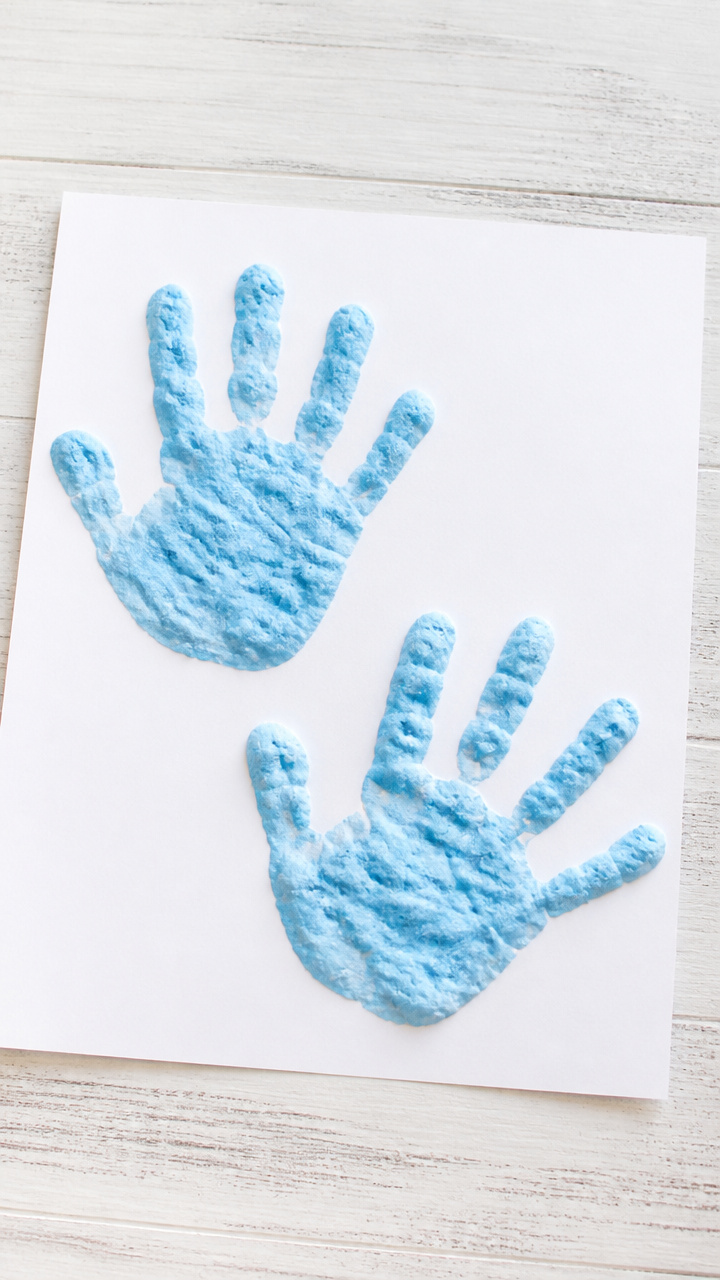
A dollop of shaving cream mixed with glue becomes a bouncy print medium. Pressing hands into it delivers satisfying resistance.
Materials Needed
- 1 cup unscented shaving cream
- 1/2 cup white school glue
- 3 drops blue food coloring
- A4 white cardstock
- mixing bowl
- spoon
- craft stick
How to Make It
- Combine shaving cream and glue in the bowl, folding gently with the spoon to keep air in.
- Add blue food coloring and stir just until blended.
- Spread a 1/4 inch layer of mixture onto the cardstock using the craft stick.
- Let your child press their palm firmly into the mix, hold for 3 seconds, then lift straight up.
- Set the print flat to dry for 4 hours until puffy and firm.


17. Ribbon Weaving Cards
Moderate
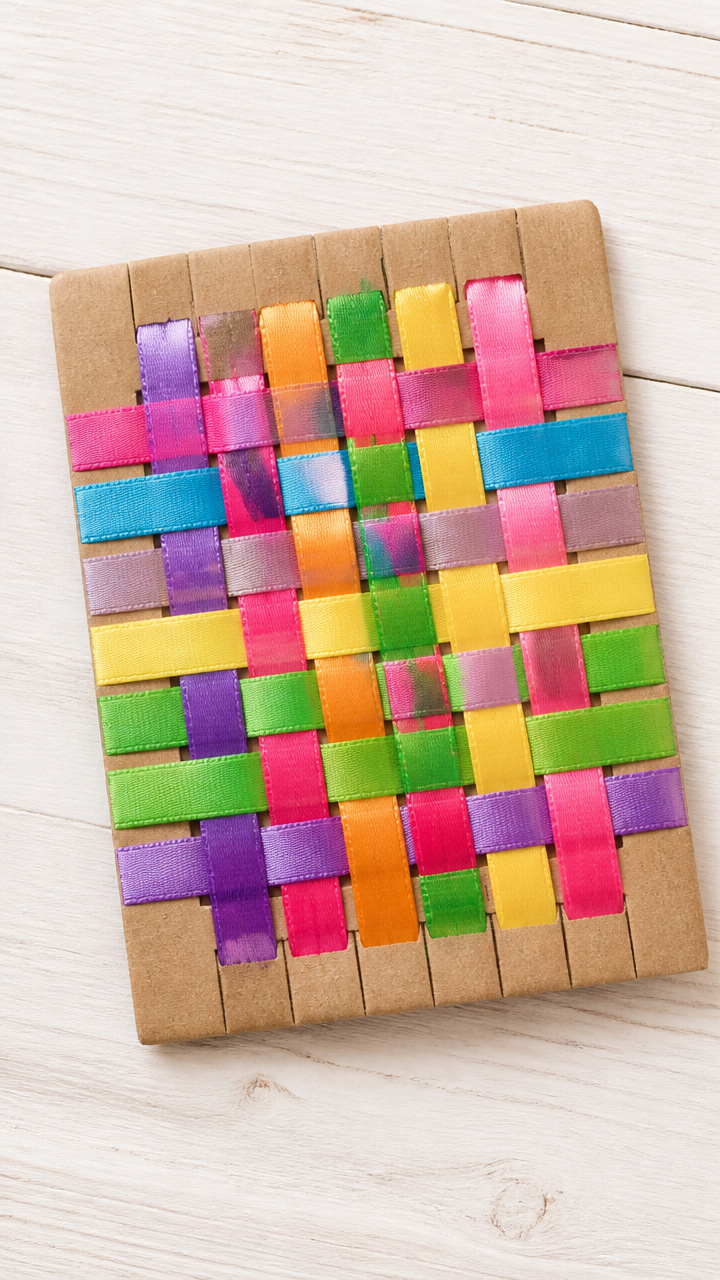
Cardboard looms with slits hold bright ribbons that weave over and under. This rhythmic motion calms and focuses restless hands.
Materials Needed
- 2 sheets A5 cardboard
- ruler
- pencil
- scissors
- 5 satin ribbons (1/4 inch wide, 12 inches long, assorted colors)
- hole punch
How to Make It
- Draw a rectangle 5×3 inches on each cardboard sheet and cut out with scissors.
- Mark 10 dots 1/2 inch apart along the top and bottom long edges.
- Punch holes at each dot using the hole punch.
- Cut each ribbon to 12 inches and tie a knot at one end.
- Thread one ribbon through the first bottom hole and weave it up and down through alternating top and bottom slots, pulling gently each time.


18. Mitten Cutout Lacing
Moderate
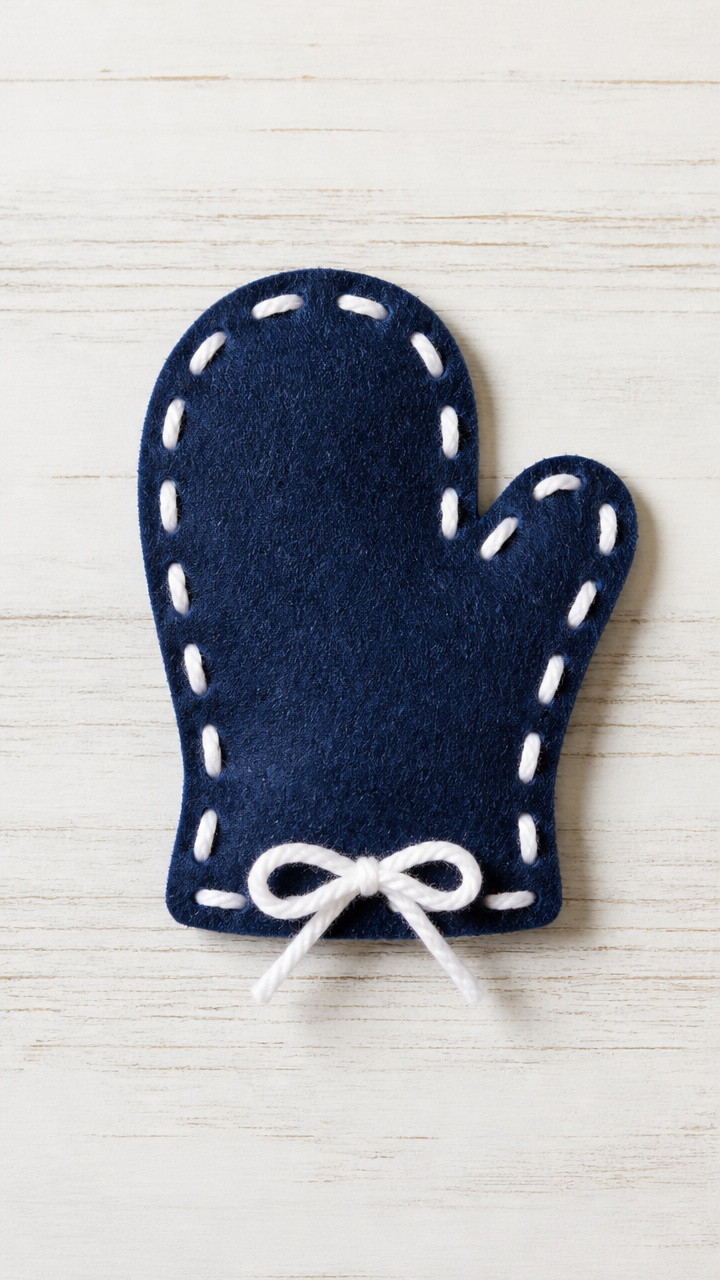
Felt mittens with punched holes accept yarn laces for threading practice. The soft loops build bilateral coordination.
Materials Needed
- 1 sheet thick craft felt (navy)
- scissors
- pencil
- hole punch
- embroidery floss (white, 18 inches)
- large-eye blunt needle
How to Make It
- Draw a mitten shape 5 inches tall on the felt and cut it out with scissors.
- Mark 10 dots evenly spaced around the mitten edge with pencil.
- Punch a hole at each dot using the hole punch.
- Thread the needle with floss and tie a knot at the end.
- Let your child push the needle through each hole in order, going front to back, to lace the mitten shut.


19. Snow Globe Jars
Moderate
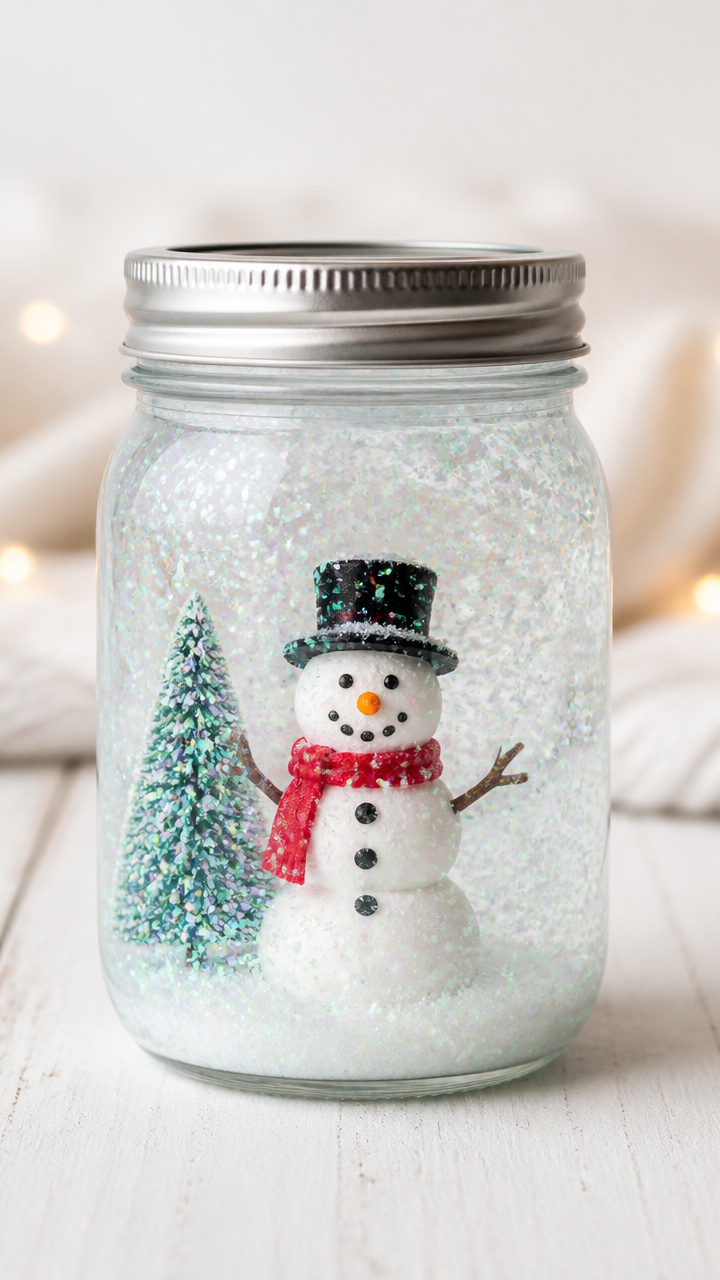
Clear jars shake into swirling blizzards with glitter and glycerin. These handheld storms fit perfectly in small palms.
Materials Needed
- 4 clean glass baby food jars with lids
- distilled water
- 1 tablespoon clear craft glue
- 1/2 teaspoon iridescent glitter
- 3 drops glycerin
- small plastic snowman figure (1 inch)
- hot glue gun and glue stick
How to Make It
- Use hot glue to attach one snowman figure to the inside center of each jar lid. Let cool for 2 minutes.
- Fill each jar to 1/2 inch below the rim with distilled water.
- Add 1/4 tablespoon craft glue, a pinch of glitter, and 1 drop glycerin to each jar.
- Screw the lid on tightly and shake gently to test swirl. Add more glitter if needed.
- Seal the lid-thread junction with hot glue to prevent leaks.


20. Playdough Snow People
Easy
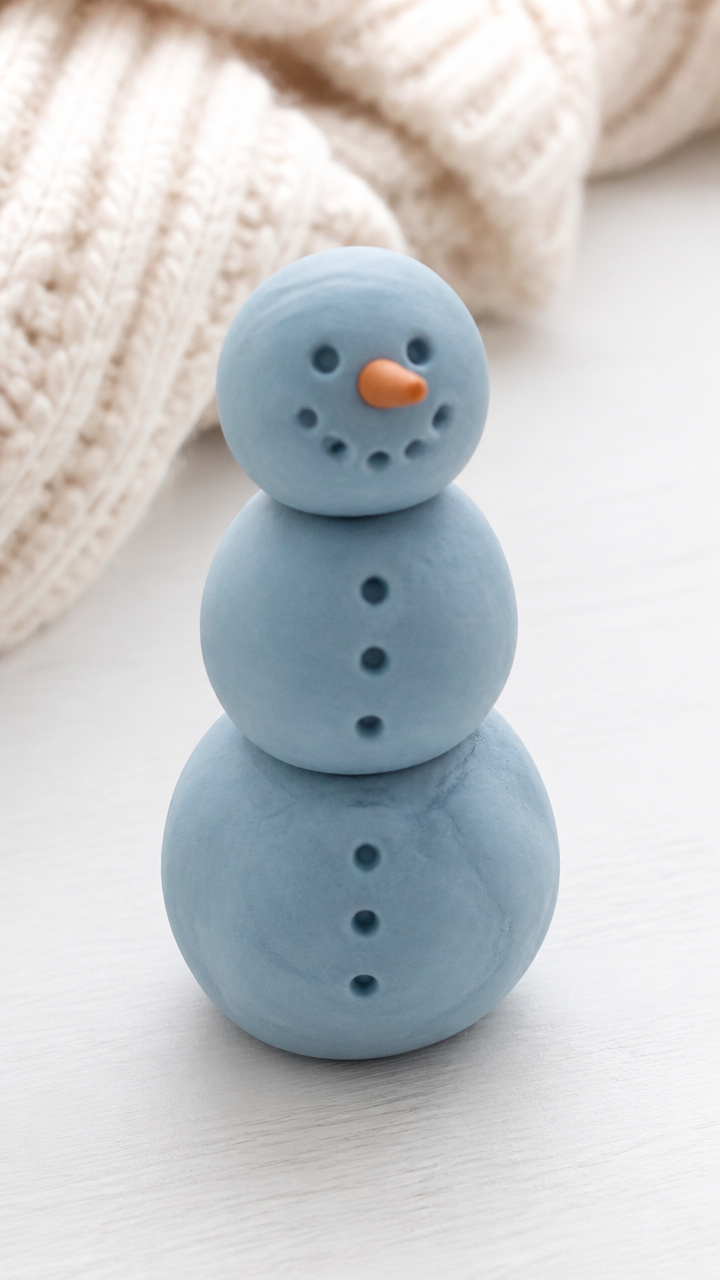
Homemade blue-tinted playdough rolls into snowy bodies and stacks with button details. Cool color and soft moldability extend playtime.
Materials Needed
- 1 cup all-purpose flour
- 1/4 cup salt
- 1 tablespoon cream of tartar
- 1 cup water
- 1 tablespoon vegetable oil
- 5 drops blue food coloring
- 10 black adhesive dots (6mm)
- small plastic knife
How to Make It
- Mix flour, salt, and cream of tartar in a saucepan. Add water, oil, and food coloring.
- Cook over medium heat, stirring constantly, until the mixture forms a soft ball (about 3 minutes).
- Transfer to a plate and cool for 5 minutes until safe to touch.
- Knead gently for 1 minute until smooth. Divide into three unequal portions for head, body, base.
- Roll balls, stack them, and press adhesive dots for eyes and buttons. Use the knife to carve scarves or smiles.
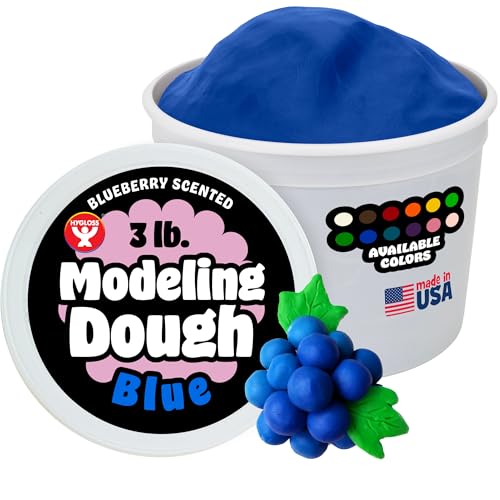


Grab a few supplies and start with the one that catches your eye. Small hands grow so much when they’re busy making.