15 Easy January Crafts for Toddlers (Mess-Light and Fun)

Crisp mornings, cozy sweaters, and little hands eager to create—January is the perfect time to settle in with simple crafts that spark joy without taking over your kitchen table. These activities use everyday materials and focus on sensory fun, fine motor skills, and bright results, all while keeping cleanup quick and stress low.
Each idea is built for short attention spans and growing confidence. You’ll find no complicated setups or hard-to-find supplies, just playful moments that turn quiet afternoons into something special.
1. Fingerprint Snowmen Cards
Easy
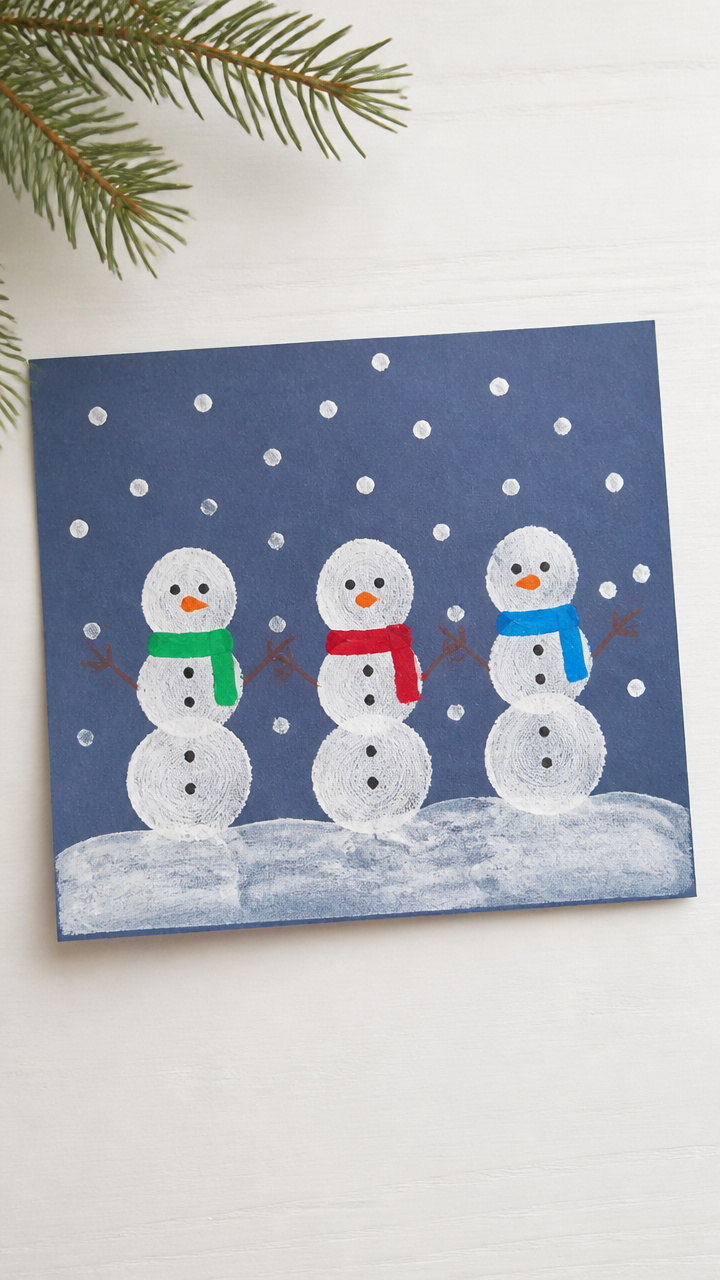
Tiny black fingerprints grow into cheerful snowmen with just a few pen details. These handmade cards make sweet gifts for family or daycare friends.
Materials Needed
- White A6 cardstock (6 sheets)
- Black washable ink pad
- Fine-tip orange marker
- Thin black marker
- Red crayon
How to Make It
- Press your toddler’s fingertip onto the black ink pad, then stamp it near the bottom third of a cardstock sheet to form the snowman body.
- Repeat with a second, slightly smaller fingerprint above it for the head, letting the two overlap slightly.
- Use the orange marker to draw a small triangle for the nose beneath the top print.
- Add two tiny dots for eyes and a smiling mouth with the black marker.
- Draw a short horizontal line across the lower print with the red crayon to make a scarf.


2. Pom-Pom Window Icicles
Easy
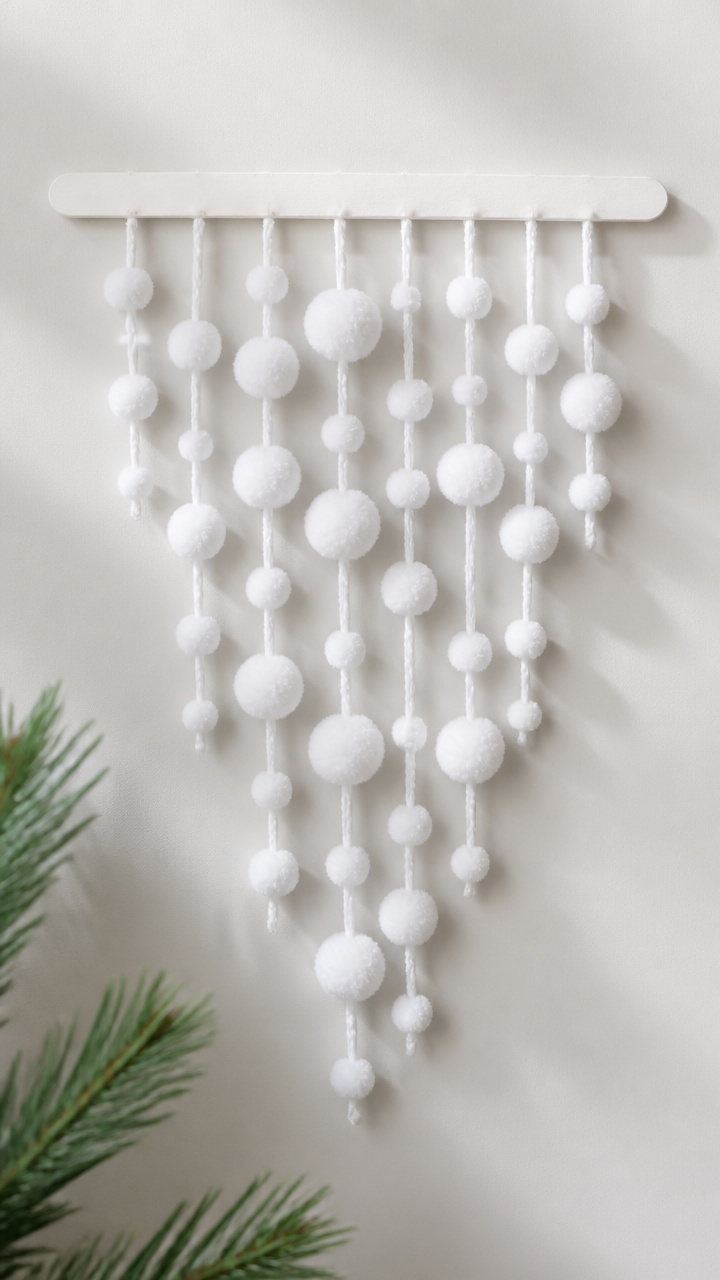
Fluffy white pom-poms dangle from craft sticks like frosty icicles, catching the winter light on windows or walls. This craft builds pincer grip strength through threading.
Materials Needed
- Jumbo white craft sticks (6)
- 3mm white pom-poms (30)
- Clear tape
- Hole punch
- White yarn (12 inches per stick)
How to Make It
- Use the hole punch to make one hole at the top end of each craft stick.
- Cut 12-inch lengths of yarn and thread one through each hole, tying the ends to form a hanging loop.
- Tape one pom-pom at a time to the sticky side of a small piece of tape, then press it to the stick below the hole.
- Continue taping pom-poms down the length of the stick, spacing them 1 inch apart, until the stick is full.
- Hang the icicles from a curtain rod or taped string using the yarn loops.
3. Cotton Ball Snowy Trees
Easy
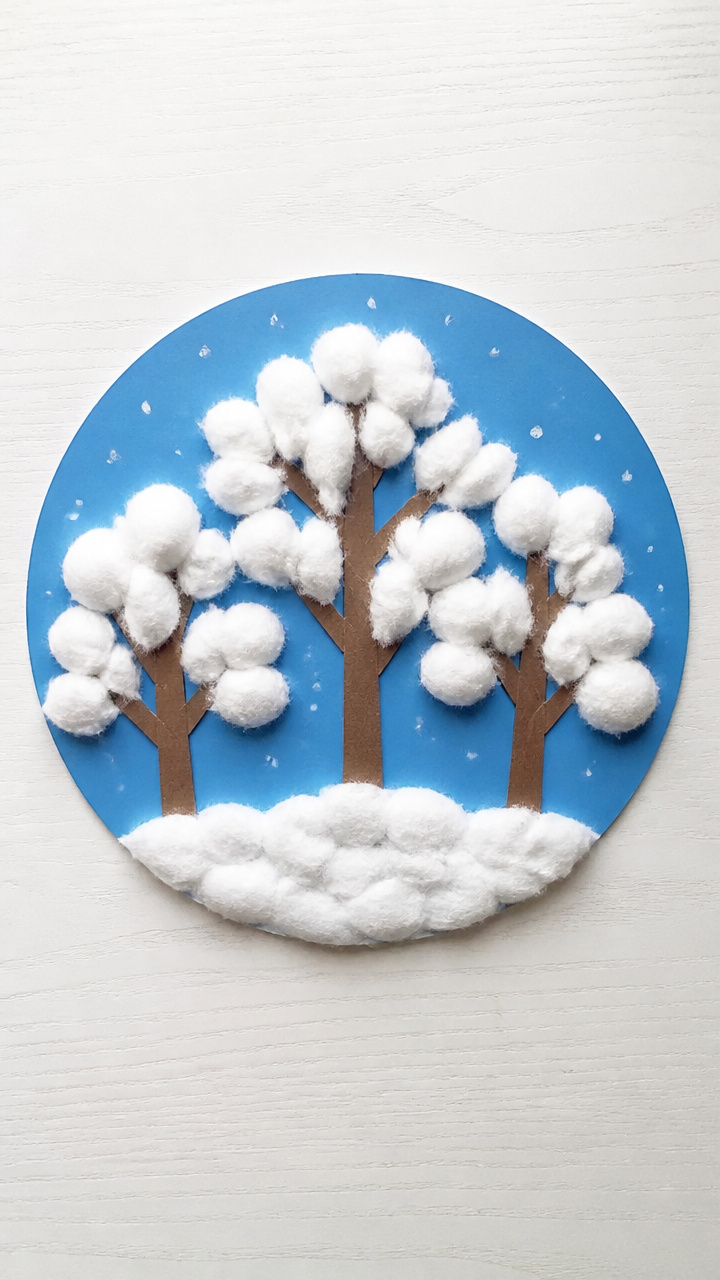
Soft cotton balls pile up at the base of brown paper trees, creating a wintery forest scene with gentle texture and contrast. Perfect for storytelling afterward.
Materials Needed
- Green finger paint (non-toxic, 2 oz)
- Brown construction paper (8.5 x 11 inches, 3 sheets)
- Scissors
- Glue stick
- White cotton balls (20)
- Blue A4 cardstock (3 sheets)
How to Make It
- Cut each brown sheet into three vertical strips, about 1 inch wide, to make tree trunks.
- Glue one strip vertically onto the lower third of each blue cardstock sheet.
- Squeeze a small dot of green paint onto your toddler’s fingertip and help them dab it above the trunk to form a lumpy tree top.
- Let the paint dry completely, about 15 minutes.
- Apply glue with the glue stick along the base of each tree and press cotton balls into the glue to look like snowdrifts.


4. Q-Tip Snowflake Prints
Easy
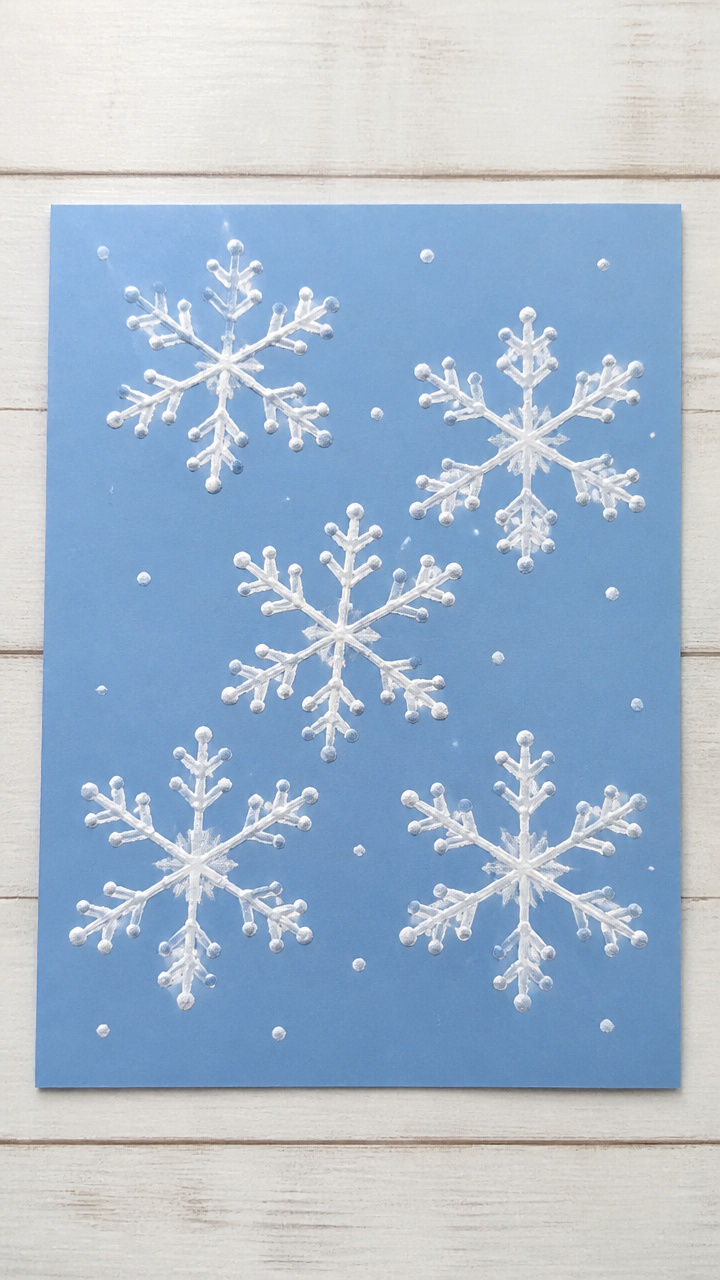
Dabbing paint with bundled Q-tips creates symmetrical snowflake patterns that surprise and delight. Each print looks unique and fits into a seasonal display.
Materials Needed
- White tempera paint (2 oz)
- Shallow plastic tray
- Cotton swabs (Q-tips, 12)
- Rubber bands (3)
- Blue A4 cardstock (6 sheets)
How to Make It
- Group four Q-tips together and secure them at the center with a rubber band to make a star shape.
- Pour white tempera paint into the tray and dip the tips of the Q-tip bundle into the paint.
- Press the painted tips firmly onto the cardstock in a single stamp to form a snowflake burst.
- Lift straight up to avoid smudging and let the print dry flat for 10 minutes.
- Repeat with clean bundles and fresh paper to make a set of six prints.


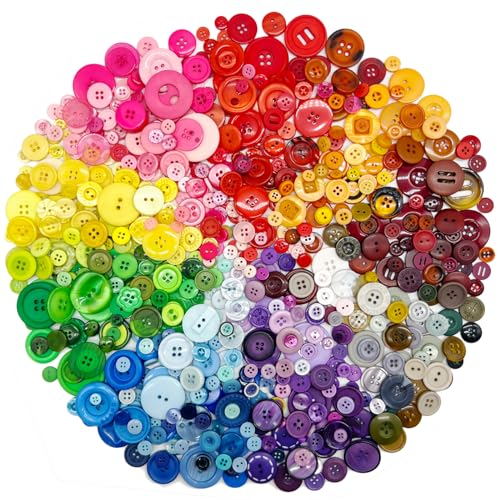
5. Button Mitten Shapes
Easy
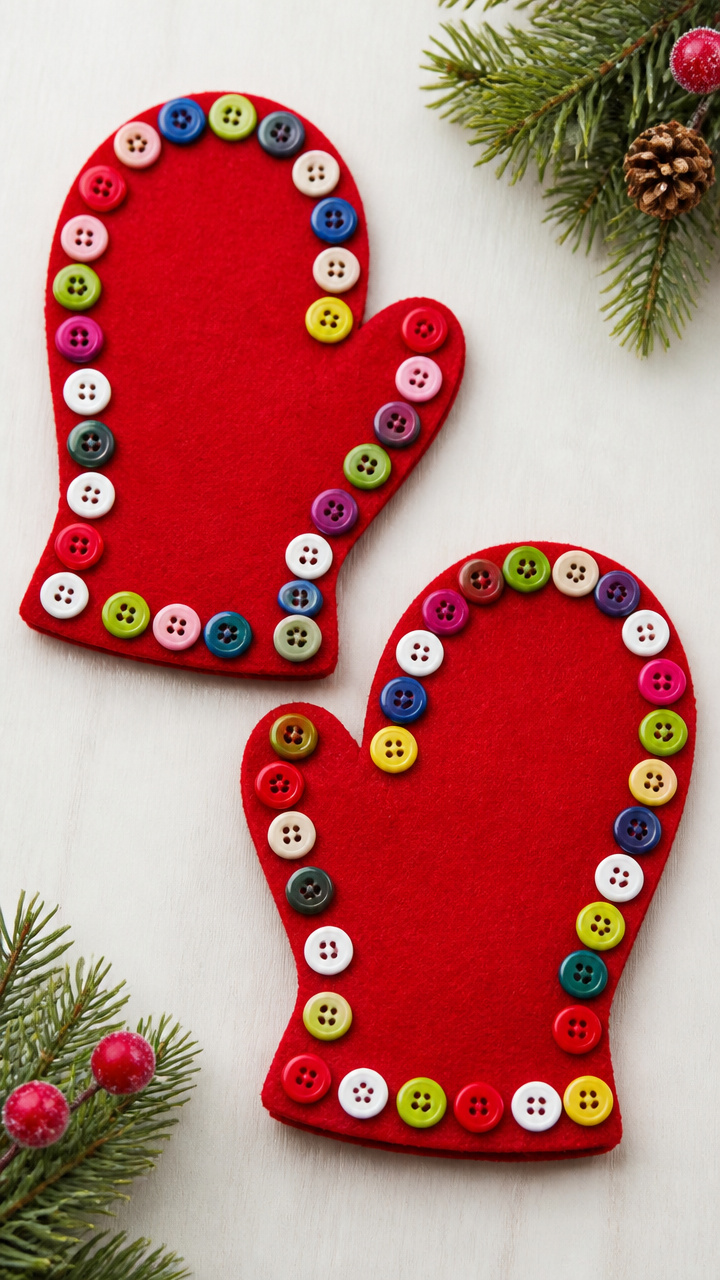
Colorful buttons nestle into glued mitten outlines, offering sorting and placing fun. The finished pieces can become fridge art or gift tags.
Materials Needed
- Red felt sheet (9 x 12 inches)
- Scissors
- Fabric glue (1 oz)
- Assorted buttons (15, various sizes under 1 inch)
- Pencil
How to Make It
- Draw two large mitten shapes on the felt with the pencil, each about 5 inches tall, and cut them out.
- Draw a thick outline of glue around the edge of one mitten, leaving the center empty.
- Squeeze a small dot of glue wherever your toddler wants to place a button inside the outline.
- Press one button into each glue dot, holding for 3 seconds to set.
- Let the mitten dry flat for 20 minutes before displaying or attaching a string to hang.


6. Sticker Snow Scenes
Easy
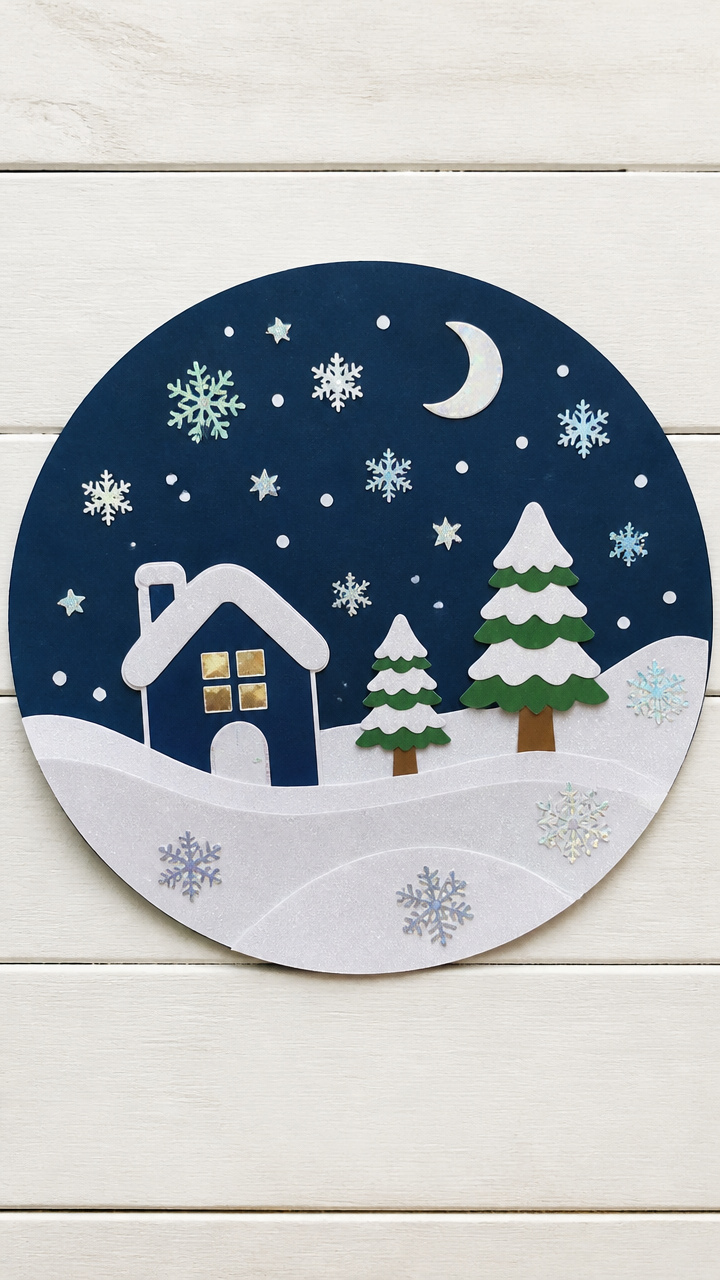
Pre-cut stickers of trees, snowmen, and birds stick easily to dark paper, letting toddlers compose their own winter landscapes fast. No drying time means instant pride.
Materials Needed
- Dark blue A4 cardstock (4 sheets)
- Winter-themed foam stickers (set of 30)
- White chalk stick (1)
How to Make It
- Hand your toddler the dark cardstock and let them choose where to place the foam stickers.
- Peel the backing off each sticker and press it firmly onto the paper.
- Once all stickers are placed, rub the chalk lightly across the paper to add falling snowflakes.
- Use a fingertip to smudge some chalk into soft clouds near the top of the page.
- Display the scene on a wall or fridge with removable adhesive putty.
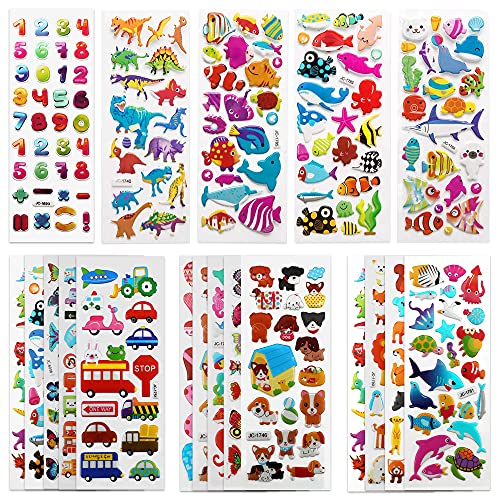


7. Yarn-Wrapped Cardboard Stars
Easy
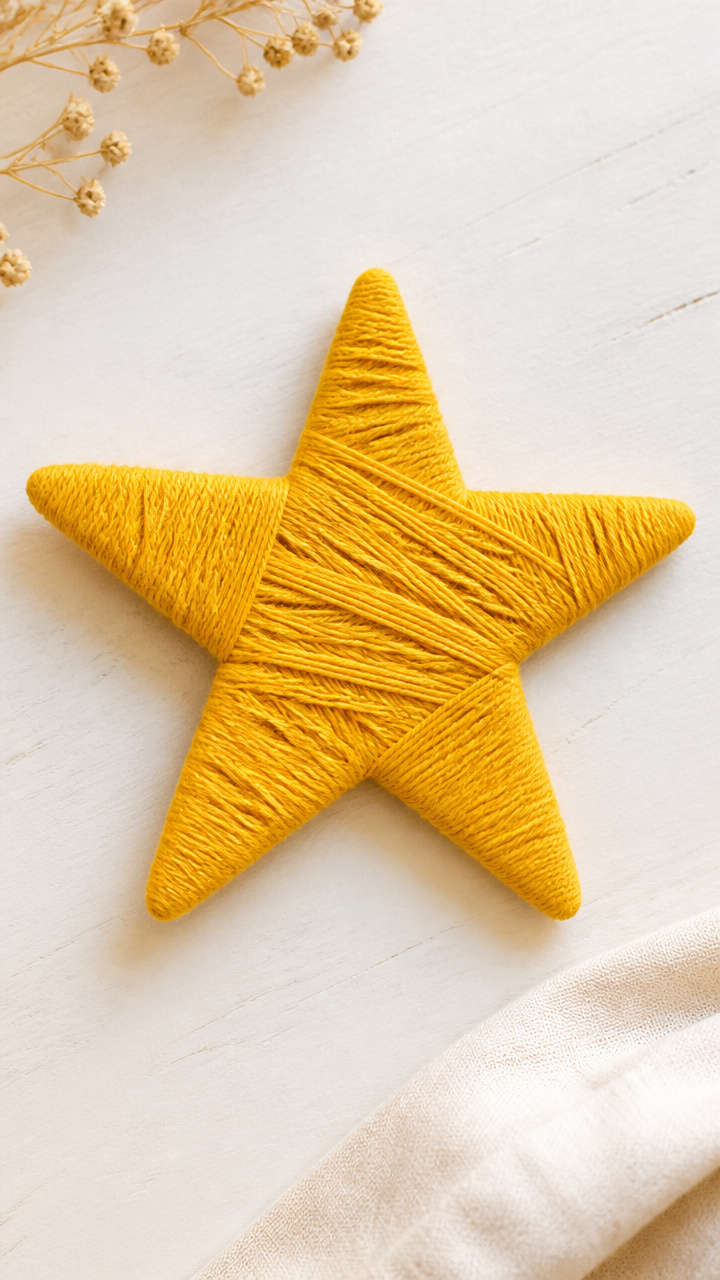
Thick yarn wraps snugly around star-shaped cardboard, building hand control and producing glitter-free sparkle. The stars hang well on doors or shelves.
Materials Needed
- Cardboard (cereal box thickness, 1 sheet)
- Scissors
- Pencil
- Yellow yarn (medium weight, 10 yards)
- White glue
- Hole punch
How to Make It
- Draw a 4-inch star on the cardboard with the pencil and cut it out with scissors.
- Punch a small hole near the top tip of the star for hanging.
- Put a drop of glue at the base of one star point and press the yarn end into it.
- Wrap the yarn tightly around each point, moving from one tip to the next, covering the entire shape.
- When the star is fully wrapped, add another drop of glue to secure the yarn end and let dry 15 minutes.
8. Crayon Resist Ice Windows
Easy
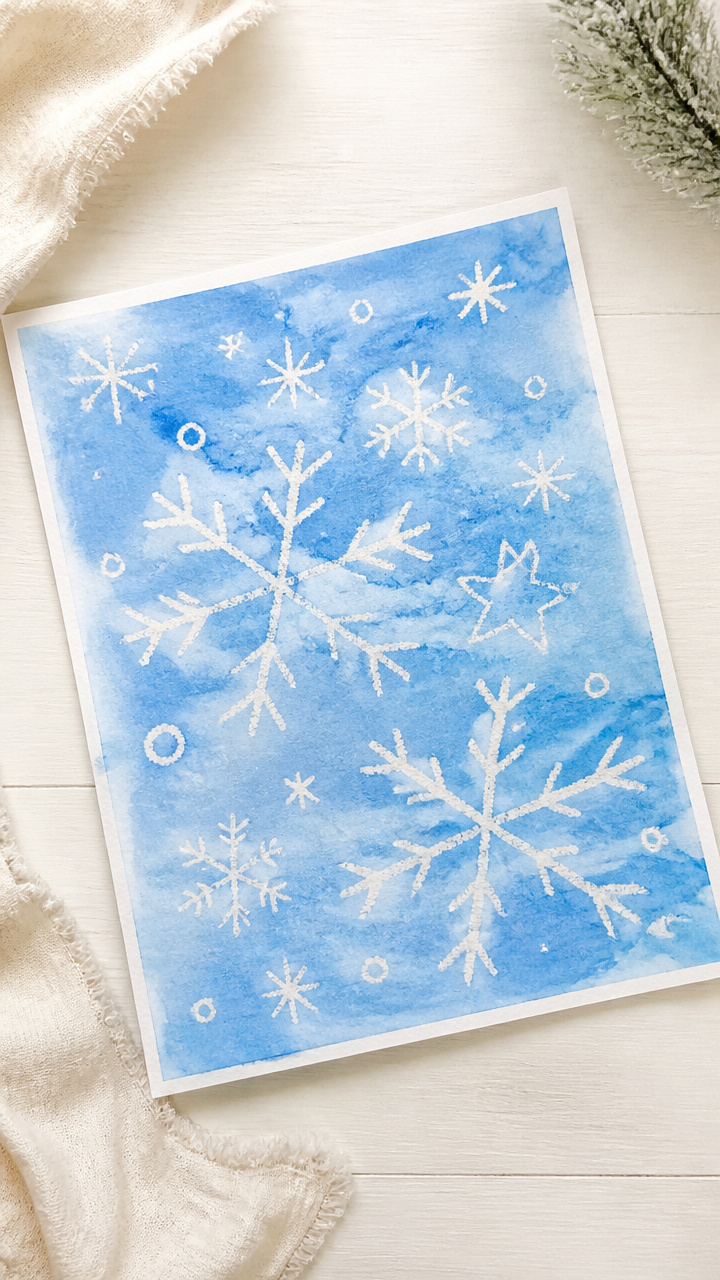
Drawing with white crayon first hides a secret image that appears when painted over with blue watercolor. The magic moment delights every time.
Materials Needed
- White drawing paper (8.5 x 11 inches, 4 sheets)
- White crayon
- Blue liquid watercolor (1 oz)
- Paintbrush (1 inch flat)
- Spray bottle with water
How to Make It
- Let your toddler draw icy swirls, snowflakes, or windowpanes on the paper using the white crayon with firm pressure.
- Pour blue watercolor into a dish and wet the paintbrush in it.
- Paint a thin, even layer of blue over the entire drawing, watching the crayon lines resist the color and appear.
- Mist the painted page lightly with the spray bottle to create a frosty blur effect.
- Lay flat to dry for 10 minutes before displaying on a light-colored wall.


9. Pinecone Bird Feeders
Easy
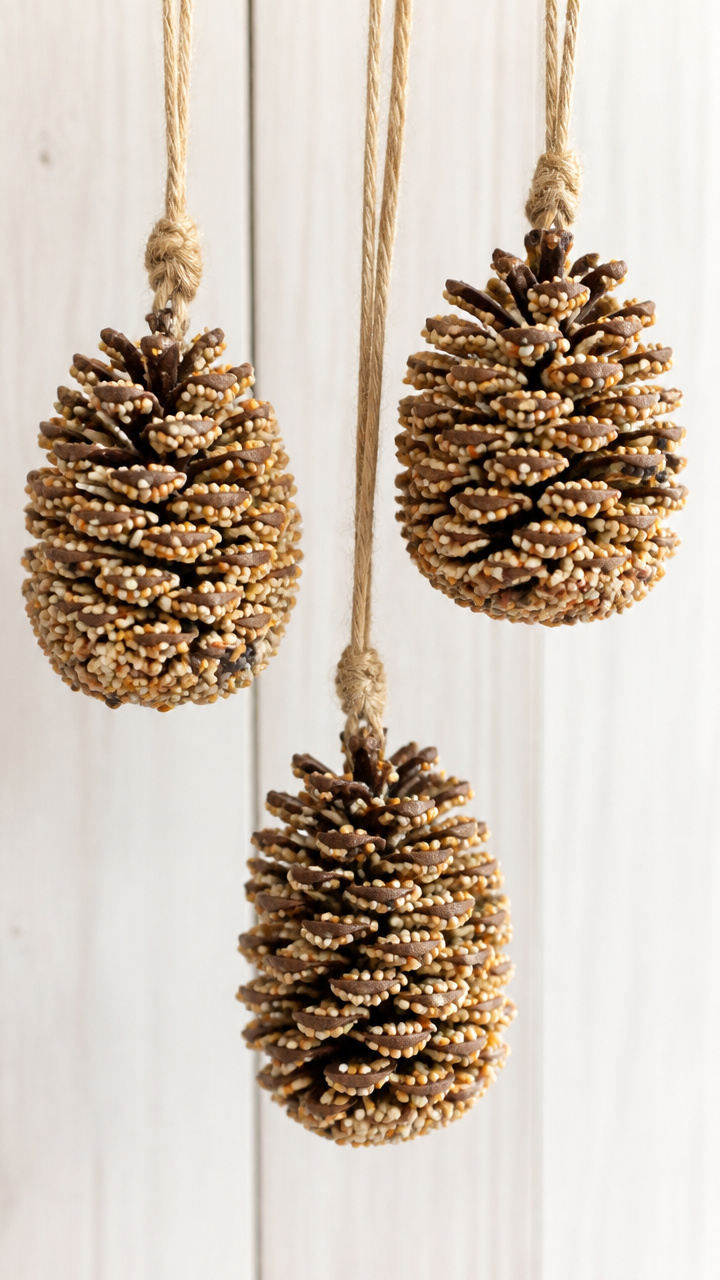
A real pinecone becomes a crunchy snack holder for backyard birds when coated in peanut butter and birdseed. It doubles as a nature-based sensory activity.
Materials Needed
- Large pinecones (3, cleaned and dry)
- Smooth peanut butter (3 tablespoons)
- Birdseed (1/2 cup)
- Butter knife
- Twine (12 inches per pinecone)
How to Make It
- Tie a piece of twine around the top of each pinecone stem to make a hanger.
- Spread one tablespoon of peanut butter onto each pinecone using the butter knife, working it into the crevices.
- Pour birdseed into a shallow bowl and roll the peanut butter side of the pinecone in it until fully coated.
- Place the feeder on a plate and let it sit for 10 minutes to set.
- Hang it from a tree branch outside and watch for visiting birds.


10. Sock Snowball Toss
Easy
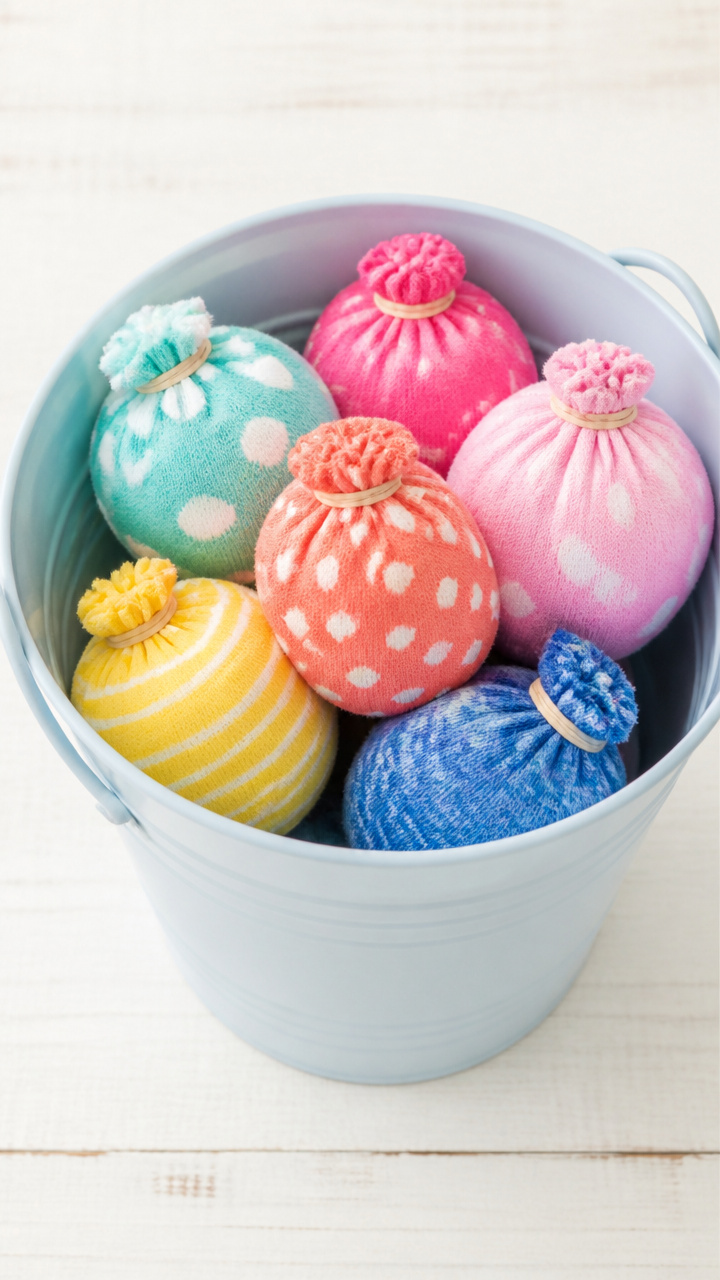
Rolled-up mismatched socks become soft snowballs for indoor target play. This craft ends in active fun, not just a static project.
Materials Needed
- Mismatched clean baby socks (6)
- Polyester stuffing (1/4 cup)
- Rubber bands (6)
- Painter's tape
- Bucket or laundry basket
How to Make It
- Fill each sock with 1 tablespoon of polyester stuffing and pull the foot tight to gather the fabric.
- Secure the gathered end with a rubber band to seal the stuffing inside.
- Roll the sock into a firm ball shape, smoothing the fabric evenly.
- Use painter's tape to mark a bullseye or zone on the floor or wall.
- Take turns tossing the sock snowballs into the bucket or at the target.


11. Glitter Glue Snow Globes
Easy
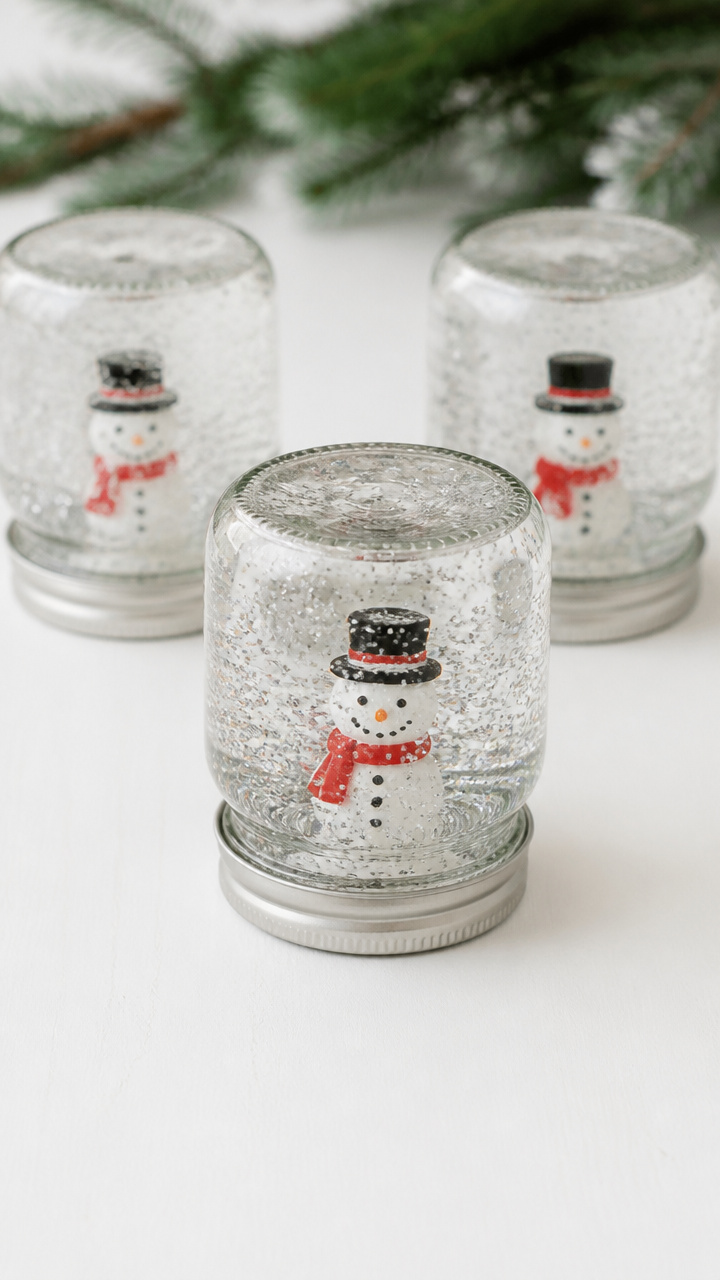
Mini jars filled with water, glitter, and a glued figure become shakeable winter worlds. These stay sealed so they won’t leak on furniture.
Materials Needed
- Small glass jars with lids (3, 4 oz size)
- Clear school glue (1 oz)
- Fine silver glitter (2 teaspoons)
- Distilled water (3 tablespoons)
- Mini plastic snowman figures (3)
How to Make It
- Place one snowman figure upright in the bottom of each jar.
- Mix 1 teaspoon of glue with 2 teaspoons of glitter in a bowl, then spoon the mixture into each jar around the figure.
- Fill each jar with 3 tablespoons of distilled water, leaving a small gap at the top.
- Screw the lid on tightly and shake gently to swirl the glitter.
- Wipe the outside with a cloth and set on a shelf for shaking fun anytime.


12. Paper Plate Snowflakes
Easy
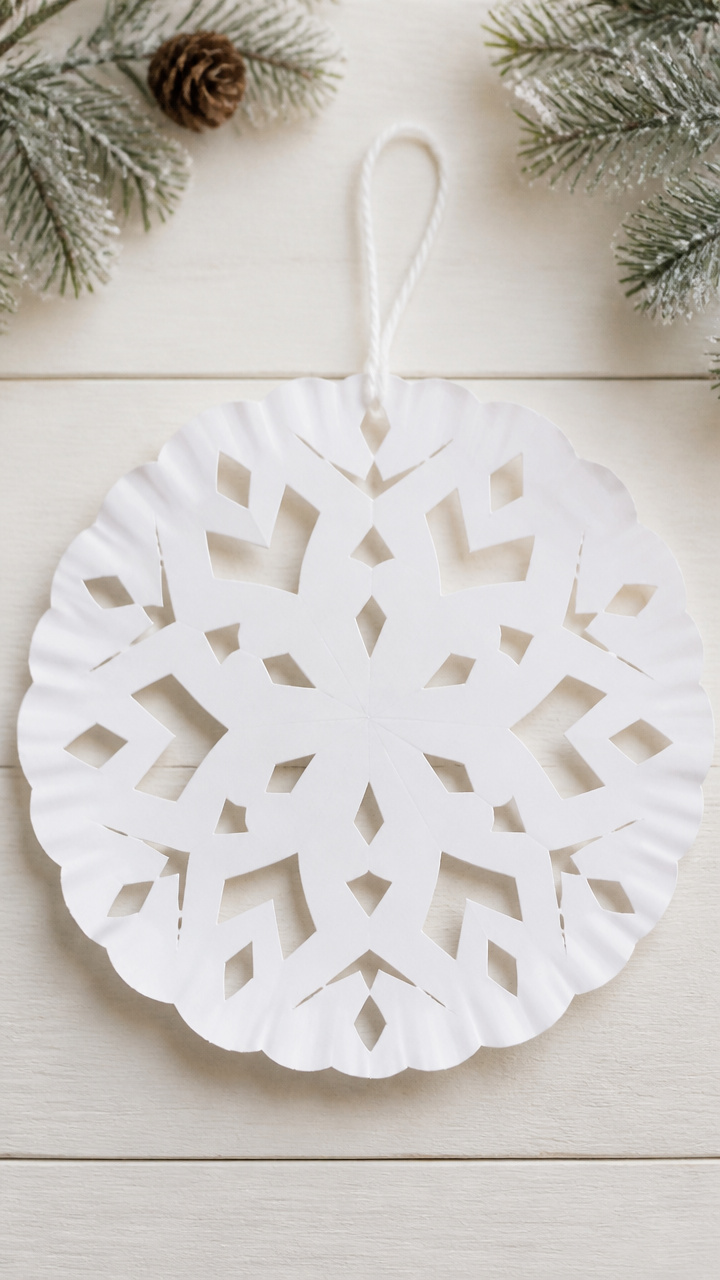
Folded plates snipped with safety scissors bloom into lacy snowflakes when unfolded. The folding builds early math awareness through symmetry.
Materials Needed
- White paper plates (6)
- Child-safe scissors
- Pencil
- Hole punch
- White yarn (6 feet total)
How to Make It
- Fold one paper plate in half, then in thirds to form a cone shape, creasing each fold sharply.
- Use the pencil to draw small triangle or curve cuts along the folded edges.
- Cut along the pencil lines with safety scissors, keeping fingers clear of the blades.
- Unfold the plate carefully to reveal the snowflake pattern.
- Punch a hole at the top and thread yarn through to hang with a knot.


13. Clothespin Penguin Friends
Easy
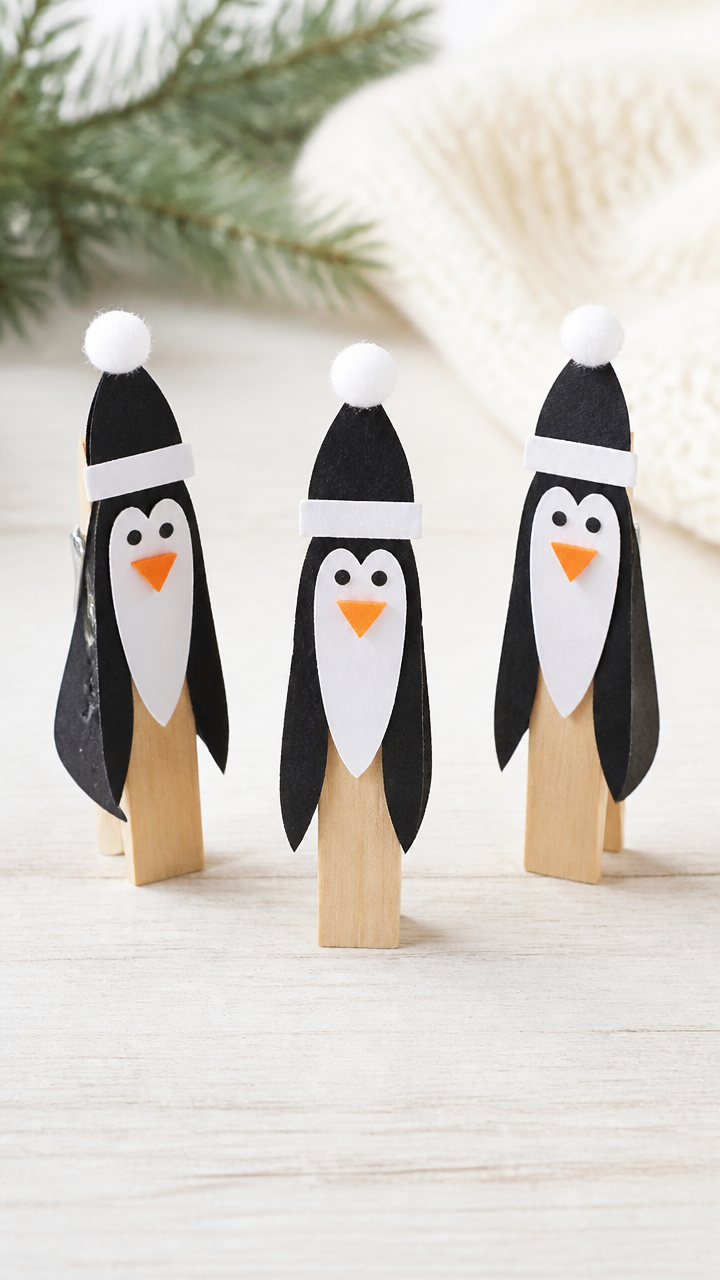
Wooden clothespins wear black and white paper hats and faces, turning into wobbly standing penguins. They perch on bookshelves or photo frames.
Materials Needed
- Wooden clothespins (6)
- Black and white cardstock (each 4 x 6 inches)
- Scissors
- Glue stick
- Orange fine-tip marker
How to Make It
- Cut six small ovals from black cardstock, about 1.5 inches tall, to make penguin bodies.
- Glue each oval vertically onto the front of a clothespin, letting the clip be the feet.
- Cut six tiny white circles from white cardstock and glue one to the upper back of each oval for a face spot.
- Draw two eyes and a beak on each white circle using the orange marker.
- Let dry for 10 minutes before propping them up to stand.
14. Shaving Cream Cloud Prints
Easy
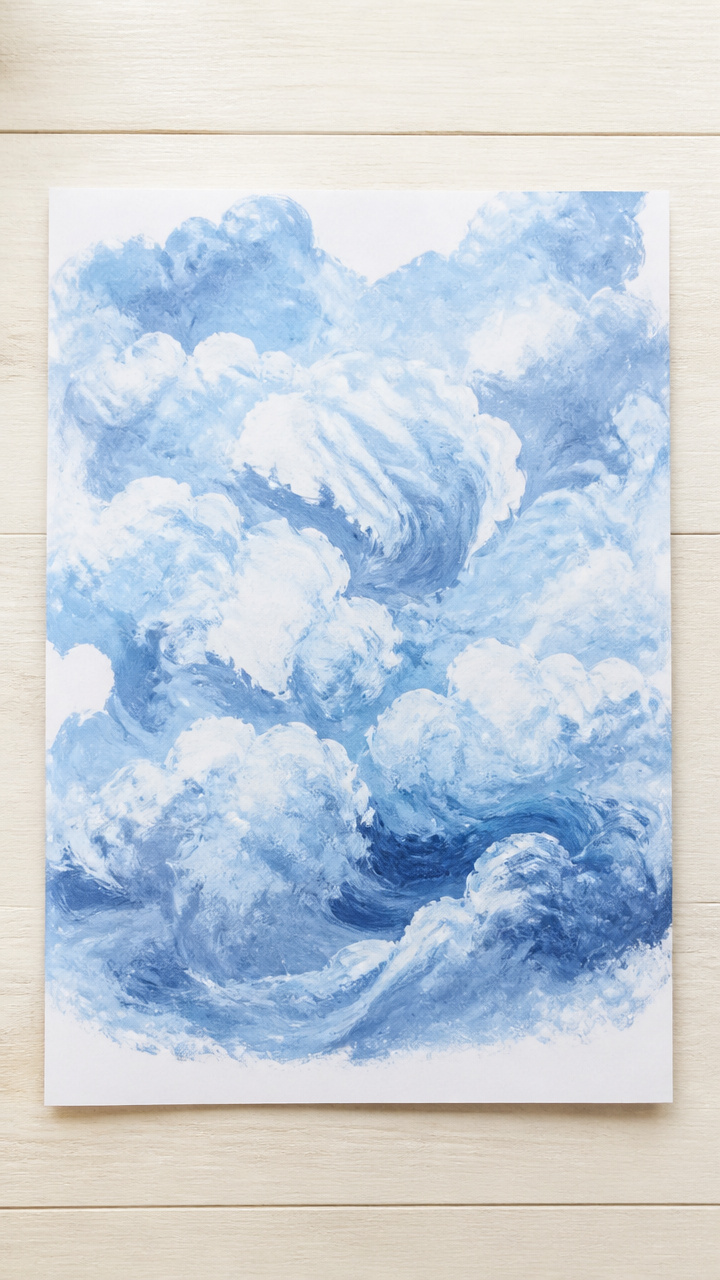
Swirling shaving cream and food coloring on paper creates marbled sky textures that look like stormy or fluffy clouds. Cleanup is a wipe-away breeze.
Materials Needed
- White drawing paper (8.5 x 11 inches, 4 sheets)
- Plain shaving cream (1 cup)
- Blue food coloring (6 drops)
- Spoon
- Flat tray (9 x 13 inches)
How to Make It
- Spread shaving cream evenly in the tray to a depth of 1 inch using the spoon.
- Drop 6 drops of blue food coloring randomly onto the cream surface.
- Drag the tip of the spoon through the drops to create swirls and streaks.
- Lay one sheet of paper gently on top of the mixture, pressing lightly to transfer the design.
- Peel the paper off slowly and lay it flat to dry for 15 minutes before touching.


15. Straw-Blown Snow Paths
Easy
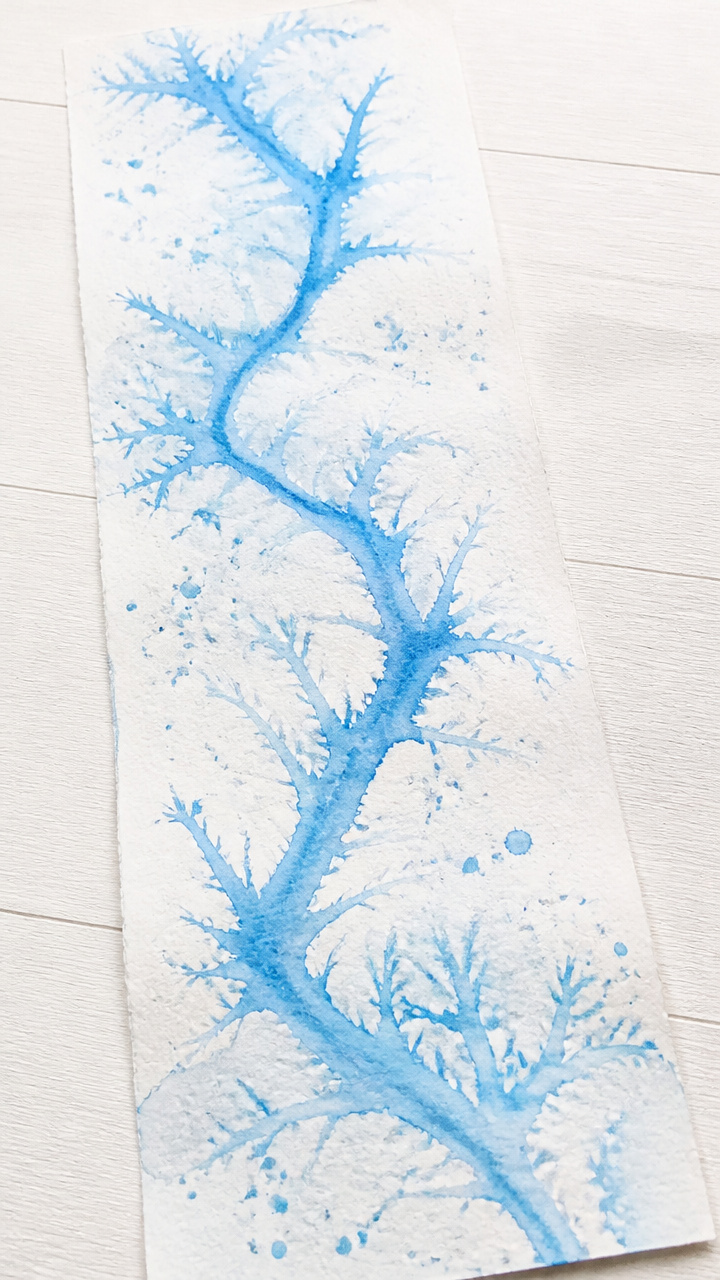
Liquid watercolor blown through straws races across paper like winter wind, forming snowy drift lines. This active method keeps little bodies engaged.
Materials Needed
- White drawing paper (8.5 x 11 inches, 3 sheets)
- Blue liquid watercolor (2 teaspoons)
- Drinking straws (3)
- Dropper
- Cardboard tray
How to Make It
- Place a sheet of paper inside the cardboard tray to catch drips.
- Use the dropper to place 3 dots of blue watercolor near the center of the paper.
- Have your toddler place the straw just above one dot and blow firmly to push the paint outward in a line.
- Repeat with new dots and a clean straw section until the page has branching paths.
- Let the artwork dry flat for 10 minutes before removing from the tray.


You’ve got everything you need right at home to bring these joyful, simple crafts to life. Pick one, gather your little helper, and let the calm, creative moments begin.