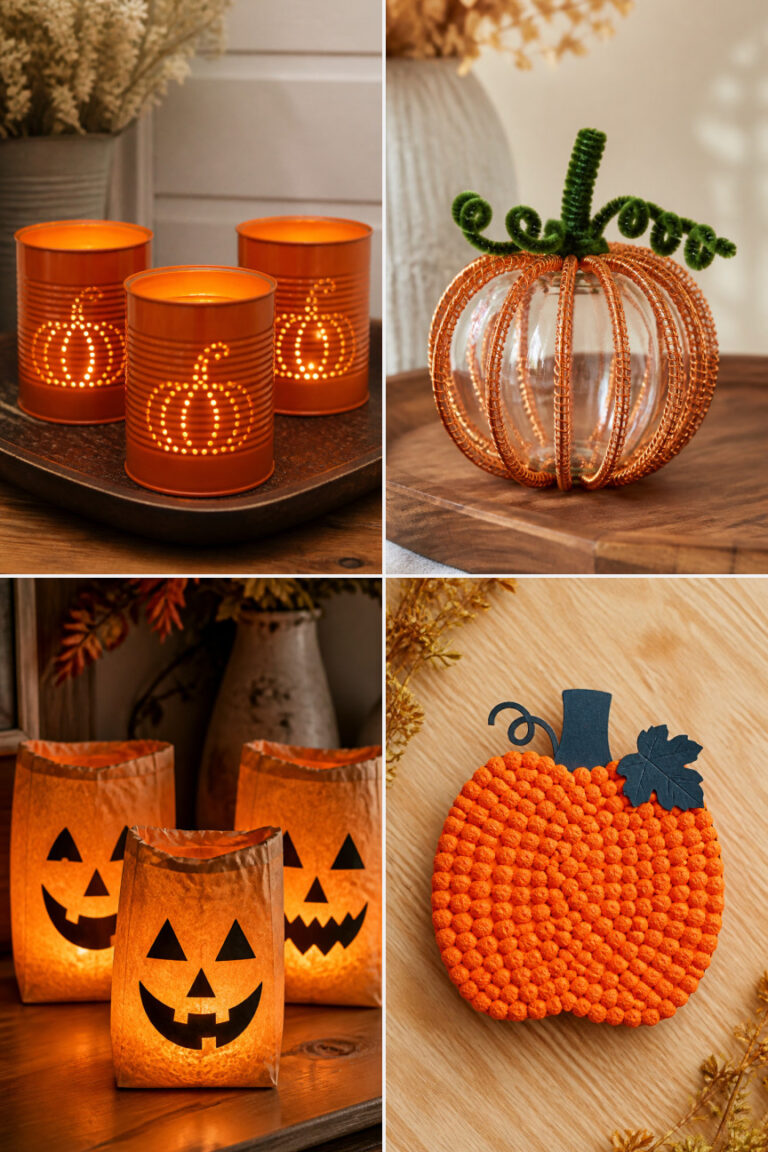
25 Easy Pumpkin Crafts Anyone Can Make

Pumpkins bring the cozy feeling of fall into your home, and you don’t need fancy skills to celebrate them. With simple supplies and a little time, you can create cheerful decorations that add warmth to your space.
These crafts use everyday materials and clear techniques. Each one is different, so you can pick what fits your style and start creating right away.
1. Salt Dough Pumpkin Ornaments
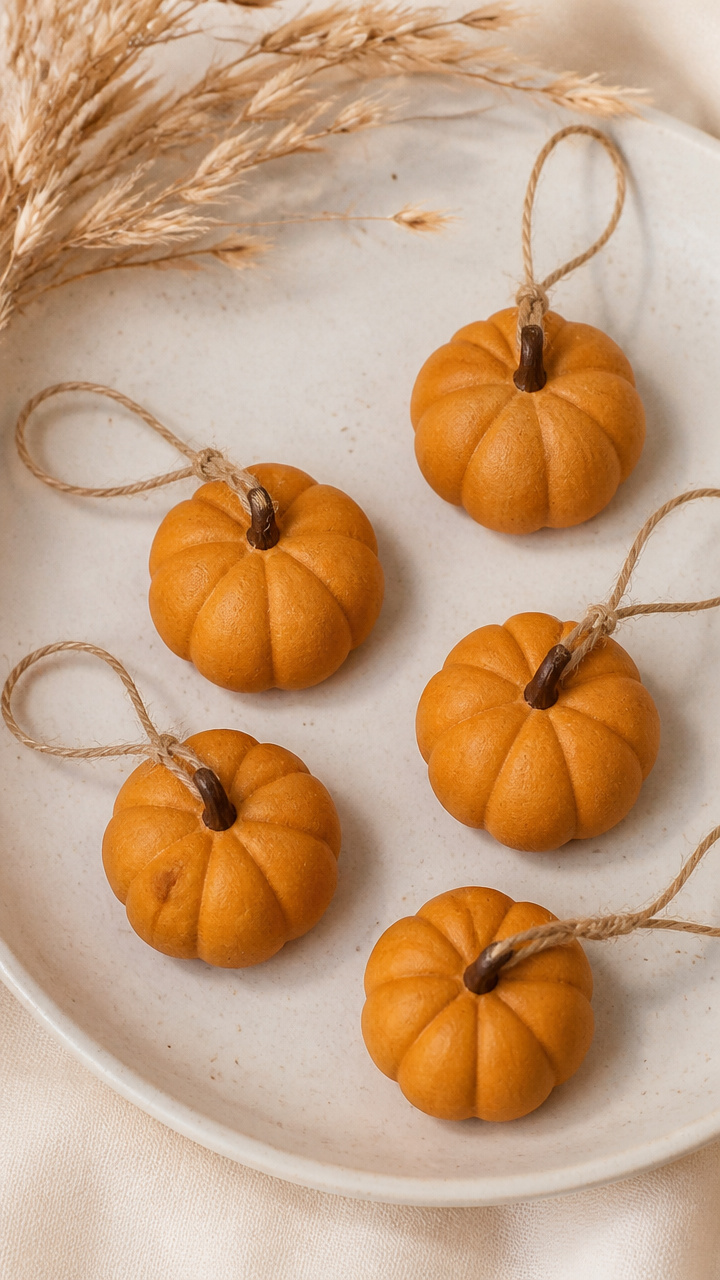
Soft golden-orange ornaments that hold their shape and smell faintly of baked dough. These tiny pumpkins hang beautifully on a tree or window.
Materials Needed
- 1 cup all-purpose flour
- 1/2 cup fine sea salt
- 1/2 cup warm water
- orange acrylic paint
- small paintbrush
- pencil
- baking sheet
- parchment paper
- hole punch (small)
- brown embroidery floss, 12 inches
How to Make It
- Mix flour, salt, and warm water in a bowl until a smooth dough forms, kneading briefly with your hands.
- Roll out the dough to 1/4 inch thick, then use a pumpkin-shaped cookie cutter or draw and cut six teardrop shapes per ornament.
- Press a pencil tip near the top to make a hanging hole, then place shapes on a parchment-lined baking sheet.
- Bake at 200°F for 3 hours until hard, let cool completely, then paint each layer with orange acrylic paint.
- Thread brown floss through the hole and knot for hanging.


2. Painted Mason Jar Pumpkins
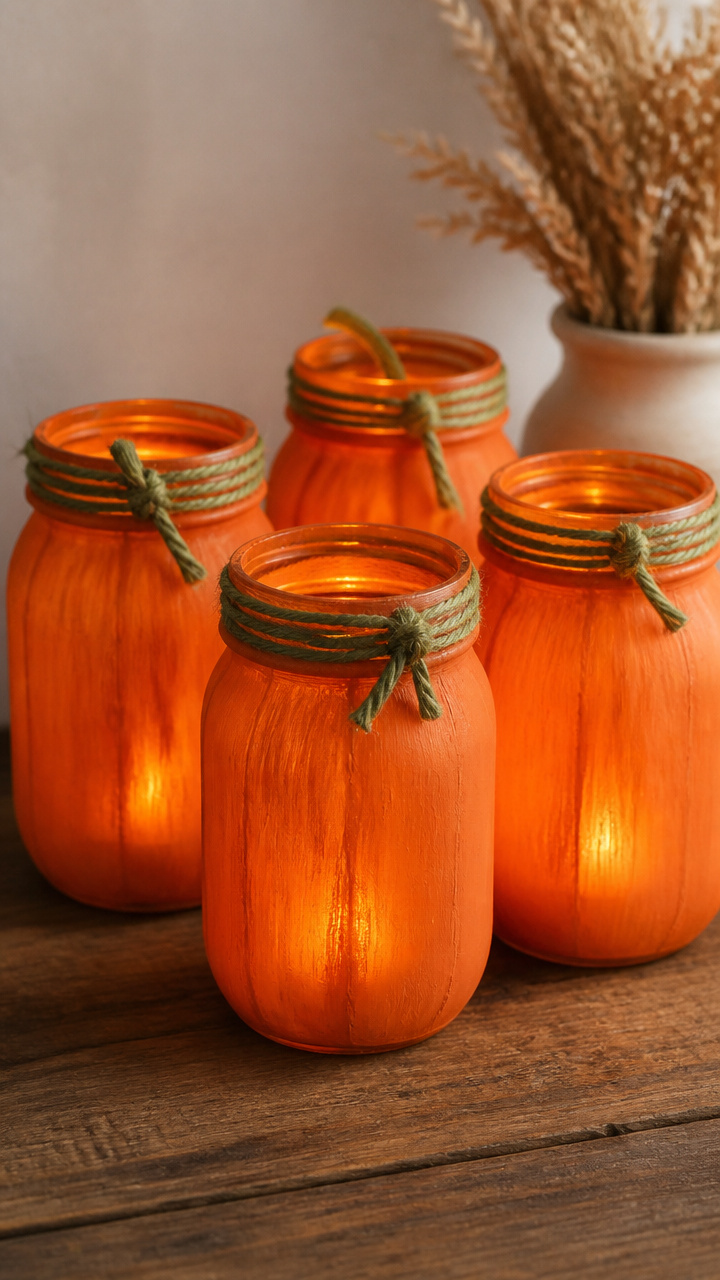
Glowing jars with hand-painted orange bodies and twine stems. These hold tea lights and cast soft autumn light.
Materials Needed
- 4 clean pint-sized mason jars
- orange acrylic paint
- green craft paint
- paintbrush set (small round and flat)
- twine, 6 inches per jar
- hot glue gun and glue sticks
- tea light candles
How to Make It
- Wipe each jar with rubbing alcohol to remove oils, then let dry completely.
- Paint the entire outside of each jar with two coats of orange acrylic paint, letting each dry 20 minutes between coats.
- Use the small brush to paint a short green stem on top of each jar’s metal ring.
- Wrap twine around the neck of each jar and secure with a dot of hot glue.
- Place a tea light inside each jar before displaying on a shelf or table.


3. Felt Pumpkin Garland
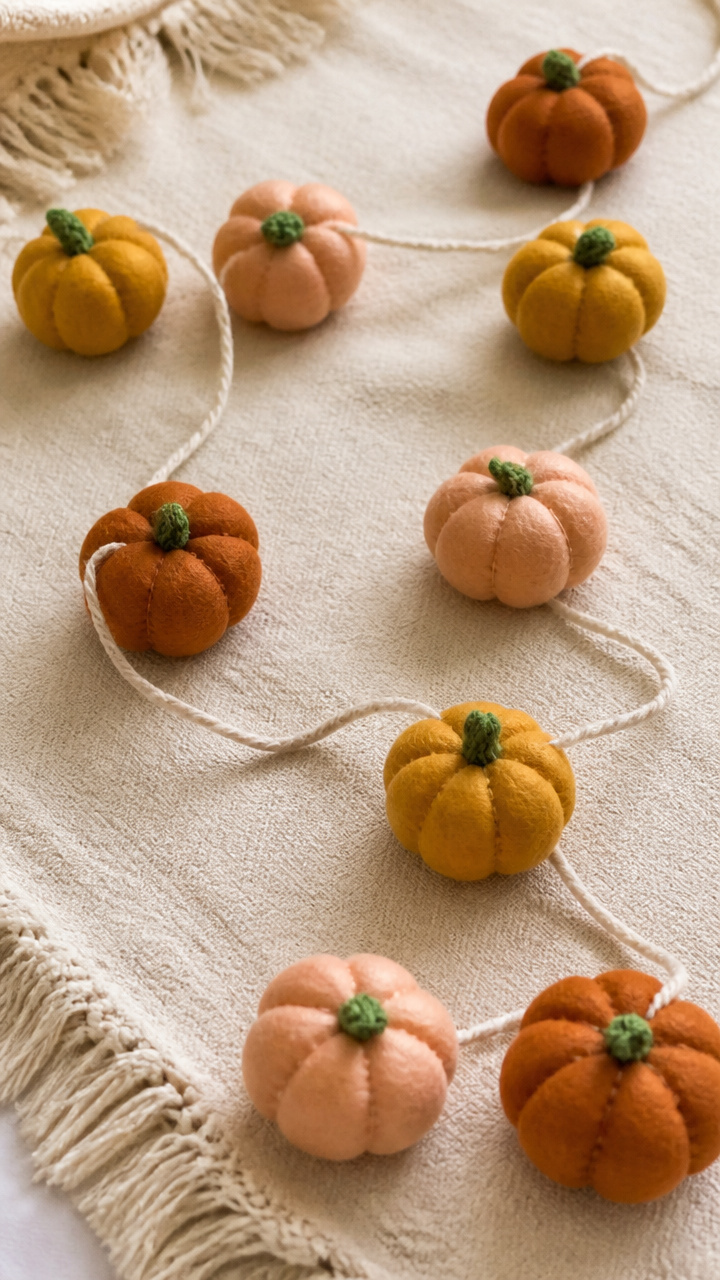
A string of plush mini pumpkins in warm shades of rust, peach, and gold. This soft garland drapes gently over mantels or mirrors.
Materials Needed
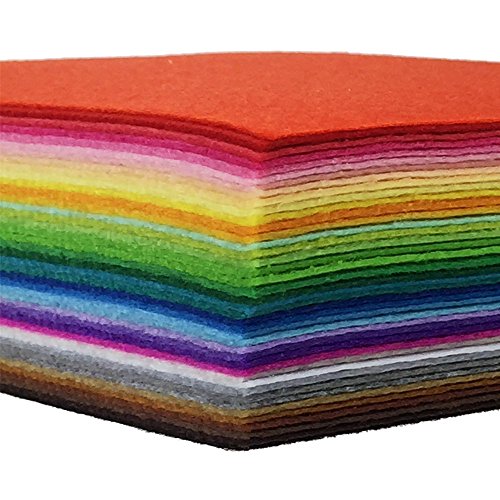
- Orange felt sheet, 9×12 inches
- Rust felt sheet, 9×12 inches
- Gold felt sheet, 9×12 inches
- Scissors
- Yarn needle
- Green embroidery floss
- White cotton thread
- Pencil
- Ruler
- Yard of jute twine
How to Make It
- Draw six 3-inch circles on each felt color using a compass or plate edge, then cut them out.
- Stack two matching circles and sew around the edge with white thread using a running stitch, leaving a 1-inch gap.
- Fill each pouch lightly with polyester fiberfill before sewing it closed.
- Sew a green floss stem to the top of each pumpkin with three backstitches.
- Thread the jute twine through the tops of the pumpkins using the yarn needle, spacing them 3 inches apart.


4. Pumpkin Paper Lanterns
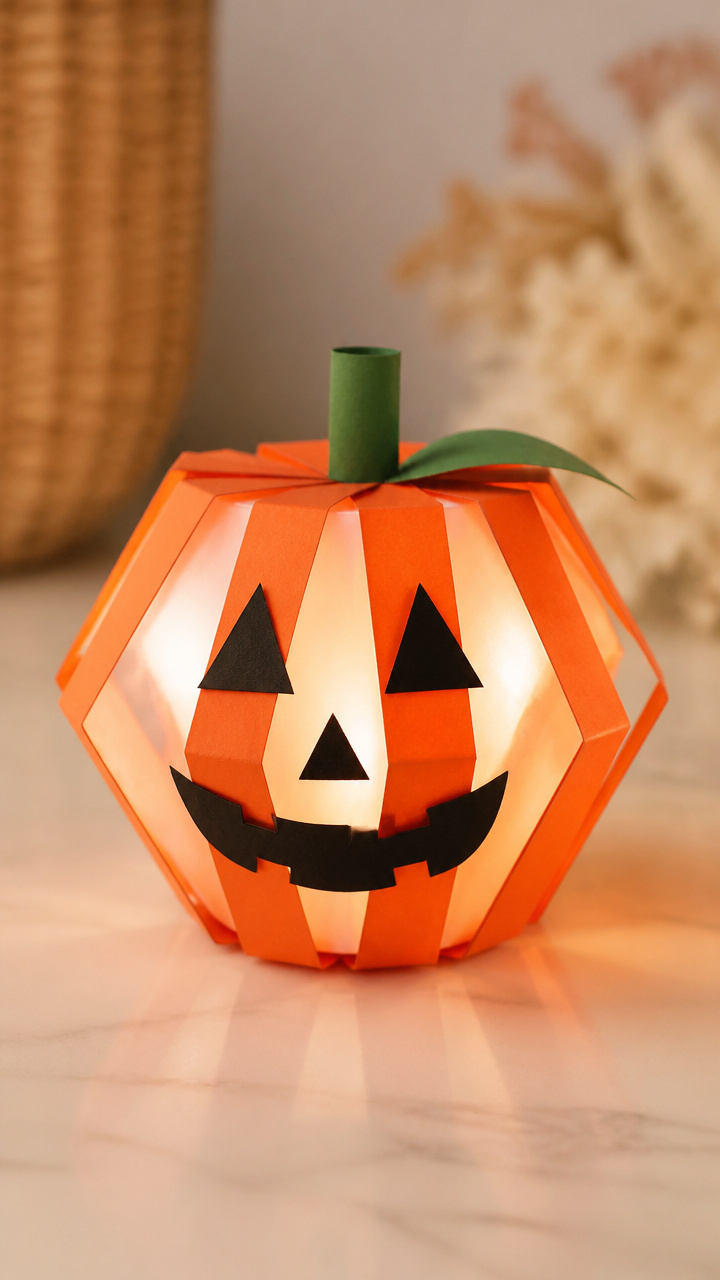
Folded cardstock boxes with glowing faces that shine when lit. These are safe indoor lanterns for kids’ rooms or hallways.
Materials Needed
- A4 orange cardstock, 6 sheets
- Black construction paper
- Craft knife
- Cutting mat
- Ruler
- White glue
- Double-sided tape
- LED tea light
How to Make It
- Score each cardstock sheet 1 inch from every edge, then fold along the lines to form a box base.
- Glue the flaps together to secure the box shape, using clamps or books to hold while drying for 10 minutes.
- Cut simple jack-o'-lantern faces from black paper and attach with double-sided tape to each side.
- Place an LED tea light inside the lantern before setting it on a flat surface.
- Repeat to make five more lanterns in varying sizes by trimming the cardstock slightly smaller.


5. Clay Pinch Pot Pumpkins
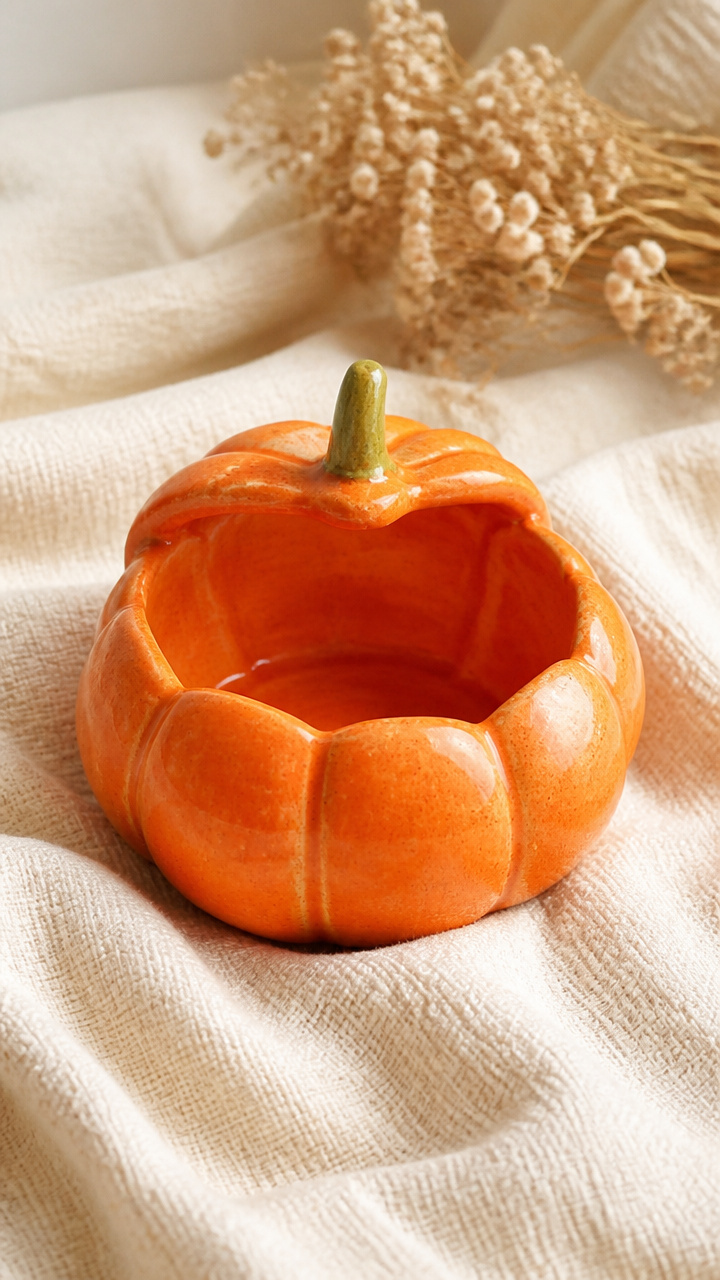
Hand-formed pottery pumpkins with natural ridges and a glossy finish. These sit well on shelves or as part of a centerpiece.
Materials Needed
- Air-dry clay, 1 pound
- Rolling pin
- Circular lid, 3 inches wide
- Knife
- Toothpick
- Acrylic sealer spray
- Brown acrylic paint
- Small paintbrush
How to Make It
- Knead the clay until soft, then roll it to 1/2 inch thickness on a flat surface.
- Cut a circle using the lid and press your thumb into the center to form a shallow bowl.
- Use fingers to pinch vertical ridges evenly around the outside, then poke a small hole at the top with a toothpick.
- Let dry for 24 hours on a rack, then paint a brown stem into the hole with the brush.
- Spray with acrylic sealer in a well-ventilated area and let cure for 2 hours.


6. Popsicle Stick Pumpkin Frames
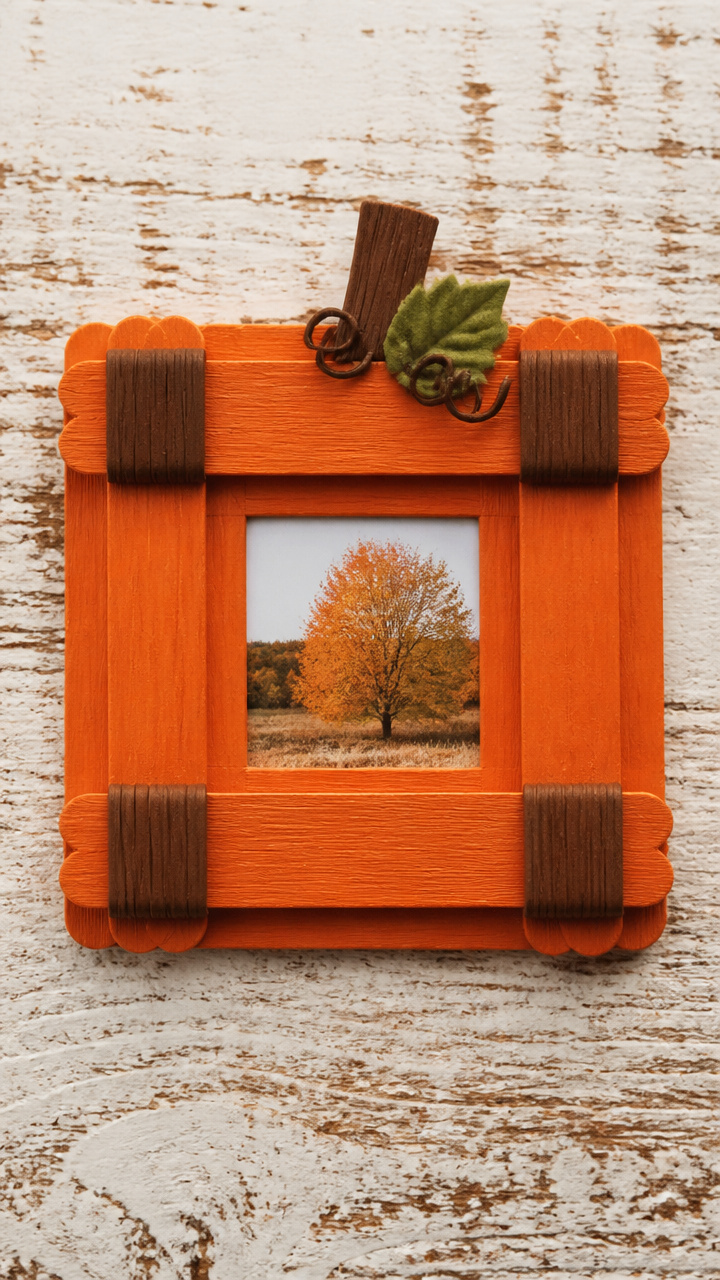
Mini picture holders made from layered sticks and painted bright. These display tiny fall photos or drawings.
Materials Needed
- 20 flat wooden popsicle sticks
- Orange and brown acrylic paint
- Hot glue gun and glue sticks
- Small paintbrush
- Craft scissors
- Photo, 2×2 inches
- Cardboard backing, 3×3 inches
How to Make It
- Paint ten sticks orange and let dry for 20 minutes on wax paper.
- Glue five sticks vertically side by side onto the cardboard backing, leaving no gaps.
- Glue the remaining five horizontally across the vertical sticks to form a grid frame.
- Cut a photo to size and slide it behind the grid, securing it to the back with glue.
- Glue a brown stick upright at the top center to act as a stem.


7. Tissue Paper Pumpkin Vase
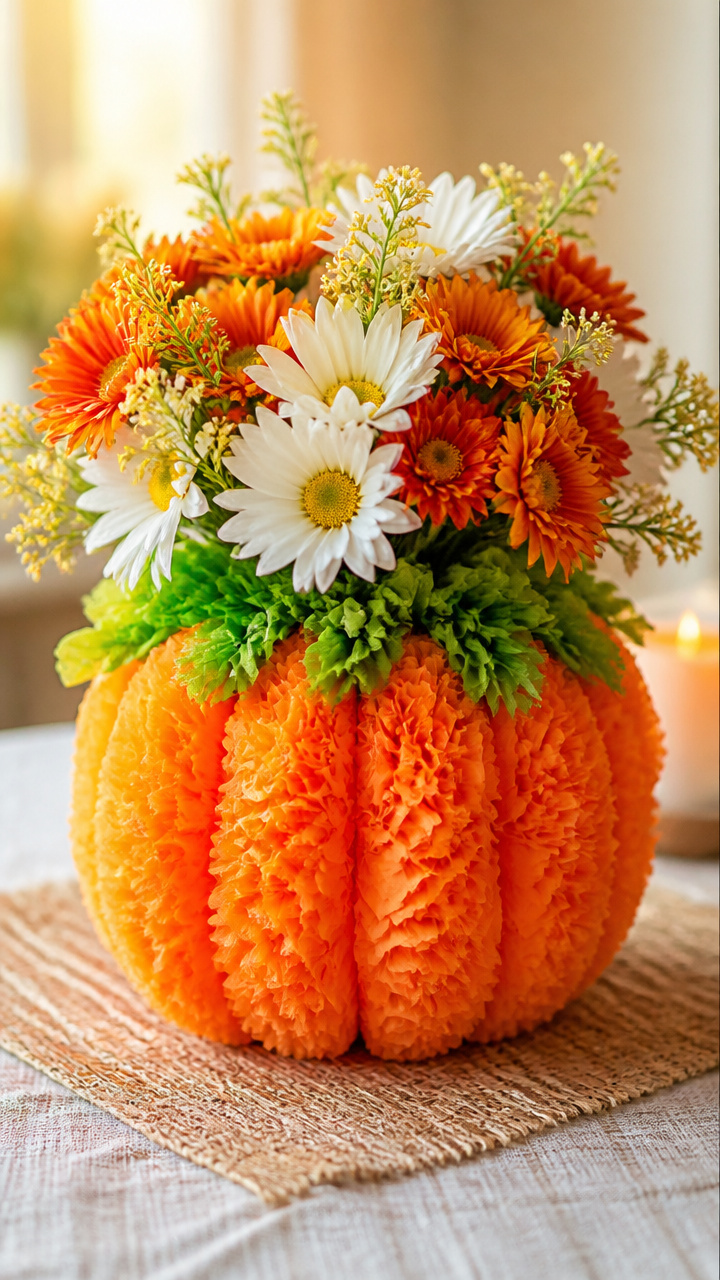
A glass bottle wrapped in fluffy layers of tissue that mimic pumpkin skin. This holds real or faux fall flowers.
Materials Needed
- Empty glass bottle, 8 oz
- Orange tissue paper, 20 sheets
- Green tissue paper, 5 sheets
- White school glue
- Water
- Small bowl
- Paintbrush
- Scissors
- Floral wire, 6 inches
How to Make It
- Mix equal parts glue and water in a bowl to make a paste.
- Cut tissue sheets into 2×2 inch squares, then crumple each into a puff.
- Brush the bottle with glue mixture and press puffs onto the surface, overlapping like shingles.
- Cover the entire bottle except the neck, then let dry for 2 hours.
- Twist floral wire around the neck and bend into a curl for the stem, adding a green tissue leaf if desired.


8. Pumpkin Button Magnets
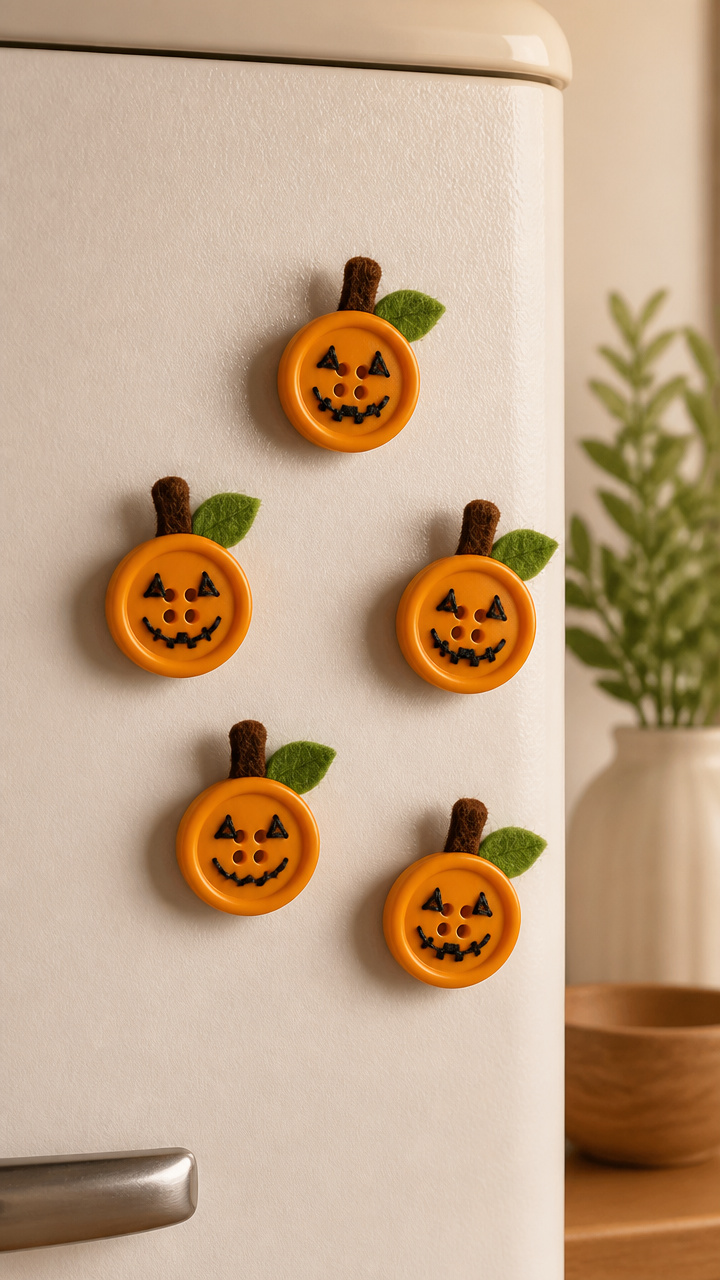
Tiny fabric-covered buttons with stitched details that stick to fridges or boards. These are quick gifts or classroom favors.
Materials Needed
- 20 medium orange buttons, 3/4 inch
- Black embroidery floss
- Needle
- Felt scraps, green and brown
- Fabric glue
- Magnetic strips, self-adhesive, 1/2 inch squares
- Scissors
How to Make It
- Thread the needle with black floss and tie a knot at the end.
- Stitch vertical lines on each button to mimic pumpkin grooves using backstitch.
- Cut a small rectangle of green felt for the stem and a leaf shape, then glue both to the top of the button.
- Snip a tiny brown felt piece and glue it beneath the leaf as a base.
- Press a magnetic square to the back and let dry for 30 minutes.


9. Pumpkin Rock Paintings
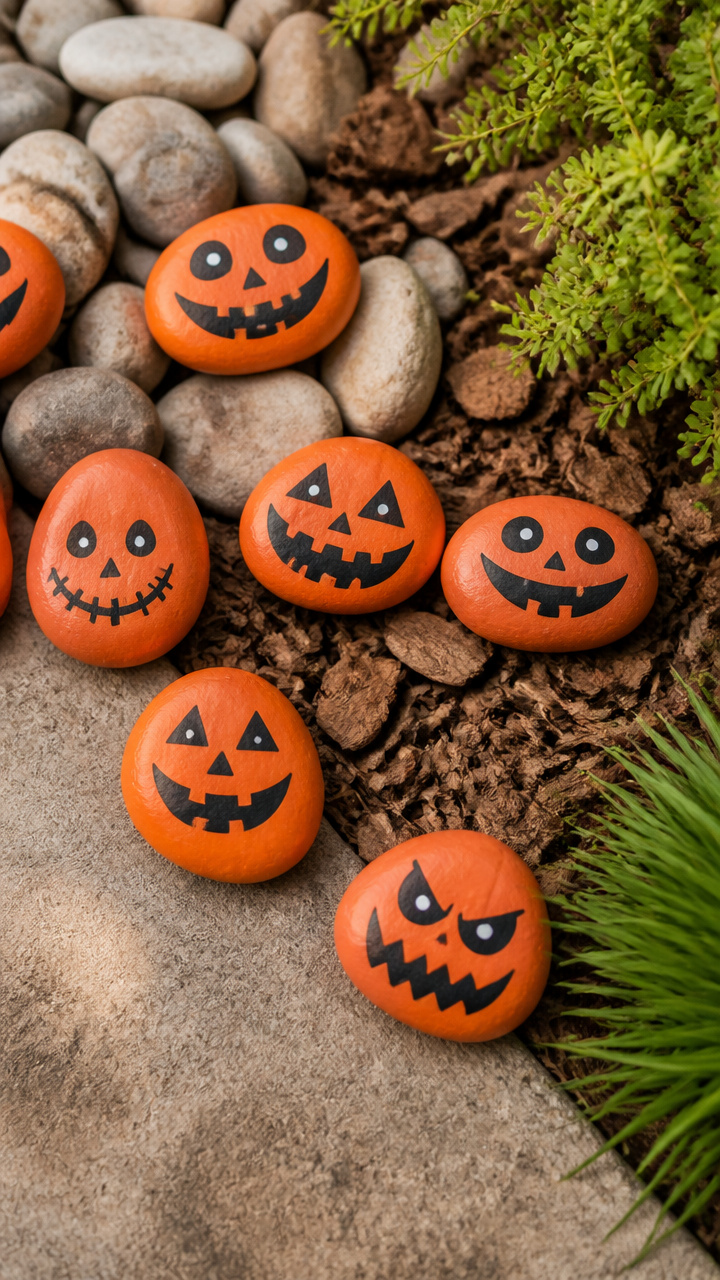
Smooth stones turned into smiling or spooky pumpkins with bold paint outlines. These hide in gardens or line walkways.
Materials Needed
- 10 palm-sized smooth river rocks
- White acrylic primer
- Orange acrylic paint
- Black acrylic paint
- Fine-tip paintbrush
- Water container
- Paper towel
- Clear outdoor sealant spray
How to Make It
- Wash rocks and let air dry, then apply a coat of white primer and let dry for 30 minutes.
- Paint each rock solid orange using smooth strokes, and let dry for 1 hour.
- Use the fine brush and black paint to draw classic jack-o'-lantern faces or simple dots and lines.
- Let paint cure for 2 hours before spraying with sealant in a ventilated space.
- Turn rocks over and label the bottom with a number if making a set.


10. Pumpkin Pocket Wreath
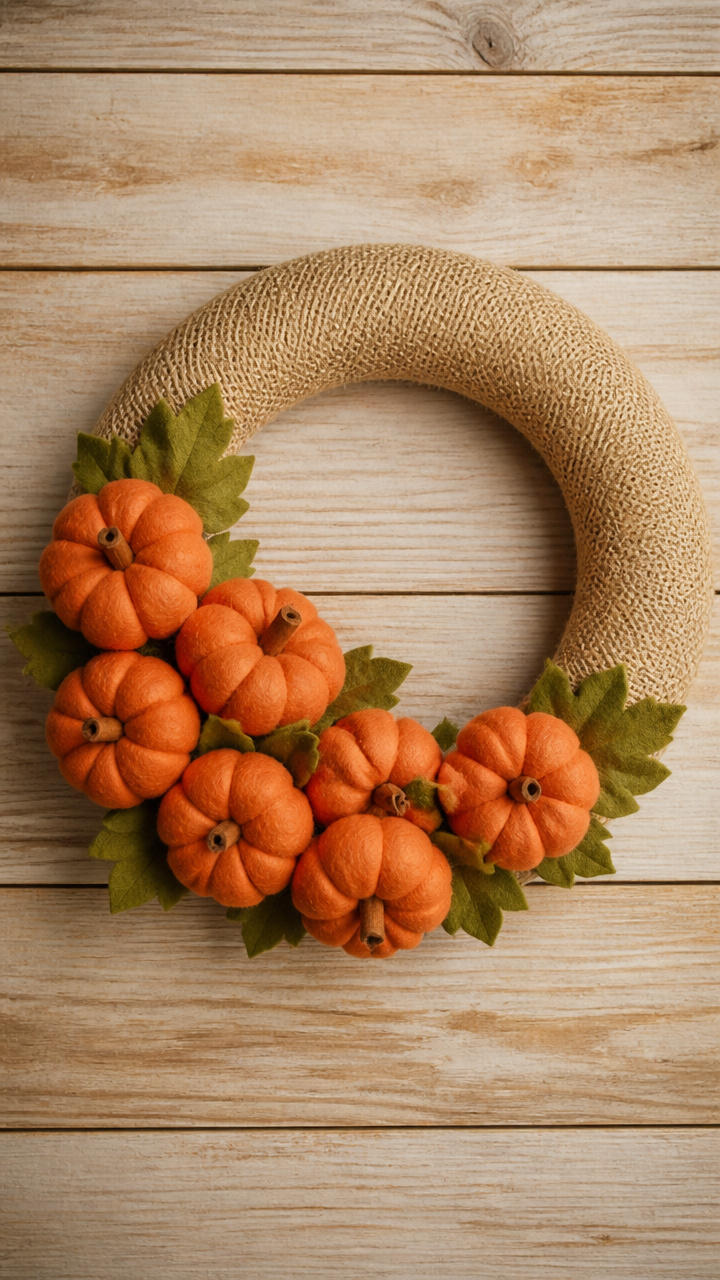
A burlap ring dotted with miniature fabric pumpkins in a crescent cluster. Hang this on doors without covering the whole circle.
Materials Needed
- Burlap wreath ring, 12 inch
- Orange felt, 6×6 inches
- Green felt, 3×3 inches
- Polyester fiberfill
- Needle and orange thread
- Hot glue gun
- Ribbon, 18 inch length
How to Make It
- Cut twelve 2-inch circles from orange felt and six 1-inch green ovals.
- Sew around the edge of each orange circle with a running stitch, gather, and stuff lightly with fiberfill.
- Tie off each pumpkin and trim the thread close.
- Glue the pumpkins in a curved group on the lower right of the wreath ring.
- Attach green ovals above each pumpkin as leaves and tie ribbon at the top for hanging.


11. Pumpkin Stamped Napkins
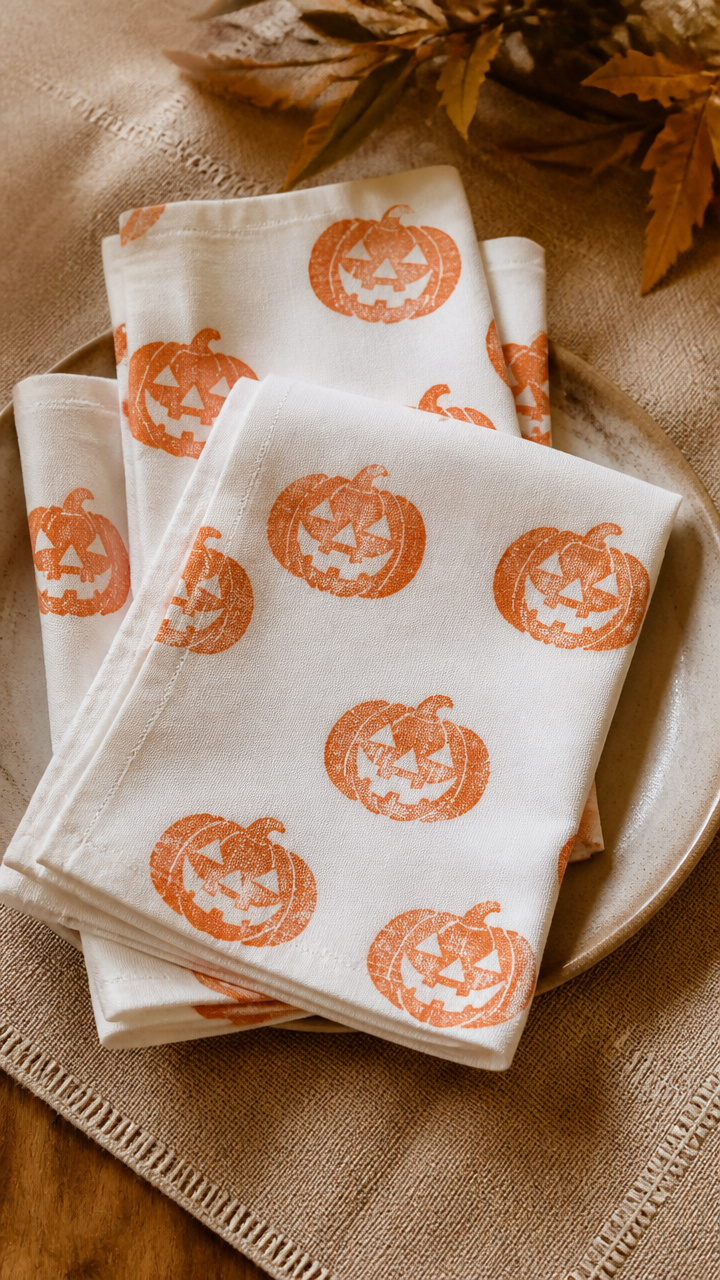
Cotton napkins with repeating block-printed pumpkins in warm ink. These add charm to any fall table.
Materials Needed
- 4 white cotton napkins, 16×16 inches
- Rubber carving block, 2×2 inches
- Linoleum cutter
- Pencil
- Permanent orange fabric ink pad
- Brayer (optional)
- Iron
How to Make It
- Sketch a simple pumpkin shape on the carving block with pencil, including a short stem.
- Use the linoleum cutter to carve away the background, leaving the pumpkin raised.
- Press the stamp into the ink pad evenly, then firmly press it onto a napkin corner.
- Repeat stamping in the same spot on each napkin, allowing 10 minutes between prints to avoid smudging.
- Let dry for 24 hours, then heat-set with an iron on cotton setting for 3 minutes.
12. Pumpkin Yarn Wraps
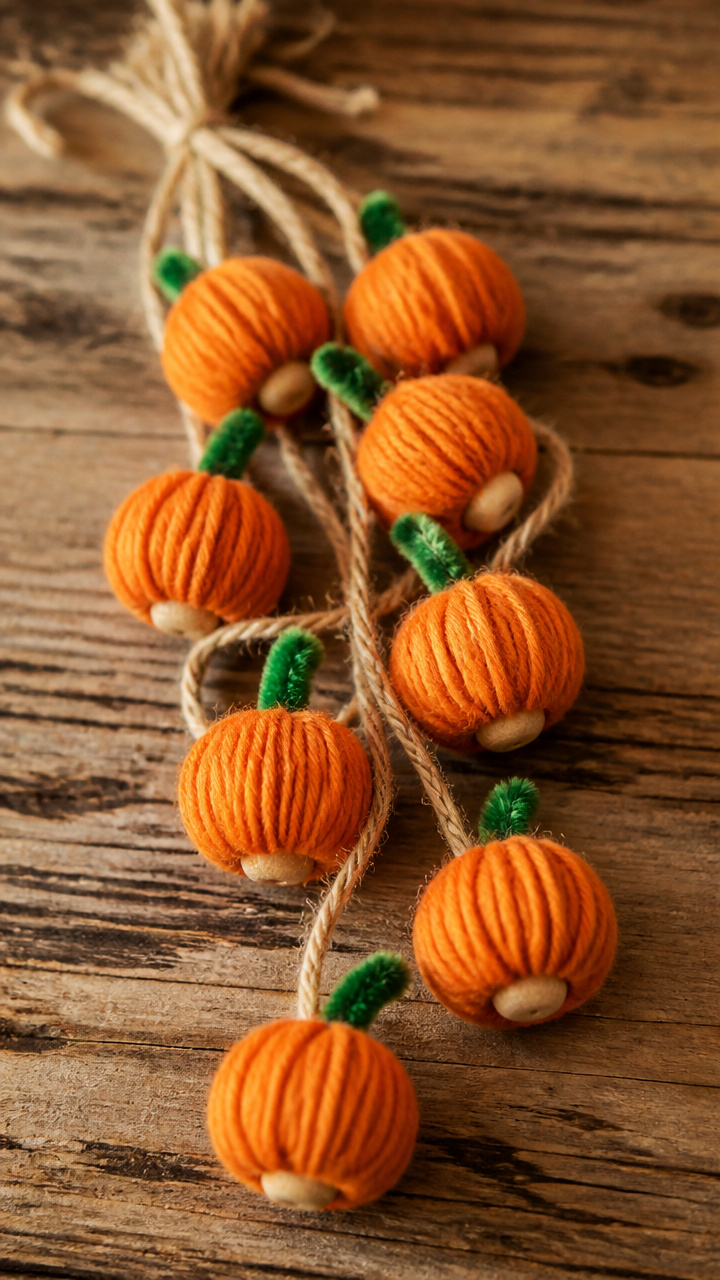
Wooden beads transformed into fuzzy pumpkins with wrapped thread and a twig stem. These dangle from mirrors or knobs.
Materials Needed
- 10 large wooden beads, 1 inch diameter
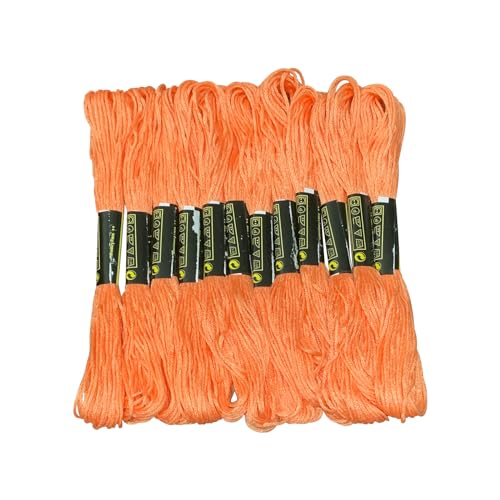
- Orange embroidery floss
- Green pipe cleaner
- Scissors
- Tacky glue
- Drill with 1/16 inch bit (optional)
How to Make It
- If needed, widen the bead hole slightly with a drill to allow floss to pass twice.
- Tie one end of floss to the bead, then wrap tightly around the center, covering the hole edges.
- Continue wrapping until the sides bulge like a pumpkin, about 50 wraps, then knot and trim the end underneath.
- Cut a 2-inch piece of green pipe cleaner and twist it into the top hole as a stem.
- Add a dab of glue to secure the stem and let dry for 15 minutes.


13. Pumpkin Leaf Collage
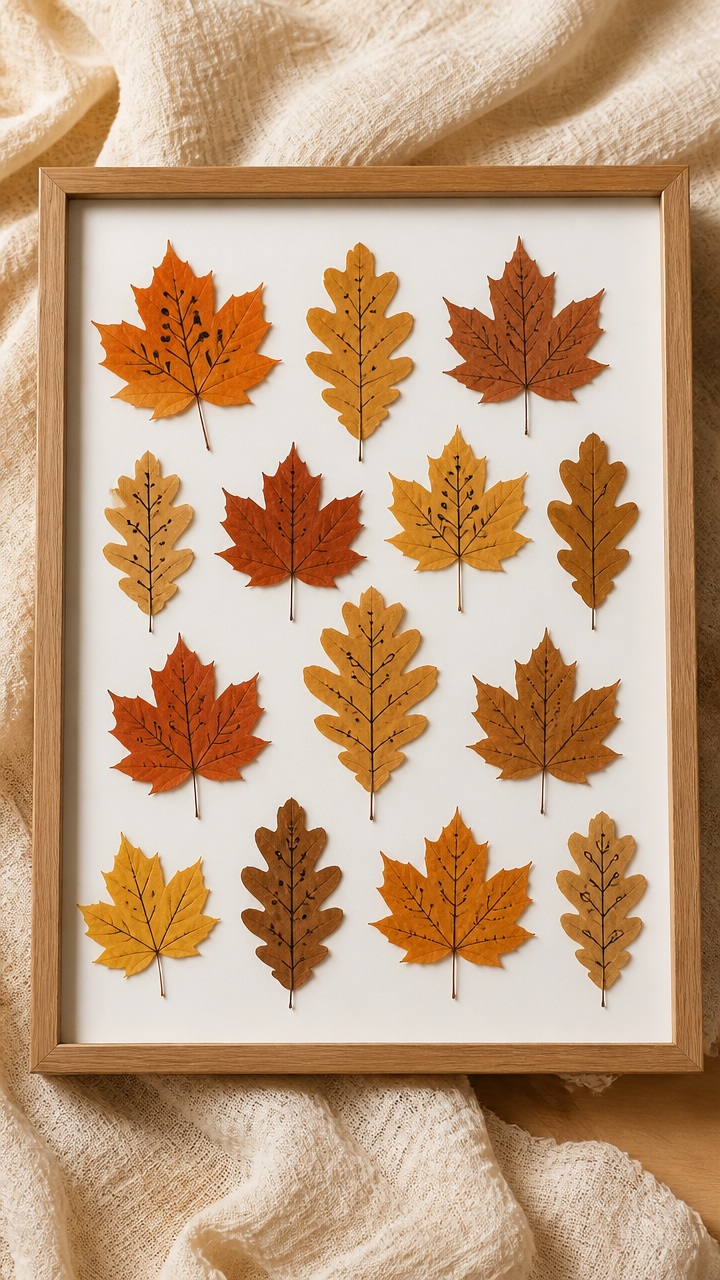
A framed artwork combining real pressed leaves with painted accents. This captures the colors of autumn in one piece.
Materials Needed
- 8×10 inch picture frame with glass
- Pressed maple and oak leaves, 15 total
- White glue
- Fine brush
- Black fine-liner pen
- Cardboard backing, cut to fit frame
- Tweezers
How to Make It
- Arrange leaves on the cardboard in a loose pumpkin shape, wider at the base and narrowing up.
- Use tweezers to lift each leaf and brush a thin layer of glue on the back before repositioning.
- Let the collage dry flat for 2 hours under a heavy book.
- Trace ridges on each leaf with the fine-liner to define segments.
- Insert the backing into the frame and close securely.


14. Pumpkin Tin Can Holders
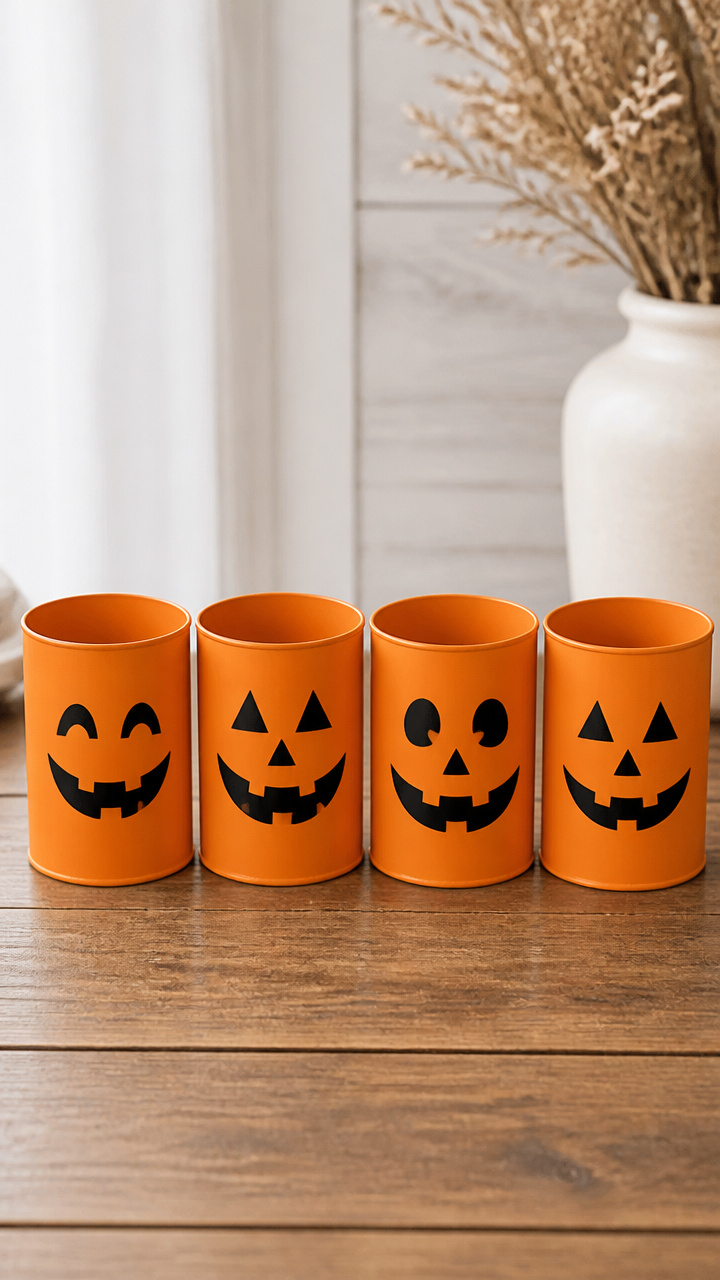
Recycled cans painted and labeled to hold pens, brushes, or utensils. These brighten desks and kitchens.
Materials Needed
- 4 clean tin cans, 8 oz size
- Sandpaper, 220 grit
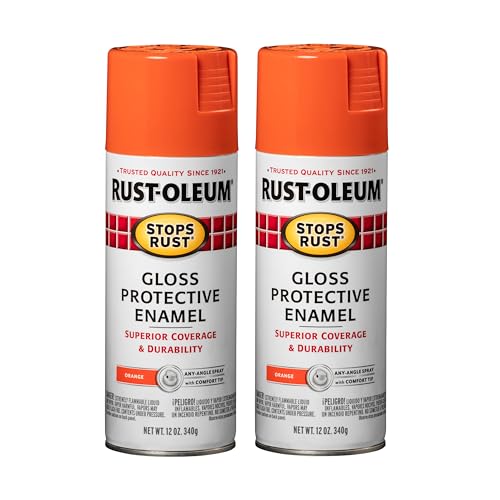
- Orange spray paint
- Painter’s tape
- Black vinyl sticker letters
- Clear matte sealant
- Rag
How to Make It
- Sand the outside of each can lightly to help paint adhere, then wipe with a rag.
- Spray paint each can with orange paint in a well-ventilated area, holding 10 inches away, and let dry 1 hour.
- Apply painter’s tape around the top rim and press black letters onto the front to spell 'PENCIL', 'UTENSIL', etc.
- Spray with sealant to protect the label and let cure for 3 hours.
- Remove tape carefully after sealing.


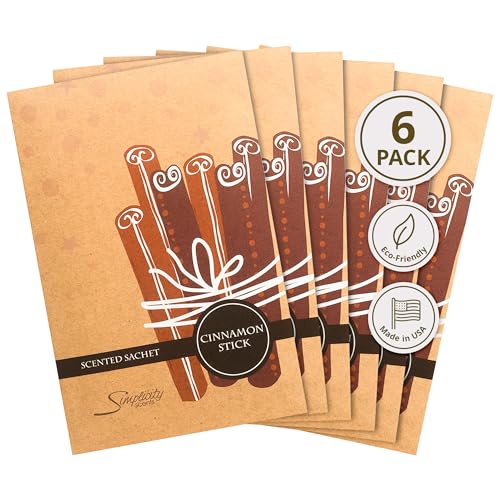
15. Pumpkin Sticker Jars
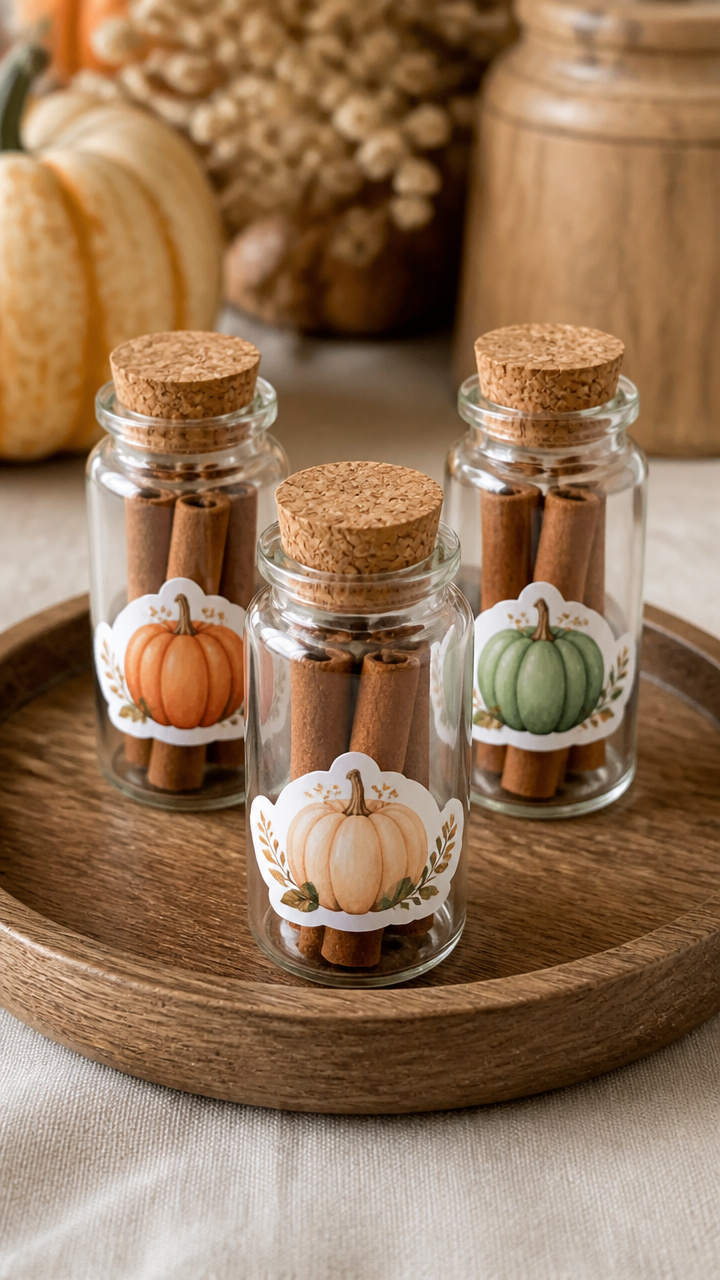
Clear jars sealed with custom stickers and filled with cinnamon sticks. These double as decor and drawer scent boosters.
Materials Needed
- 6 small glass jars with lids, 4 oz
- White sticker paper, 8.5×11 inch
- Printer
- Cinnamon sticks, 3 per jar
- Scissors
- Lavender essential oil, 1 drop per jar
- Label template (printed)
How to Make It
- Print pumpkin-shaped labels with blank centers onto sticker paper using your design.
- Cut out each label carefully with scissors, following the outline.
- Place three cinnamon sticks in each jar and add one drop of lavender oil.
- Screw the lid on tight, then peel and stick the label centered on the front.
- Store jars in drawers or display on a tray.


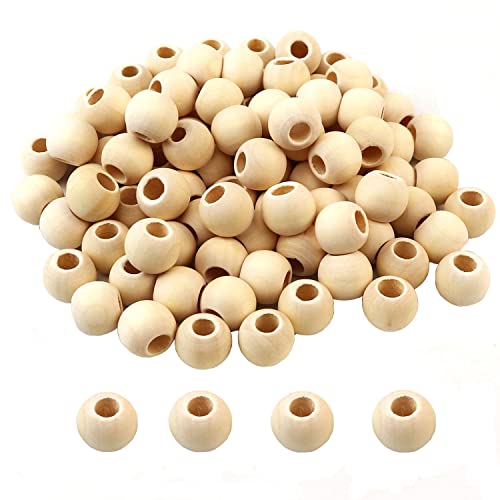
16. Pumpkin Beaded Garland
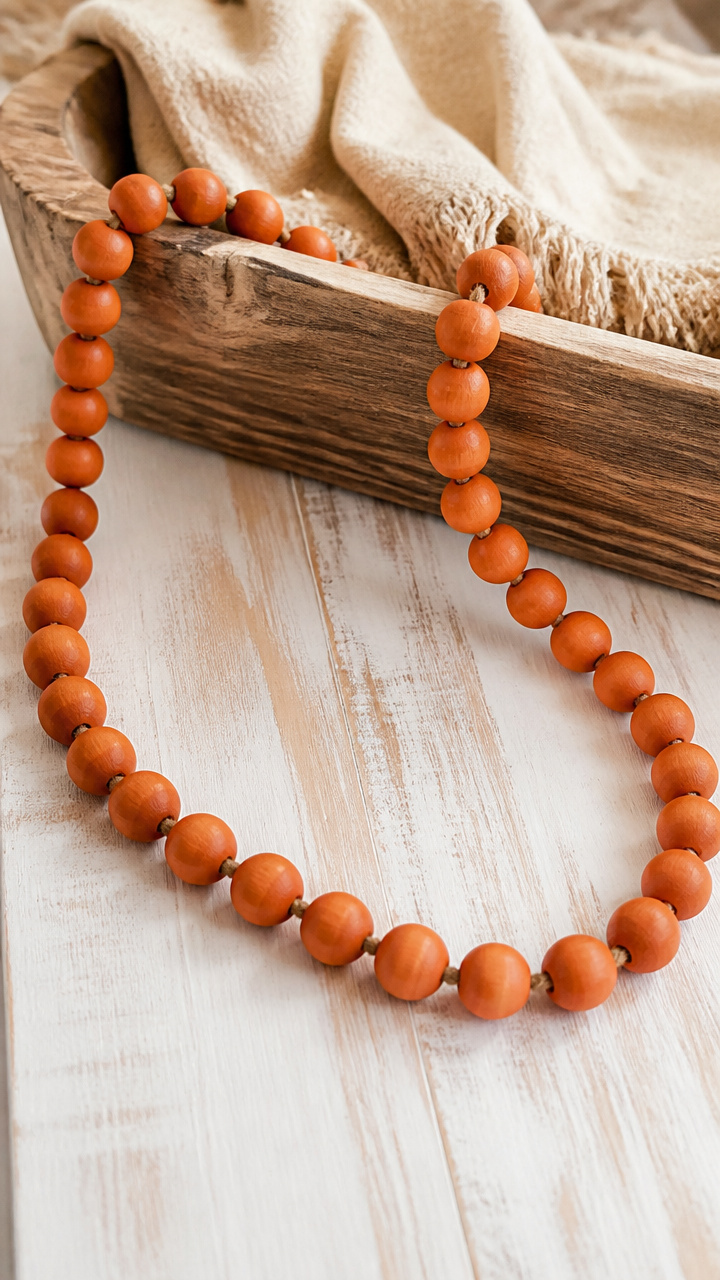
Wooden beads dipped in paint and strung with cord. This rustic garland loops around banisters or vases.
Materials Needed
- 30 unfinished wood beads, 15mm
- Orange acrylic paint
- Small foam brush
- Brown embroidery floss
- Needle
- Ruler
- Scissors
How to Make It
- Pour a small pool of orange paint onto a plate and dip each bead halfway using the foam brush.
- Set beads on wax paper to dry for 1 hour, then flip and dip the other half.
- Let dry completely for 2 hours until no tack remains.
- Cut 6 feet of floss and thread the needle, then string beads in a random pattern.
- Tie knots at both ends to prevent slipping.


17. Pumpkin Crayon Melts
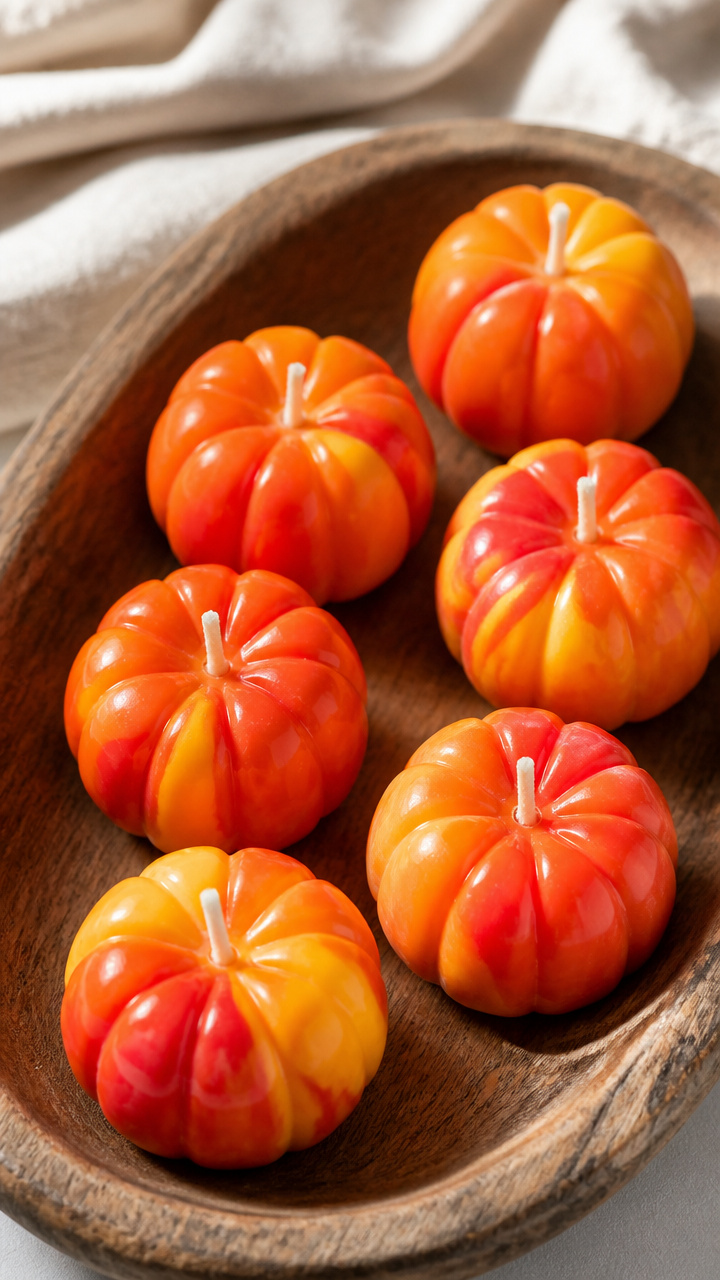
Old crayons melted into pumpkin-shaped molds with wicks. These colorful candles release a waxy scent when burned.
Materials Needed
- 20 orange, yellow, and red crayons, peeled
- Silicone pumpkin mold, 6 cavities
- Candle wicks, 3 inches, 6 pieces
- Metal clothespin
- Double boiler or heat-safe bowl and saucepan
- Vegetable oil, few drops
How to Make It
- Chop crayons into small pieces and place in the top of a double boiler over simmering water.
- Stir with a wooden stick until fully melted, about 8 minutes.
- Lightly coat the mold with oil, then place a wick in each cavity, holding upright with a clothespin.
- Pour melted crayon into each pumpkin mold, filling to the top.
- Cool for 2 hours at room temperature, then pop out candles gently.


18. Pumpkin Paper Chain
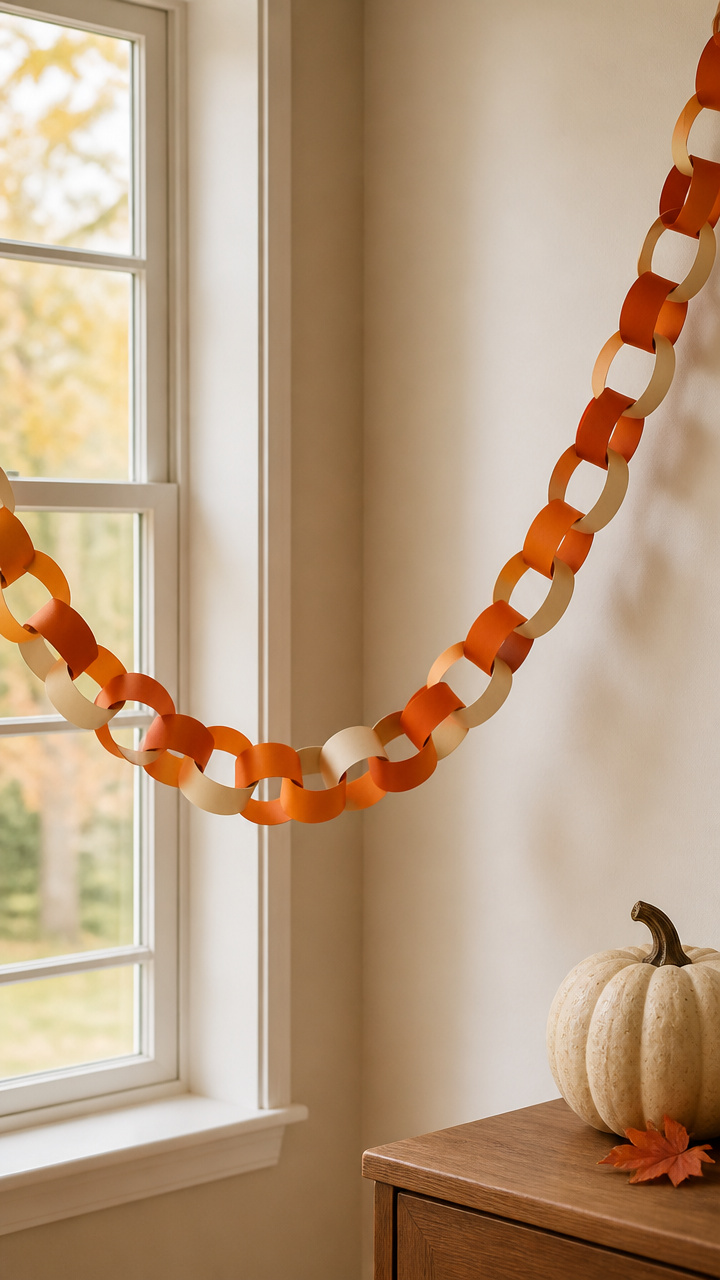
Interlocked strips of colored paper forming a long festive chain. Drape this across walls or windows.
Materials Needed
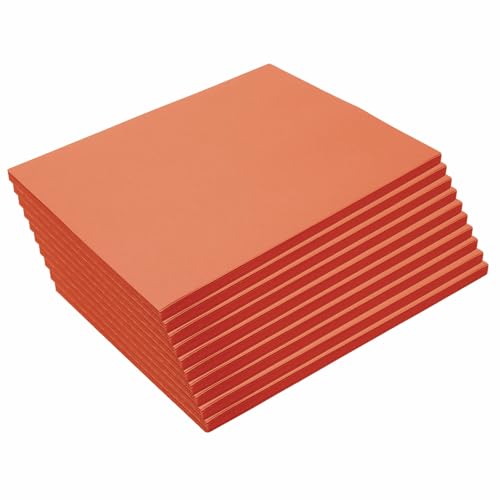
- Orange, rust, and cream construction paper, 5 sheets each
- Scissors
- White school glue
- Ruler
- Pencil
How to Make It
- Cut each sheet into 1×8 inch strips using the ruler and pencil to mark first.
- Take one strip and glue the ends together to form a loop.
- Thread a second strip through the first before gluing it closed.
- Repeat adding one loop at a time, alternating colors in a pattern.
- Continue until the chain reaches 6 feet, then hang with tape or tacks.


19. Pumpkin Chalkboard Signs
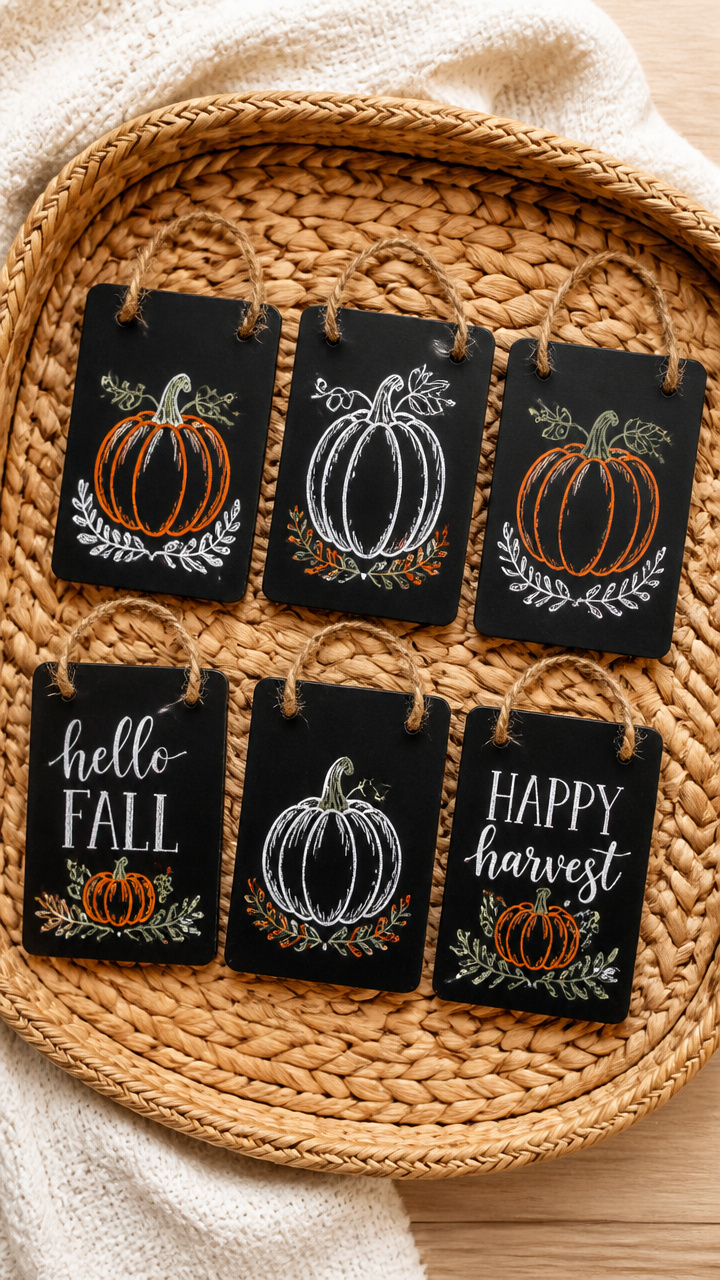
Mini slate boards with hand-drawn pumpkins and seasonal words. These stand on tables or clip to baskets.
Materials Needed
- 6 small chalkboard tiles, 4×6 inches
- Chalk markers, orange and white
- Ruler
- Pencil
- Eraser
- Twine, 8 inches per sign
- Hot glue gun
How to Make It
- Lightly sketch a small pumpkin near the bottom of each tile with pencil.
- Trace the pumpkin with an orange chalk marker and add a white highlight on one side.
- Write words like 'Harvest' or 'Hello Fall' above in white marker.
- Let ink dry for 10 minutes, then erase any pencil marks with a damp cloth.
- Glue twine to the back top edge for hanging or propping.


20. Pumpkin Pinecone Decor
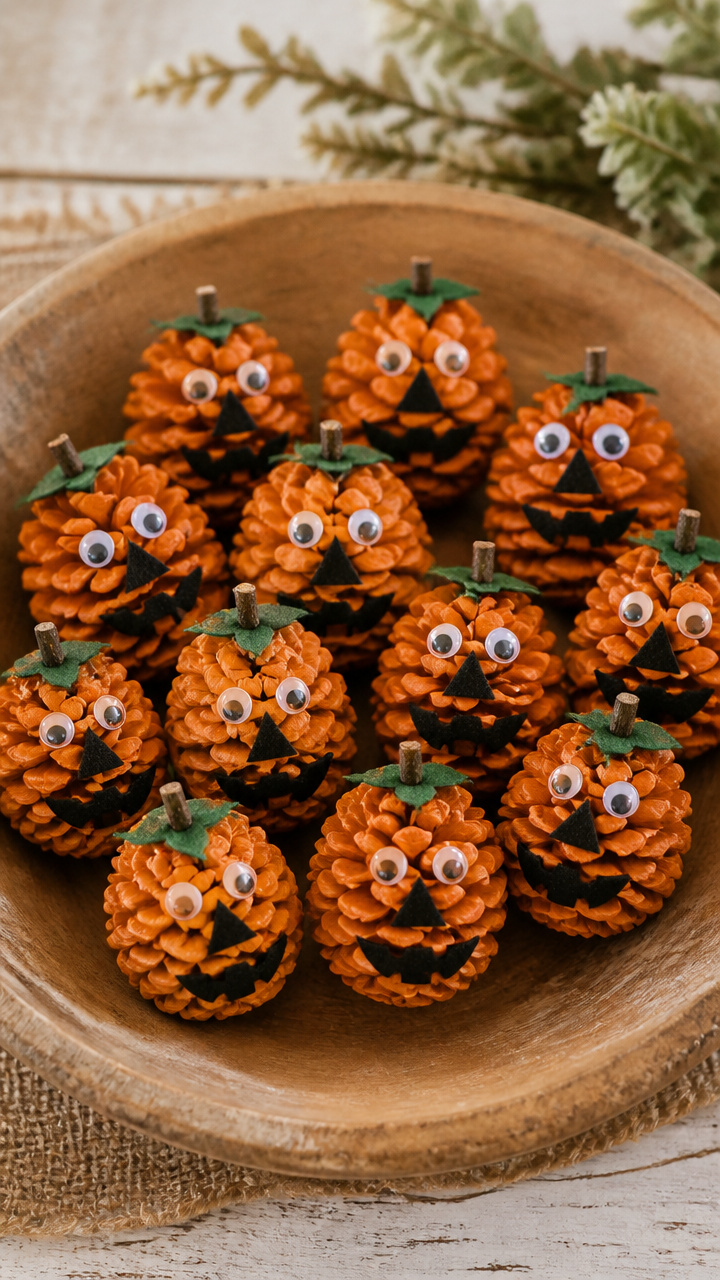
Pinecones dipped in paint and dressed with felt faces. These nestle into bowls or trays.
Materials Needed
- 12 medium pinecones
- Orange acrylic paint
- Foam brush
- Black craft foam
- Scissors
- Googly eyes, 1/4 inch, 24 pieces
- White glue
- Green pipe cleaner
How to Make It
- Dip the top third of each pinecone into orange paint and let dry on wax paper for 1 hour.
- Cut tiny oval mouths from black foam and glue them below pairs of googly eyes.
- Glue the face onto the upper section of each pinecone.
- Twist a 1-inch green pipe cleaner piece at the very top for a stem.
- Let all glue dry for 30 minutes before arranging in groups of three.


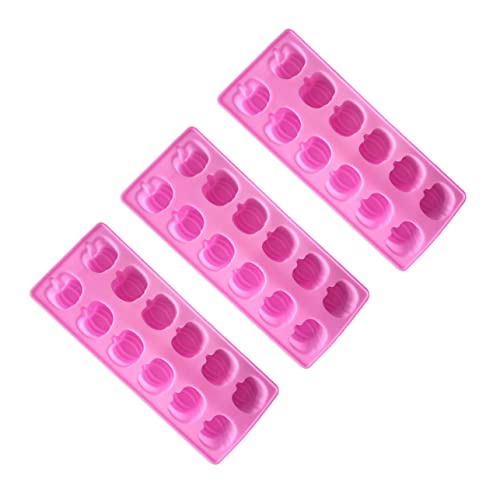
21. Pumpkin Ice Tray Treats
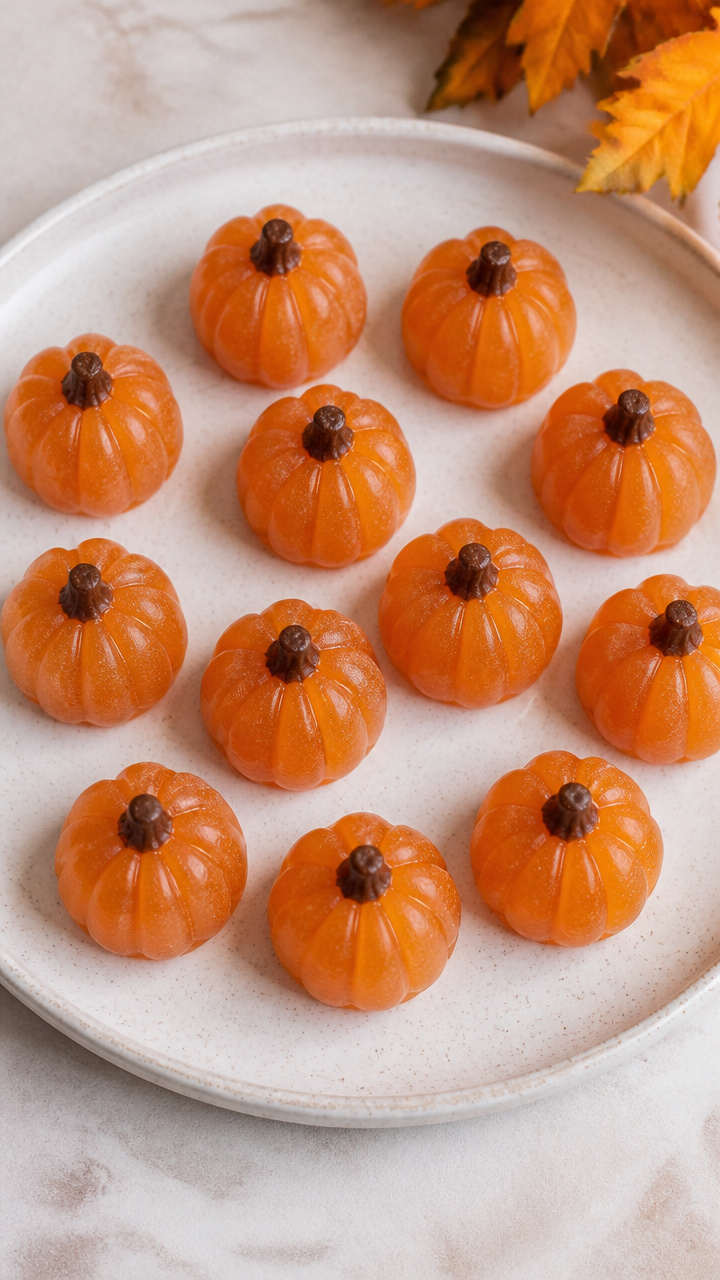
Silicone molds filled with spiced apple juice that freeze into edible pumpkins. Serve these at parties or kids’ snacks.
Materials Needed
- Silicone pumpkin ice cube tray, 12 cavities
- 2 cups apple juice
- Ground cinnamon, 1/4 teaspoon
- Ground nutmeg, pinch
- Measuring cup
- Whisk
- Freezer
How to Make It
- Mix apple juice, cinnamon, and nutmeg in a bowl using the whisk until combined.
- Pour the liquid slowly into each pumpkin cavity, stopping just below the rim.
- Place the tray on a flat surface in the freezer and freeze for 4 hours.
- Twist the tray gently to release cubes when fully frozen.
- Serve in a bowl or add to sparkling water.


22. Pumpkin Fabric Scrap Balls
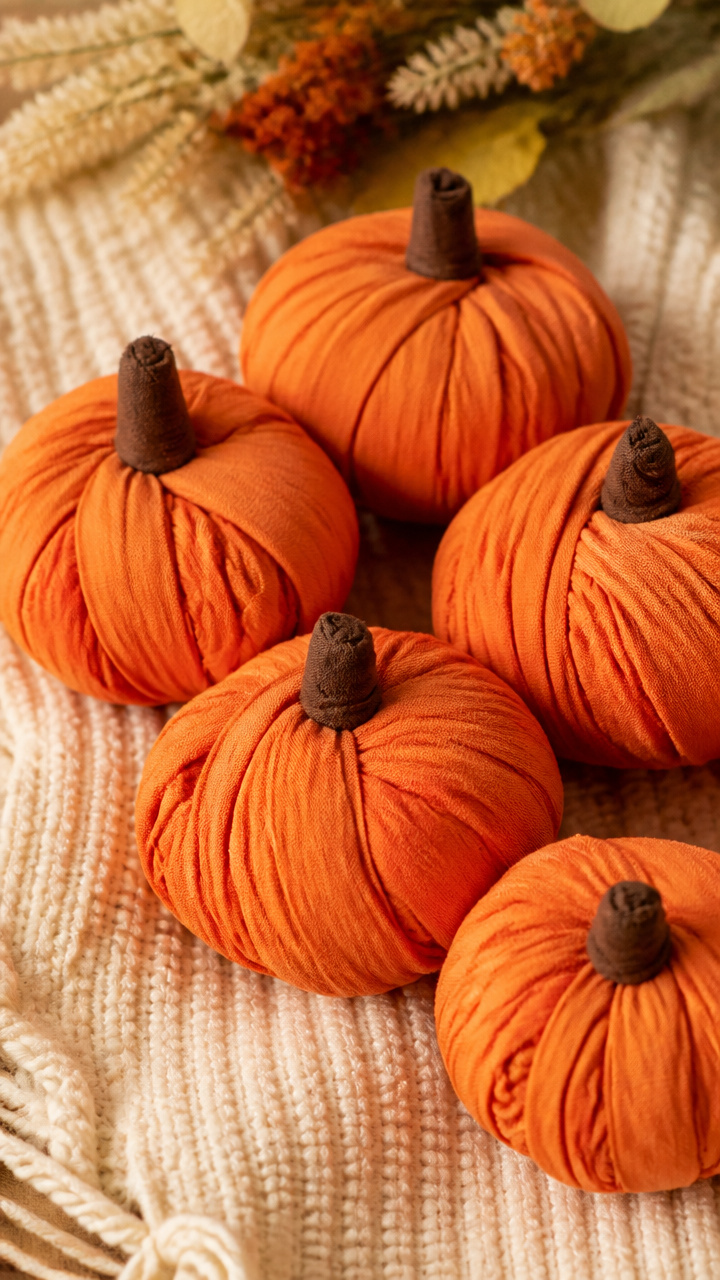
Tightly rolled strips of cotton fabric tied into plump little pumpkins. These make soft shelf accents.
Materials Needed
- Orange cotton fabric scraps, 1×12 inches, 6 strips
- Brown fabric strip, 1/4×3 inches
- Scissors
- Hot glue gun
- Thick needle
- Embellishing thread
How to Make It
- Roll one fabric strip tightly from one end into a small coil.
- Apply a dab of hot glue to the end to secure it once fully rolled.
- Repeat with five more strips to make six coils.
- Stack the coils center to center, gluing each layer as you go.
- Push the brown strip through the center top with the needle and knot it to form a stem.


23. Pumpkin Window Clings
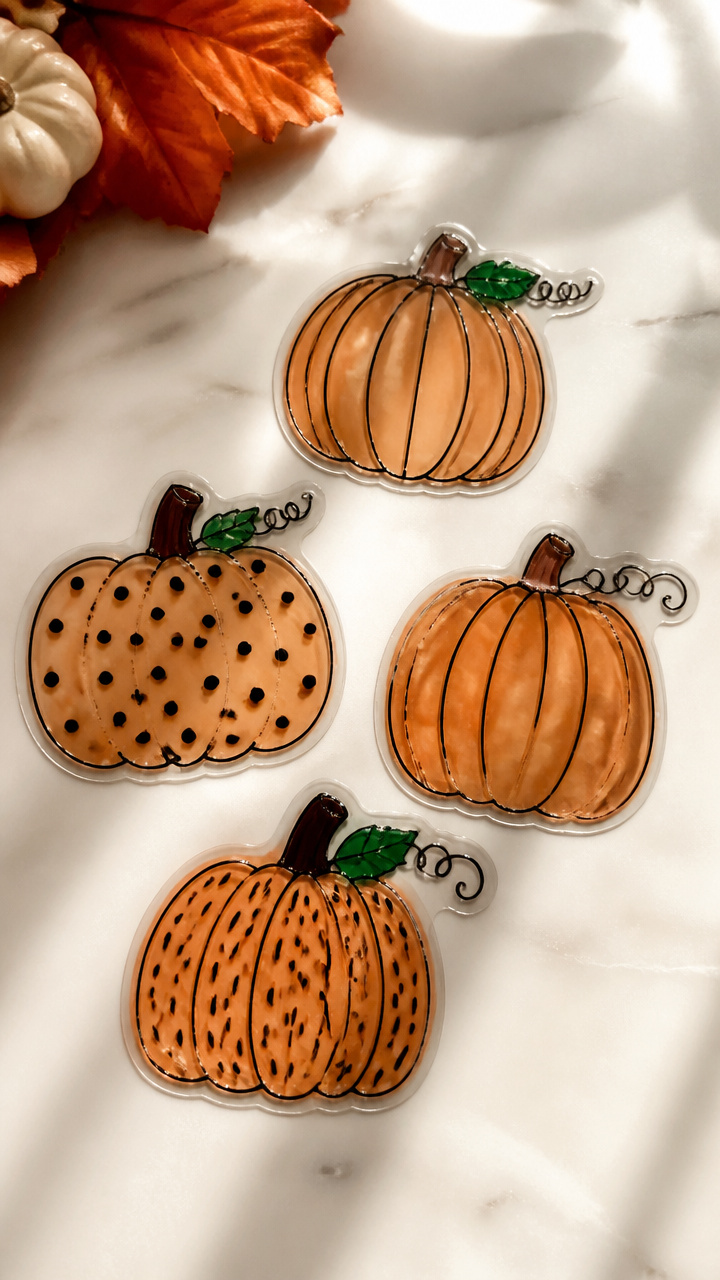
Clear adhesive sheets cut into pumpkins and decorated with markers. These stick to glass and wash off easily.
Materials Needed
- Clear cling film sheets, 8.5×11 inch, 3 count
- Fine-tip permanent markers in black, green, brown
- Pencil
- Scissors
- Ruler
- Squeegee or credit card
How to Make It
- Draw three pumpkin shapes on the cling sheets with pencil, each 4 inches tall.
- Cut out the shapes carefully with scissors along the lines.
- Use black marker to draw faces and grooves, green for vines, brown for stems.
- Wipe the window clean with a damp cloth and let dry.
- Press each cling onto the glass with a squeegee to remove bubbles.


24. Pumpkin Clothespin Figures
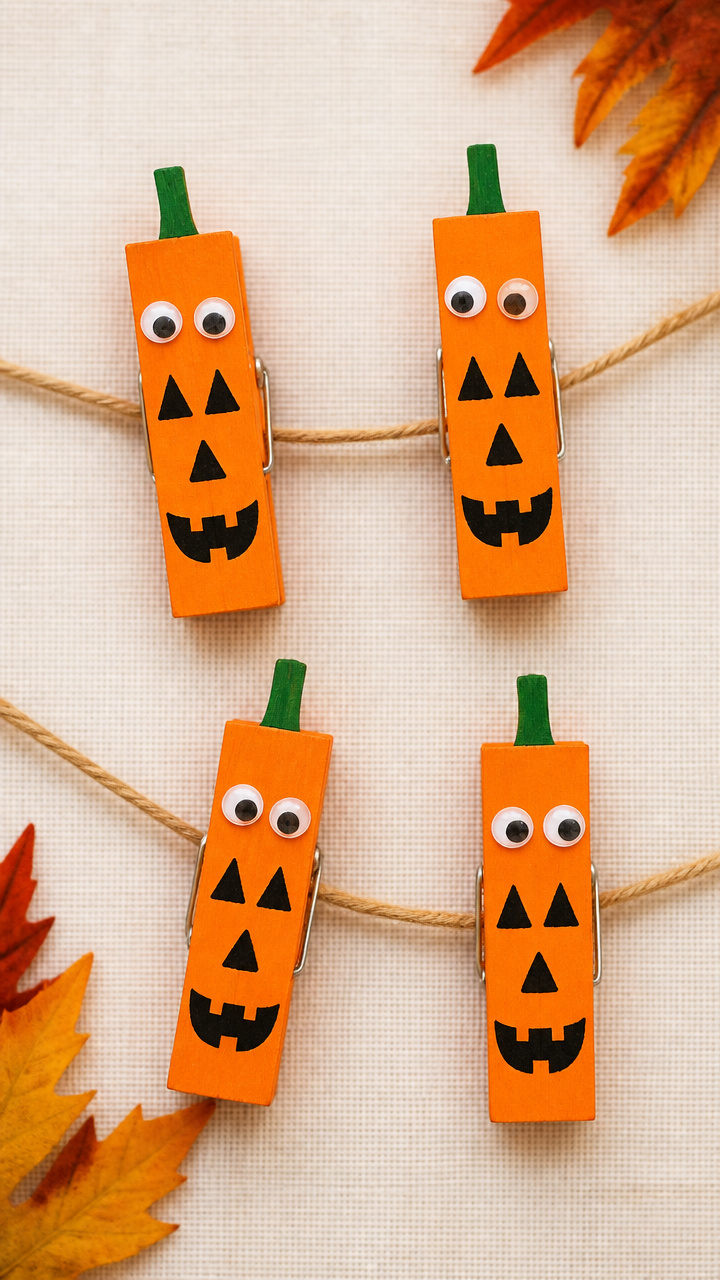
Wooden clothespins painted and dressed as jack-o'-lanterns. These clip onto garlands or photos.
Materials Needed
- 10 wooden clothespins
- Orange acrylic paint
- Black and green craft paint
- Fine paintbrush
- Googly eyes, 1/8 inch
- White glue
- Orange felt scrap
How to Make It
- Paint the rounded end of each clothespin with orange paint and let dry for 20 minutes.
- Use black paint to draw triangle eyes and a jagged mouth on each face.
- Paint a short green stem on top with a single stroke.
- Glue on googly eyes and let dry for 10 minutes.
- Cut tiny hats from felt and glue to the top if desired.


25. Pumpkin Cork Buddies
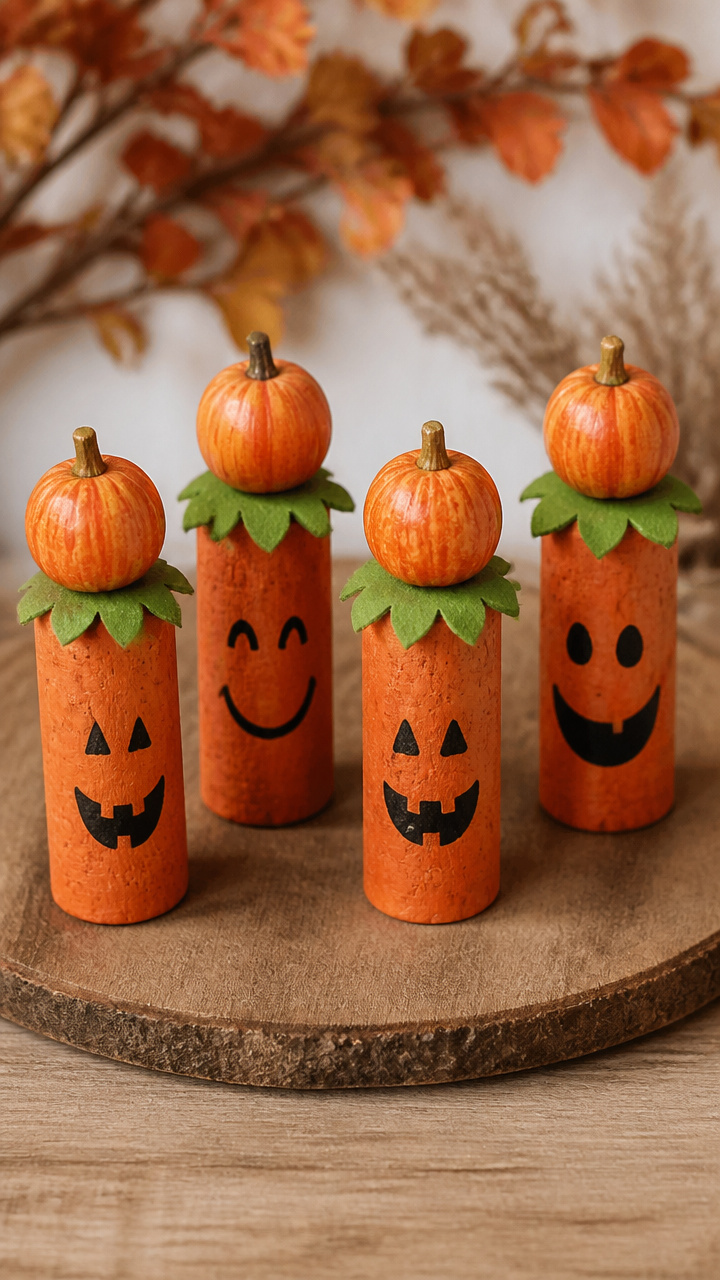
Wine corks turned into standing pumpkins with hand-drawn faces. These wobble slightly and fit in small spaces.
Materials Needed
- 10 wine corks
- Orange paint pen
- Black paint pen
- Green acrylic paint
- Small brush
- Baseball tee, 1/2 inch tall
- Strong craft glue
How to Make It
- Color each cork completely with the orange paint pen, covering all sides and letting dry 15 minutes.
- Draw a jack-o'-lantern face on one side using the black paint pen.
- Paint a small green stem on the top with the brush and let dry 10 minutes.
- Glue the cork to the flat side of the baseball tee base.
- Let the glue cure for 1 hour before placing on a windowsill.


You’ve got everything you need to bring a little handmade joy into your season. Pick one craft that makes you smile and start today with what’s already in your home.